
NP Profile Keycap - Gengar 2x2U and 1U (FDM & No Support)
Obliczymy ostateczną cenę na podstawie wybranego pliku. Sprawdzisz ją i zaakceptujesz przed płatnością.
Zapisane na tym urządzeniu.

An easy FDM printable keycap in the NP profile in the size of 2x2U and 1U - no supports needed.
- Ocena
- 5 / 5
- Polubienia
- 41
- Pobrania
- 69
- Wydruki
- 1
- Wyświetlenia
- 964
- Oceny
- 1
Aktualizacja u źródła:
Informacje o modelu
- Źródło
- Printables
- Kategoria
- Other Gadgets
- Licencja
- Creative Commons — Attribution — Noncommercial — Share Alike
An easy to print keycap in the NP profile in the size of 2x2U or 1U - FDM printed and no supports needed.
Print Instructions
1U Keycap
Important: be sure to turn off supports in your slicer.
- Add a color change at 0.8mm layer height (or any other height) and slice the model
- Print the first set of layers with your filament of choice - I used the Prusament Galaxy Black and then use a different filament for the rest of layers.

2x2U Keycap
There are two ways to print the 2x2U Gengar Keycap. You can either use the more tedious method A with a single extruder head or use method B by having a real or virtual second extruder head (MMU).
Method A: Single Extruder
Important: be sure to turn off supports in your slicer and turn off auto bed leveling before print.
- First slice the NP_2x2_Gengar.stl and export its gcode.
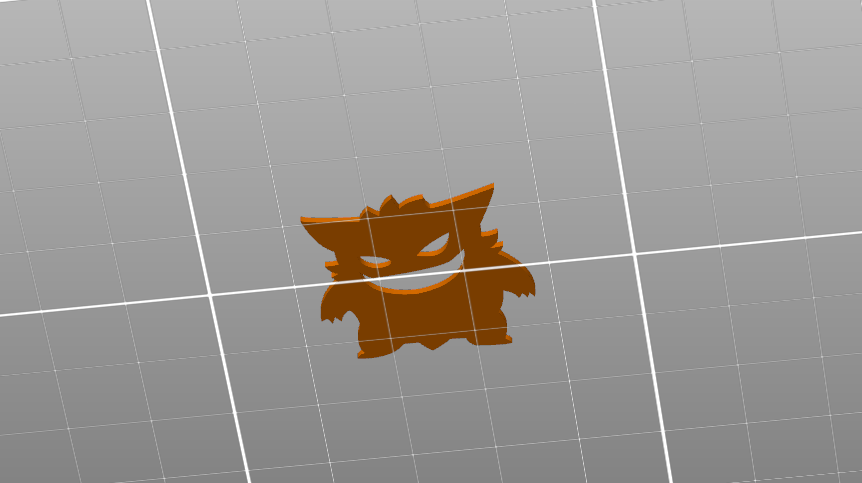
- Then slice the NP_2x2_Gengar_Base.stl and export its gcode.
Optional: you can also add a color change at 0.8mm layer height (or any other height)
- Print the NP_2x2_Gengar.stl with your prefered filament color A
- Once printed you can leave it on the print bed and change the filament to color B via your printer settings.
- Once the filament is changed print the NP_2x2_Gengar_Base.stl.
Note: the temperature of the print bed should ideally not drop during the process to ensure that the «Gengar» sticks to the bed.
Method B: MMU
- Load both .STL files into your slicer and set the the appropriate color for each model and slice it
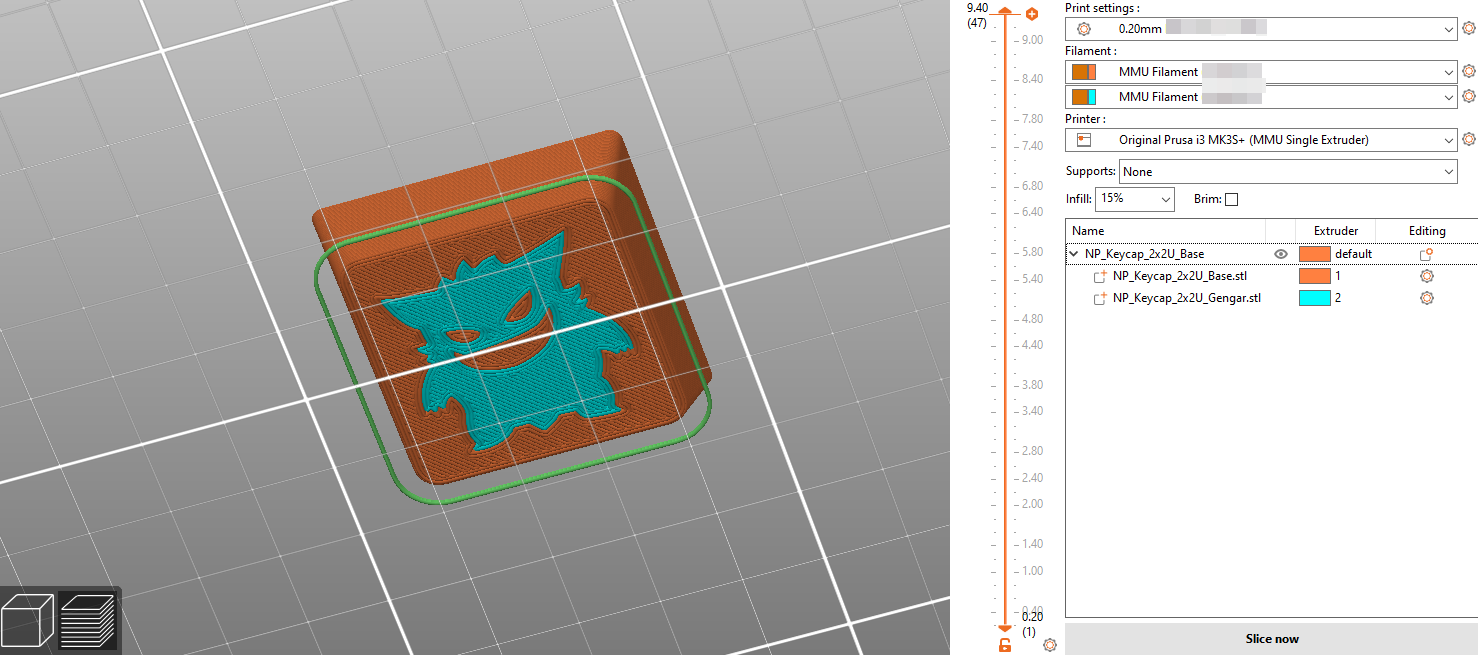
- Print the model
Technical Details
- Profile: NP
- Fits on any Cherry MX (and clones) switches
Print Settings
- Infill: 15-20% Gyroid
- Perimeters: 2 (can also do 3)
- Layer height: 0.2mm
- Supports: none