
Hand-thrown propeller airplane
Obliczymy ostateczną cenę na podstawie wybranego pliku. Sprawdzisz ją i zaakceptujesz przed płatnością.
Zapisane na tym urządzeniu.
a frame-style hand-thrown propeller airplane inspired by MiG-3. Flexible & rotating propeller, simple assembly.
- Ocena
- 5 / 5
- Polubienia
- 134
- Pobrania
- 968
- Wydruki
- 2
- Wyświetlenia
- 7040
- Oceny
- 2
Aktualizacja u źródła:
Informacje o modelu
- Źródło
- Printables
- Kategoria
- Outdoor Toys
- Licencja
- Creative Commons — Attribution — Noncommercial
For ease of use and playability, I prefer children to have a hand-thrown airplane. However, the available options for this type of airplane are almost the same.
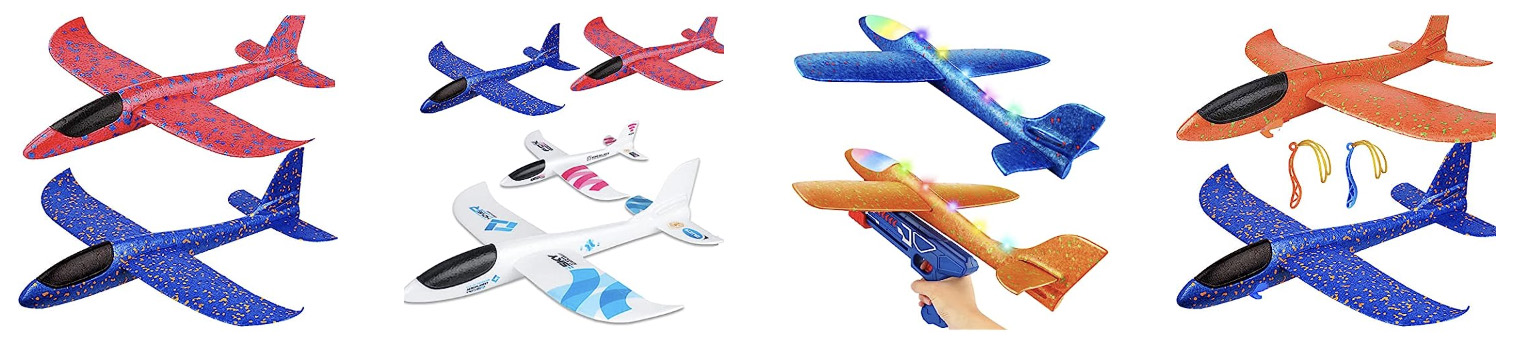
Making a hand-thrown airplane with balsa wood and film is very cumbersome.

So, I started to design a hand-thrown airplane that can be 3D printed.
In order to enhance the visual appeal and enjoyment during flight, I want the propeller to be able to rotate. I set my sights on the propeller planes of World War II for inspiration. After several attempts, mainly due to the center of gravity, I finally chose the MiG-3 with a longer nose as the prototype and designed this frame-style hand-thrown propeller airplane.


From the design of the bearing, it can be seen that I initially had the idea of using a rubber band as the power, but the actual effect was not ideal. Perhaps it was because the fuselage was too heavy and the propeller's thrust was insufficient.
The main reason I gave up using rubber bands as power is the fun of hand throwing, which does not require additional power or devices at all. But I still kept the hole for threading rubber bands, and you can try it anytime if you like.

Obviously, this airplane is still far from achieving its goal, so I will continue to improve it and hope that its flight posture can reach the level of foam glider plane in the future.
Features
- Rotating propeller enhances the visual appeal and enjoyment during flight
- Simple assembly makes it easy to assemble and replace parts
- Flexible material propeller, cushions the impact when crashes
- Optional flexible wings give more cushion to the impact
- Has a prototype for reference, which is more realistic and beautiful
- With this form, it can be developed into a classic airplane series
Print settings
Fuselage
Filaments: PLA
-Vertical printing
Supports: none
Infill: 100%
Brim width: 10mm

-Horizontal printing
Support style: Organic
Infill: 100%

Different printing directions will affect the strength. Horizontal printing has higher strength but requires 20 minutes to remove the support; vertical printing does not require support but is more prone to breakage.
Organic supports are relatively easy to remove. Just cut off the branches connected to each other, and the endpoints can be removed with a gentle push.
See the video for support removal:
Wing, horizontal and vertical stabilizer
Filaments: PLA
Supports: none
Infill: 100%

Wing_TPU
Filaments: TPU
Infill: 100%

Bearing
Filaments: PLA
Supports: none
Infill: 100%
Brim width: 5mm

Propeller
Filaments: TPU (recommended)
Support style: Organic
Infill: 100%

It is more difficult to remove the organic supports of TPU material, but it is more time-saving. Starting from the edge, tear them off with force, bit by bit.
See the video for support removal:
Assembly
1. Insert the propeller into the bearing
2. Insert the bearing into the nose of the airplane (may need to ream the hole if printed horizontally)
3. Insert the horizontal stabilizer into the fuselage
4. Insert the vertical stabilizer into the fuselage and thread it through the hole in the horizontal stabilizer
5. Insert the wings into the fuselage
See the assembly video for details: