
KB501X ear & cheek simulator plate
Obliczymy ostateczną cenę na podstawie wybranego pliku. Sprawdzisz ją i zaakceptujesz przed płatnością.
Zapisane na tym urządzeniu.

This jig mounts anthropometric pinnae for the G.R.A.S. 45CA to be used as a table-top ear&cheek simulator.
- Ocena
- 0 / 5
- Polubienia
- 11
- Pobrania
- 45
- Wydruki
- 0
- Wyświetlenia
- 1054
- Oceny
- 0
Aktualizacja u źródła:
Informacje o modelu
- Źródło
- Printables
- Kategoria
- Audio
- Licencja
- Creative Commons — Public Domain
What is this?
A jig to be used with a KB501X-style silicone ear. The silicone ear can be purchased on Ali and represents the most recent anthropometric pinna available to DIYers. It is much softer and extends the silicone part down to the couplers reference plane. Especially for over-ear headphones with shallow earpads and on-ear headphones this improves the seal and therefore accuracy at low frequencies.
For more information on the new pinna see the video by Side Salad Audio.
The jig mounts the pinna in a 3D-printed plate that an over-ear headphone can seal against. A proper metal plate can be purchased along with the ear, however if you have a printer this might be cheaper.
What is needed?
| Part Nr. | Quantity | Part name | Description |
| 1 | 1 | Plate | 3D-printed |
| 2 | 1 | Clamp | 3D-printed |
| 3 | 3 | Screw Plug | 3D-printed |
| 4 | 1 | KB 501X Pinna | bought |
| 5 | 3 | ISO 14580 - M3 x 8 | Cylinder Screw |
| 6 | 3 | ISO 4032 - M3 | Hex Nut |
| 7 | 3 | ISO 2338 - 8 x 100 | Cylindrical Pin |
Please note: The length of the cylindrical pin (Nr. 7) was chosen to give a total height of 105 mm (see pdf drawing). With a 35 mm thick table you get a “head”-width of 140 mm which complies with the old DIN 45580. If your table thickness differs please use a pin with different length. You can also use shorter pins and put a damping layer of rubber between the pins and the table.
Screw (Nr. 5) can be either 8 or 10 mm long.

How to print/process?
I printed all the parts out of PET-G because it is denser than PLA which makes the plate more “damped”. 100% infill to avoid cavities and add weight.
- Plate:
- Flat side on print bed
- Small supports for the Hex-Nut pockets
- Make sure the area that sockets the pinna is smooth to avoid damaging the silicone, I had to sand it
- Ensure smooth holes for the screw plugs
- Clamp:
- Print with the little nose pointing up
- Supports for the bolt contact surfaces
- Plugs:
- They will probably need sanding on the outer diameter to fit properly
- Have to sit flush with the plate
How to assemble?
- Screw the 3 hex nuts (Nr. 6) into the plate (Nr. 1) until they are fully seated within the plate
- Push the screw plugs (Nr. 3) into the holes of the plate (Nr. 1) until they are flush with the plate. Optional: Use glue to seal the plugs
- Insert the Silicone ear's (Nr. 4) metal mount into the clamp (Nr. 2), nose pointing towards the ear.
- Please note: The ear is thicker on one side than the other because the 45CA has a 4.5° angle:

- Align the clamp's nose with the thickest part of the ear, use the parting line as reference.
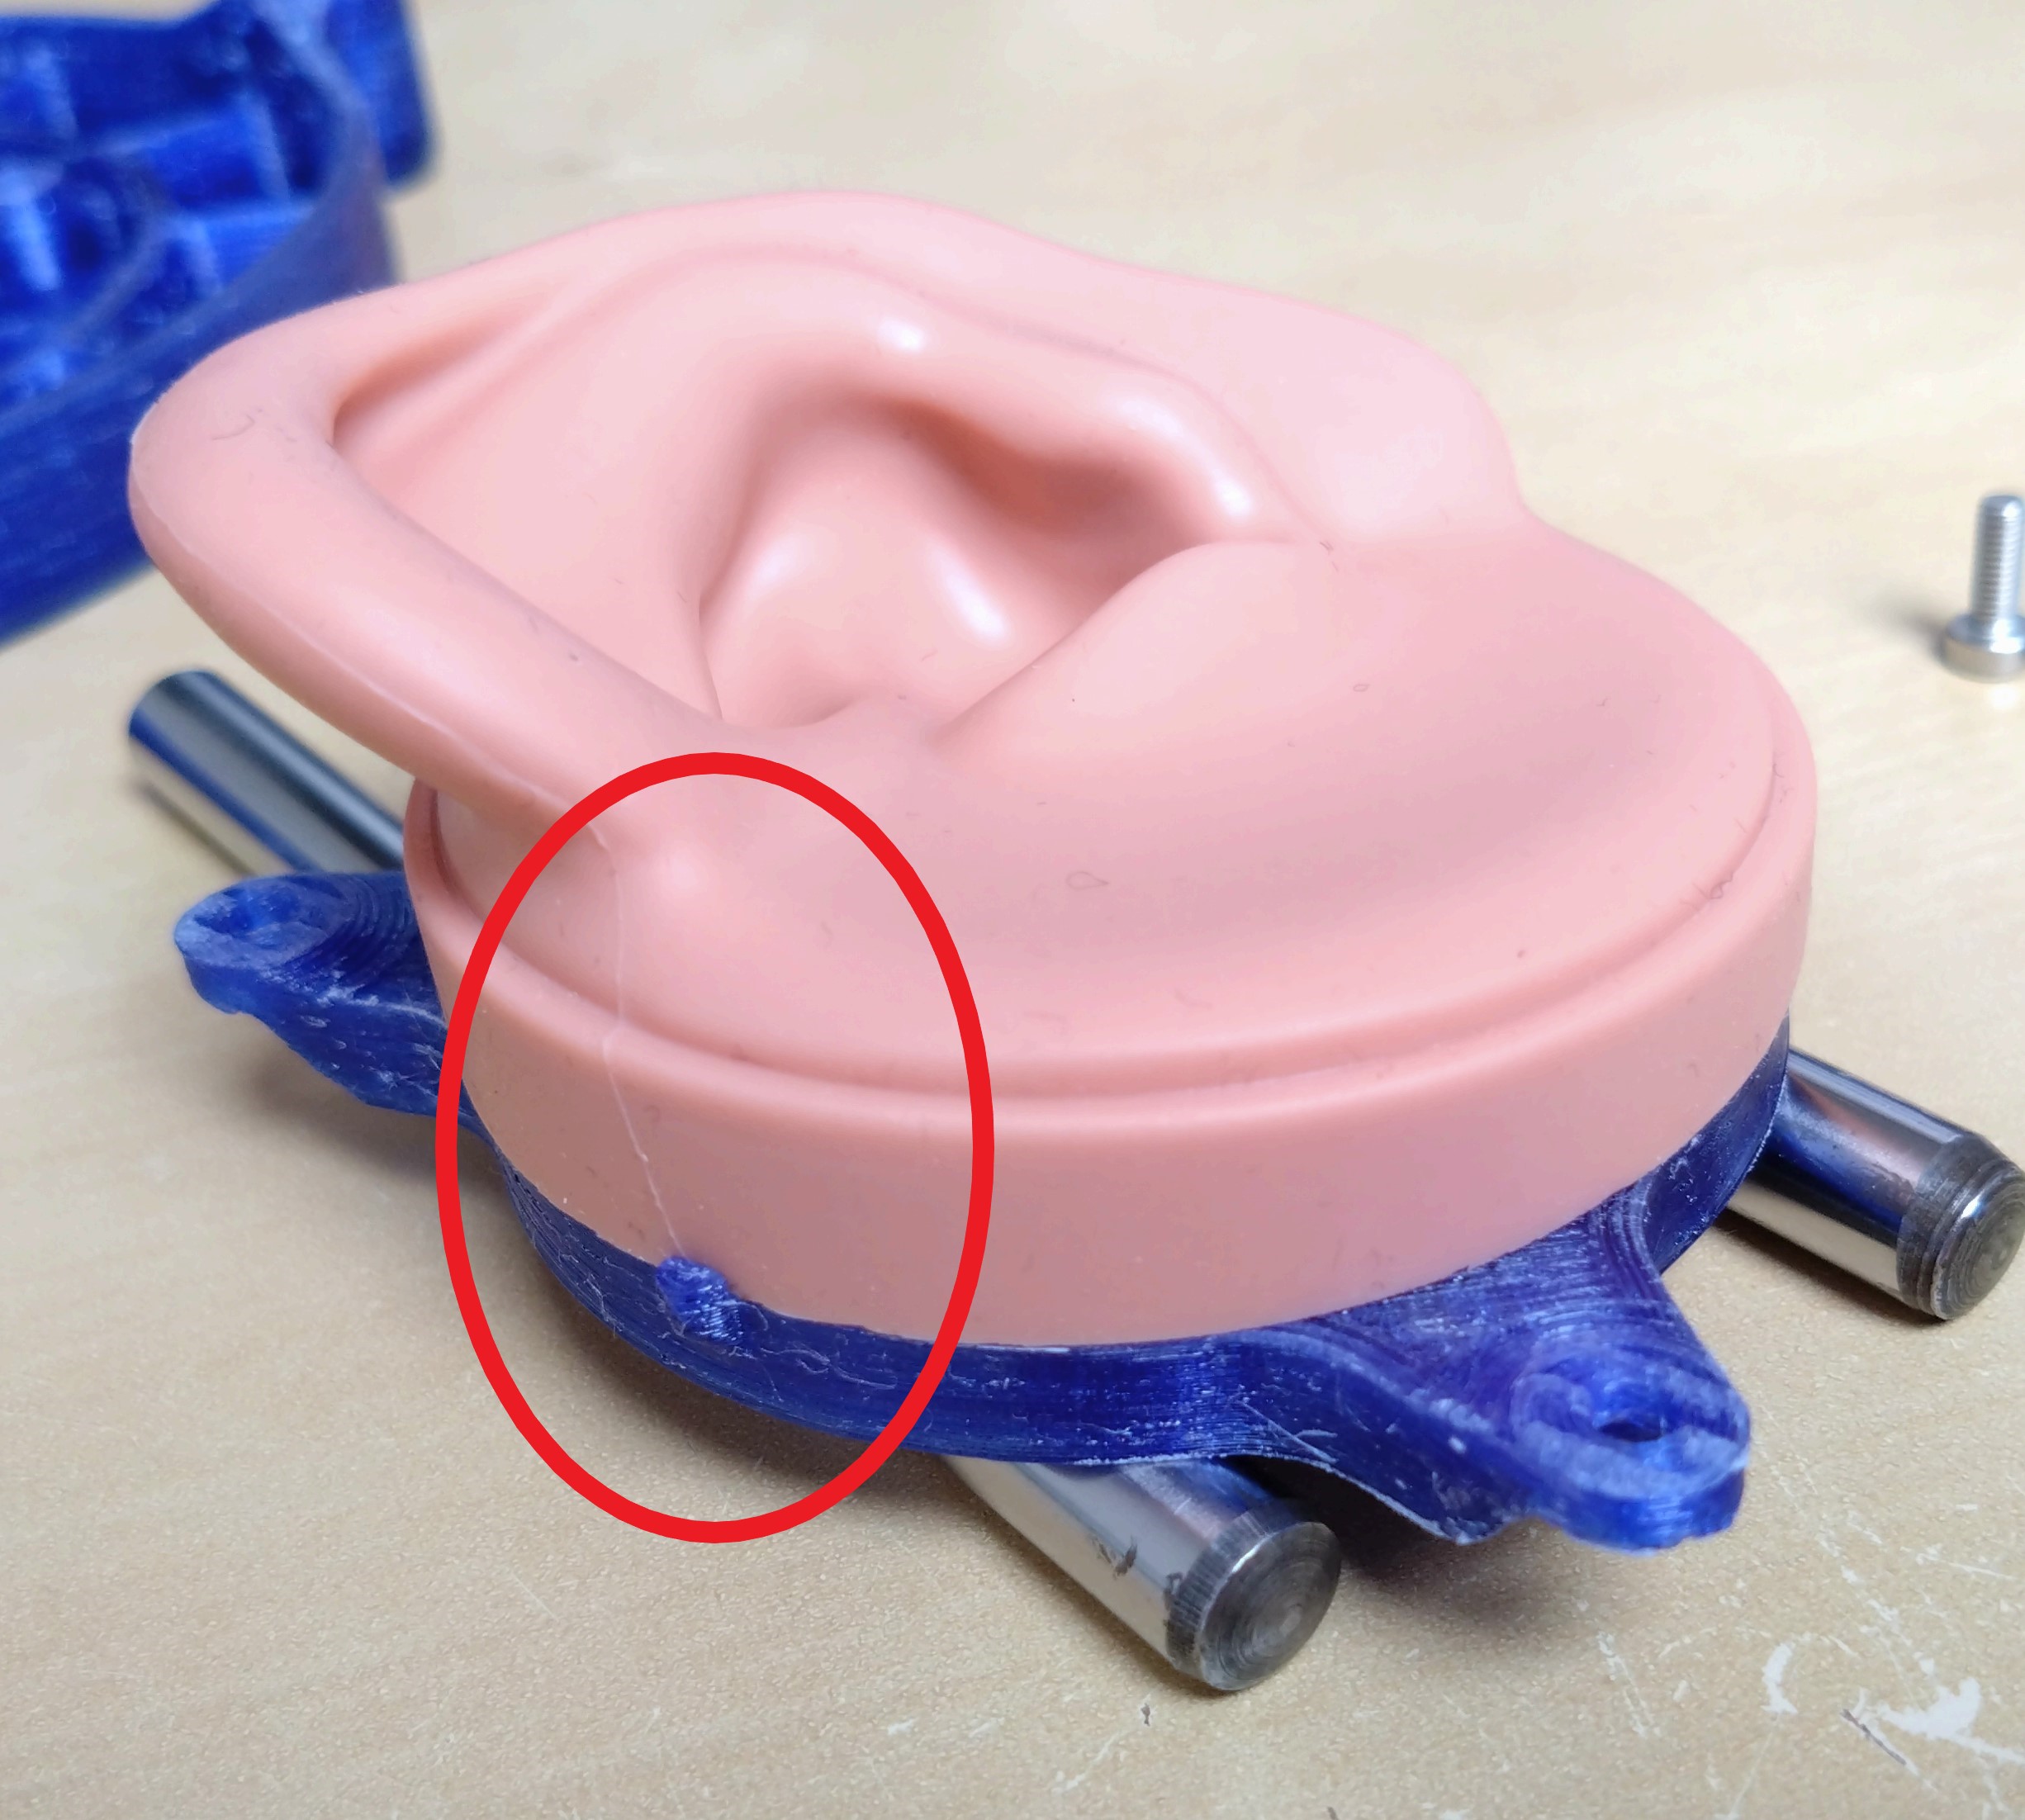
- Please note: The ear is thicker on one side than the other because the 45CA has a 4.5° angle:
- Slide the ear/clamp assembly into the plate and screw it down using the 3 cylinder screws (Nr. 5)
- Insert the 3 cylindrical pins (Nr. 7) into the plate
- Screw your coupler into the ear and start measuring!