
Tape Dispenser: Double-Sided Tape Creator
Obliczymy ostateczną cenę na podstawie wybranego pliku. Sprawdzisz ją i zaakceptujesz przed płatnością.
Zapisane na tym urządzeniu.
This is a unique tape dispenser that can act as a normal one or one that can help to create a double-sided tape piece.
- Ocena
- 0 / 5
- Polubienia
- 9
- Pobrania
- 28
- Wydruki
- 0
- Wyświetlenia
- 698
- Oceny
- 0
Aktualizacja u źródła:
Informacje o modelu
- Źródło
- Printables
- Kategoria
- Tools
- Licencja
- Creative Commons — Attribution — Noncommercial — Share Alike
General Information:
This is a design with two purposes. It can either be used as a normal tape dispenser with a cutting edge on the front or it can be used to create a double-sided tape piece. If you only need a normal tape dispenser, just print the files “Tape Holder Section” and “End Piece 2”. Additionally, if you need a double-sided tape piece creator and a normal tape dispenser then print the following files depending on your needs:
- Tape Holder Section
- Choose one or more of the following five. This will decide how long your double-sided tape piece will be:
- XS Mid Section (Creates approximately 1.5-inch piece of double-sided tape)
- S Mid Section (Creates approximately 2-inch piece of double-sided tape)
- M Mid Section (Creates approximately 3-inch piece of double-sided tape)
- L Mid Section (Creates approximately 4.75-inch piece of double-sided tape)
- XL Mid Section (Creates approximately 6-inch piece of double-sided tape)
- End Piece 1
Then, attach them by putting the rectangular extrusions into the matching rectangular recessions.
How to use the double-sided tape creator:
Unroll the tape slightly from the roll and wrap it around in the path shown by the arrow in the picture:

Then, once you are at the end of the arrow, press the tape down, cut the loop from the roll, and slide it right off.
Print Notes:
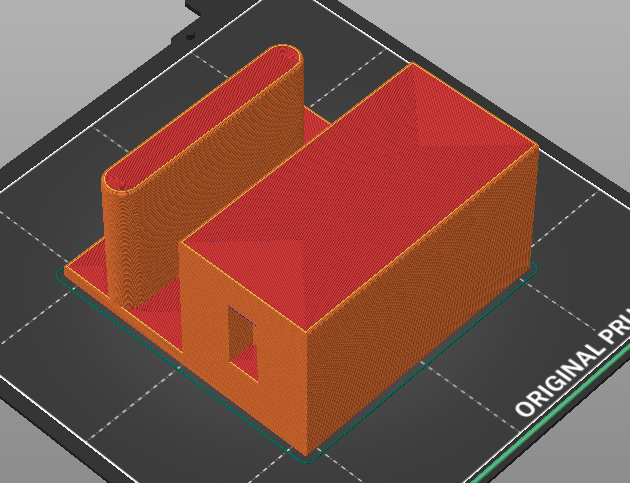
- In the Prusa Slicer, use the “Place on Face” feature to position each part so that its backside is facing down. Here is a photo of the faces that should be facing down for printing and a photo of the correct orientation of the parts on a print bed:
- The rectangular extrusions (the rectangles that stick out) should be supported.
- For an easier time creating your print files, I have provided a file in the files section with a print profile designed for this model.

Other Notes:
- In the files, ignore where it says “Part Studio 1”, it is just something that Onshape does when exporting files.
- The colors in the pictures do not reflect the recommended colors. They are just random colors.
- Fits tape rolls with an inner diameter of slightly more than 2.75 inches and an outer diameter of slightly less than 4.75 inches.