
1 / 8
Original Prusa Enclosure (OPE) - Main Power Switch
Zamów wydruk tego modelu
Obliczymy ostateczną cenę na podstawie wybranego pliku. Sprawdzisz ją i zaakceptujesz przed płatnością.
Zapisane na tym urządzeniu.
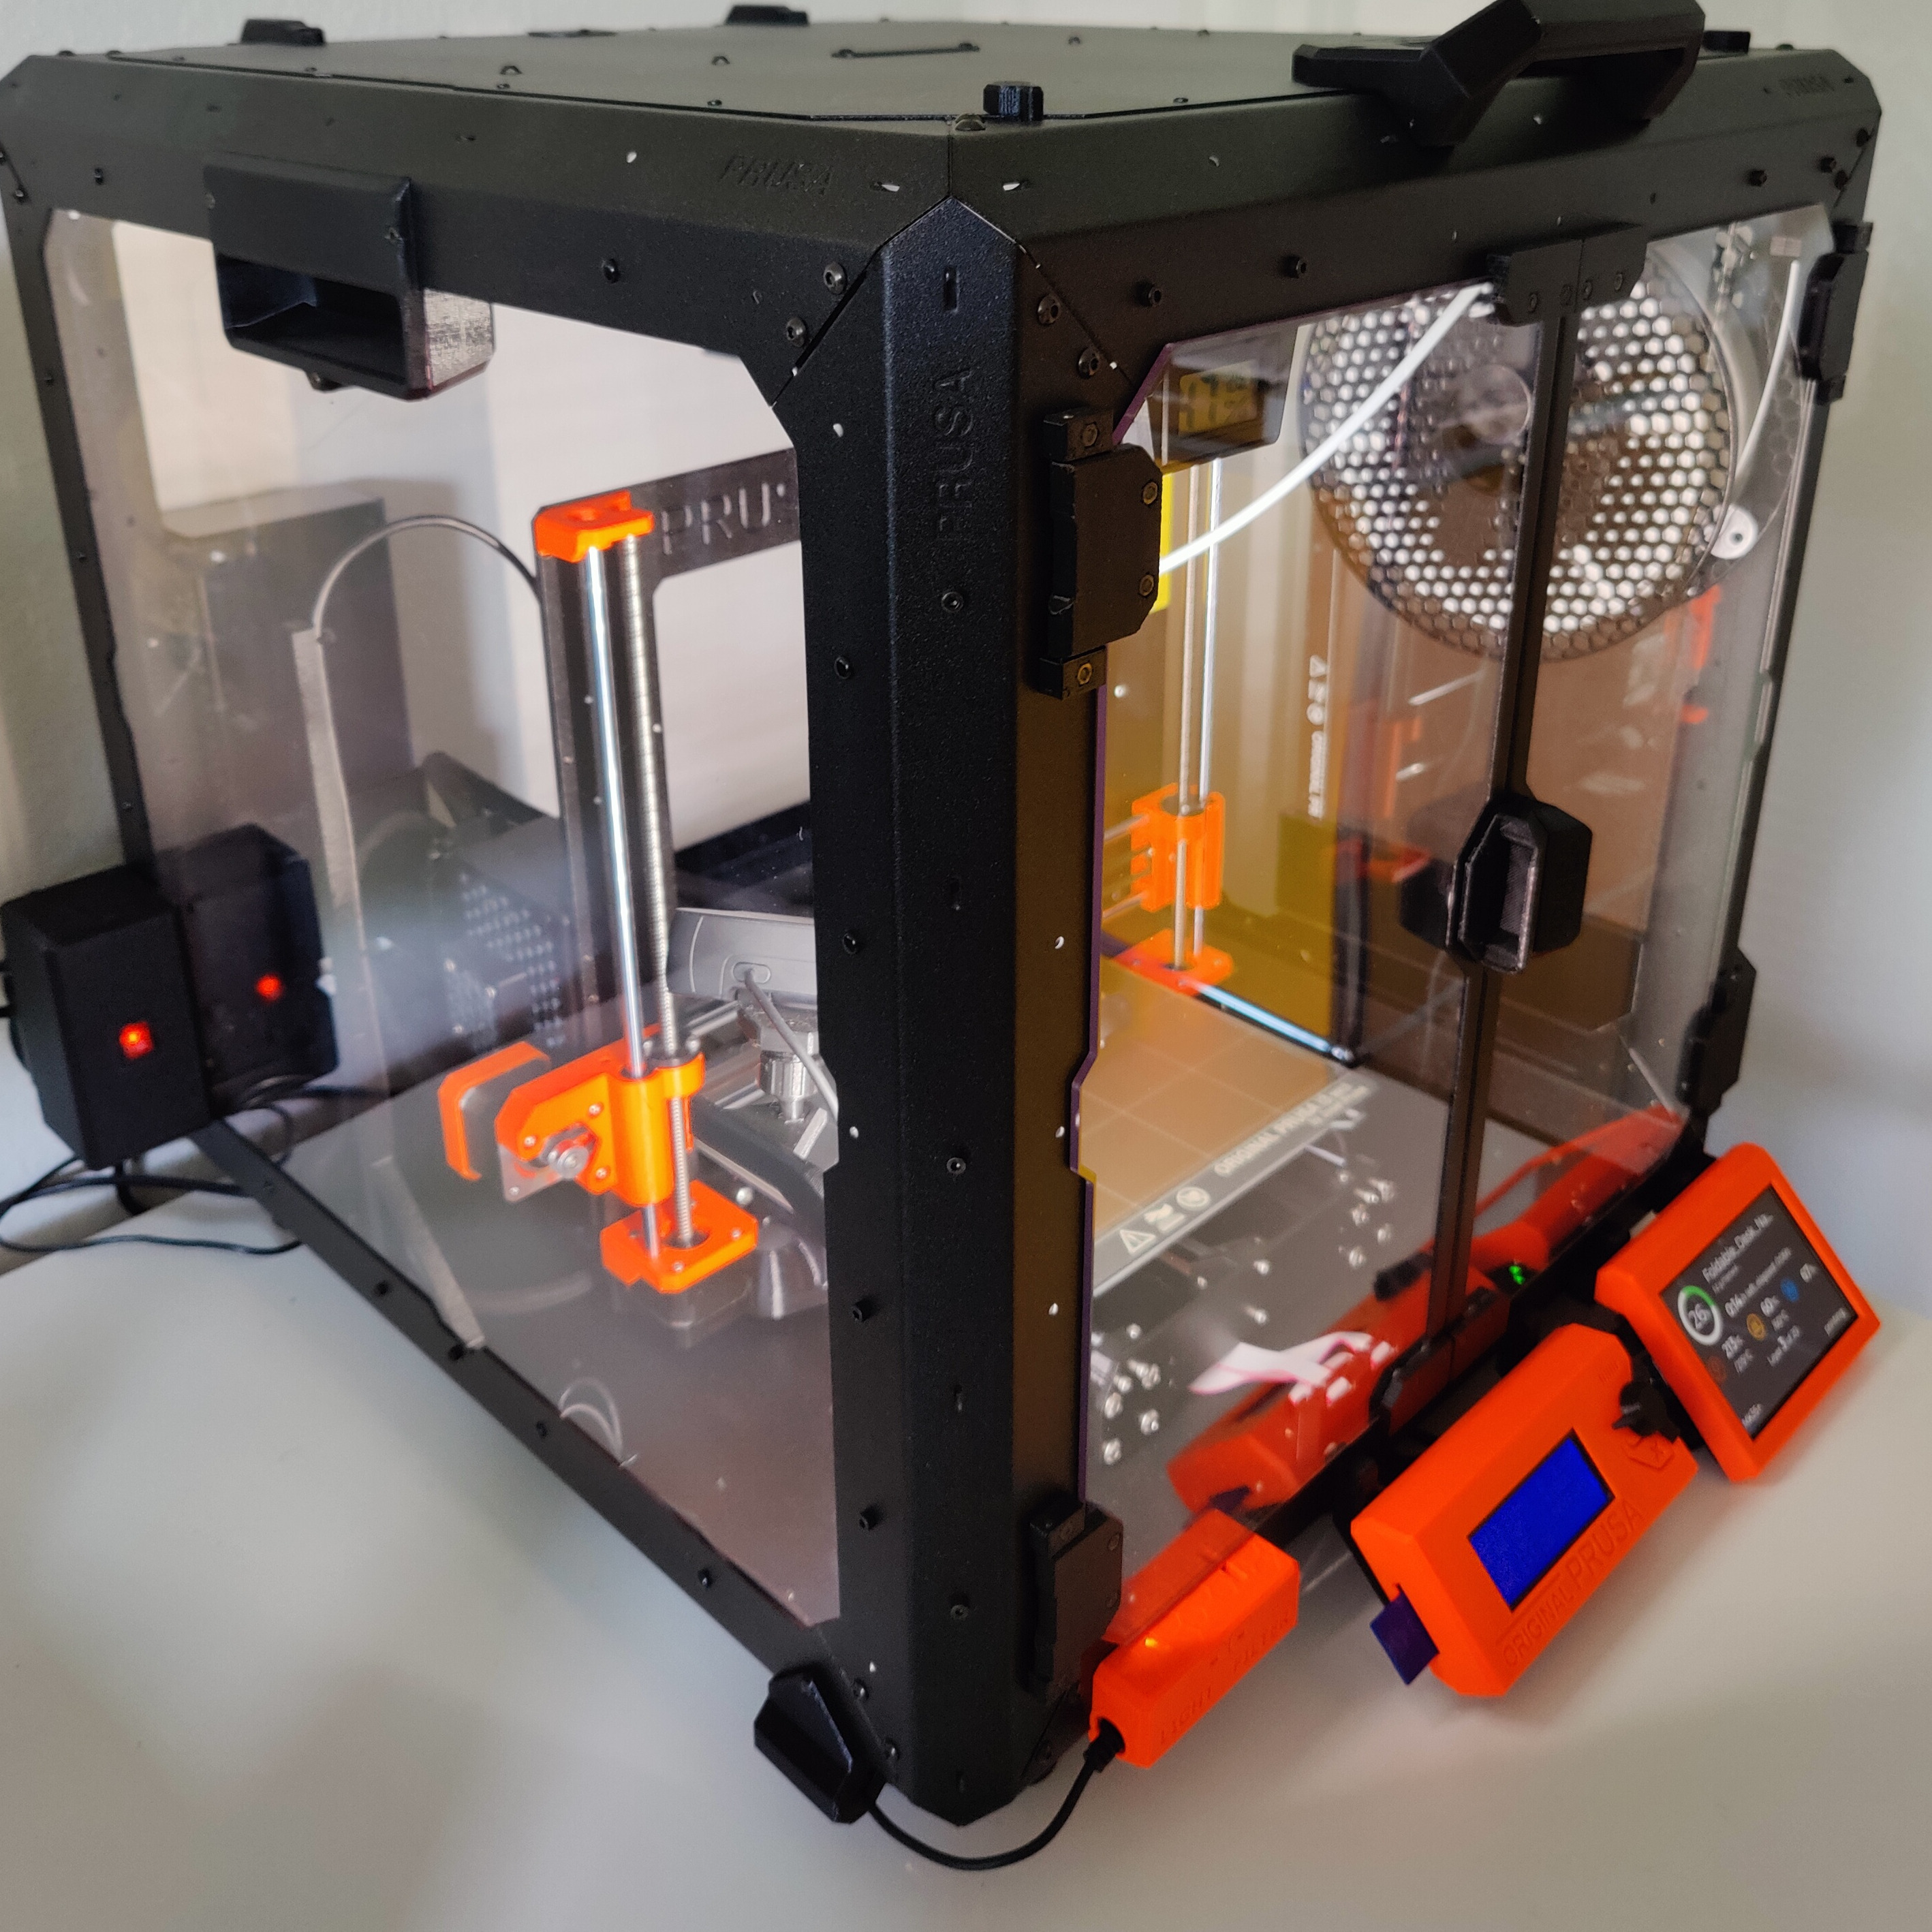
With the LED strip, the air filter and a Raspberry Pi on the enclosure, you can easily turn everything on and off.
- Ocena
- 0 / 5
- Polubienia
- 10
- Pobrania
- 19
- Wydruki
- 0
- Wyświetlenia
- 672
- Oceny
- 0
Aktualizacja u źródła:
Informacje o modelu
- Źródło
- Printables
- Kategoria
- Accessories
- Licencja
- GNU General Public License v2.0
SzczegółyPliki (10)Wydruki i komentarze (Wydruki: 0) (Komentarze: 0)Remiksy (0)Kolekcje (18)Powiązane
I could have used a power strip with a switch, but this way it has less tangled wires and plugs and looks much better too.
For this model, you need some electric hardware, I bought it at AliExpress:
- EU power socket for the Raspberry Pi power supply
- C14 Power connector for the power input (the AC-06A)
- Switch with integrated light
- 4.8 mm female crimping connector (the red ones)
- 5x 3 line wire connectors (choose your color)
- 2x 8 mm gasket rings
- Two cable with C13 plug, shortened to ca. 30cm (I took some that were lying around)
- Two cable ties to secure the C13 cables
To assemble the parts, you need a few nuts and bolts.
- Interface side
- 8pcs. 3mm hexagon nut, inserted while printing, gcode has a pause on layer 36
- Switch side
- 6pcs. 3mm square nut, inserted after printing
- EU power socket
- 4pcs. 3mmx8mm Allen bolt
- C14 power socket
- 4pcs. 3mmx6mm Allen bolt
- To screw the two sides together
- 4pcs. 3mmx8mm Allen bolt (I used black ones)
- To mount the power box on the enclosure
- 1pcs. 3mmx8mm Allen bolt
- 1pcs. 3mmx6mm Allen bolt
Wiring schema
