
Umikot 58 WDT Grip Spin Ring - with Thrust Bearings
Obliczymy ostateczną cenę na podstawie wybranego pliku. Sprawdzisz ją i zaakceptujesz przed płatnością.
Zapisane na tym urządzeniu.

Modified Grip Spin Ring for Umikot 58mm adding Thrust Bearings for smoother and more consistent usage
- Ocena
- 0 / 5
- Polubienia
- 30
- Pobrania
- 125
- Wydruki
- 0
- Wyświetlenia
- 2779
- Oceny
- 0
Aktualizacja u źródła:
Informacje o modelu
- Źródło
- Printables
- Kategoria
- Kitchen
- Licencja
- Creative Commons — Attribution — Noncommercial — Share Alike
I am no longer maintaining this remix and have stopped following along with the revisions for the Umikot. I no longer use it for my prep workflow. YMMV
I wanted to find a way to fine tune how the grip spin ring operates and create a smoother experience overall with it. I've modified the STEP file of the original to add space for thrust bearings. This allows the screws to be screwed down and allows the spin ring to ride on the bearings. The o-ring allows fine tuning of the resistance. This does not require any modifications to the original Umikot design. Only fits 58mm with the v1.7 upper mech.
Update 8/15/2023: Thrust bearing remix for V2rc1 is here https://www.printables.com/model/554407-umikot-v2rc1-thrust-bearing-remix
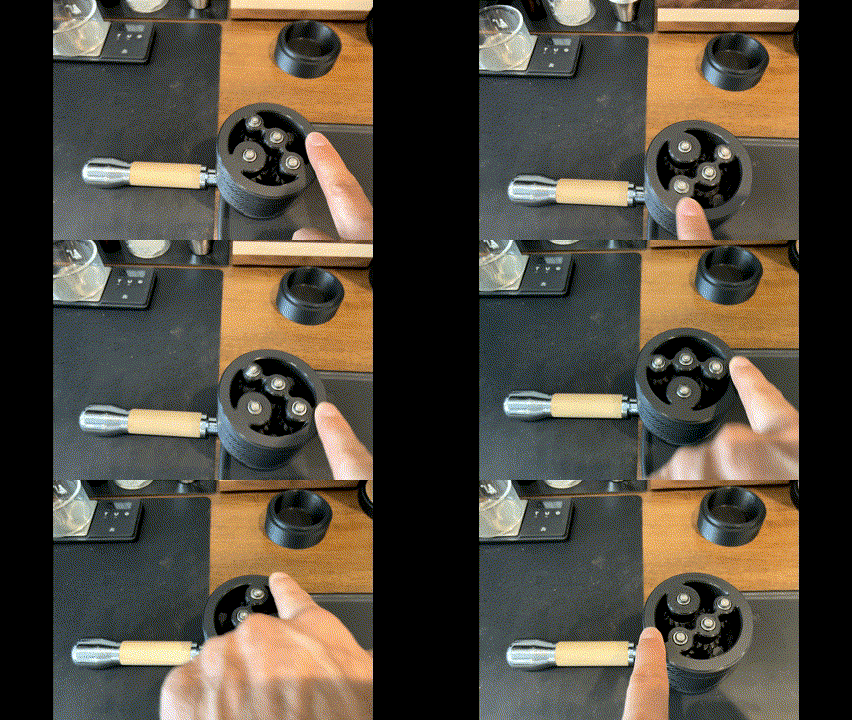
Smooth, no seizing!

Hardware required:
Thrust bearings of size 10mm OD, 5mm ID, 4mm total height - 8 total
these are the ones I used: https://a.co/d/5x0YEZ1M3 washers - 8 total
6mm OD, 1.5mm thickness o-rings - 4 total
M3 x 25mm screws - 4 total
Installation:
Print as you would the rest of the Umikot. Top should face down against the build plate. You will need to use supports. I used organic supports to make it easier to remove
Thread the 4 screws in the following sequence:
oring - washer - thrust bearing assembly
Thread all of them through the top of the Spin Ring and use something flat to flip it over

Add the remaining thrust bearings and the final set of washers

This is the tricky part. Place the rest of the Umikot on top of this assembly and flip the whole thing over, using the flat object. While holding everything in place, start screwing down carefully. You'll know you've screwed down enough if there is almost no gap between the Spin Ring and the Umikot body and the o-rings start to look compressed.
Here's what it looks like fully assembled. Backout the screws until you achieve a level of resistance that you like. The whole assembly will still feel tight but the Spin Ring should freely rotate with minimal resistance.
