
Ender 3 V2 ARGB Status ring
Obliczymy ostateczną cenę na podstawie wybranego pliku. Sprawdzisz ją i zaakceptujesz przed płatnością.
Zapisane na tym urządzeniu.

ARGB cover for X axis motor with Aperture science logo for displaying print progress, heating and other visual effects
- Ocena
- 0 / 5
- Polubienia
- 12
- Pobrania
- 34
- Wydruki
- 0
- Wyświetlenia
- 525
- Oceny
- 0
Aktualizacja u źródła:
Informacje o modelu
- Źródło
- Printables
- Kategoria
- Creality Parts & Upgrades
- Licencja
- Creative Commons — Attribution — Noncommercial — Share Alike
ARGB Status ring
Make your printer a bit more colorful.
About
This is an ARGB x axis stepper/endstop cover that functions as a status display ring for the printer resembling the Aperture science logo.
It was designed for my Ender 3 V2 but since the cover is the same as on Ender 3, Ender 3 Pro and Ender 3 Max it should fit.
I made effects that I have included in the attached cfg or txt file. Those effects include:
- Booting up
- Shutdown down
- Heating
- Cooling
- Homing
- Probing
- Print progress
For more info about the configuration look into the cfg file or txt file including the config.
What you need
To use this RGB status ring you need to be running the Klipper firmware and you need to have Klipper LED effect installed (https://github.com/julianschill/klipper-led_effect)
To assemble this RGB status ring you will need 8 single WS2812B LEDs and a 3pin wire. I bought mine on Aliexpress:
- LEDs (https://www.aliexpress.com/item/33026835790.html?spm=a2g0o.order_list.order_list_main.284.541c1802p2jUqd)
- Wire (https://www.aliexpress.com/item/1005001552906796.html?spm=a2g0o.order_list.order_list_main.244.638b1802w78eet)
Assembly
Print all three parts and cutout the diffusers from a piece of paper. If you want to see I have included a 3MF file with all parts with my print settings.
I can't export a PDF with the paper diffusers so to make them, outline a diffuser insert on a paper and cut it out, twice.
But be careful when assembling it, the LEDs hold in place but not that much and hot glueing didn't lasted long so be careful when you put it on the printer to not accidentally pull the wires and the LEDs from the LED insert.
To work as intended the LEDs need to be wired in this order:

Here you can see in which order you have to put the parts together together:

Before you can put it on a printer you need to cut away a part of the stock cover to make room for the wires like this:
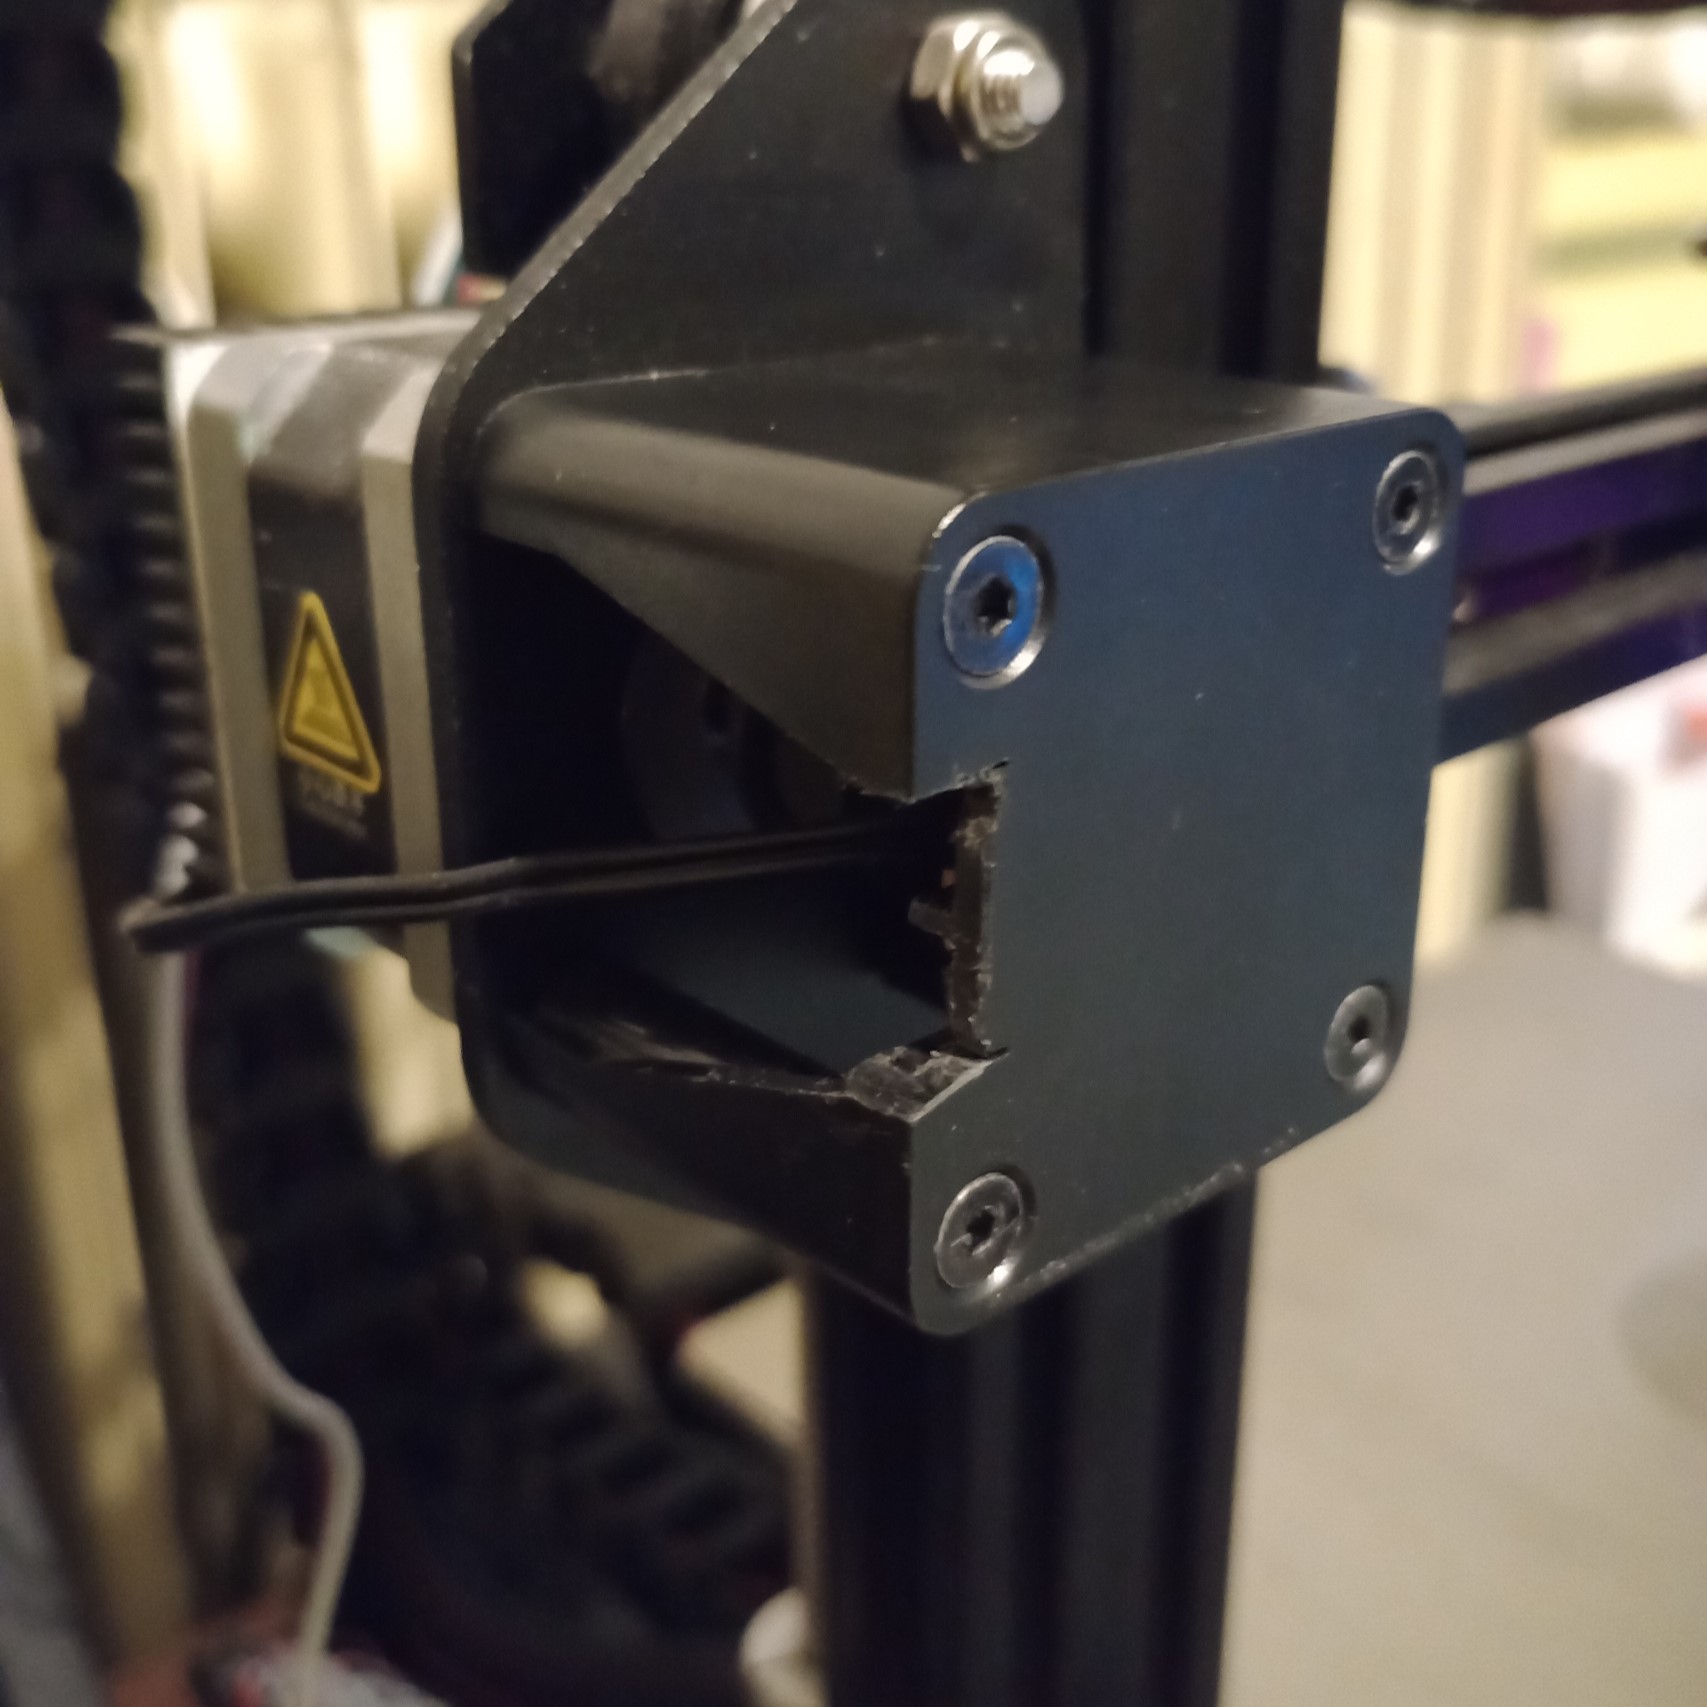
Then put it assembled on the stock cover:

Connect it to the mainboard and the hardware part is done.