
Scrubby for Bambu Lab X1C X1 P1P P1S (Chamber Filter Duct)
Obliczymy ostateczną cenę na podstawie wybranego pliku. Sprawdzisz ją i zaakceptujesz przed płatnością.
Zapisane na tym urządzeniu.

Chamber Scrubber for Bambu Lab printers intended to maintain chamber temperature while minimizing VOCs and PM
- Ocena
- 5 / 5
- Polubienia
- 169
- Pobrania
- 508
- Wydruki
- 6
- Wyświetlenia
- 8240
- Oceny
- 3
Aktualizacja u źródła:
Informacje o modelu
- Źródło
- Printables
- Kategoria
- Bambu Lab Parts & Upgrades
- Licencja
- Creative Commons — Attribution
This is tested and installed on my P1P, and I am happy to inform you all that it works well!
Please note, this is not an ‘exhaust’ duct. It is meant to recirculate the chamber air after filtering.
I reverse-engineered this from a friend's Bambu Lab X1C exhaust duct. It seamlessly integrates activated-carbon and HEPA filters for the Bambu Lab X1C X1 P1P P1S.
It's designed to be installed in the default exhaust duct location using stock hardware and a chamber temperature regulator fan from Bambu Lab to allow for g-code control of the system.
UPDATE 16 August 2024
The carbon tray has been optimized to work with the “Classic” slicing algorithm (wall generator), if you wish to use the older version, just turn on “Arachne” and "Precise Wall". Note: Fusion 360 Model has been updated to reflect this change.

UPDATE 26 July 2023
Two versions of the block-off plate have been added (only needed for X1C X1 P1S). Use this to cover the pre-existing exhaust duct holes/vents directly in front of your duct on the left side of your back panel. Note: Please do not cover the airflow holes directly in front of the mainboard.
Use M3x12 mm BHCS bolts with nuts at the other end to secure it in place, use thread-locker if needed.

UPDATE 20 July 2023
A slight air leak due to the gap between the main body and fan on the right has been fixed, no changes to other models in the system.

WHAT YOU NEED:
(1.) HEPA Filter for particle Filtration

The HEPA filter is from a robot vacuum (80x40x15 mm), it is widely available from online stores. (Amazon)(AliExpress) Note: Get the one with satin pull tabs for easy removal and replacement.
(2.) Activated Carbon Filter or Media

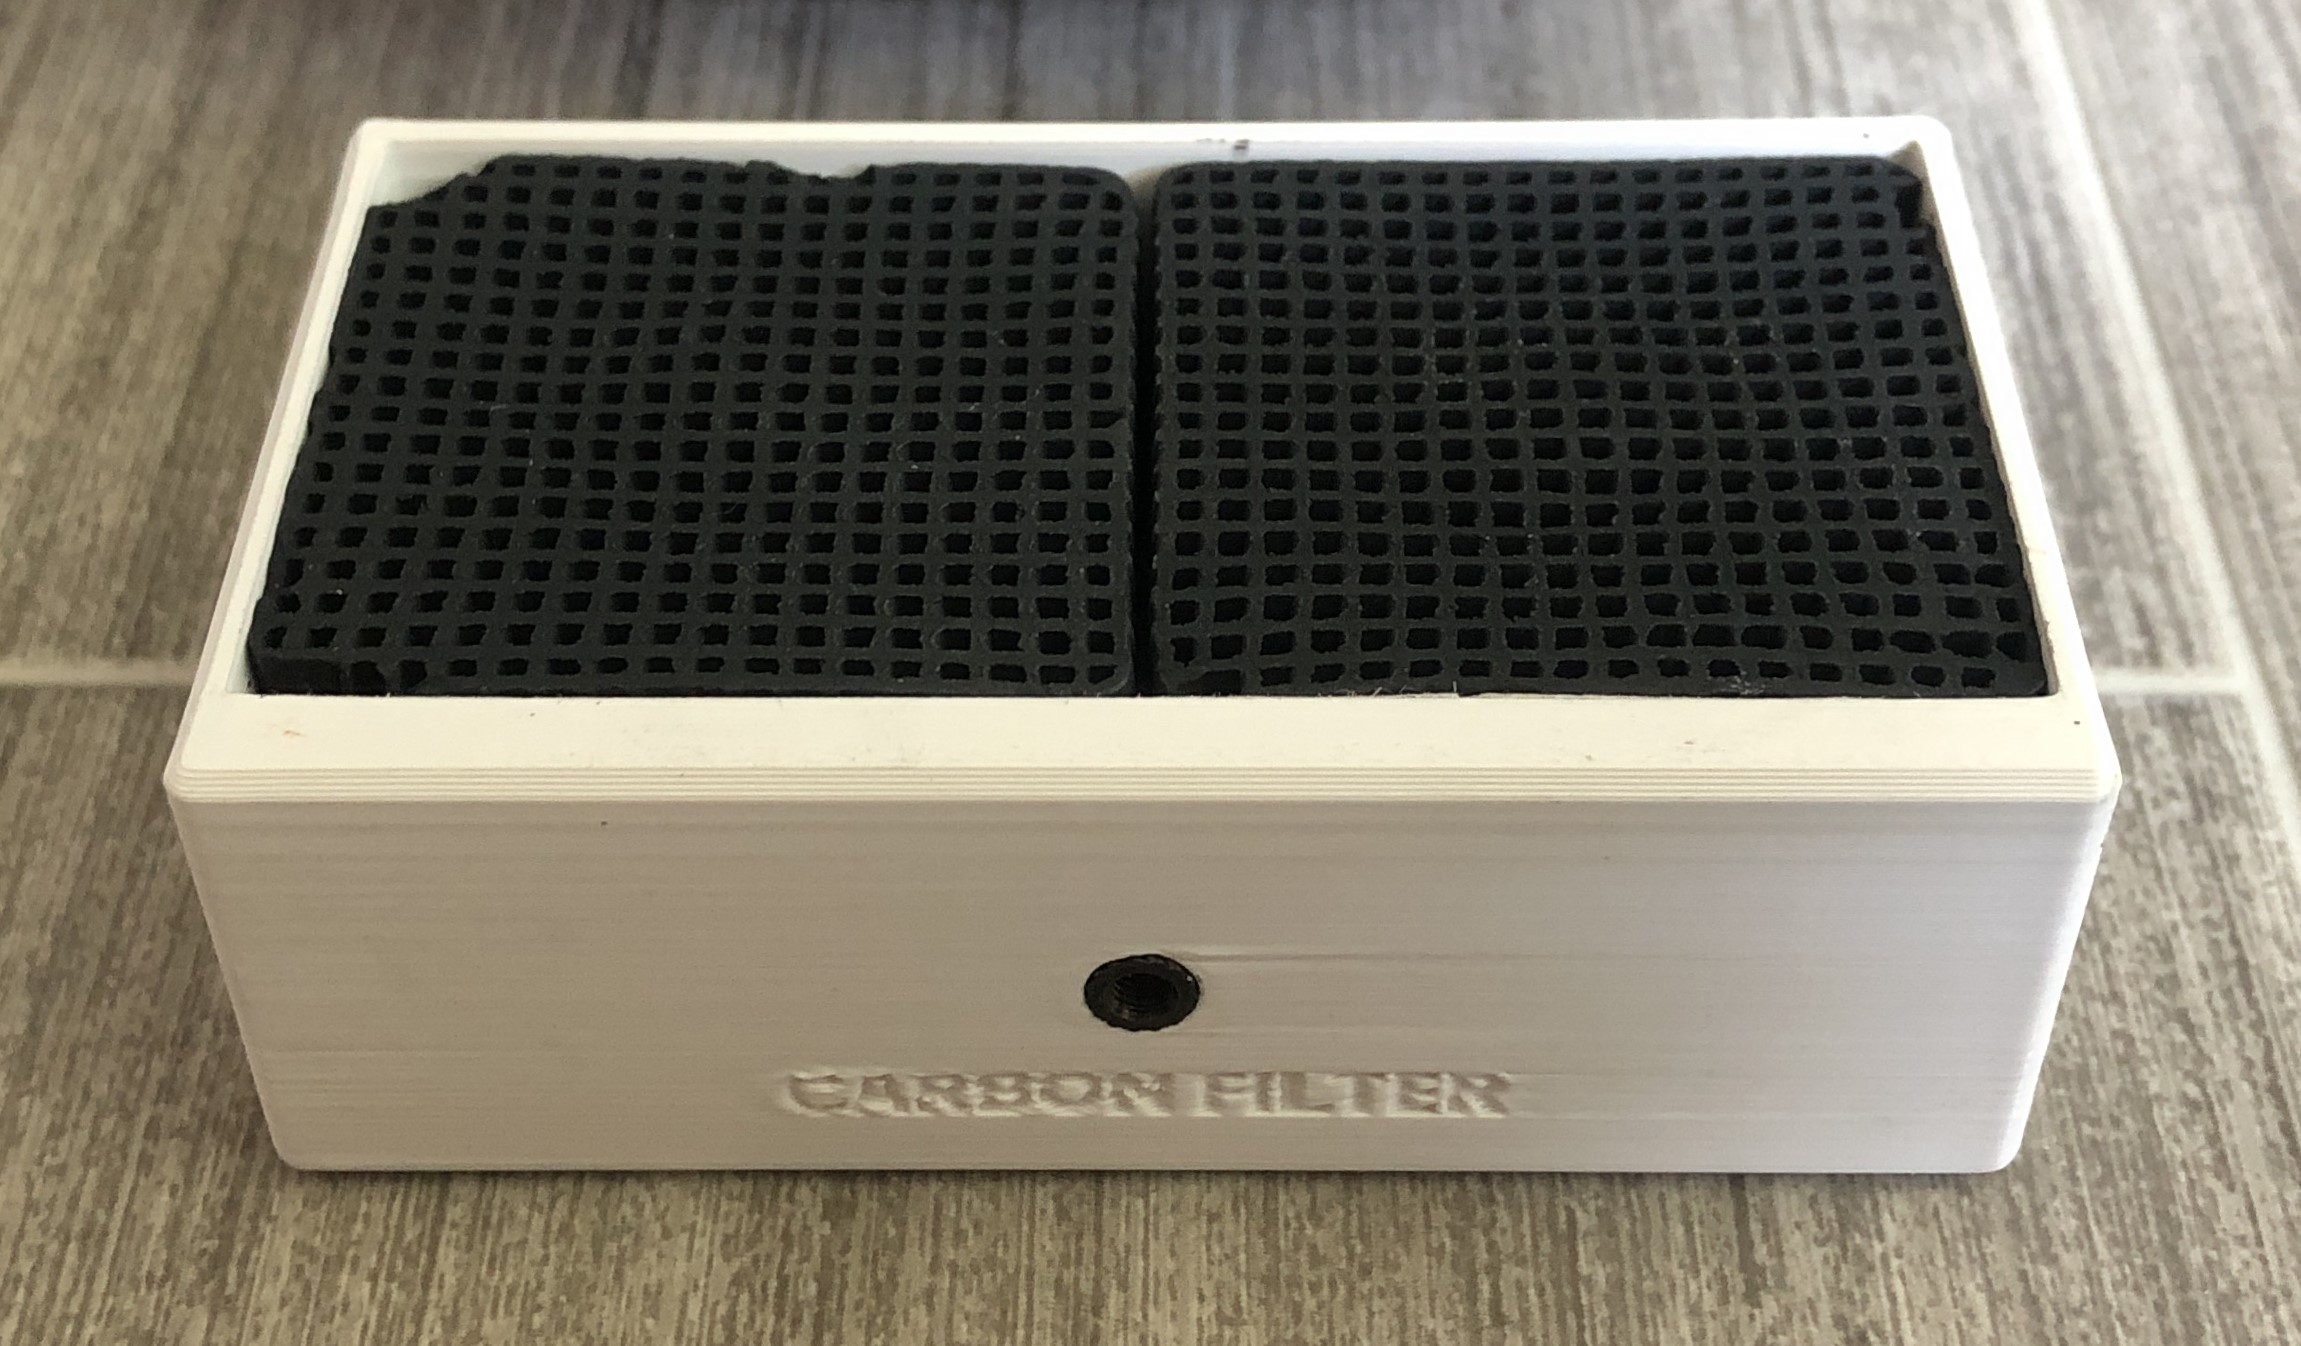
Carbon Filter is the standard size (38x38x16 mm) for Elegoo/Anycubic Printers. (Amazon)(Amazon)(AliExpress) Note: There is an adapter tray model that you will need in the files.
You can also use the stock activated-carbon filter. (BambuLab)
You can also use a container (by techwithkramer) for the filtration media like carbon pellets (Printables) Note: Again, let me know if it works. I did design accordingly so it should technically fit.
(3.) Chamber Temperature Regulator Fan
(BambuLab)

(4.) Threaded Heatset Inserts - M3x5x4 * 5 pcs
(Amazon)(AliExpress)(CNCKitchen)(Fabreeko)

(5.) M3x8 mm SHCS/BHCS Allen Bolt * 5 pcs
(Amazon)(AliExpress)(McMaster-Carr)

(6.) M2x5 mm SHCS Self Tapping Bolt * 4 pcs
Check for them in the hardware that comes with the printer and its accessories, I had mine in the plastic bag labeled ‘extruder’ (Amazon)(AliExpress)

PRINT INSTRUCTION:
I recommend using Polymaker ASA.
0.4 Nozzle, 0.2 Layer Height, Support-On for the Duct, No-brim.
INSTALLATION:
- Install the heat-set insert in the printed parts.


- Secure the fan to the duct using M3 bolts and make sure the orientation is correct to ‘pull’ air and the wires are routing towards the top. Plug the fan into the mainboard. (Installation Help) (Fan Header)

- Take the back panel off and install the duct in the top-left location using the M2 self-tapping bolts, do not over-tighten or they will strip the plastic standoffs in the frame.


- Take the plastic filter door off, and install the HEPA filter by inserting it straight into the duct and pushing it up into the location. Make sure the satin pull tab is facing down so you can replace it with ease.
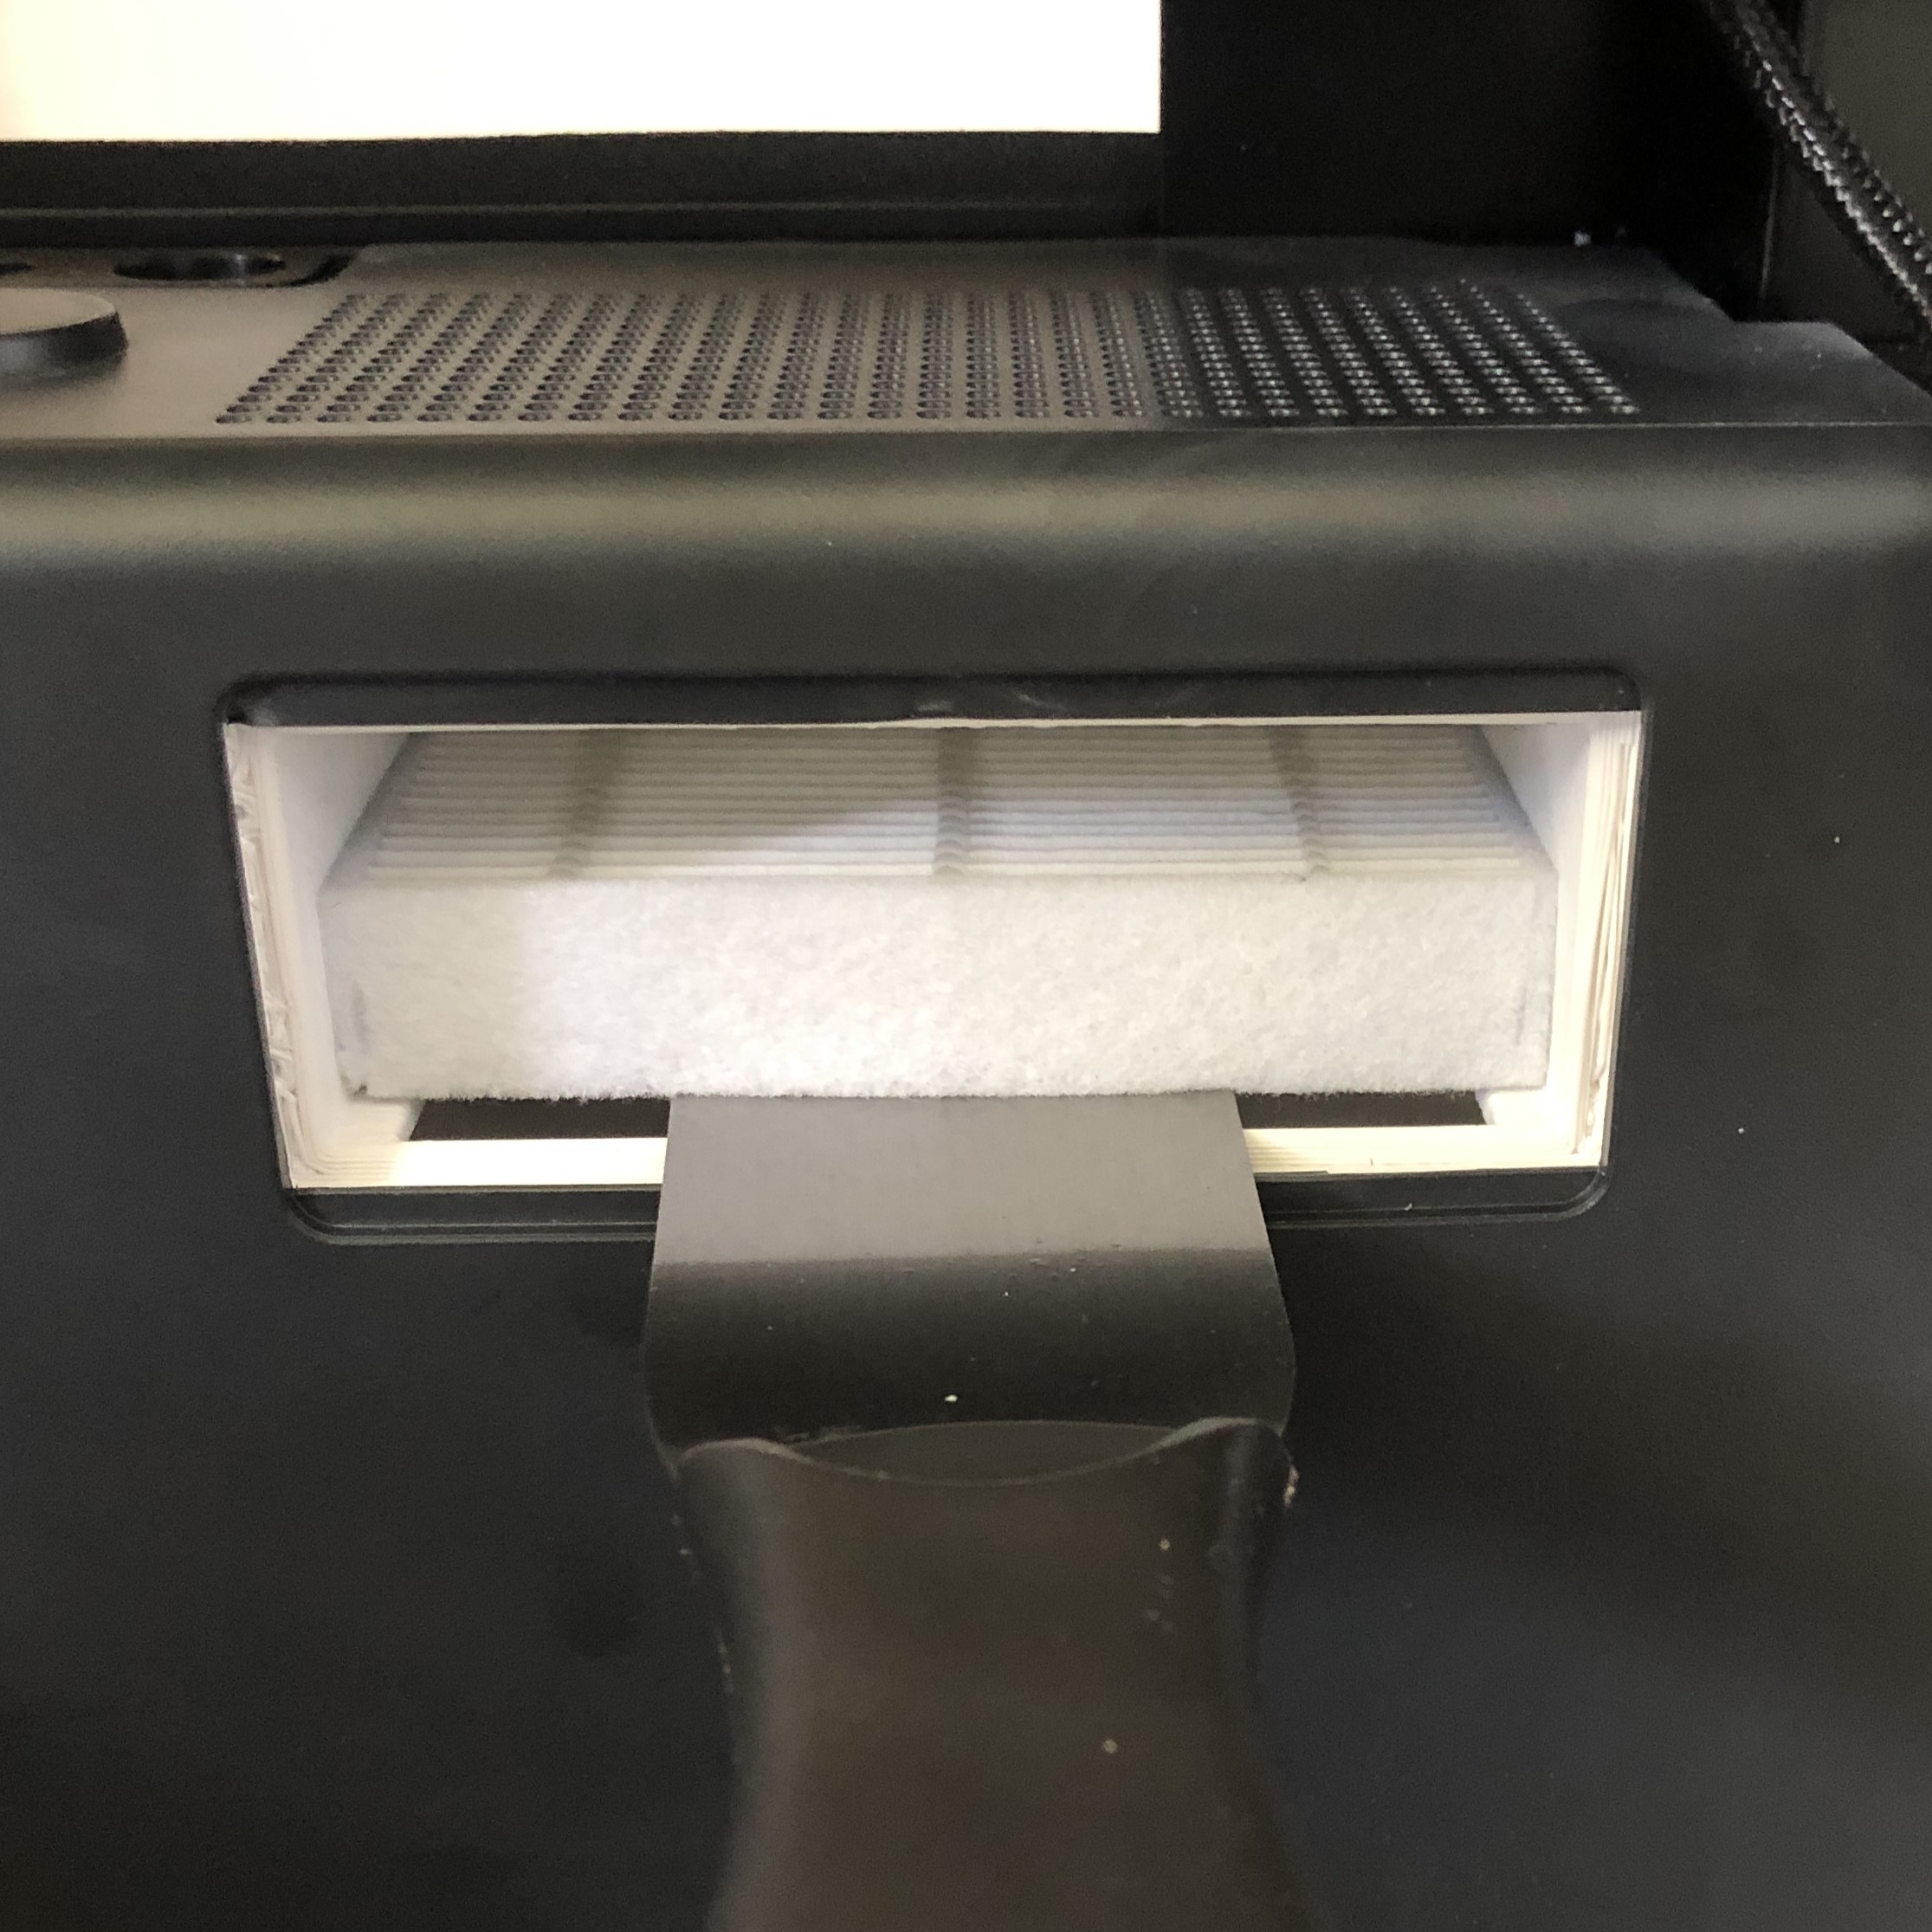

- Put the carbon filters in the tray. If they are rattling or moving freely, insert a piece of paper on the back or the sides to wedge them in place making sure it doesn't interfere with the airflow.

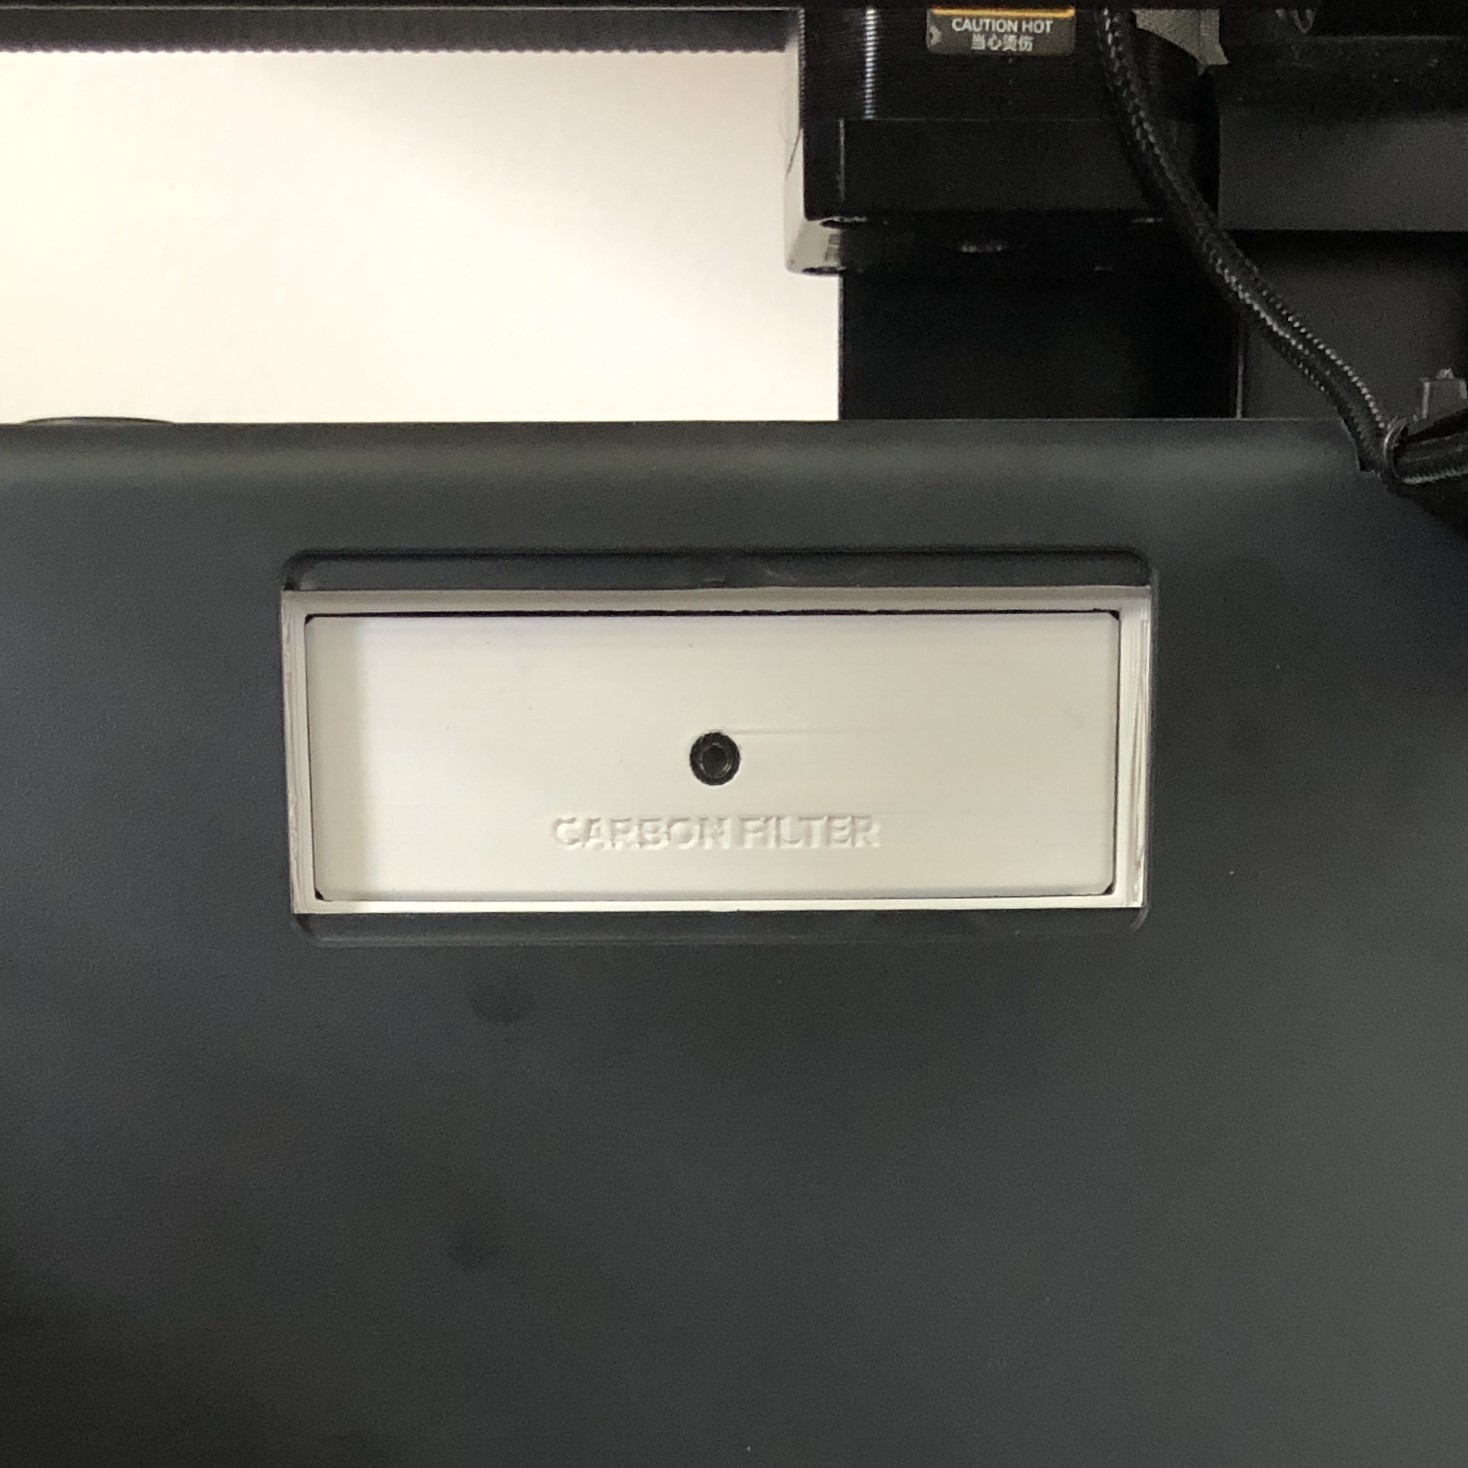
- Insert the carbon filter tray and close the door.

- Use M3 bolts or VHB tape to install the appropriate block-off plate on the back panel if you have a printer with exhaust vents, located on the left of the back panel.
- Set up g-code instructions for the fan to operate.

G-CODE:
You can put it in the start/end gcode in the printer profile or in the specific filament profile. Help
M106 P3 S255 ; Chamber fan on at 100% speed
M106 P3 S0 ; Chamber fan off at 0% speed
Note: If someone knows how to add a time delay in g-code before the fan turns off after the print let me know.


None of the links are affiliated with me.