
Bladeless fan powered by 120mm AC/DC fan, MK3/S/4/5, minimum support and assembly
Obliczymy ostateczną cenę na podstawie wybranego pliku. Sprawdzisz ją i zaakceptujesz przed płatnością.
Zapisane na tym urządzeniu.

A bladeless fan powered by 120mm AC or DC(PC) fan, fits on MK3 and subsquent model printing volume
- Ocena
- 0 / 5
- Polubienia
- 19
- Pobrania
- 198
- Wydruki
- 0
- Wyświetlenia
- 1624
- Oceny
- 0
Aktualizacja u źródła:
Informacje o modelu
- Źródło
- Printables
- Kategoria
- Office
- Licencja
- Creative Commons — Attribution — Share Alike
Summary
This is my attempt to design, print and make the largest bladeless fan a MK3 can print. It can be powered by a 120mm DC, or AC fan. Using a AC fan will yield much higher wind volume, you can also easily find 120mm AC fan with power cord, switch or even speed control, although it will be much noisier of course.
Printing & Assembly
Print the fan body. You will need a well tuned printer that can endure a day-long printing. The support on the 120mm fan intake port is optional, it will eventually bridge over without it, but it will be ugly, but it will also be internal and not visible from outside, once the fan is assembled. No support (generated by slicer) is needed otherwise. Starting from the print configuration with .3mf file in PrusaSlicer is recommended. I printed it with PETG, PLA should also work. ABS will likely warp from the large printing volume, and you don't need material fancier than that to print this.

Remove the integrated support from fan body. There is a small piece of one layer, 45 degree ring on the air outlet you need to remove. Starting from the opposite side from the fan intake as there is a opening, and work around with a pick, knife or hand.


Clean up and assemble. Use M4 screws to attach 120mm fan onto the fan body. Test fit the screw holes first, if too tight, drill or tap the hole before assembly. Use hex socket screw and reach with an allen key through the screw hole from the other side of the fan makes a easy assembly.

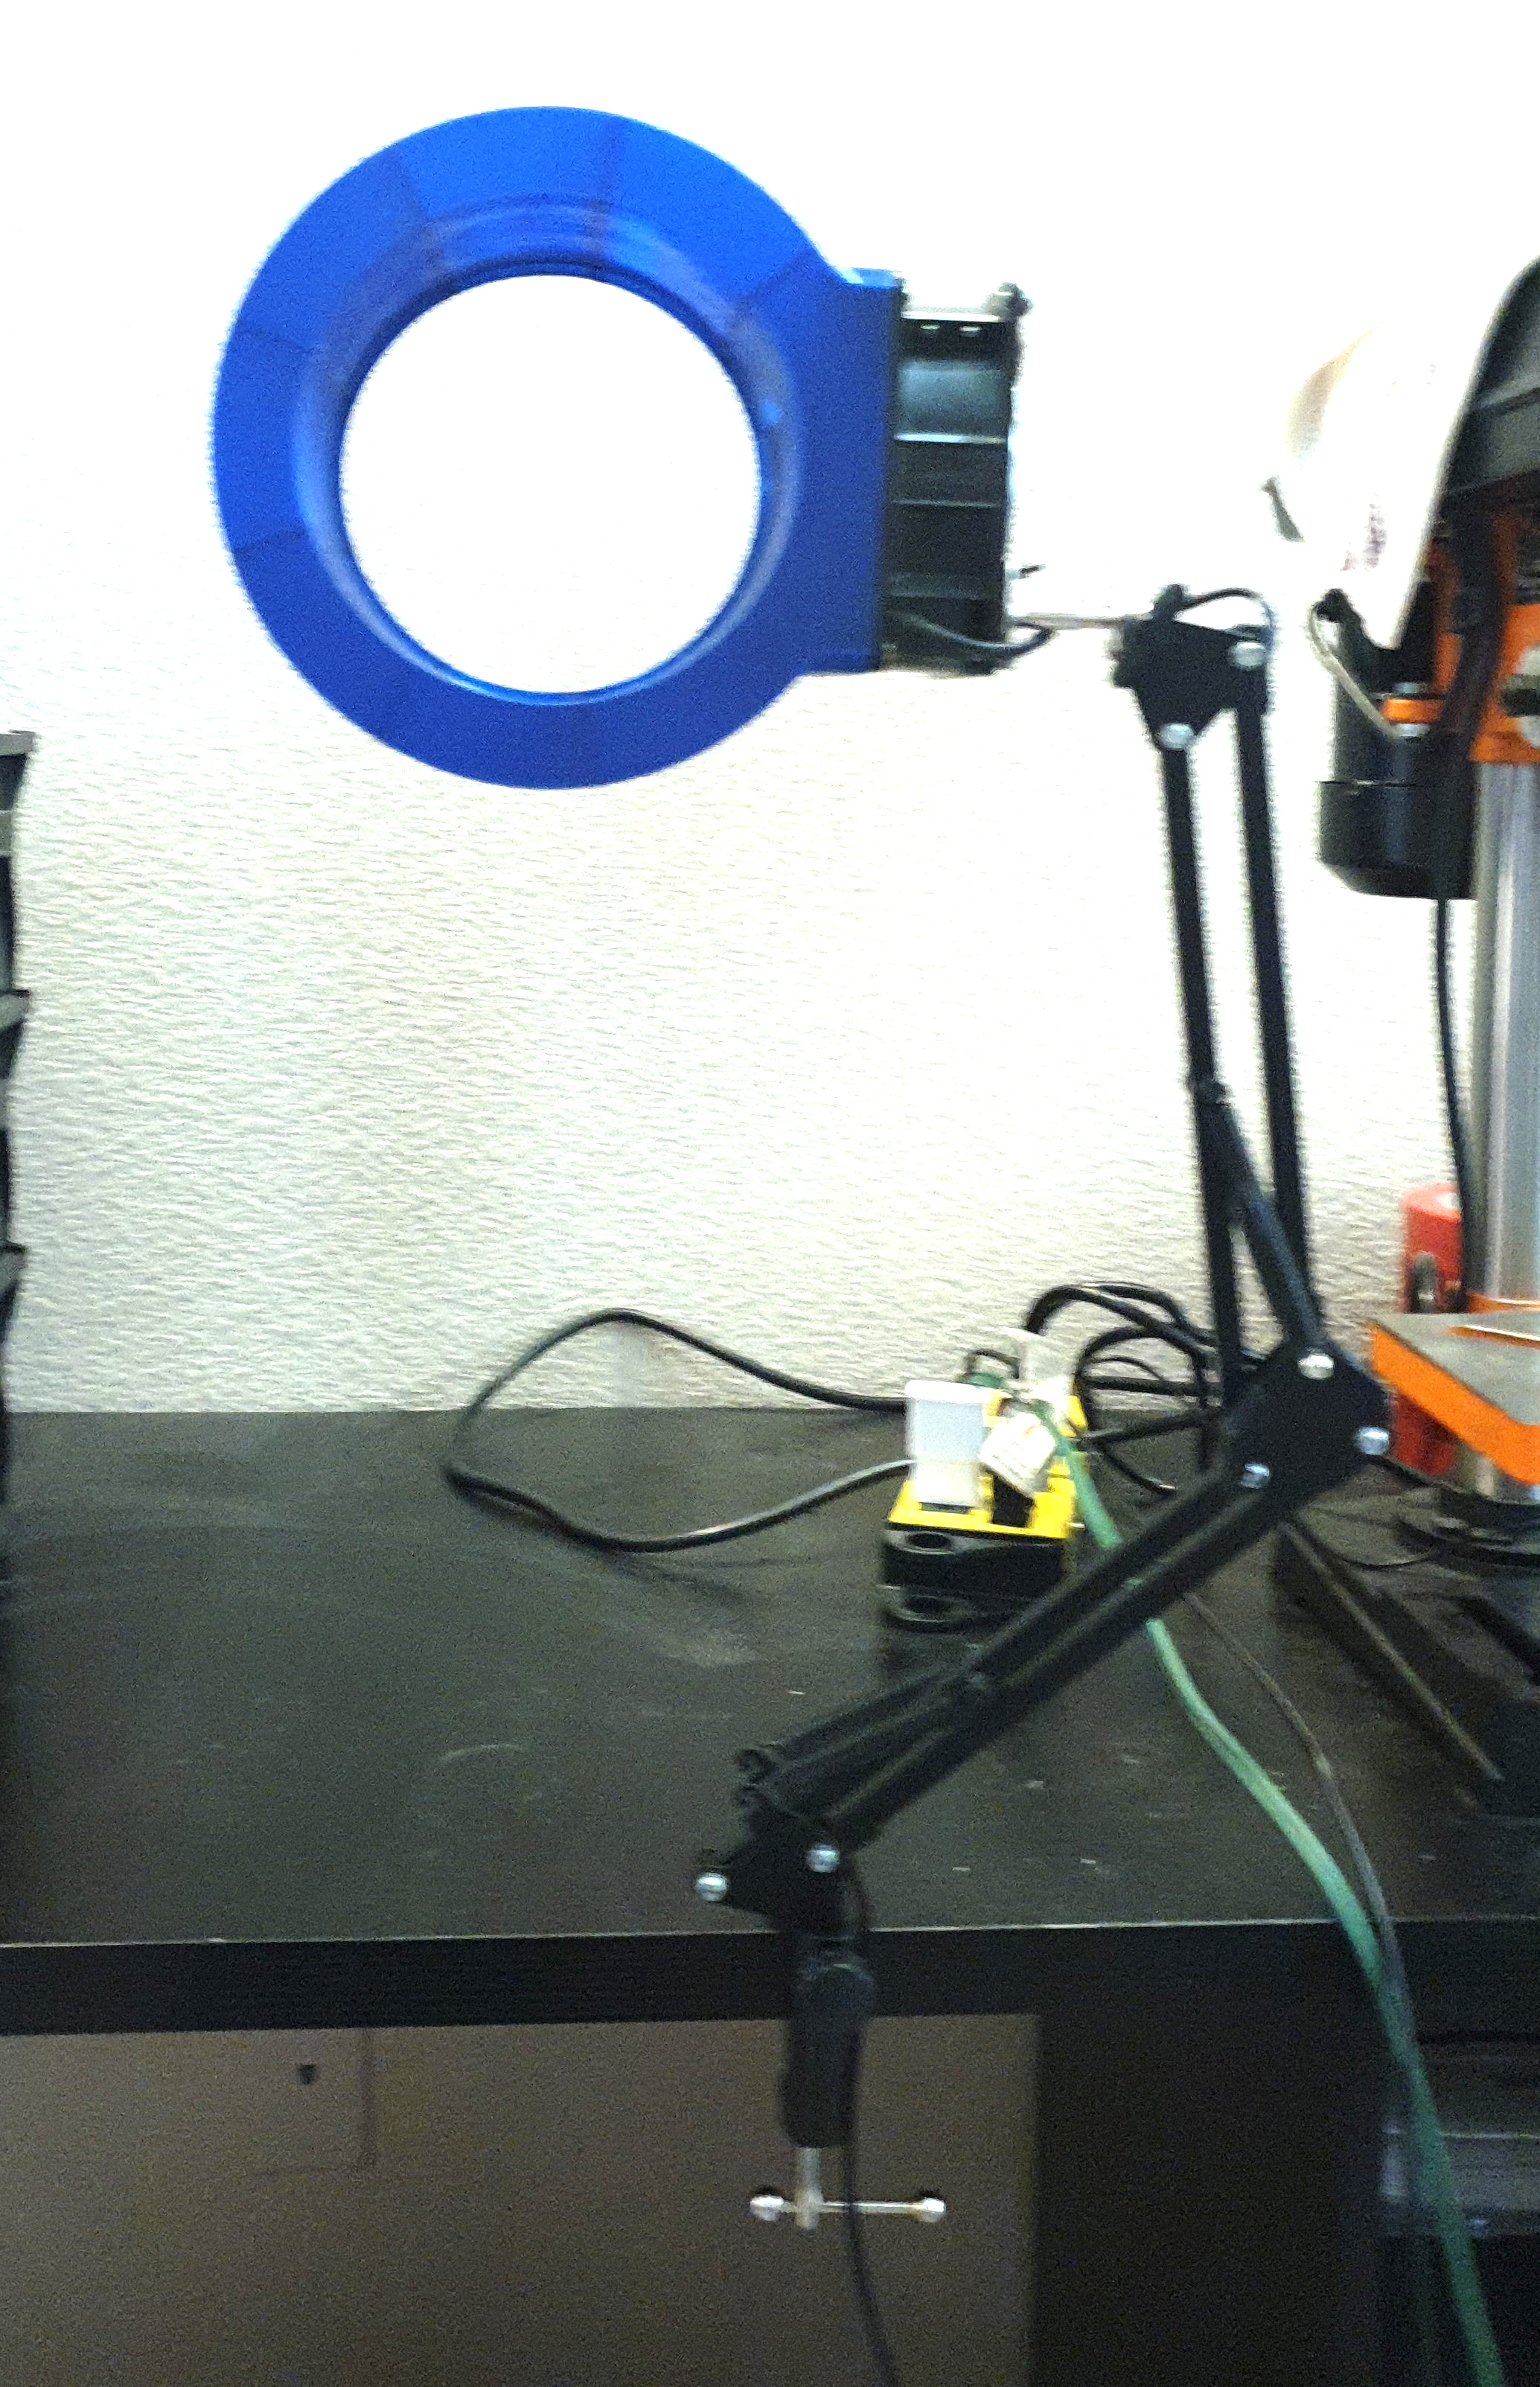
You can get solder fume extractor online, one cheap kind is just a boom arm with a 120mm AC fan mounted on top, with a cheap filter. They don't do the filtering job very well, but are prefect to convert into a table clamped fan. There is no need to print the stand in that case.
To make a standing fan, import the stand.stl in PrusaSlicer first. Then, add vent 1~4 as a part of stand.stl, they should auto align. Print in gyroid 15% infill, and set perimeter to 0 for the 4 vent parts. This makes the open infill to act as air vent, which will allow air through and absorb noise. It doesn't work, but looks pretty cool in the end XD. Attach the stand on the other side of the fan, using M5 if you are using AC fan, and 5mm self tapping fan screw if using DC fan, the design is compatible with both.

Side note
To do: 1, add a part on the front of fan or change design to make it look better. 2, the travels in printing is out of control, stand takes more than an hour in travel and fan body takes more than 4, do something to optimize that. 3, add some cable management on the stand would be nice.
All to-dos guaranteed to finish within this century.
Step file shared for your convenience.
You are not allowed to print, use, or remix this model if you are pay-walling your design by using prusa print club, as it contradict my purpose of sharing. If you do that, I will be very sad.