
Heavy double chain handcuffs remix (fasteners, no glue)
Obliczymy ostateczną cenę na podstawie wybranego pliku. Sprawdzisz ją i zaakceptujesz przed płatnością.
Zapisane na tym urządzeniu.

A remix of printcuffs' model. Does not use glue for fastening, but M3 nuts and bolts.
- Ocena
- 0 / 5
- Polubienia
- 28
- Pobrania
- 236
- Wydruki
- 0
- Wyświetlenia
- 1949
- Oceny
- 0
Aktualizacja u źródła:
Informacje o modelu
- Źródło
- Printables
- Kategoria
- Other Costume Accessories
- Licencja
- Creative Commons — Attribution — Noncommercial
I do not like to use glue for anything I may need to repair, so I did a quick remix of the original model. You will need 6 M3 x 12 mm bolts and assorted nuts.
2026-03-23 edit : my handcuffs collection.
Note : you will still need a few drops of glue on small parts that you'll never need to disassemble.
Use the original strands and small parts (included in the files for ease of download).
Surface ont the print bed is not that big, so a brim may be useful, especially for the Small_parts file.
Assembly

All the parts, before any gluing or assembling.
Pegs and axises
First, you will need to glue the eight half-pegs and the four half-axises. This is the only time you will need glue for the assembly.
 The eight half-pegs to glue together. Try your best to make them as round as possible. |  The four half-axises to glue together. |
 Gluing done. | |
Chain links assembly

There are eight links with a big and small hole, two links with two big holes and four distance rings. You will need all of them.
 Put the four pegs into the small holes of four asymetrical links. |  Stack the two symetrical links on the pegs. |
 Put the last four asymetrical links on top of that. Be careful to completely engage the pegs into the smal holes, without breaking anything. The links should be roughly parallel (which is not the case for the lower right upper link). |  Get the two axises and the four distance rings. |
 Put a distance ring between the links, on each side of the central (symetrical) links. Those rings are here to ensure proper spacing of the links. |  Slide the axises. Done for this part. The axises are not locked, this is normal. |
Handcuffs assembly

Put the three lock parts inside the handcuff, on both sides A and B. The small “arrowhead” (top right here) should be inside the curved edge.

Put the assembled chain in place. This can be a little tricky, as clearance is quite low.

Add the strands. Ready to close the set.

Put the remaining A and B parts and fasten the lot.

Glue the two halves of the key. Done !
Locking and double-locking
To lock the handcuffs, just close the strands. The key is (obviously) used to open the handcuffs.
 | 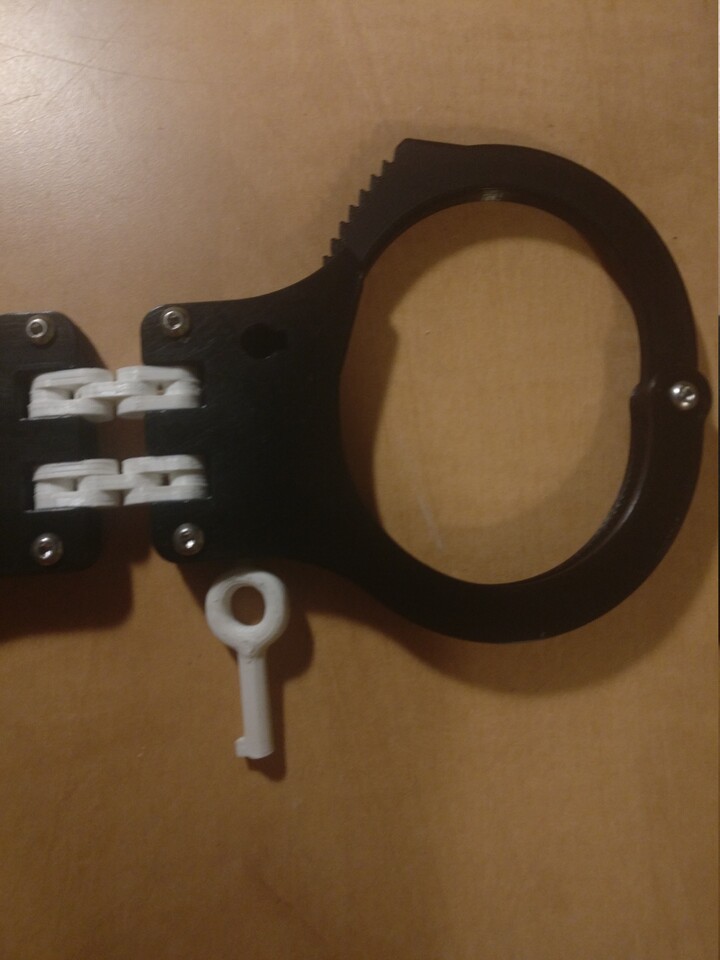 |
There is a small hole at the bottom of each handcuff. If you push inside this hole with the small part of the key, you will engage the double-lock mechanism.
Opening the handcuffs will be done by turning the key clockwise for the right handcuff, counter-clockwise for the left one, then turning again the key in the other direction.