
ChironWire
Obliczymy ostateczną cenę na podstawie wybranego pliku. Sprawdzisz ją i zaakceptujesz przed płatnością.
Zapisane na tym urządzeniu.
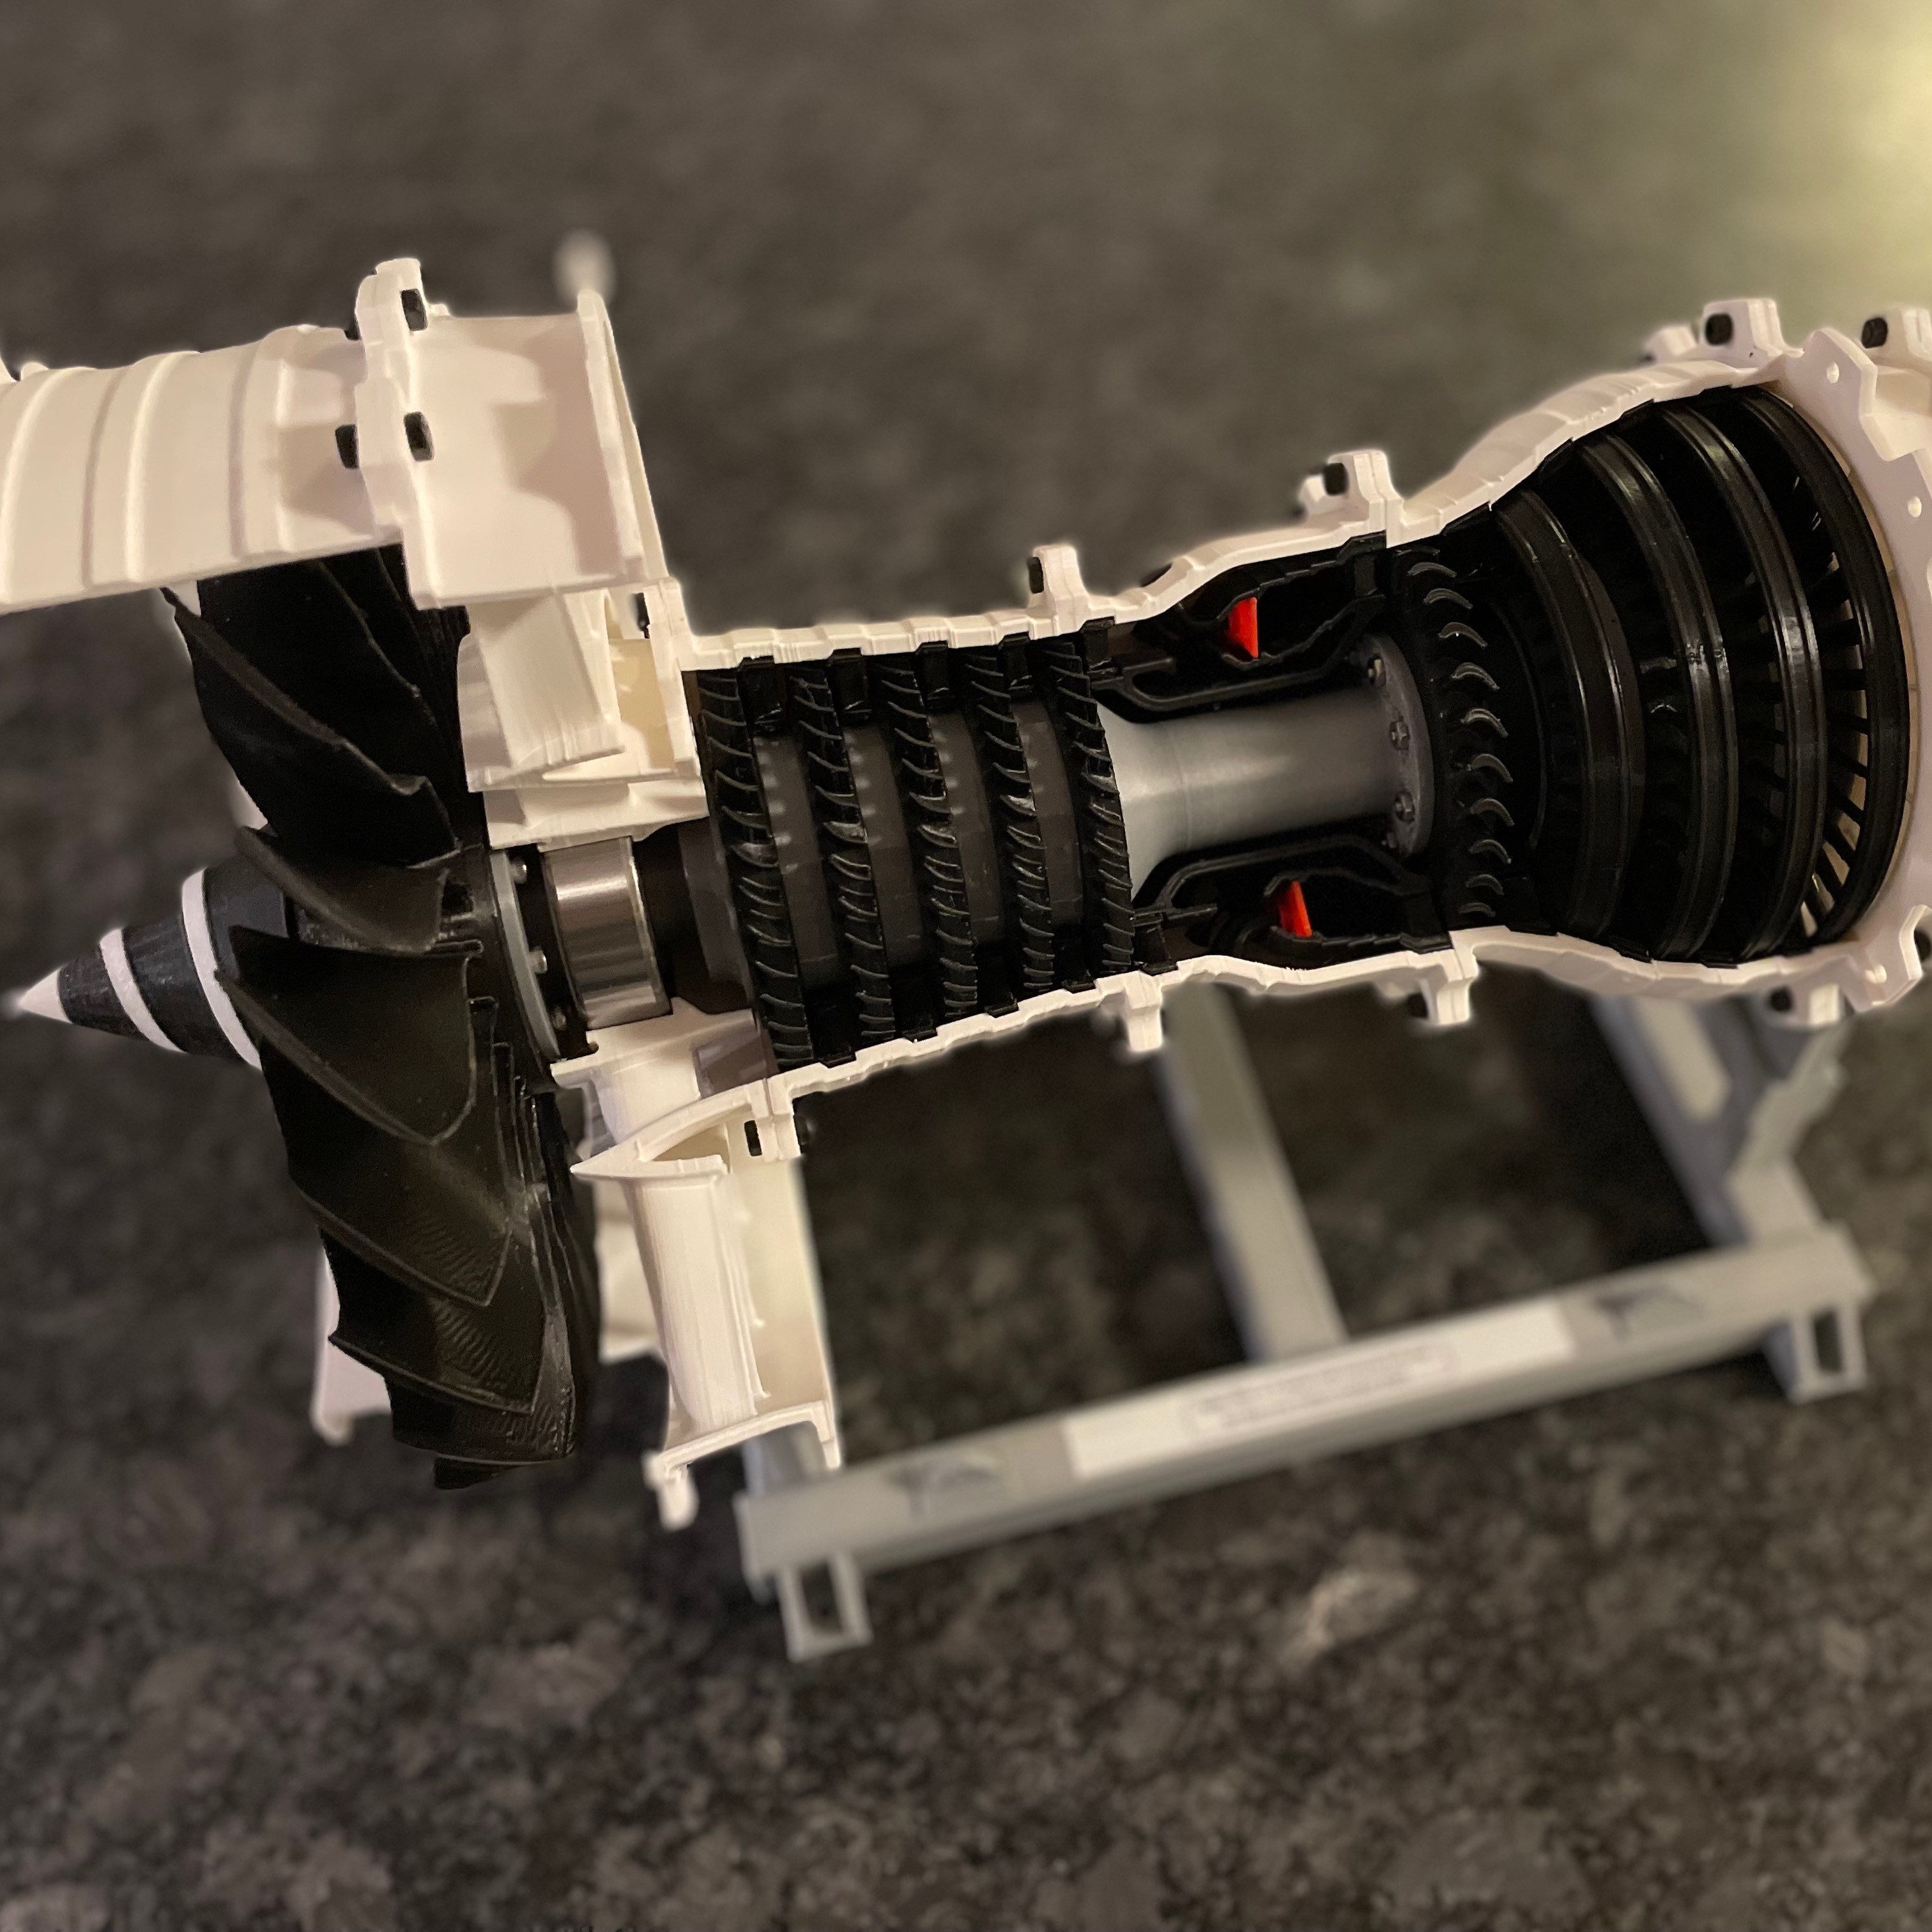
Instructions to convert a std Anycubic Chiron into a Voron Switchwire CoreXZ with Stealthburner CW2 with EBB 2209 CanBus
- Ocena
- 5 / 5
- Polubienia
- 40
- Pobrania
- 210
- Wydruki
- 1
- Wyświetlenia
- 2999
- Oceny
- 1
Aktualizacja u źródła:
Informacje o modelu
- Źródło
- Printables
- Kategoria
- Anycubic Parts & Upgrades
- Licencja
- Creative Commons — Attribution — Noncommercial
First, this is NOT a complete step by step and either a precise component list. I will try my best to describe the parts and the assembly as I can remember them. I attached some extra pictures that might help.
Second, this is not a cheap mod… but IMO totally worth doing it.
Having already built a CoreXY 3D printer and/or being familiar with Klipper installation will help immensely. Check the Klipper Documentation
The basics for this printer modification can be found at the Voron Switchwire and Voron Documentation.
For the toolhead I opted for the Stealthburner CW2 with the x-frame_SW (right is modified to hold the CR touch and included in the files). Also, you need to print the parts for the EBB board from here
For the spool management I used the bowden_retainer
BE AWARE: the Chiron bed works on 24V DC meanwhile the Voron documentation is based on AC 110/220V bed!!! Keep the bed connected to the 24V as in origin.
My personal recommendation is to embark first on a Voron or CoreXY build. I built a Voron 2.4 and gained tons of satisfying experience and as a bonus I was left with some extra parts ;-).
A Voron 0 will be more than enough to get the right experience and give you the possibility to print the necessary components in ABS.
All the parts of my mod are printed in eSun ABS+ with my Voron 2.4.
I am not planning to print any ABS on this ChironWire printer but if you decide to enclose it it should work jsut fine.
From the Voron Switchwire you have to print the complete Gantry/XZ_Axis parts, taking care of substituting the modified files I included here. The main reason of the modification is because the Switchwire uses 30xx profiles while the Chiron has 20xx aluminum extruded profiles, so I just added 5mm to each component. Other parts are specific, depending on the electronics you will use.
In my case I used the following electronics:
- Bigtreetech Octopus Pro with TMC2209 (you just need to control 3 steppers + extruder* so you can use a smaller MCU probably the best is the Manta M5P as it doesn't need the U2C*** and has the CP1 = no need of a Raspberry Pi - *** pls check as I am familiar only with the M8P)
- U2C
- EBB SB2209 CAN (*the stepper for the extruder is included here)
- MINI12864 V2.0 LCD Screen
Linear RAILS
- Qty 5 - 12mm Linear Guide MGN12H 500mm
- Qty 2 - MGN12H Blocks (used for the Y to have double support)
My sourcing reference (I am based in Sweden so the Amazon links - see the excel list for International links):
- Qty 2 - 10 pieces F629-2RS (alternative Aliexpress)
- Creality CR Touch There is mod to sit the CR touch inside the Stealthburner but with the Voron Revo it seats at the same level as the nozzle so i moved it to the side. Less elegant but at least is the offset will not interfere with the printed part. Initially I thought to use TAP but realized the bed might not be strong enough for 800gr force. I am happy with the CR Touch so far given the bed is quite thin.
- NEMA14 36mm Stepper motor for the CW2 extruder (alt Aliexpress) You can source a Stealthburner kit on Aliexpress (here just an example)
- KEY-REAR S48K Keychain, 48"
- 100 Pack 2020 2040 2060 Roll in Spring Loaded T Nut m3
- Qty 2 - M3 * 8mm socket screws 50pcs/package
- M3 Black Allen Screws (various lengths)
- 2GT 20 Teeth 5mm Bore Timing Pulley
- Bipolar Stepper Motor Cables 1M Step XH2.54 Terminal
- E3D RapidChange Revo™ Voron - 1.75mm, 24V
- Cooling Fan DC 24V 50x50x15mm 5015
- GT2 timing belt 6mm x 5m (I had a Ruthex already but cant find where I bought it)
Disassembly and assembly steps
- remove all existing electronics
- remove the bed
- if you want to achieve the full 400mm Y travel with the Stealthburner head you can move the Z columns 30mm backward drilling new holes to the frame (I haven't done it as atm I am OK having max Y travel 375mm)
- invert the T-supports for the Z frame as they will interfere with the new motor supports XZ
- now it is a good time as any to install the X & Z stepper motors withe their motor_mount assembled (just snug the screws and lose the tensioner all the way)
- install the upper idler assemblies
- Y carriage modification (** see below for the alternative solution to drilling)
- don't forget to clean and lubricate the bearings of the rails (check YT tutorials)
- install the Y rails adding the 2nd rail block (be careful with derailing).
- connect the 3 pieces composing the Y carriage frame using the leftover 8mm spacers
- sketch the hole pattern for the rails blocks (20x20mm) and space them 30mm
- punch for drilling
- bolt together the trapezoidal parts and drill them at the same time (I used a 3.5-3,8mm drill to have some extra clearance). De-burr the holes
- bolt together the Y carriage frame and check that the heated bed fits. Mine was slightly off and just enlarged the 4 holes where the bed screws and springs sit.
- once you have installed the Y carriage frame check that the Y stop clicks. As mine was just on the edge I just added one of the original Z stop metal pieces while clamping the blocks connecting the Y belt.
- install the Z rails all the way up against the upper z_carriage_stops (keep the plastic rails stoppers to avoid derailing) and the bottom z_carriage_stop + keyback assembly
- at this point there is no turning back to the old Chiron as we start Cutting!!!
- Cut the X 2020 alu profile to 510mm
- Cut the X rail to 467mm (I used a Dremel diamond disk)
- install the XZ_blocks and make sure later that the belts are not touching the X alu profile
- assemble the z_bearing_blocks (left and generic) to the X alu 2020 and bolt them to the Z carriage
- install the Stealthburner head
- cut the 5m GT2 belt in two. You need to shorten them few cm so you have around 5-6cm left each side for later be able to grab the pair and tension it. Do a test install and cut it (check YT tutorials, the 2 belts MUST be exactly the same length - teeth on teeth and slide them though your hands without skipping teeth, measure twice and get them right)
- install the belts and tension them lightly (the extra length can be folded inside the X carriage).
- install the MCU, Raspberry Pi, U2C and the existing 800W(!) PU using the PU_support_1 and _2 and suing the existing metal bracket (edit 2023-09-24). I did not use the secondary 24V PU
- install a fan 24V 60x60 using the printed support (one works fine with my setup)
- Now that the mechanical is done it is time to start wiring it all together (check Github for most of the schematics of the electronics)
- I attached as an example the printer.cfg file. I still have few things to sort out like the beeper and small issues but it is fully functional as soon as you have installed klipper, flashed the firmware, etc. etc. etc.
- finish up with the spooler holder and if you want to have the tube like in mine, print the included bowden_retainer from the Voron 2.4
CREDITS:
- Voron awesome community, github
- Revo nozzle holder by Jan
- Angle bracket 90 ° by Eternauta74
- 2020 V-Slot Aluminium Extrusion Profile by chris_kwng
- Raspberry Pi Camera Mount by crsn00
- USA part list by TheDarkSoul97
- ** Alternative to drilling remix by @StuMcEwing_284477
Changelog:
Rev. 2023-09-24 Added the PU_support_1 and _2
Rev. 2023-09-29 Added “USA part list by TheDarkSoul97.zip”
Rev. 2023-10-15 Added the remix for the carriage by StuMcEwing and the description with links for the toolhead
Rev. 2023-10-23 Updated to alternative Manta M5P as M4P doesnt have the connection to CAN