
Cobi M26 Pershing Upgrade Parts
Obliczymy ostateczną cenę na podstawie wybranego pliku. Sprawdzisz ją i zaakceptujesz przed płatnością.
Zapisane na tym urządzeniu.

A set of parts to improve the appearance of Cobi set 2564, M26 Pershing (T26E3)
- Ocena
- 0 / 5
- Polubienia
- 3
- Pobrania
- 48
- Wydruki
- 0
- Wyświetlenia
- 542
- Oceny
- 0
Aktualizacja u źródła:
Informacje o modelu
- Źródło
- Printables
- Kategoria
- Building Toys
- Licencja
- Creative Commons — Attribution — Noncommercial — Share Alike
Parts:
- Mantlet and MG port: provide more photorealistic geometries that more closely resemble the real objects
- Barrels: 6mm barrel pieces are closer to the real-life scale. They are available in 19 and 38mm lengths, depending on what your printer can achieve. You will need a total of 76mm of length. Regardless of which length you use, you will need one thick peg version to connect to the original barrel size
- Muzzle brakes: available in 6mm and 8mm widths. 6mm is for the modified printed barrel, and 8mm is for if you want to keep the original barrel
Post-processing:
Parts may require sanding if fits are too tight. Wrap tape around round pieces if they are too loose
Disassembly:
Important: do not force parts together if they are too tight, otherwise you may risk breaking them
Remove the front armor plate from the hull, and the mantlet assembly from the turret

Hull Assembly:
Disassemble the armor plate to match the following picture. Keep the small tile and the machine gun barrel.

Insert the “Hull MG Port” and replace the other parts

Turret Assembly:
Take apart the mantlet assembly, and keep the following pieces

Place the 1x3 underside plates on the back of the printed mantlet part, and the barrel pieces inside the central cavity.


Insert the barrel and muzzle brake pieces into one another, and insert the barrel assembly into the new mantlet. The 4.85mm peg should be on the end.

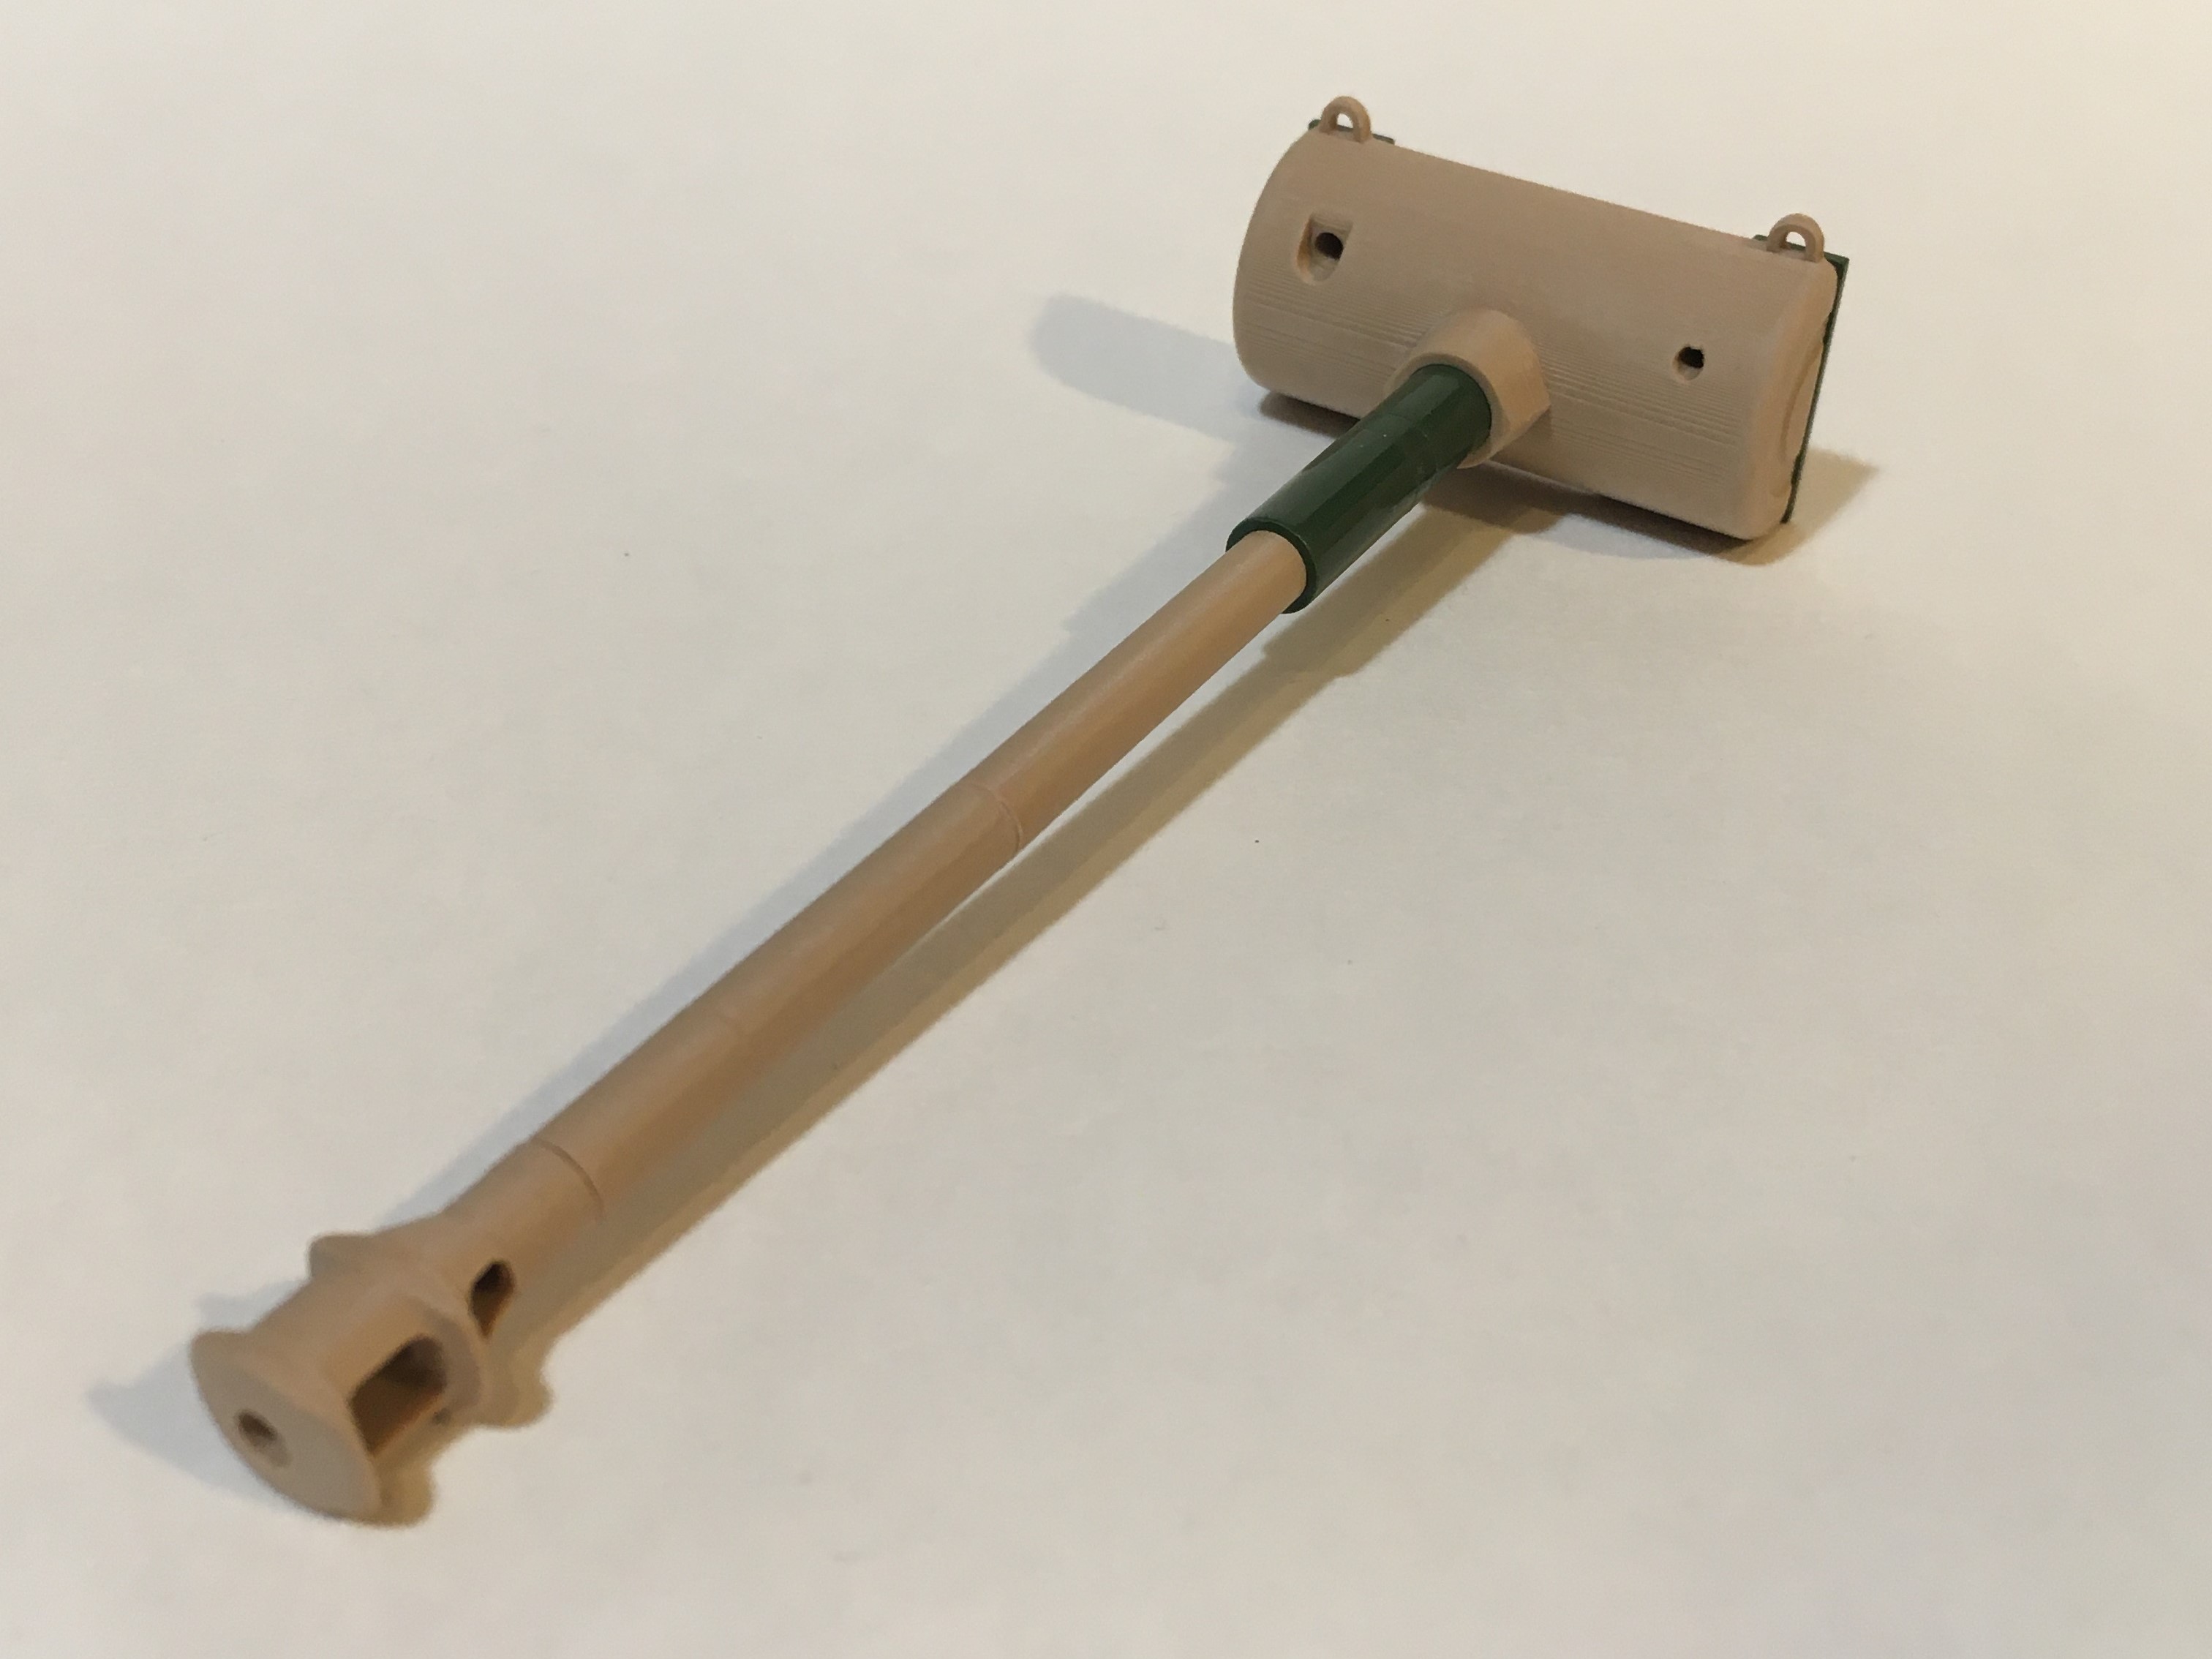
Place both assemblies back onto the model
