
Cat walking bridge (fully printed) V2
Obliczymy ostateczną cenę na podstawie wybranego pliku. Sprawdzisz ją i zaakceptujesz przed płatnością.
Zapisane na tym urządzeniu.

A different approach to a nice 3D printed bridge for your feline friend to enjoy. Suitable for every age cat.
- Ocena
- 5 / 5
- Polubienia
- 72
- Pobrania
- 155
- Wydruki
- 4
- Wyświetlenia
- 1482
- Oceny
- 4
Aktualizacja u źródła:
Informacje o modelu
- Źródło
- Printables
- Kategoria
- Pets
- Licencja
- Creative Commons — Attribution — Noncommercial — Share Alike
Is your cat seeking a new adventure?
Are her paws full of energy?
Are their adventures reaching new heights?
Then you will need this fully 3D printed cat bridge! This nice bridge for your feline friend enhances their environment and also trains their muscles. Suitable for cats every age :)
This bridge is more rigid than the old one.
Bridge length: I tested 4 pieces Surface, but 5 should also work. All pieces should be oriented correctly wen imported in the slicer. I named the pieces after what they look like for me.
Assembly will take about 10-15 minutes and is not complicated.
Surface: print flat on printbed
C: Print flat
Pi: The Pi should be visible from the top during printing
U boat: print flat from printbed
T: always print 4 laying flat on the printbed
Endplate: always print 2 laying flat on the printbed
| Amount Surface | 2 | 3 | 4 | 5 |
| Amount U-boat | 6 | 10 | 14 | 18 |
| Amount C | 4 | 8 | 12 | 16 |
| Amount Pi | 20 | 28 | 36 | 44 |
| Amount T | 4 | 4 | 4 | 4 |
| Amount Endplate | 2 | 2 | 2 | 2 |
Material: Mine is printed in GEEETECH silk copper PLA and 3Djake dark green PLA. Some screws are necessary for mounting the bridge but the rest is 3D printed.
Printing: make sure every piece lays flat on the printing surface. If not, the print is weakened a lot. I used prusament PLA profile and draft settings (0.3mm) with 5 % infill and 2 perimeters. I do have a MK3S printer if that is of interest.
Assembly: Follow the photo guide.
- Create two equally long chains of C's and Ubaots. Staring and ending each with a U-boat.

- Slide the Endplates onto the chains
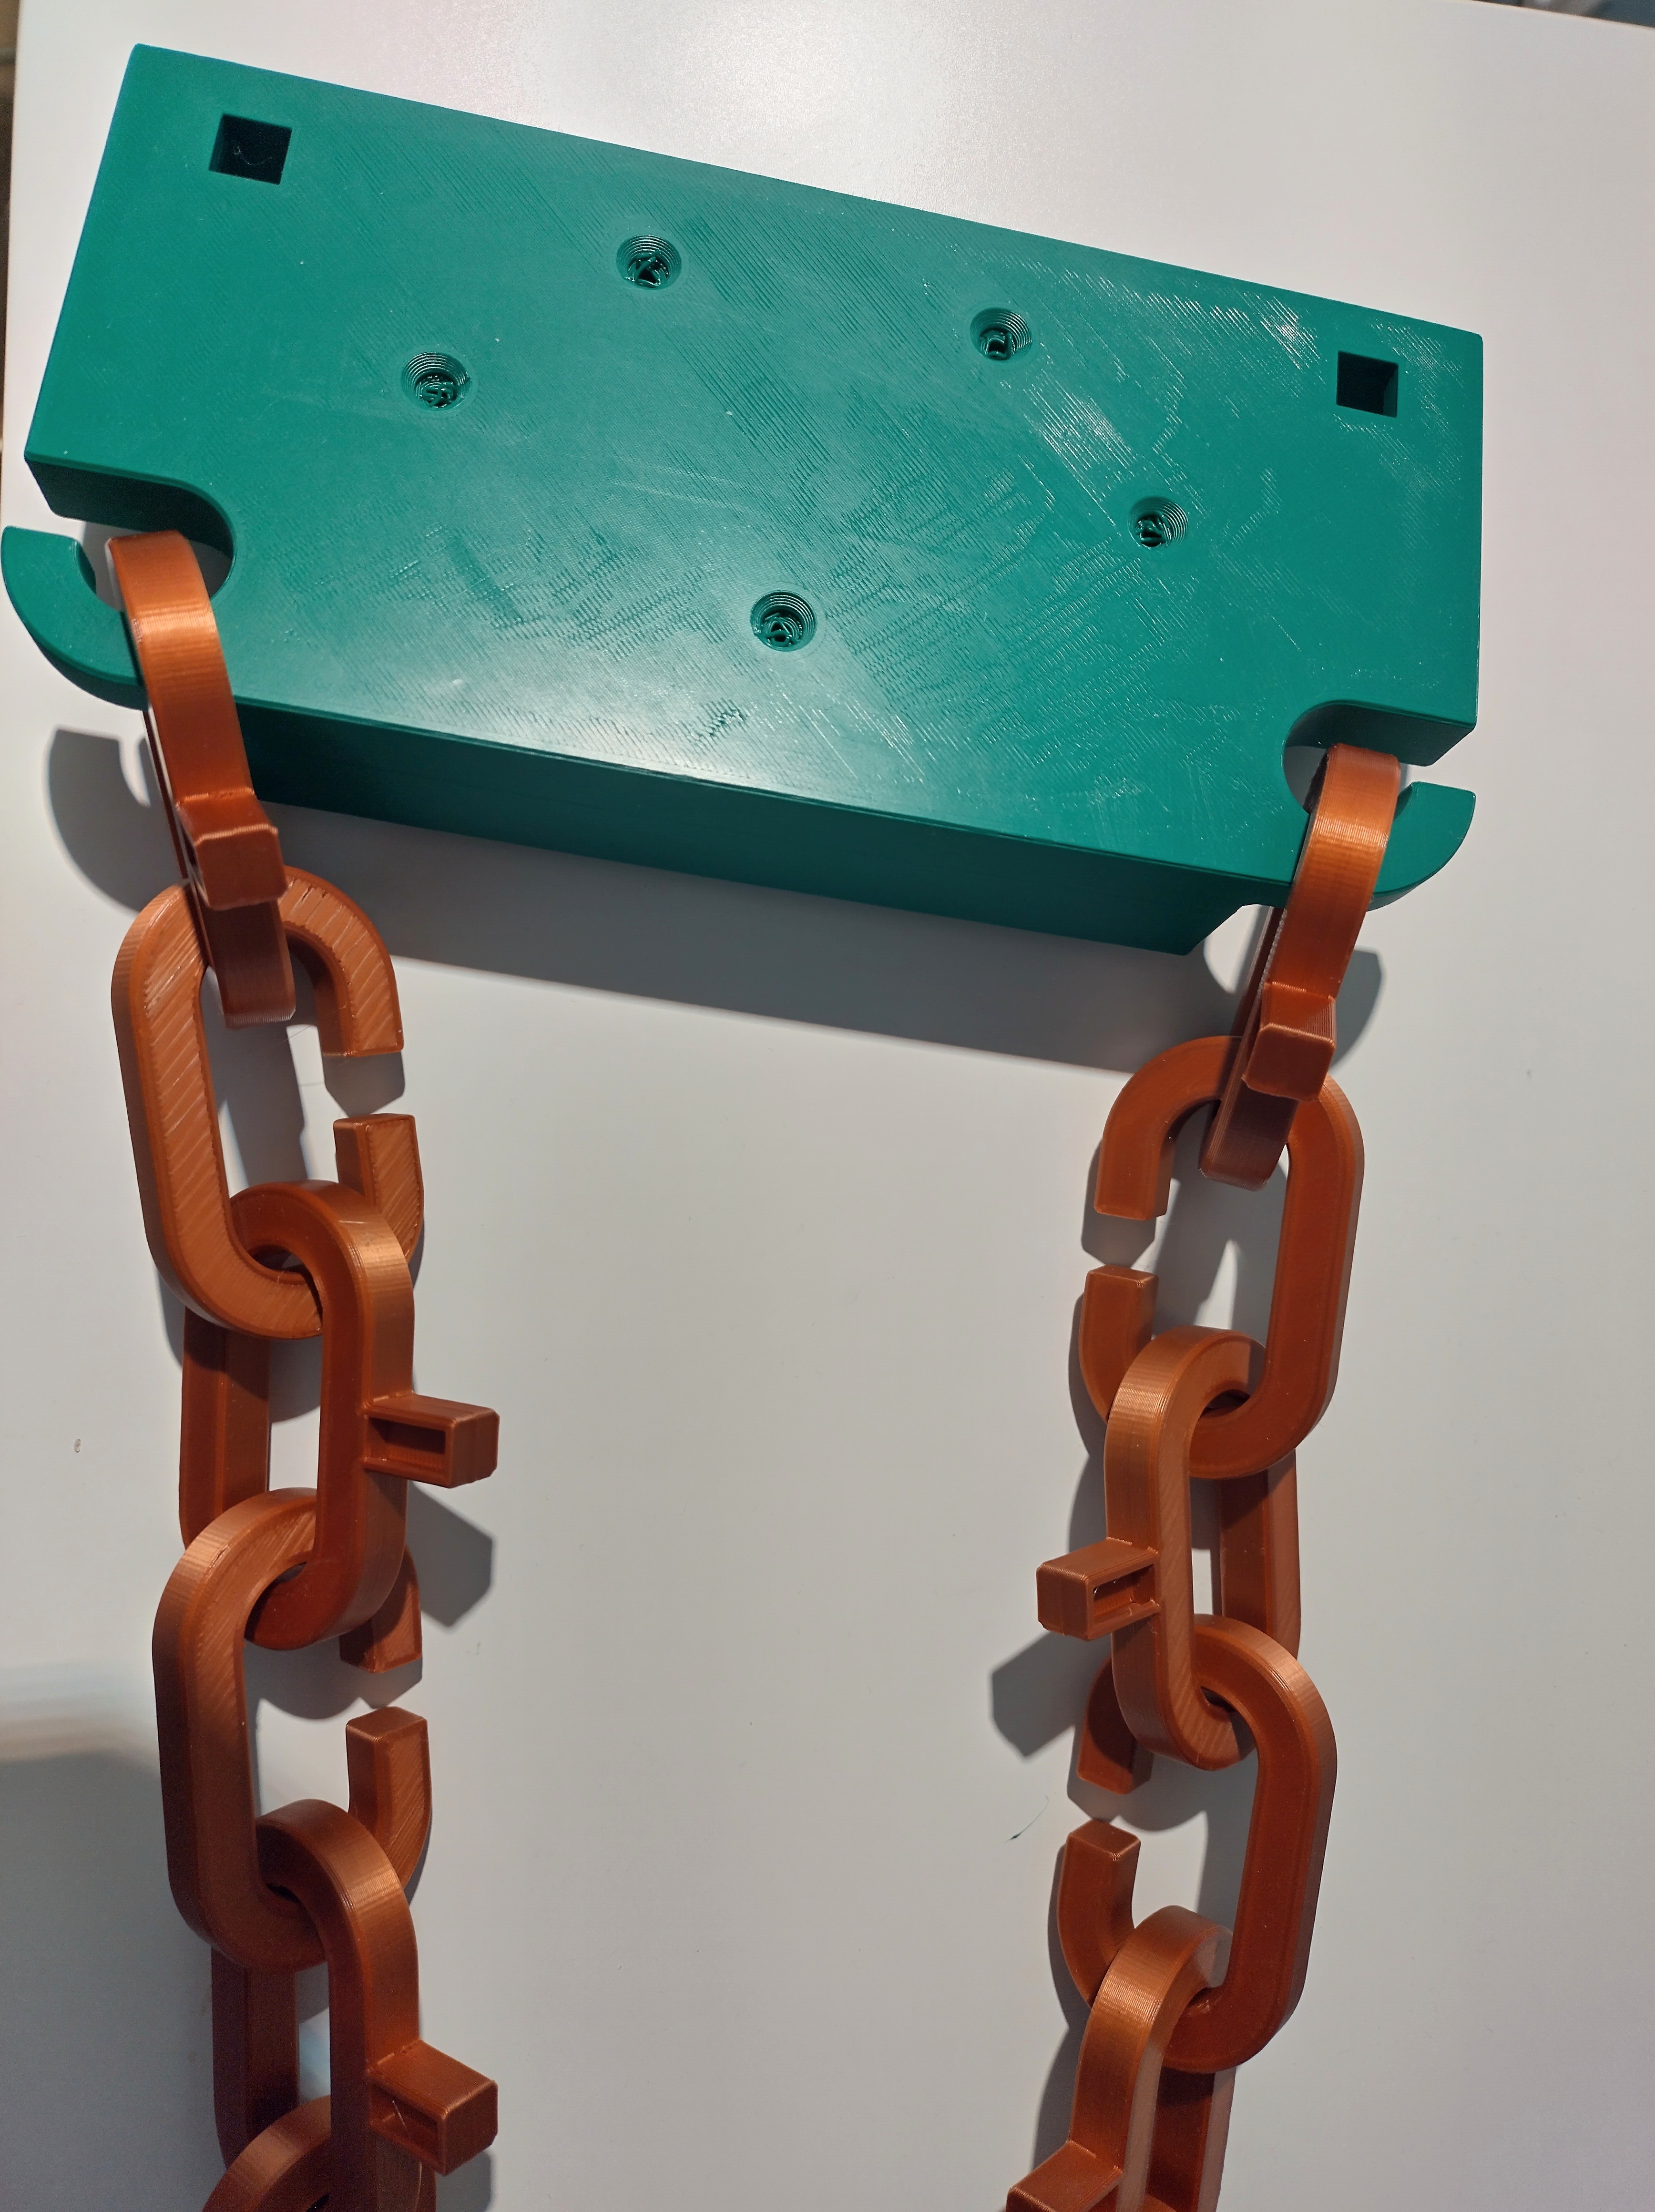
- Insert the T into the Endplates from underneath

- Screw the Endplates into position. Please use all provided holes for stability!

- Lay the Surface into place. Make sure they overlap for one slot.

- Secure everything with pi. Every U-boat has a pi on each side. If you have difficulties inserting the pi pieces, then gently squish them a little bit with pliers.


- And you are finished!
IMPORTANT:
Do not put your cat directly on the bridge, they wont enjoy it and maybe never try to use it again. Encourage your cat instead with food, or maybe a toy to use it on their own. This can take a while and depends on your cat.
CONCLUSION:
If you made this bridge please post a make as it makes my day.
Any feedback is welcome and if you would follow my printables account I will follow you back :)