
Motorized marble lift - Orbital rush
Obliczymy ostateczną cenę na podstawie wybranego pliku. Sprawdzisz ją i zaakceptujesz przed płatnością.
Zapisane na tym urządzeniu.

Higher, bigger, better and motorized with ease - the new marble lift for orbital rush!
- Ocena
- 5 / 5
- Polubienia
- 35
- Pobrania
- 123
- Wydruki
- 2
- Wyświetlenia
- 1820
- Oceny
- 1
Aktualizacja u źródła:
Informacje o modelu
- Źródło
- Printables
- Kategoria
- Building Toys
- Licencja
- Creative Commons — Attribution — Noncommercial — Share Alike
Orbital Rush is a 3D printed marble run system. Are you ready to enjoy countless marble races?
Improvements:
- Wide lift: marbles can easily pass by on each step.
- Taller: lift your marbles 12cm instead of 6cm for even longer laps
- The lift is 20cm long. No more adaptor tile.
- smoother operations
- Fast and easy assembly
Hardware:
Whilst not everything is 3D printed, all you need is found affordably on amazon. No additional knowledge on motors is necessary.
I used a motor with 50 RPM and a AA batterie holder, 2 skateboard bearings 608Z and 3 M3 x 20 - 30 screws and nuts.
Print instructions:
- PLA
- 5% infill
- no supports, except the rod
- everything should be loaded correctly orientated into the slicer
- print everything once
Assembly:
Sadly I had a layer shift on the wide lift chase at 98% complete. please ignore it. The lift is a little bit ugly because of it but functional.
- Connect the battery holder to the motor. Be careful to connect plus to plus and minus to minus. The motor has tiny symbols next to the pins on its back and in my case the red wire connects directly to a plus pole in the battery holder . If you have a soldering iron use it, if not just take care that the ends do not come loos again. Shrink wrap is good to use if you have it, I forgot.

- Slide all Avocados onto the rod in order of numbers and Flush with one side of the rod. All numbers must face the same direction

- Put the Rod into the Chase with the rod sticking out the tall side. Snug, but possible. (It is not important on witch side Avocado 1 is)

- Now slowly slide the rod about 6mm through to the other side and secure both ends with a bearing. On the low side, the rod should be flush with the bearing.
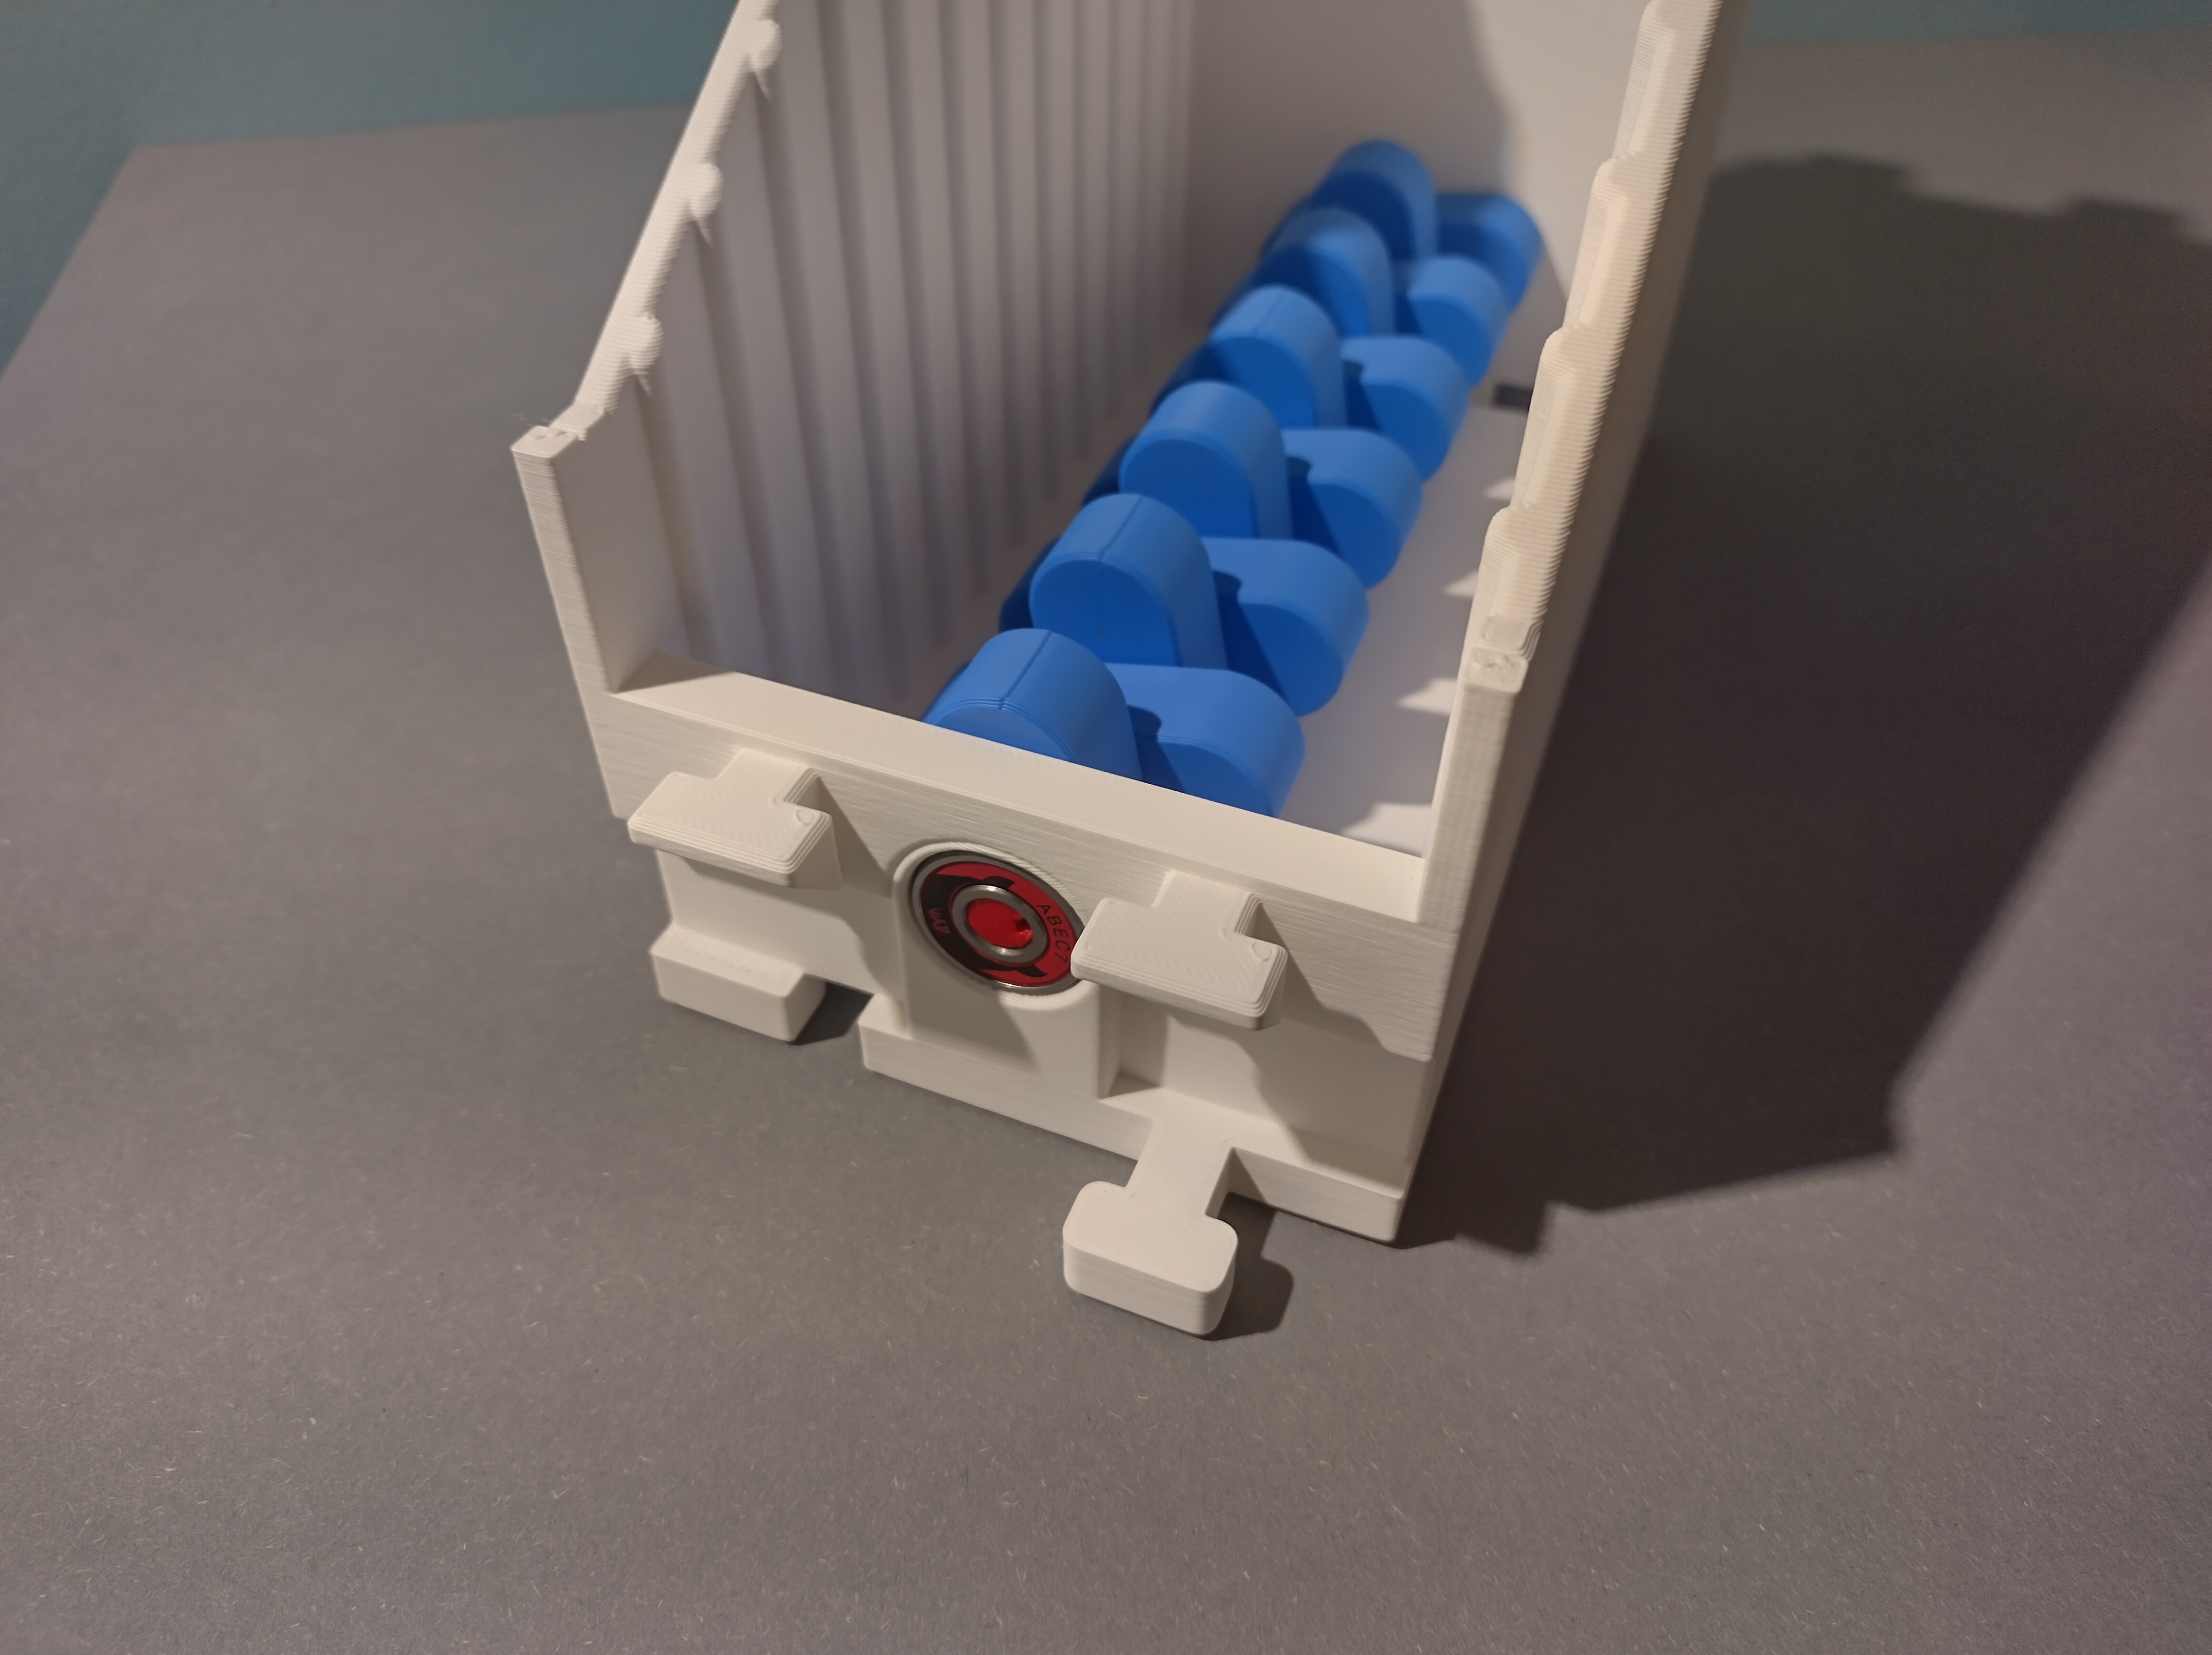
- Make sure that the avocados are pushed together and there is an even amount of space on either side of the Avocados to the chase.

- Place the Stiege pieces into the lift. Notice the different slots on the sides. Place them accordingly. The steps are slanted towards the tall side. Start with Stiege10 on the low side of the Chase and end with Stiege 120 on the tall side of the chase.

- Give it a test spin! Everything should move without much friction. I have used some lubricant on two steps. My prints were a little bit rough.
- Turn the motortile upside down and insert a M3 nut each into the cutout.
- From the to secure the motor cover into place using M3 screws with minimum 20mm length. Up to 30mm will work.
- Connect the motortile with the marble lift on the tall side.

- Slide the motor through the motor cover onto the rod. Unscrew the motor cover a little bit and afterwards tighten it down. Then place the battery holder into place.

- Turn the motor on and enjoy your finished marble lift.
Conclusion:
I struggled a lot creating this motorized marble lift and countless iterations where necessary to finally work. As mentioned in my community post I have never worked with motors before!
Therefore it means the world to me if you provide me with feedback, criticism, improvement ideas or post a make. It keeps me motivated!
If you need help assembling your marble lift, I am more than happy to assist you!
- 14.Jan.2024: Changed from Roundthingone and two to Avocado 1 -12. Updated the rod for better fit and eliminated the need for correct orientation. Stiege 10 and 120 got improved for less chance of a marble getting stuck.
Updated the assembly guide to fit the new pieces.
Overall the marble lift now works way better than before. I am glad that I have invested the time into all these improvements…