
The Dawn Machine - Sunless Sea
Obliczymy ostateczną cenę na podstawie wybranego pliku. Sprawdzisz ją i zaakceptujesz przed płatnością.
Zapisane na tym urządzeniu.
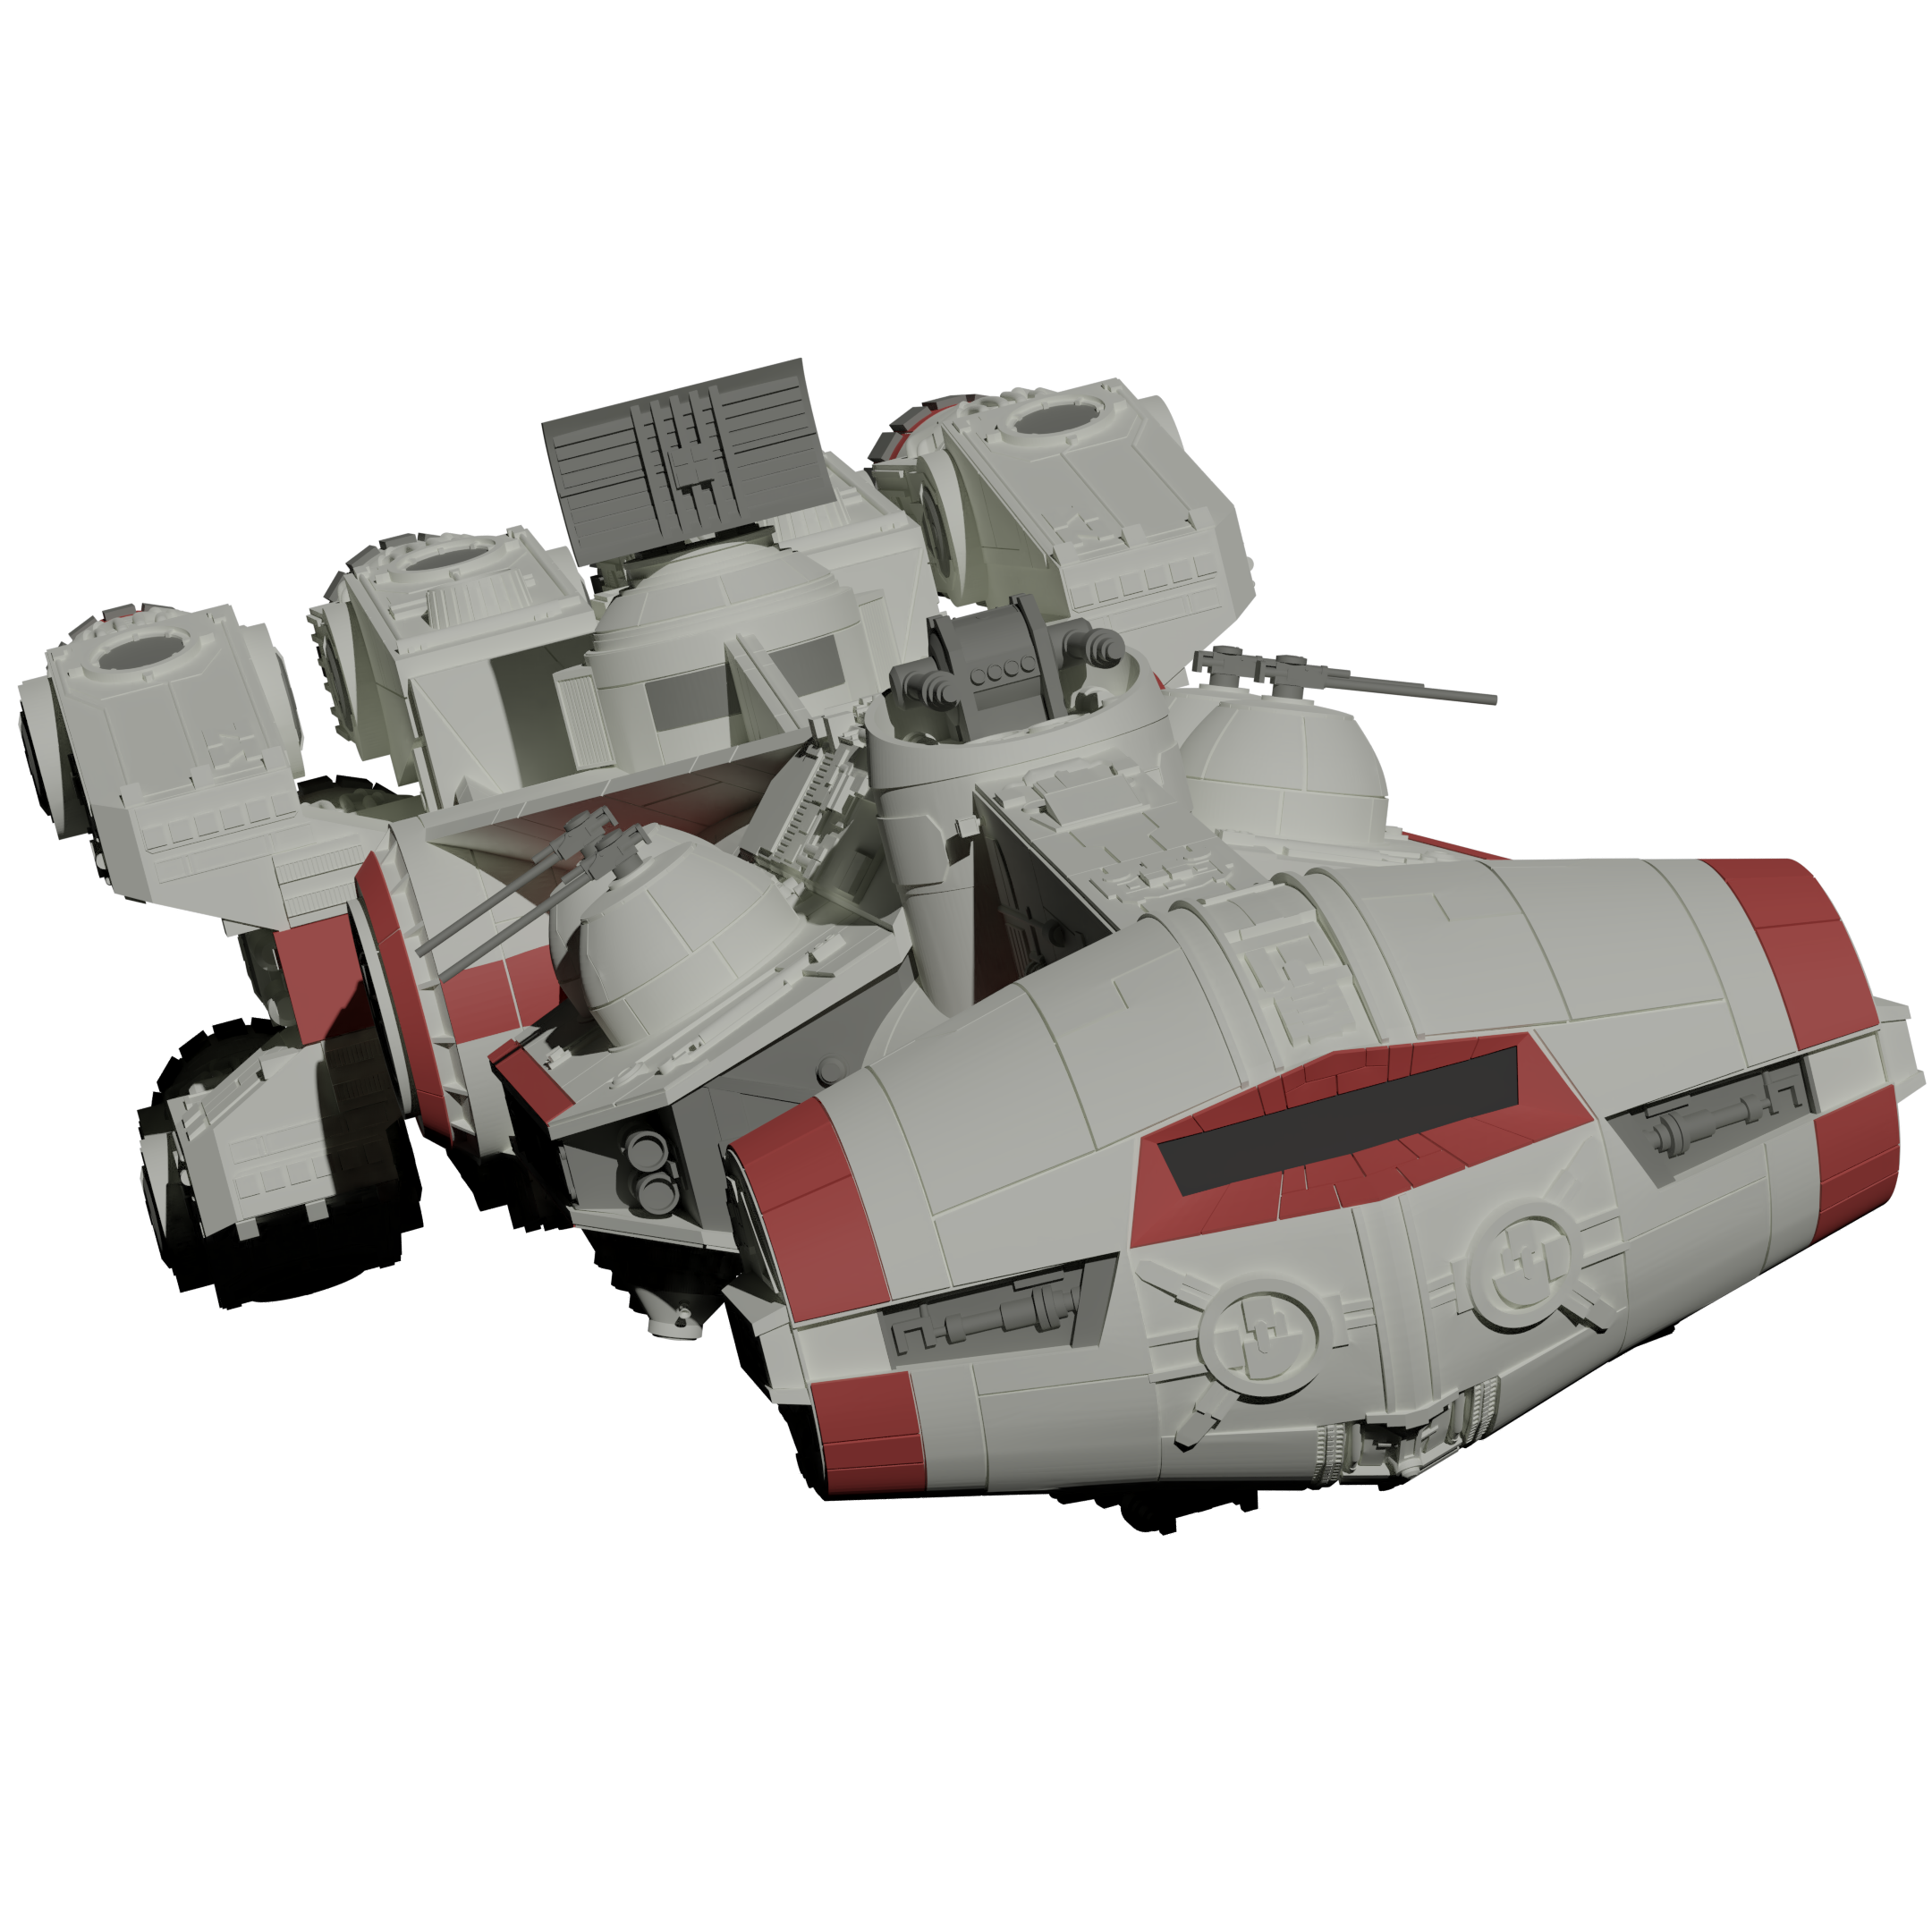
Rotating model of The Dawn Machine from the game Sunless Sea
- Ocena
- 0 / 5
- Polubienia
- 16
- Pobrania
- 54
- Wydruki
- 0
- Wyświetlenia
- 592
- Oceny
- 0
Aktualizacja u źródła:
Informacje o modelu
- Źródło
- Printables
- Kategoria
- Sculptures
- Licencja
- Creative Commons — Attribution
Introduction
The Dawn Machine is an artifical sun from the game Sunless Sea.
If you rotate the middle (section B), the other parts rotate as well, like they do in the game.
| Dimensions | Length | Width | Height |
|---|---|---|---|
| 174mm | 267mm | 113mm |
Note that length and width change as the rings rotate.
No supports or glue required, all parts are within 177mm x 177mm area and 71mm height.
What is The Dawn Machine
The Dawn Machine is an artificial sun, constructed by London's Admiralty to bring light to the Neath. It lies south of London.
Most of the people who built The Dawn Machine now belong to the New Sequence, which seeks to further its influence.
The Dawn Machine emits a golden light that appears unsettling and downright wrong at first, but it really grows on you after a while.
Print Instructions
Everything was printed at 0.2mm layer height. No supports required.
- First print dawn machine-test to test your tolerances. When it's done, try to break the gear loose.
- You will probably need pliers. The central gear sticks out a few milimeters at the top. Grap this part with your pliers and hold the outer section with your hand.
- If you can not get the gear loose without breaking it, print dawn machine-test loose and see if this version works.
- If it still doesn't, try reducing the flow rate.
- Some parts have a loose-version.
- These versions have “loose” in their name and are in the folder “loose”.
- Use these versions if you had trouble with the test.
- Some parts require more than one copy.
- This is indicated in the name.
- For example you need 13 copies of “clip wide x13”.
- Some parts are flipped over for printing, meaning that when assembling the model, you have to rotate them by 180°.
- They are: A top, B bot, C bot, C gear, D, G.
Assembly
The model consists of sections A-G.

We start by assembling B. Connect B bot and B top using 8x clip wide and 8x clip thin. Connect 6x B sides to B top.

Next comes D and E. Connect E bot to D using 4x clip square wings. Then screw E top onto E bot.
F and G are assembled the same way as D and E.

Now comes C. Aside from the parts for C, you will also need D-E, F-G, and A top.
First take C top and insert D-E and F-G into the planetary gears. D-E is inserted into the gear sitting further out.
Then take C gear C-D and C gear C-F and put them onto the end of D-E/F-G poking out underneath C top. Note that C gear C-F is a bit bigger than C gear C-D.
Next take C gear, insert a clip square into the middle, and connect it to C top. It should mesh with C gear D-E. Note that C gear has to be flipped over, with the underside pointing up.
Then insert 5x clip wide and 7x clip thin into C mid and connect it to C top.
Take A top and place it into the middle of C mid. There is nothing to hold it in place yet. Note that A top has to be flipped over.
Finally place C bot.

Now we put everything together by assembling A.
Take A bot and place 8x A-B gear onto it. They should be roughly equally spaced, but it doesn't have to be perfect. Then slide B on top.
Take 8x B-C gear and insert them into A mid. Then slide A mid on top of B.
Take the assembled C-G and put it on top of A mid. Make sure that A top, which sits freely in the middle of it, is properly aligned. Secure everything by screwing A nut onto A top.

The model is now fully assembled.
If you want to support me, you can do so via this link: https://ko-fi.com/printingdaniel#