
1 / 3
Twist Open Iris Container
Zamów wydruk tego modelu
Obliczymy ostateczną cenę na podstawie wybranego pliku. Sprawdzisz ją i zaakceptujesz przed płatnością.
Zapisane na tym urządzeniu.

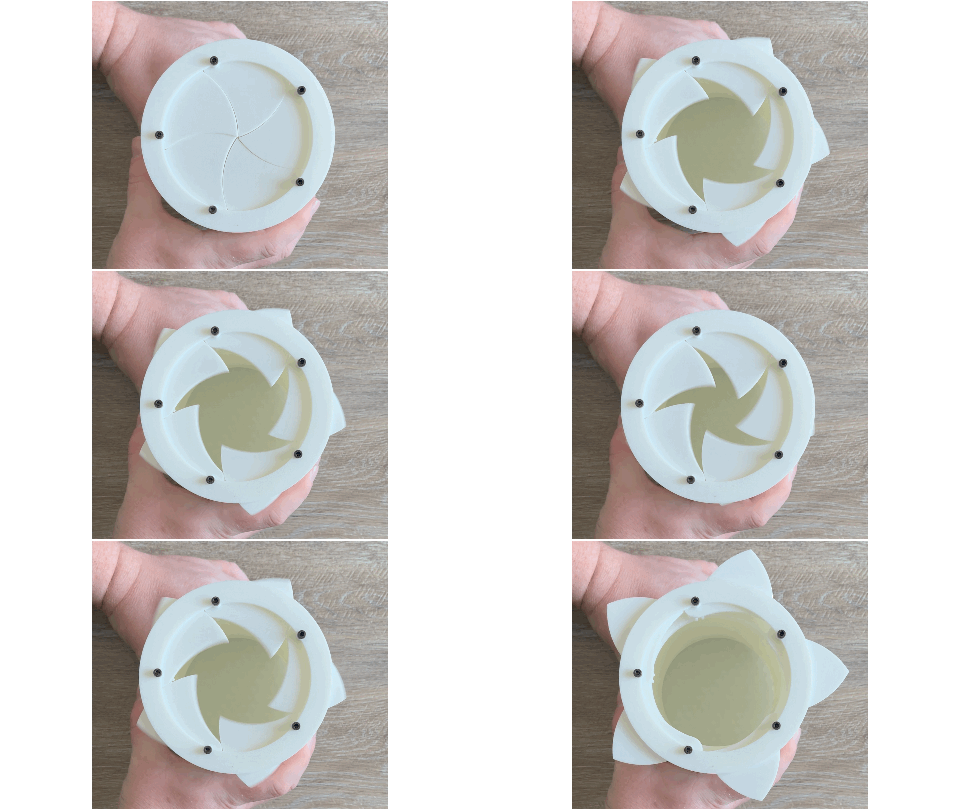
This is a container that uses an iris mechanism for a lid. Open and close the box with a small twist of the top half.
- Ocena
- 0 / 5
- Polubienia
- 25
- Pobrania
- 191
- Wydruki
- 0
- Wyświetlenia
- 1333
- Oceny
- 0
Aktualizacja u źródła:
Informacje o modelu
- Źródło
- Printables
- Kategoria
- Other Ideas
- Licencja
- Creative Commons — Attribution — Share Alike
SzczegółyPliki (4)Wydruki i komentarze (Wydruki: 0) (Komentarze: 0)Remiksy (1)Kolekcje (31)Powiązane
The Twist Open Iris Box uses a similar mechanism to a camera shutter to open and close. The top half of the container can be turned, causing a ring gear to drive the leaves and open or close the lid. The lid opens very quickly with minimal effort.
Hardware:
- 5x M3 screws 25mm length
Printed Components:
- 1x Top
- 5x Leaf
- 1x Bottom
- 1x Ring Gear Sleeve
Print Settings:
- Shells = 3
- Infill = 20%
- Layer Height = 0.2mm
- Infill Pattern = Triangles → Use whatever will support the top layer well
- Nozzle Diameter = 0.4mm
- Orientation → STLs are oriented in the best print orientation
Note: These are just the settings I used and they worked great first try (printed on Bambu P1S). Play around with the settings if you like.
Assembly Instructions:
- Partially insert screws through Top and Leaf models. The screws should have a bit of clearance in these holes. The end of the screws should just be visible at this stage .

- Ensure the assembled top leaves are in the closed position and place Ring Gear Sleeve on the assembled top. The Ring Gear Sleeve has 5 locations where the tooth gap has been filled in. The meshed tooth of the spur gear on the Leaf should be in the third tooth gap of the Ring Gear Sleeve, counter clockwise from the filled tooth gap. See pictures below for more details. This will prevent the leaves from over rotating.


- Insert the Bottom model through the Ring Gear Sleeve. Attempt to line up the holes with the tips of the screws. Carefully drive each screw in being careful to not overtighten. The screws should self tap into the holes in the Bottom.

