
Flying Bear Reborn 2 VzBoT Gantry Mod
Obliczymy ostateczną cenę na podstawie wybranego pliku. Sprawdzisz ją i zaakceptujesz przed płatnością.
Zapisane na tym urządzeniu.

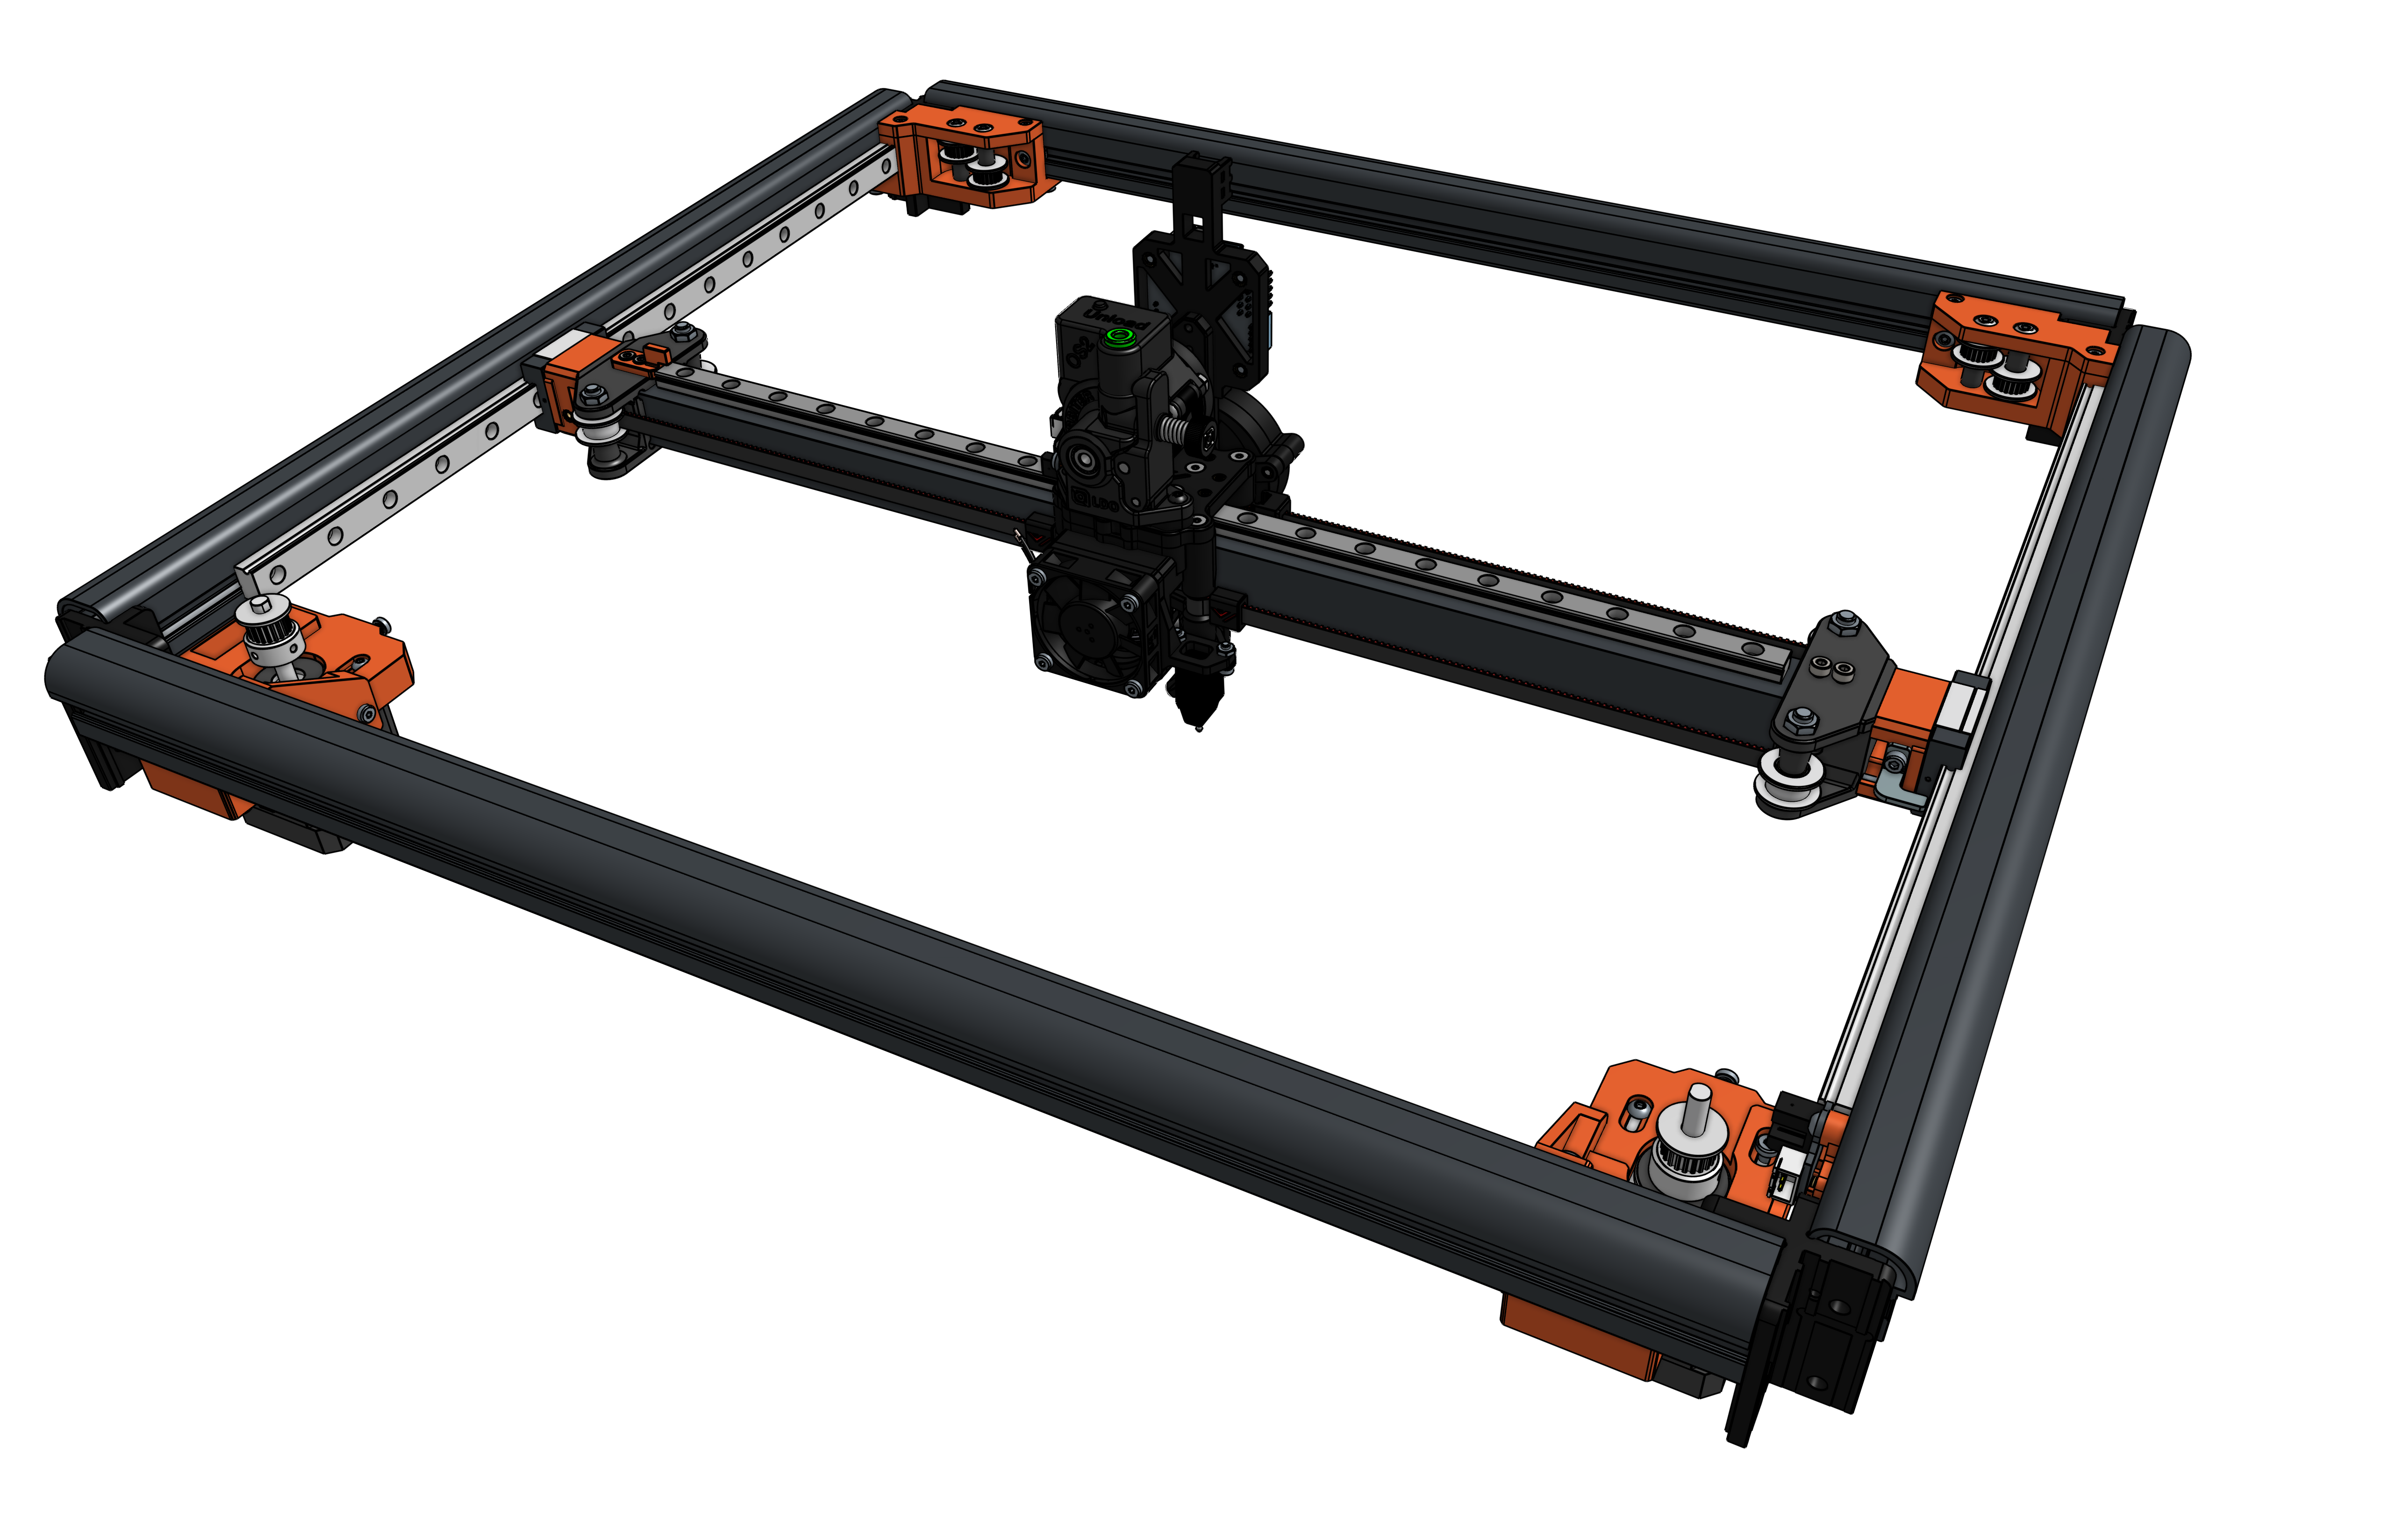
VzBoT Vz330 gantry - 2WD setup - for the Flying Bear Reborn 2
- Ocena
- 0 / 5
- Polubienia
- 96
- Pobrania
- 303
- Wydruki
- 0
- Wyświetlenia
- 4936
- Oceny
- 0
Aktualizacja u źródła:
Informacje o modelu
- Źródło
- Printables
- Kategoria
- Other Printer Parts & Upgrades
- Licencja
- Creative Commons — Attribution — Share Alike

1 | Introduction |
This model introduces the VzBoT-Vz330 gantry to the Flying Bear Reborn 2. It enables the usage of the Vz-Printhead without changes.
Key Features
- 180° rotated Vz330 - 2WD setup
- Support of the Vz-Printhead without further changes
- Support of the original Vz330 carbon and aluminum x-beams
- Support of 6mm GT2 belts, including tensioning mechanism
- NEMA17 motor mounts optimized for space and rigidity
- Support of optical endstops on X/Y
- Minimized loss in print volume on X/Y
Credits
Thanks to the VzBoT team for the Vz330 (2WD) and the Vz-Printhead - https://github.com/VzBoT3D
Thanks to the german 3D printing community of https://forum.drucktipps3d.de
2 | Printing Parts & Pre-Assembly |
This chapter focuses on building the components for the Reborn 2. For further information on the remaining VzBot parts, components and assemblies, please check the public VzBoT-Vz330 Github repository for 2WD setup (Link).
Full assembly: Onshape Workspace Link (reduced snapshot, 2024-02-06)
2.1 | Printing Parts |
The parts were successfully printed with ASA on a Bambulab P1S (tested with Extrudr DuraPro ASA and Fillamentum ASA extrafill).
VzBoT print settings
https://docs.vzbot.org/general/misc-info/print-settings/
My own print settings
- ASA with 260 °C nozzle and 100 °C bed
- 0.4 mm nozzle at 0.2 mm layer hight
- 40% infill, cubic
- 2 mm wall thickness (perimenter)
- 1 mm top shell thickness
- 1 mm bottom shell thickness
- build plate supports
- inner and outer brim of 5mm (to avoid warping)
Object orientation
 |  |
Lessons learned
ABS and ASA react extremely to temperature changes (warping). Therefore, print with an enclosed chamber. Do not open the chamber during printing, not even for a few seconds! Always wait until the printed parts have cooled down completely before opening the chamber (equals ambient temperature).
2.2 | Bill Of Materials |
The material list only includes the parts required to assemble the components described in chapter 2.3. It does not include the parts for the remaining Vz330 gantry or for the Vz-Printhead.
| # (Quantity) | Item | |
|---|---|---|
| Printed items | ||
| 1 | 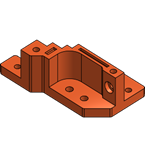 | RB2_IdlerMount_BaseLeft
|
| 1 | 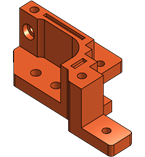 | RB2_IdlerMount_BaseRight
|
| 1 | 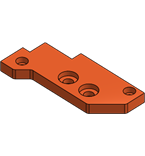 | RB2_IdlerMount_TopLeft
|
| 1 | 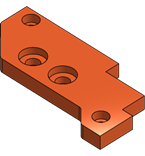 | RB2_IdlerMount_TopRight
|
| 1 | 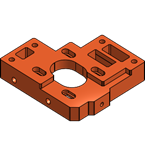 | RB2_MotorMount_BaseLeft |
| 1 | 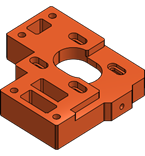 | RB2_MotorMount_BaseRight |
| 1 | 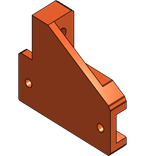 | RB2_MotorMount_SupportLeft |
| 1 | 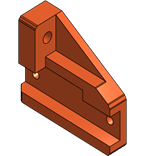 | RB2_MotorMount_SupportRight |
| 1 | 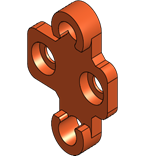 | RB2_YEndstopMount |
| 1 | 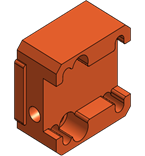 | RB2_YGantryMount_MGN12C_Left |
| 1 | 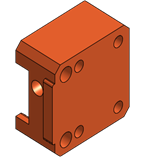 | RB2_YGantryMount_MGN12C_Right |
| 1 |  | RB2_XEndstopMount |
| 1 | 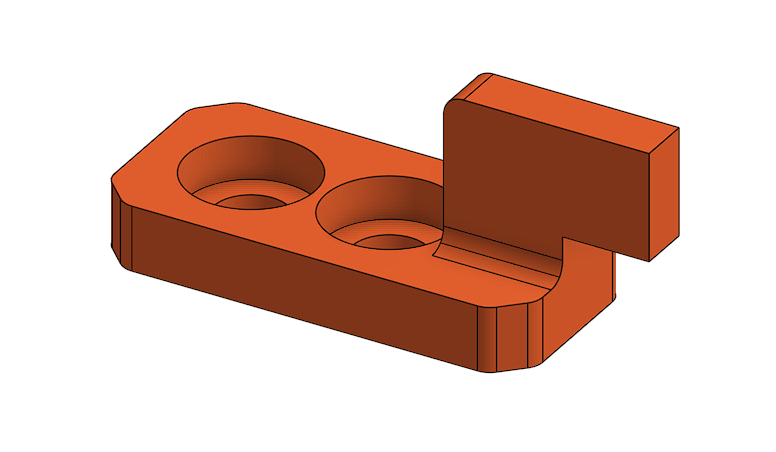 | RB2_XEndstopIndicator |
| Remixed printed items or CNC items | ||
| 2 | 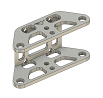 | CNC VzBoT Y Gantry
|
| - or - | ||
| 2 | 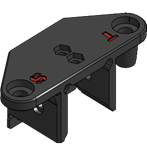 | RB2_YGantry_SVx_Bottom (remixed part design)
|
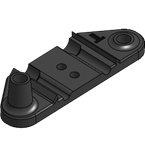 | RB2_YGantry_SVx_Top (remixed part design)
| |
| Reused items from Reborn 2 | ||
| 2 | 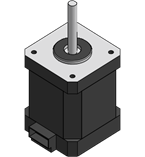 | NEMA17 stepper motor / 5mm shaft |
Note: The original X stepper motor has an extra-long shaft with a length of 31.5 mm, which is quite unusual. The design of the motor mount takes into account stepper motors with a minimum shaft length of 20 mm (e.g. LDO-42STH48-2504MAC). Please note that with a shaft length of 20 mm, the motor pulley is not completely covered. | ||
| 2 | 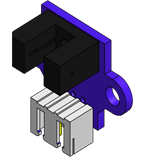 | Optical endstop |
| 1 | 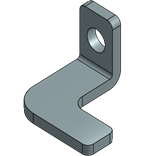 | Y Enstop Indicator |
| Additionally needed items | ||
| 20 | 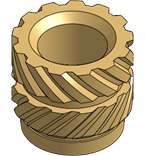 | M3 Threaded Insert / Voron RX-M3x5x4 |
| 18 | 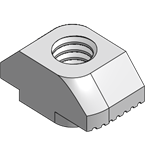 | M4 T-Nut for 2020 extrusion |
| 2 | 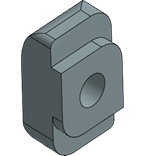 | M3 T-Nut for 2020 extrusion |
| 11 |  | M3 x 6 - Hex socket head cap screw |
| 6 |  | M3 x 8 - Hex socket head cap screw |
| 4 |  | M3 x 10 - Hex socket head cap screw |
| 4 |  | M3 x 16 - Hex socket head cap screw |
| 4 |  | M3 x 20 - Hex socket head cap screw |
| 6 |  | M4 x 12 - Hex socket head cap screw |
| 2 |  | M4 x 14 - Hex socket head cap screw |
| 8 | 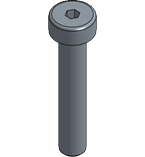 | M4 x 20 - Hex socket head cap screw |
| 8 | 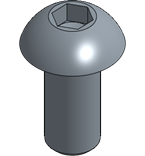 | M3 x 6 - Socket button head screw |
| 2 | 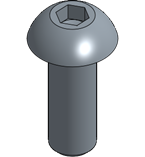 | M4 x 10 - Socket button head screw |
| 8 | 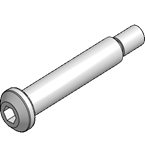 | SV1: M4 x Shoulder Bolt / 5mm shaft / 25 mm length
|
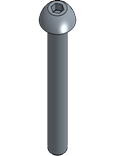 | SV2: M5 x 30 - Socket button head screw | |
| 8 | 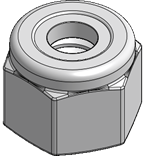 | SV1: M4 self locking nut
|
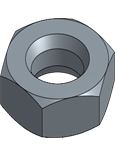 | SV2: M5 (self locking) nut | |
| 2 | 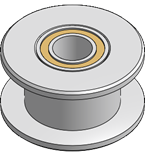 | Idler pulley GT2 / for 6mm width / 5 mm bore |
| 2 | 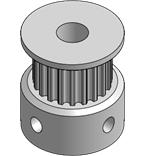 | Motor pulley GT2 20T / for 6 mm width / 5 mm bore |
| 6 | 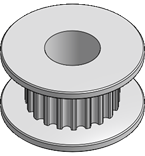 | Pulley GT2 20T / for 6 mm width / 5 mm bore |
| 2 | 2 m GT2 6mm timing belt | |
| 4 | 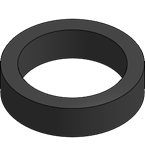 | Spacer 0.9 - 1.0 mm / 5 mm bore
|
| 4 | 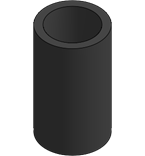 | Spacer 10.4 - 10.5 mm / 5 mm bore
|
2.2.1 | X-Beam compatibility |
During the design phase I came across some compatibility constraints of the original Vz330 x-beam parts. So, here are my lessons learned:
| Vz330 original parts | Carbon x-beam | Aluminum CNC x-beam |
| Printed Y-gantry | fully compatible | not compatible (need to shape apart some material from the top and bottom gantry items) |
| Aluminum CNC Y-gantry | compatible with spacers (Link) | fully compatible |
2.3 | Components Assembly |
Needed Tools
- Soldering station for installing the threaded inserts
- Some drills to clean the holes in case of too much material flow
- Allen key set / screw driver
- Sanding paper or file to clean the printed parts
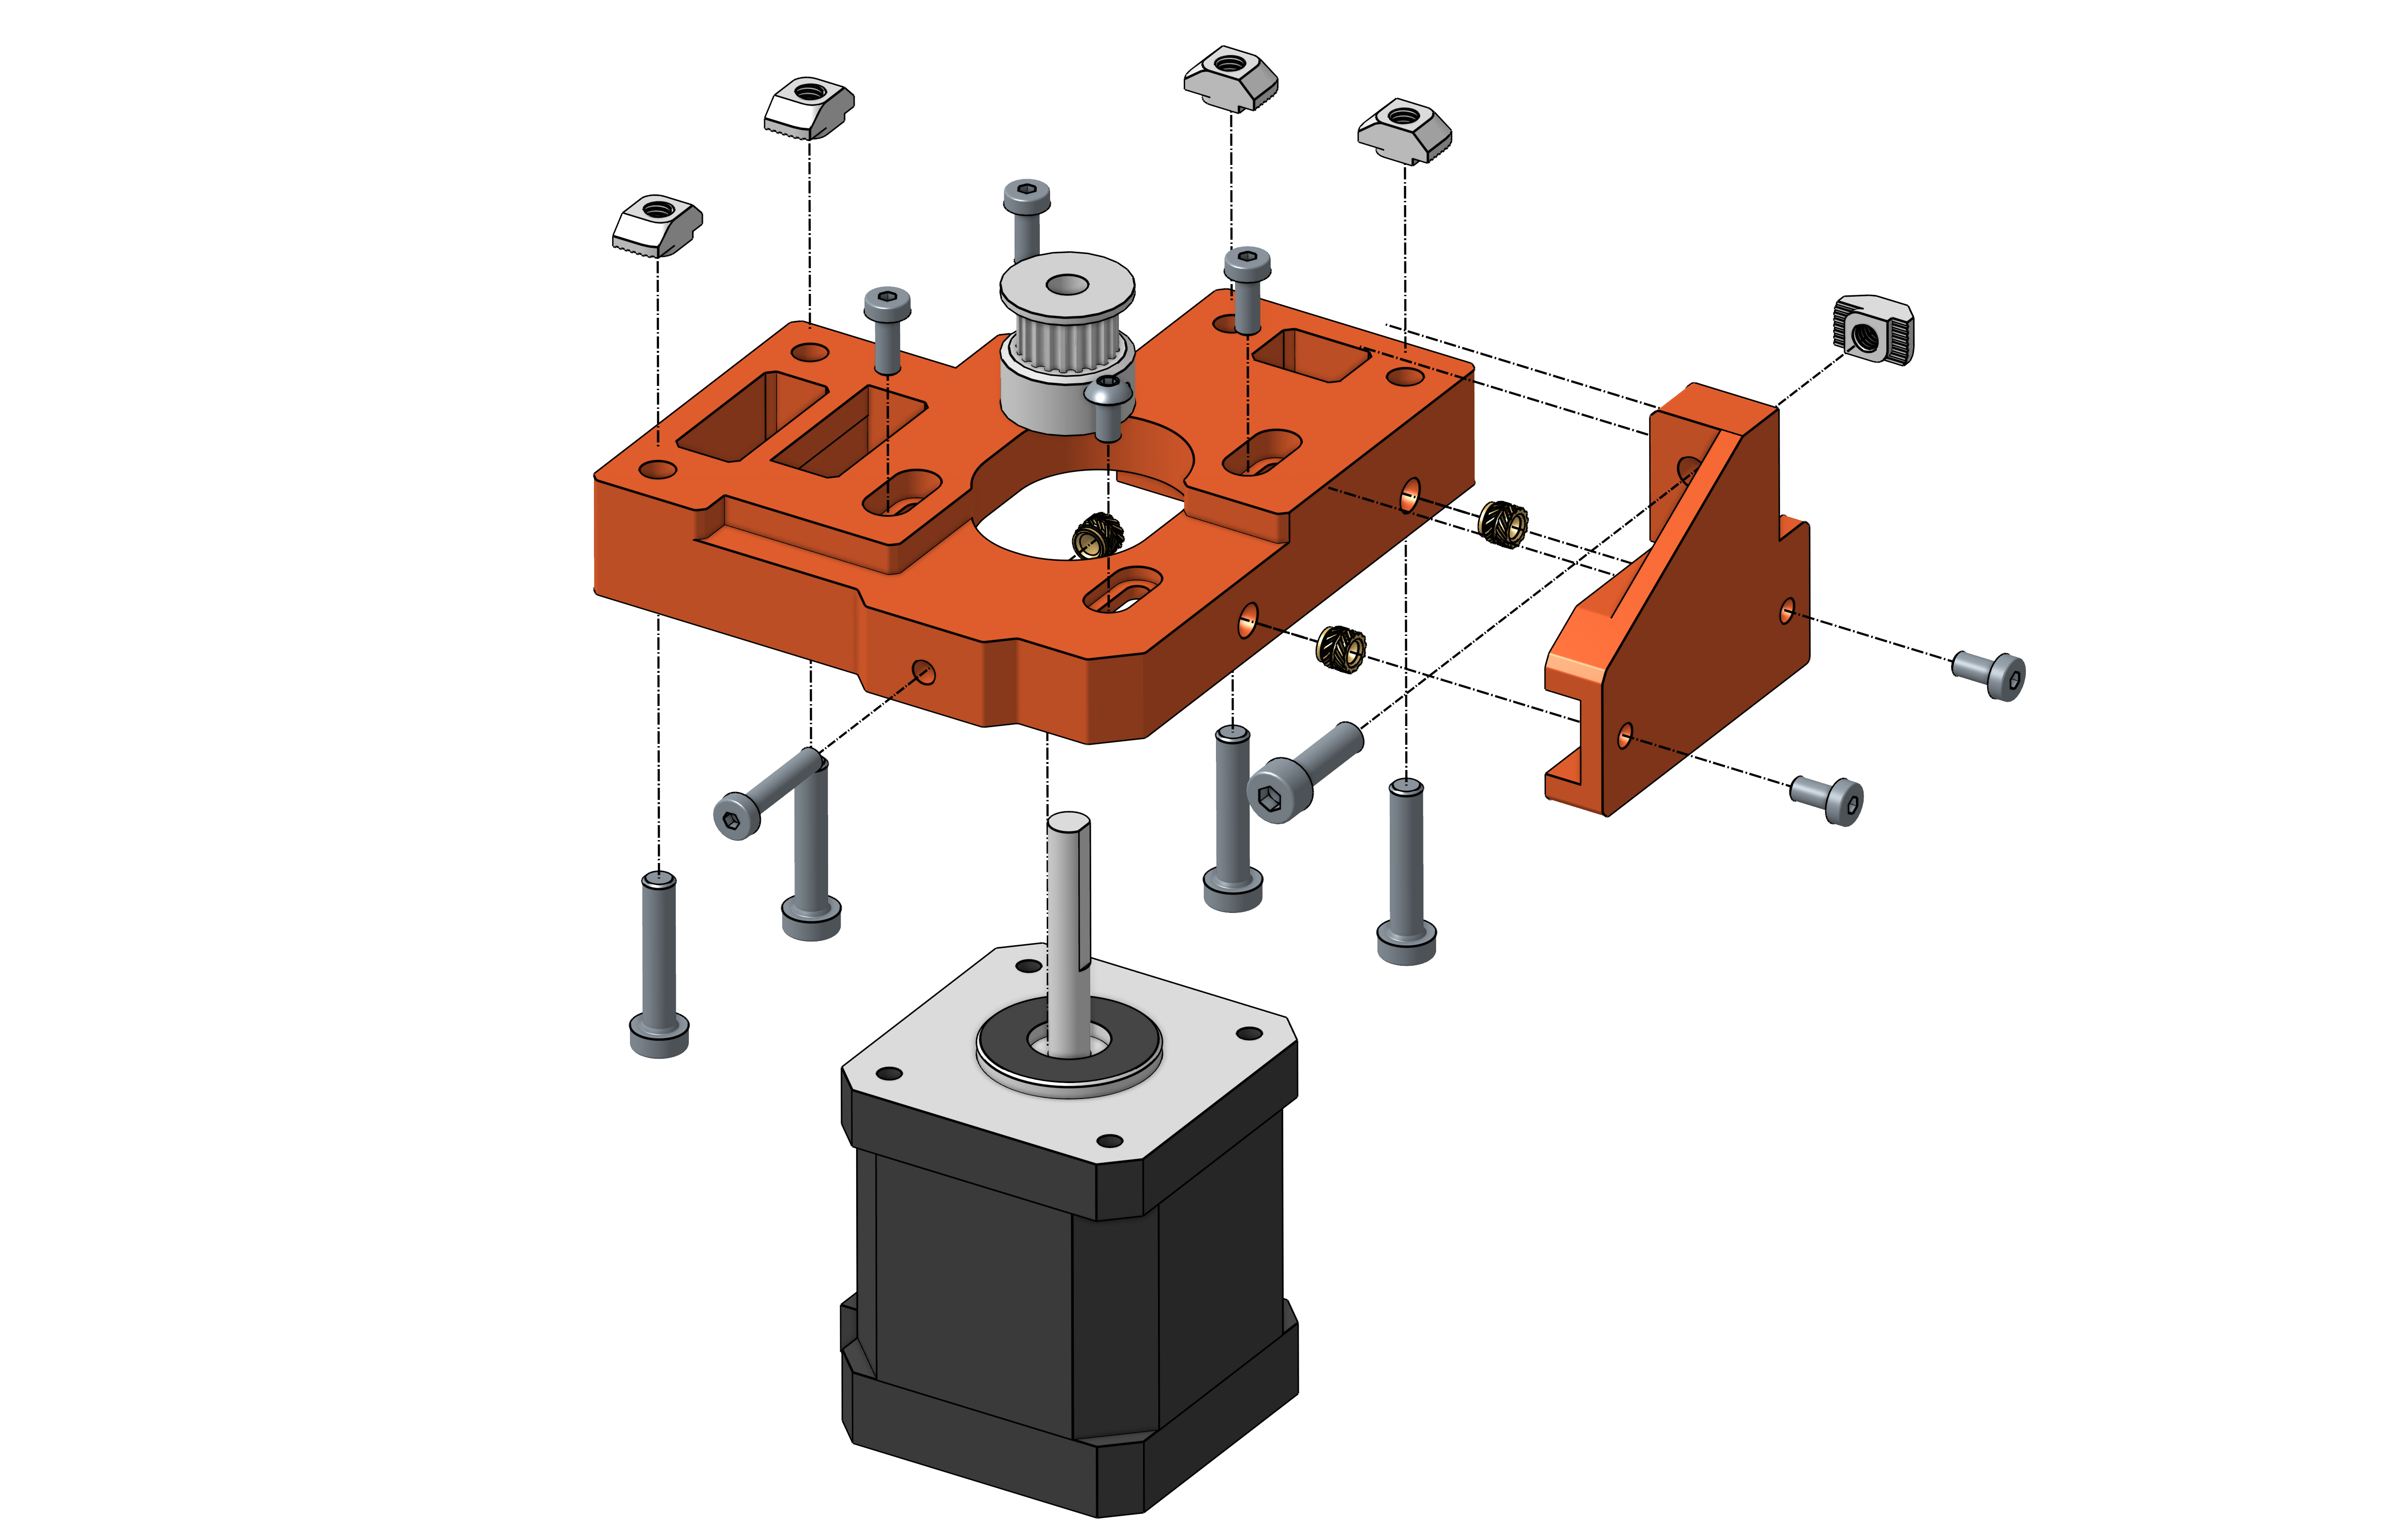
Motor Mount Left
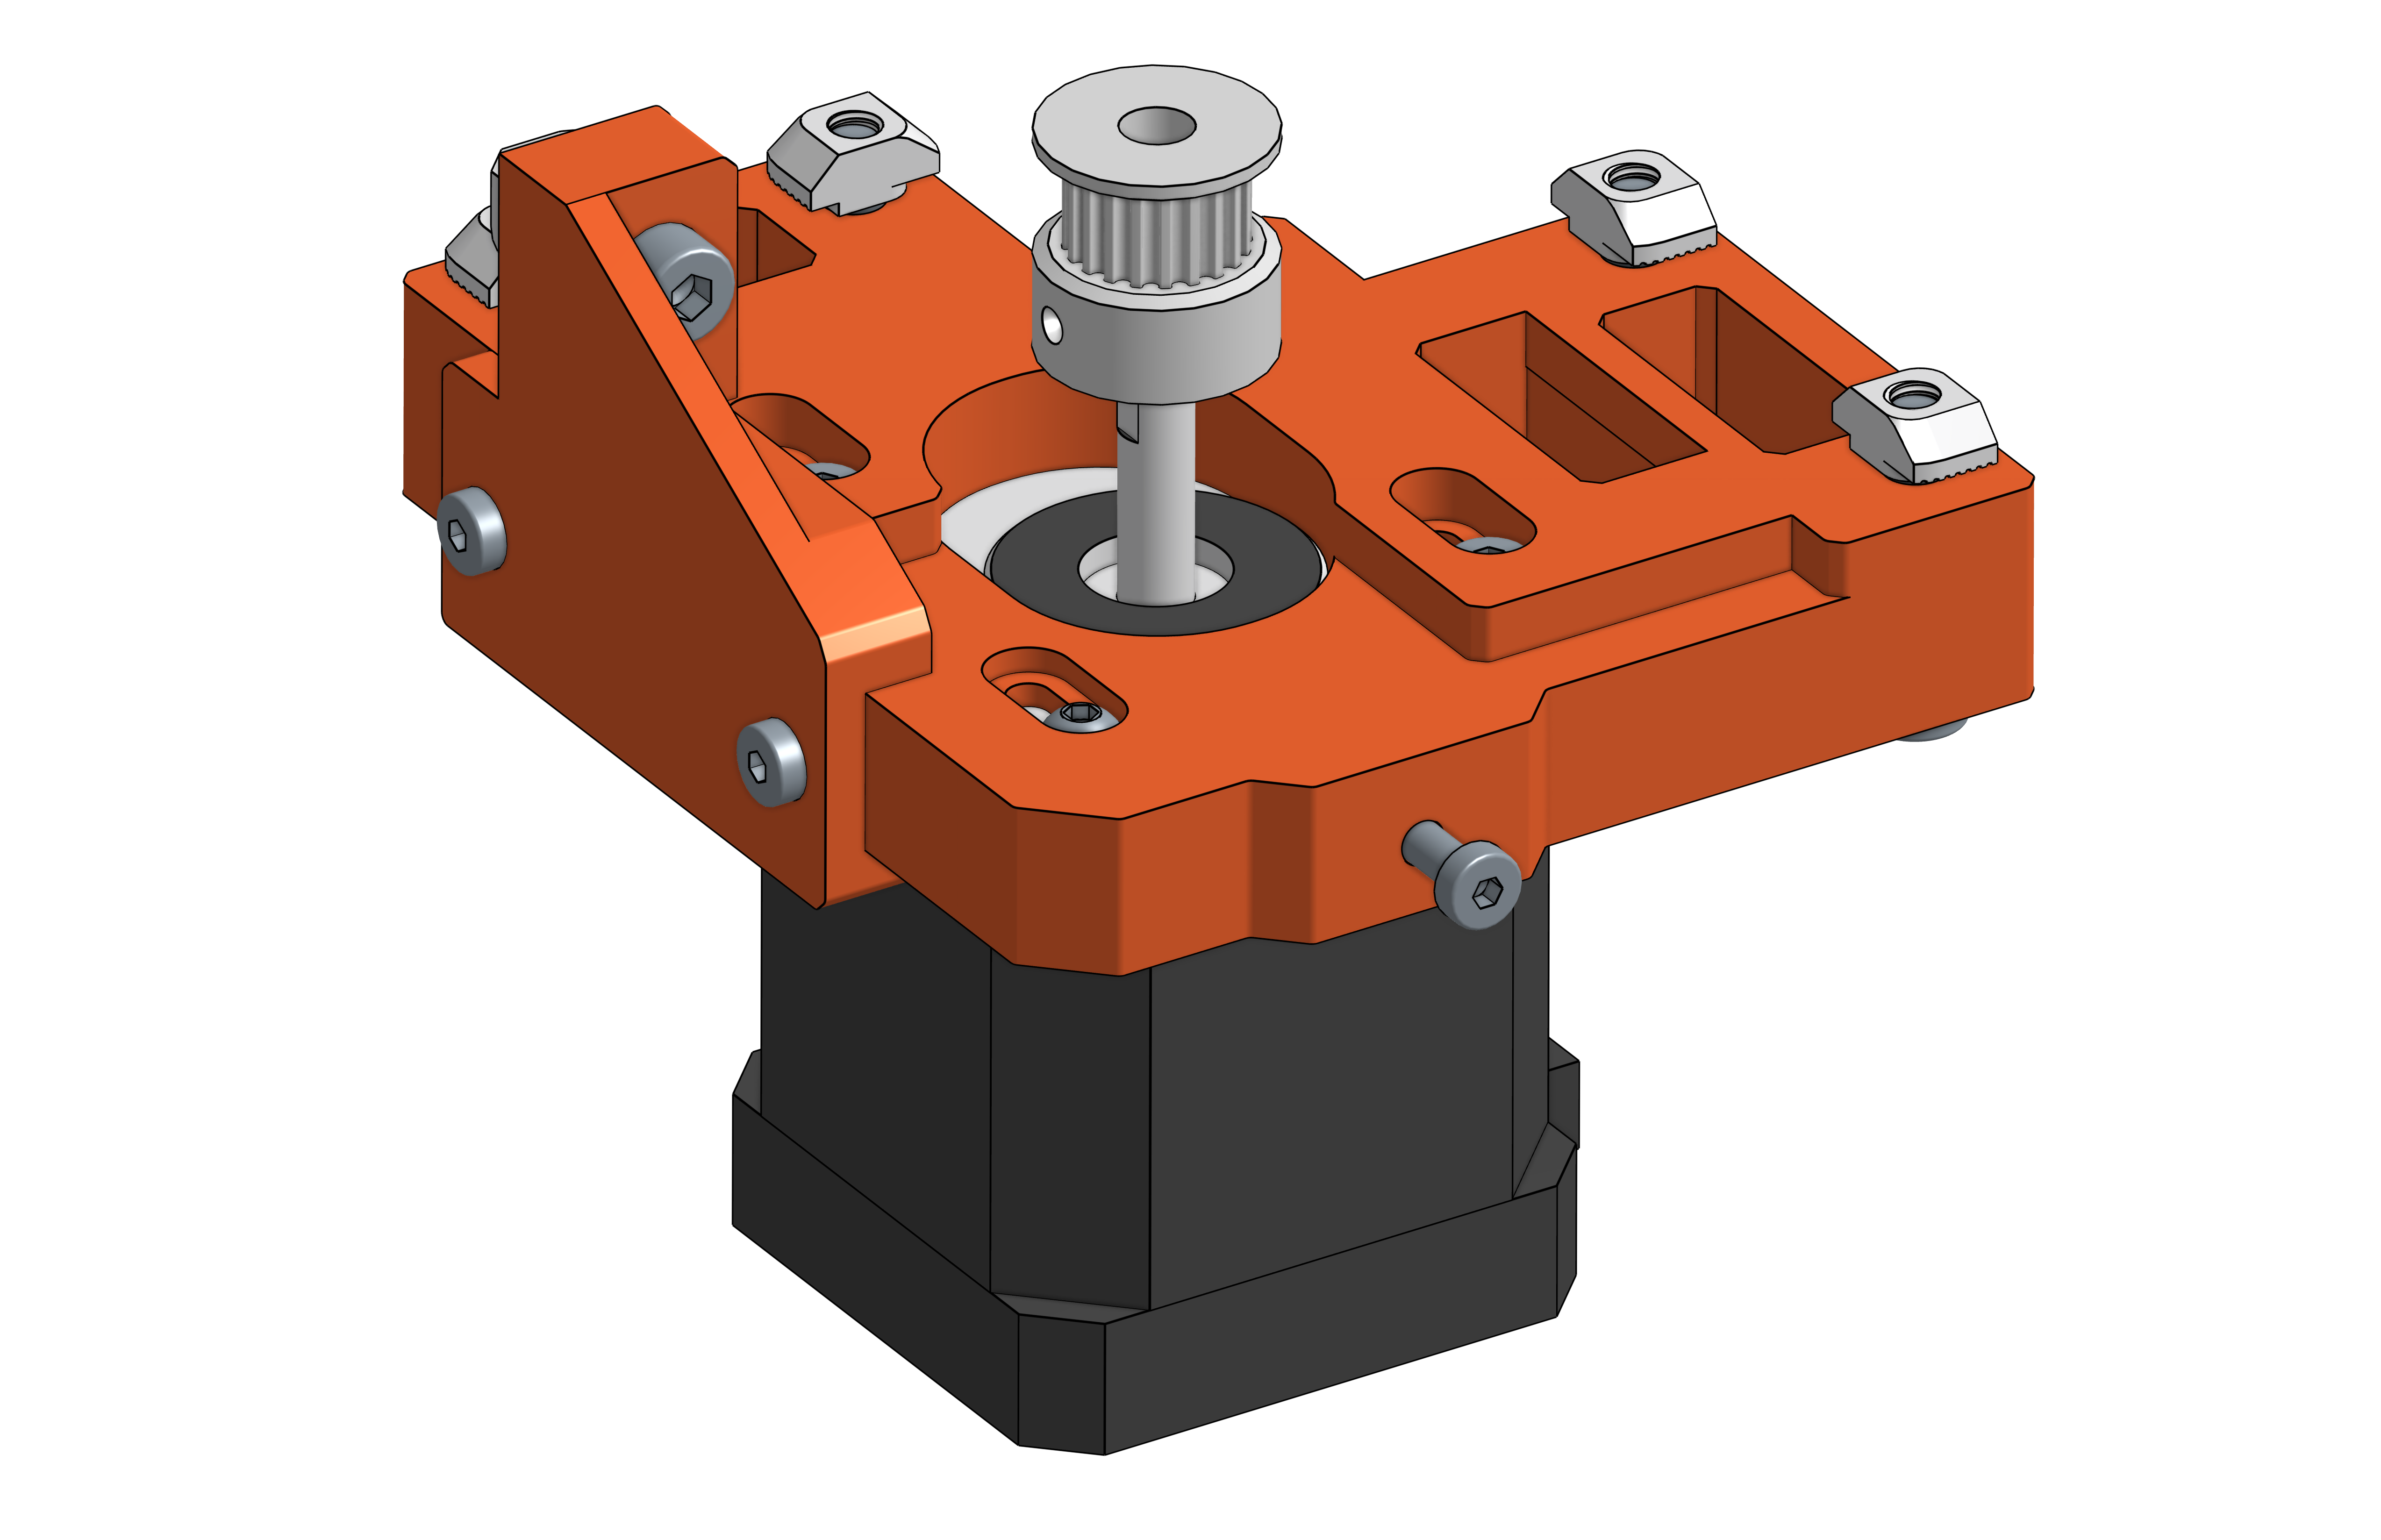 |  |
| # | Item |
|---|---|
| 1 | RB2_MotorMount_BaseLeft |
| 1 | RB2_MotorMount_SupportLeft |
| 3 | M3 Threaded Insert / Voron RX-M3x5x4
|
| 2 | M3 x 6 - Hex socket head cap screw
|
| 3 | M3 x 8 - Hex socket head cap screw
|
| 1 | M3 x 6 - Socket button head screw
|
| 1 | NEMA17 stepper motor / 5mm shaft |
| 1 | Motor pulley GT2 20T / for 6 mm width / 5 mm bore
|
| 4 | M4 x 20 - Hex socket head cap screw
|
| 1 | M4 x 14 - Hex socket head cap screw
|
| 5 | M4 T-Nut for 2020 extrusion
|
| 1 | M3 x 16 - Hex socket head cap screw
|
Motor Mount Right
 |  |
| # | Item |
|---|---|
| 1 | RB2_MotorMount_BaseRight |
| 1 | RB2_MotorMount_SupportRight |
| 3 | M3 Threaded Insert / Voron RX-M3x5x4
|
| 2 | M3 x 6 - Hex socket head cap screw
|
| 3 | M3 x 8 - Hex socket head cap screw
|
| 1 | M3 x 6 - Socket button head screw
|
| 1 | NEMA17 stepper motor / 5mm shaft |
| 1 | Motor pulley GT2 20T / for 6 mm width / 5 mm bore
|
| 4 | M4 x 20 - Hex socket head cap screw
|
| 1 | M4 x 14 - Hex socket head cap screw
|
| 5 | M4 T-Nut for 2020 extrusion
|
| 1 | M3 x 16 - Hex socket head cap screw
|
Idler Mount Left
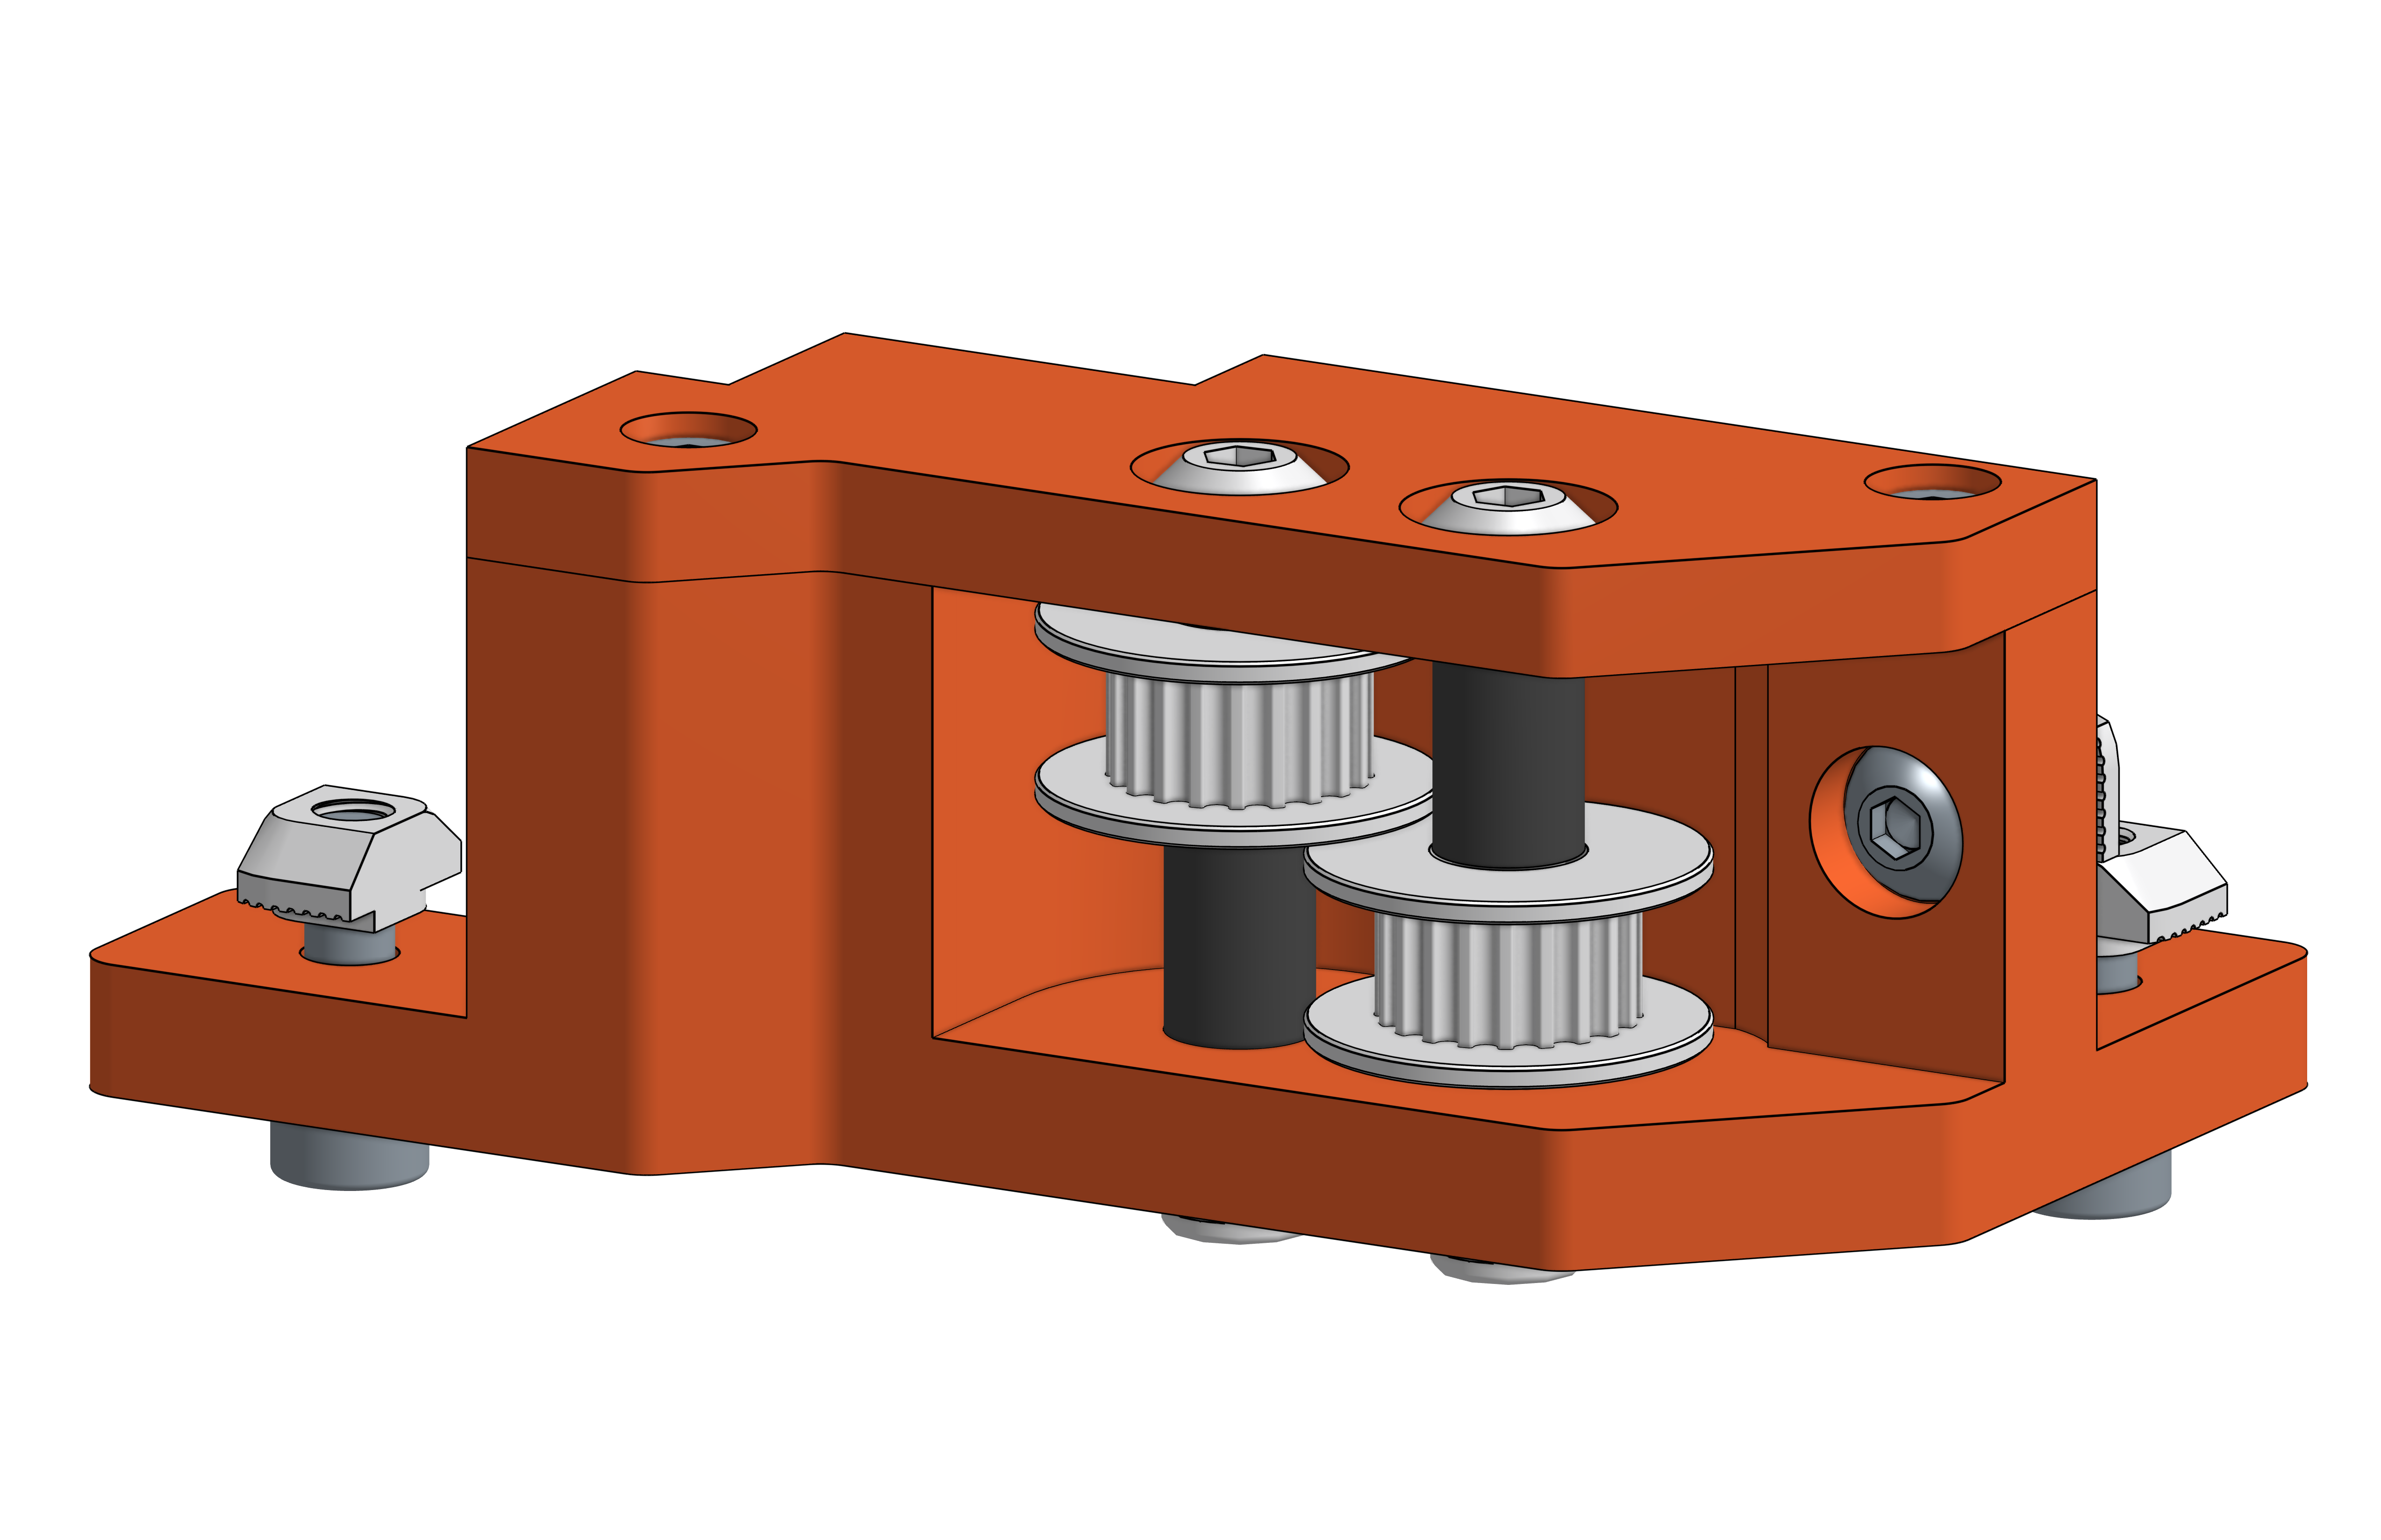 | 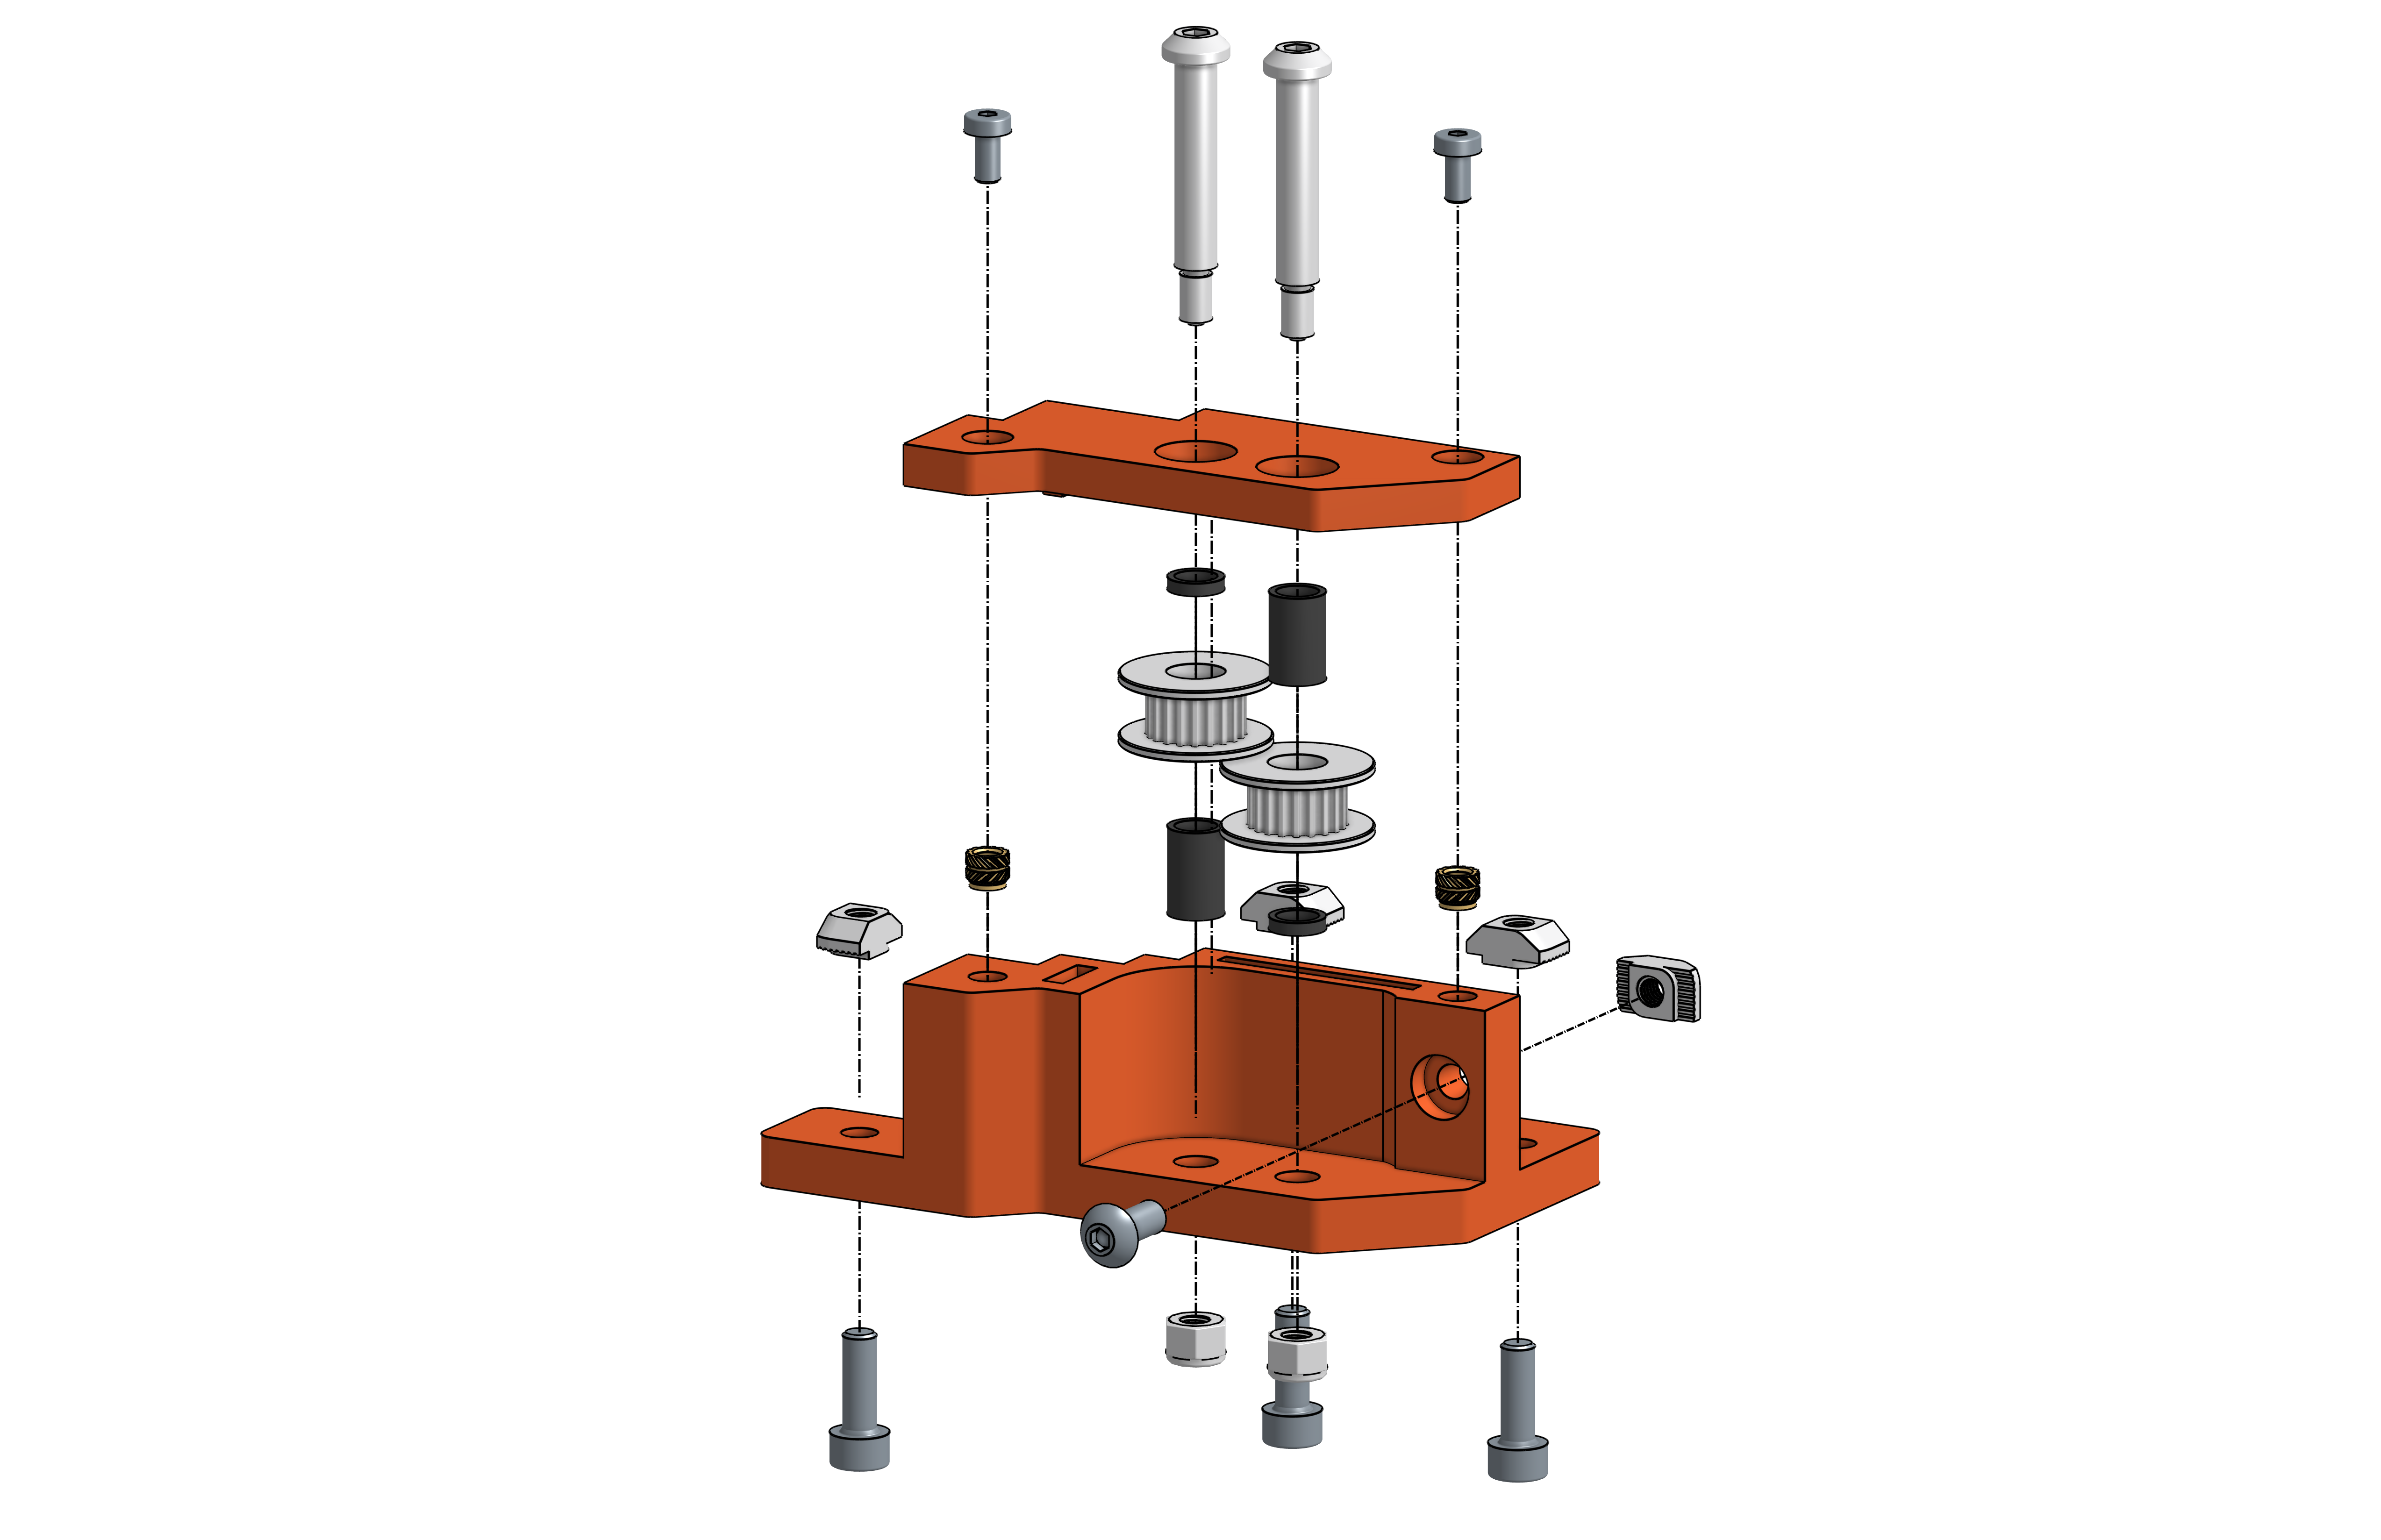 |
| # | Item |
|---|---|
| 1 | RB2_IdlerMount_BaseLeft |
| 1 | RB2_IdlerMount_TopLeft |
| 2 | M3 Threaded Insert / Voron RX-M3x5x4
|
| 2 | M3 x 6 - Hex socket head cap screw
|
| 2 | Shaft variant 1 (SV1): Shaft variant 2 (SV2):
|
| 2 | Shaft variant 1 (SV1): Shaft variant 2 (SV2):
|
| 2 | Pulley GT2 20T / for 6 mm width / 5 mm bore |
| 2 | Spacer 0.9 - 1.0 mm / 5 mm bore
|
| 2 | Spacer 10.4 - 10.5 mm / 5 mm bore
|
| 3 | M4 x 12 - Hex socket head cap screw
|
| 1 | M4 x 10 - Socket button head screw
|
| 4 | M4 T-Nut for 2020 extrusion
|
Idler Mount Right
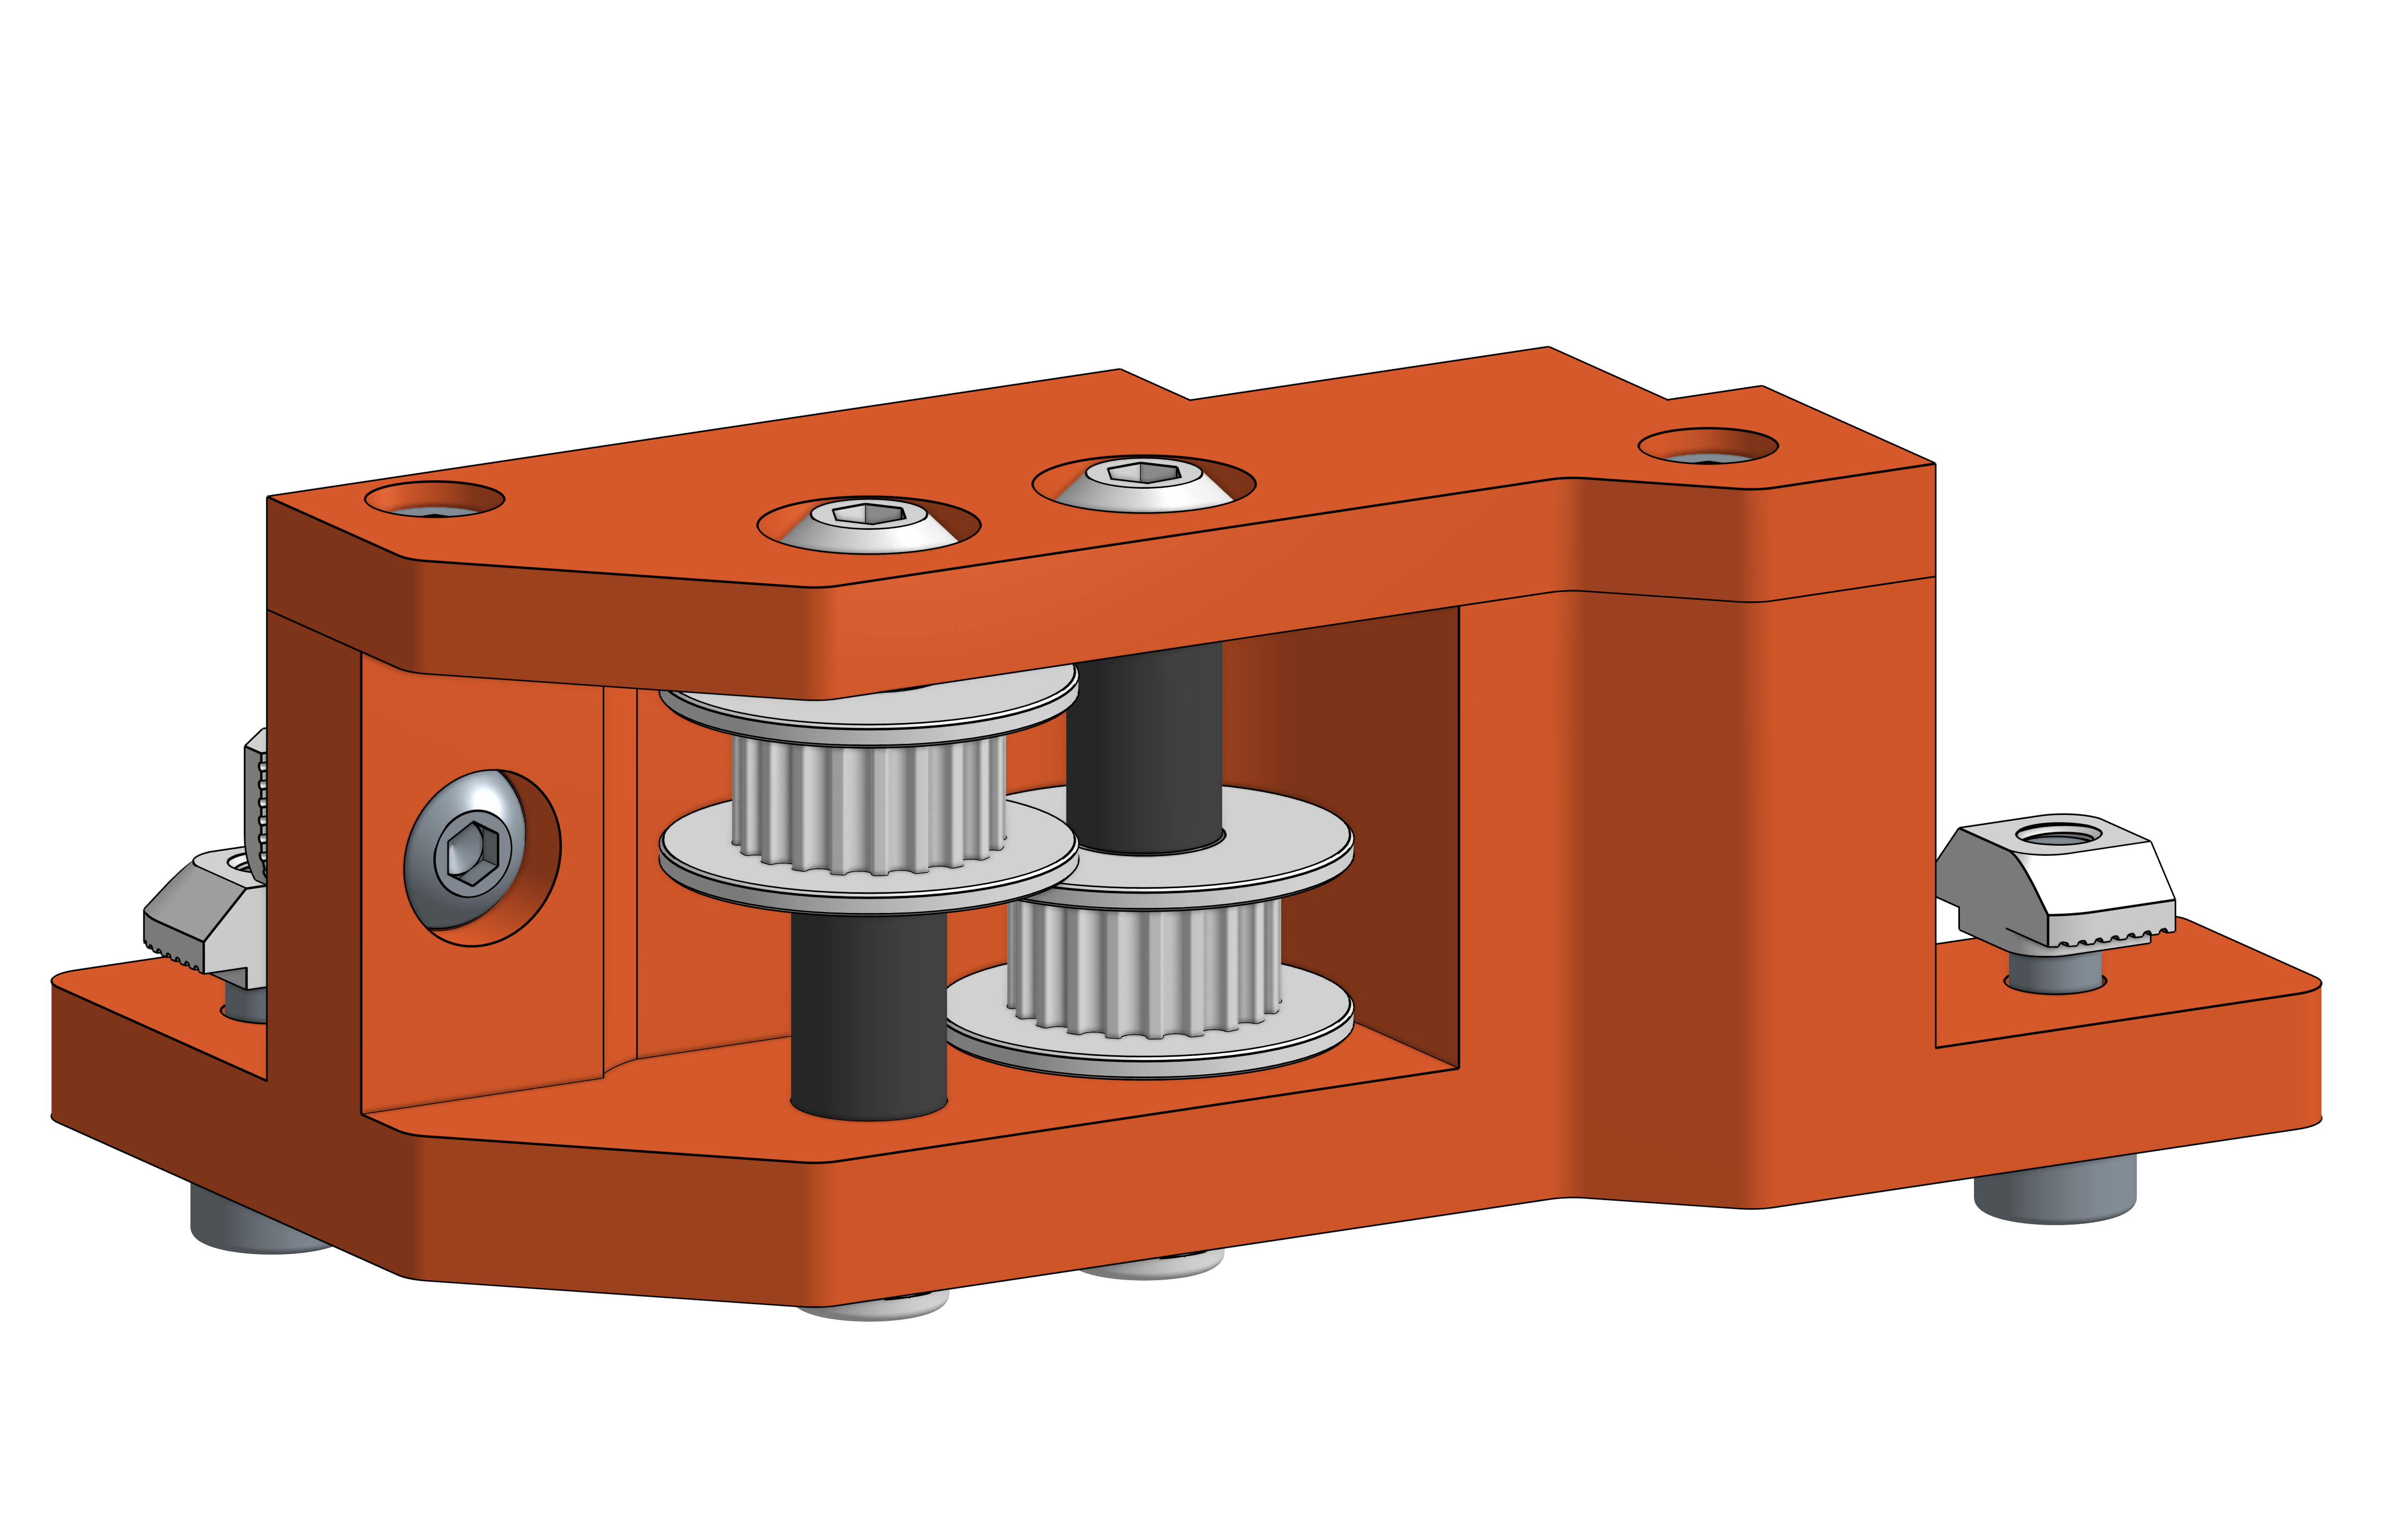 | 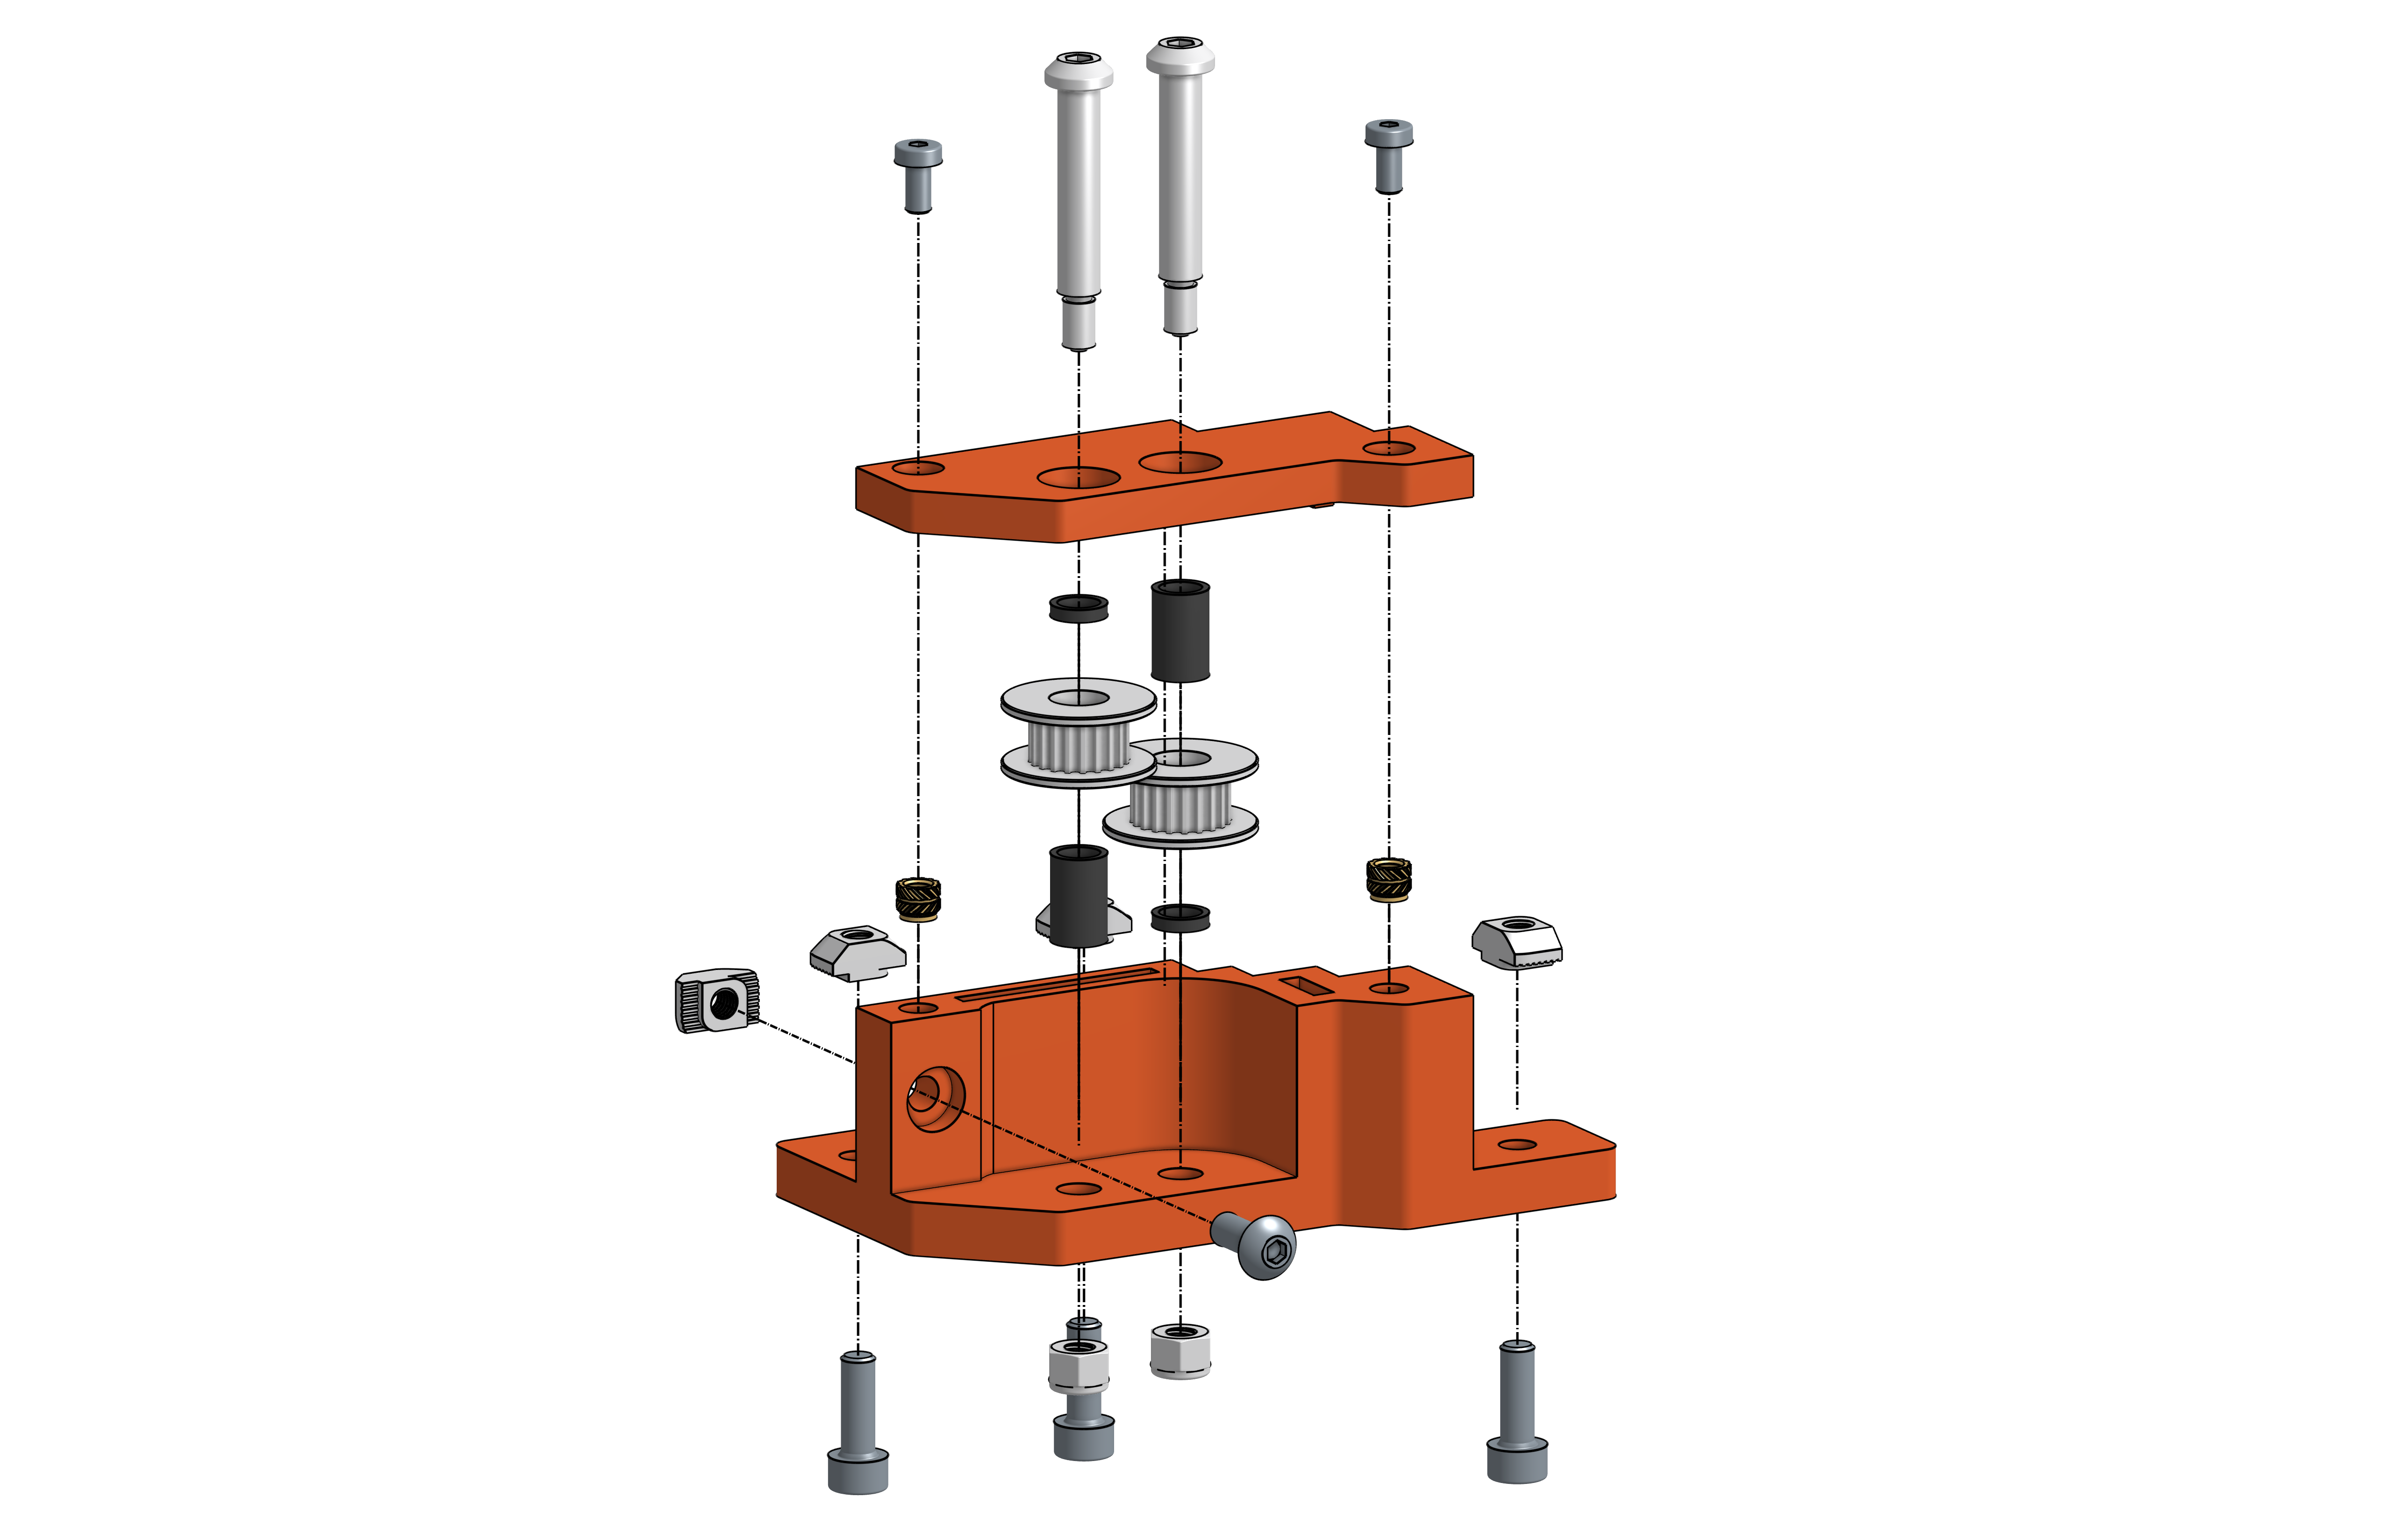 |
| # | Item |
|---|---|
| 1 | RB2_IdlerMount_BaseRight |
| 1 | RB2_IdlerMount_TopRight |
| 2 | M3 Threaded Insert / Voron RX-M3x5x4
|
| 2 | M3 x 6 - Hex socket head cap screw
|
| 2 | Shaft variant 1 (SV1): Shaft variant 1 (SV2):
|
| 2 | Shaft variant 1 (SV1): Shaft variant 1 (SV2):
|
| 2 | Pulley GT2 20T / for 6 mm width / 5 mm bore |
| 2 | Spacer 0.9 - 1.0 mm / 5 mm bore
|
| 2 | Spacer 10.4 - 10.5 mm / 5 mm bore
|
| 3 | M4 x 12 - Hex socket head cap screw
|
| 1 | M4 x 10 - Socket button head screw
|
| 4 | M4 T-Nut for 2020 extrusion
|
Y Gantry Mount Left - MGN12C
Note: This part can be used with both variants of the Y gantry, the original aluminum CNC machined one or the remixed printed one.
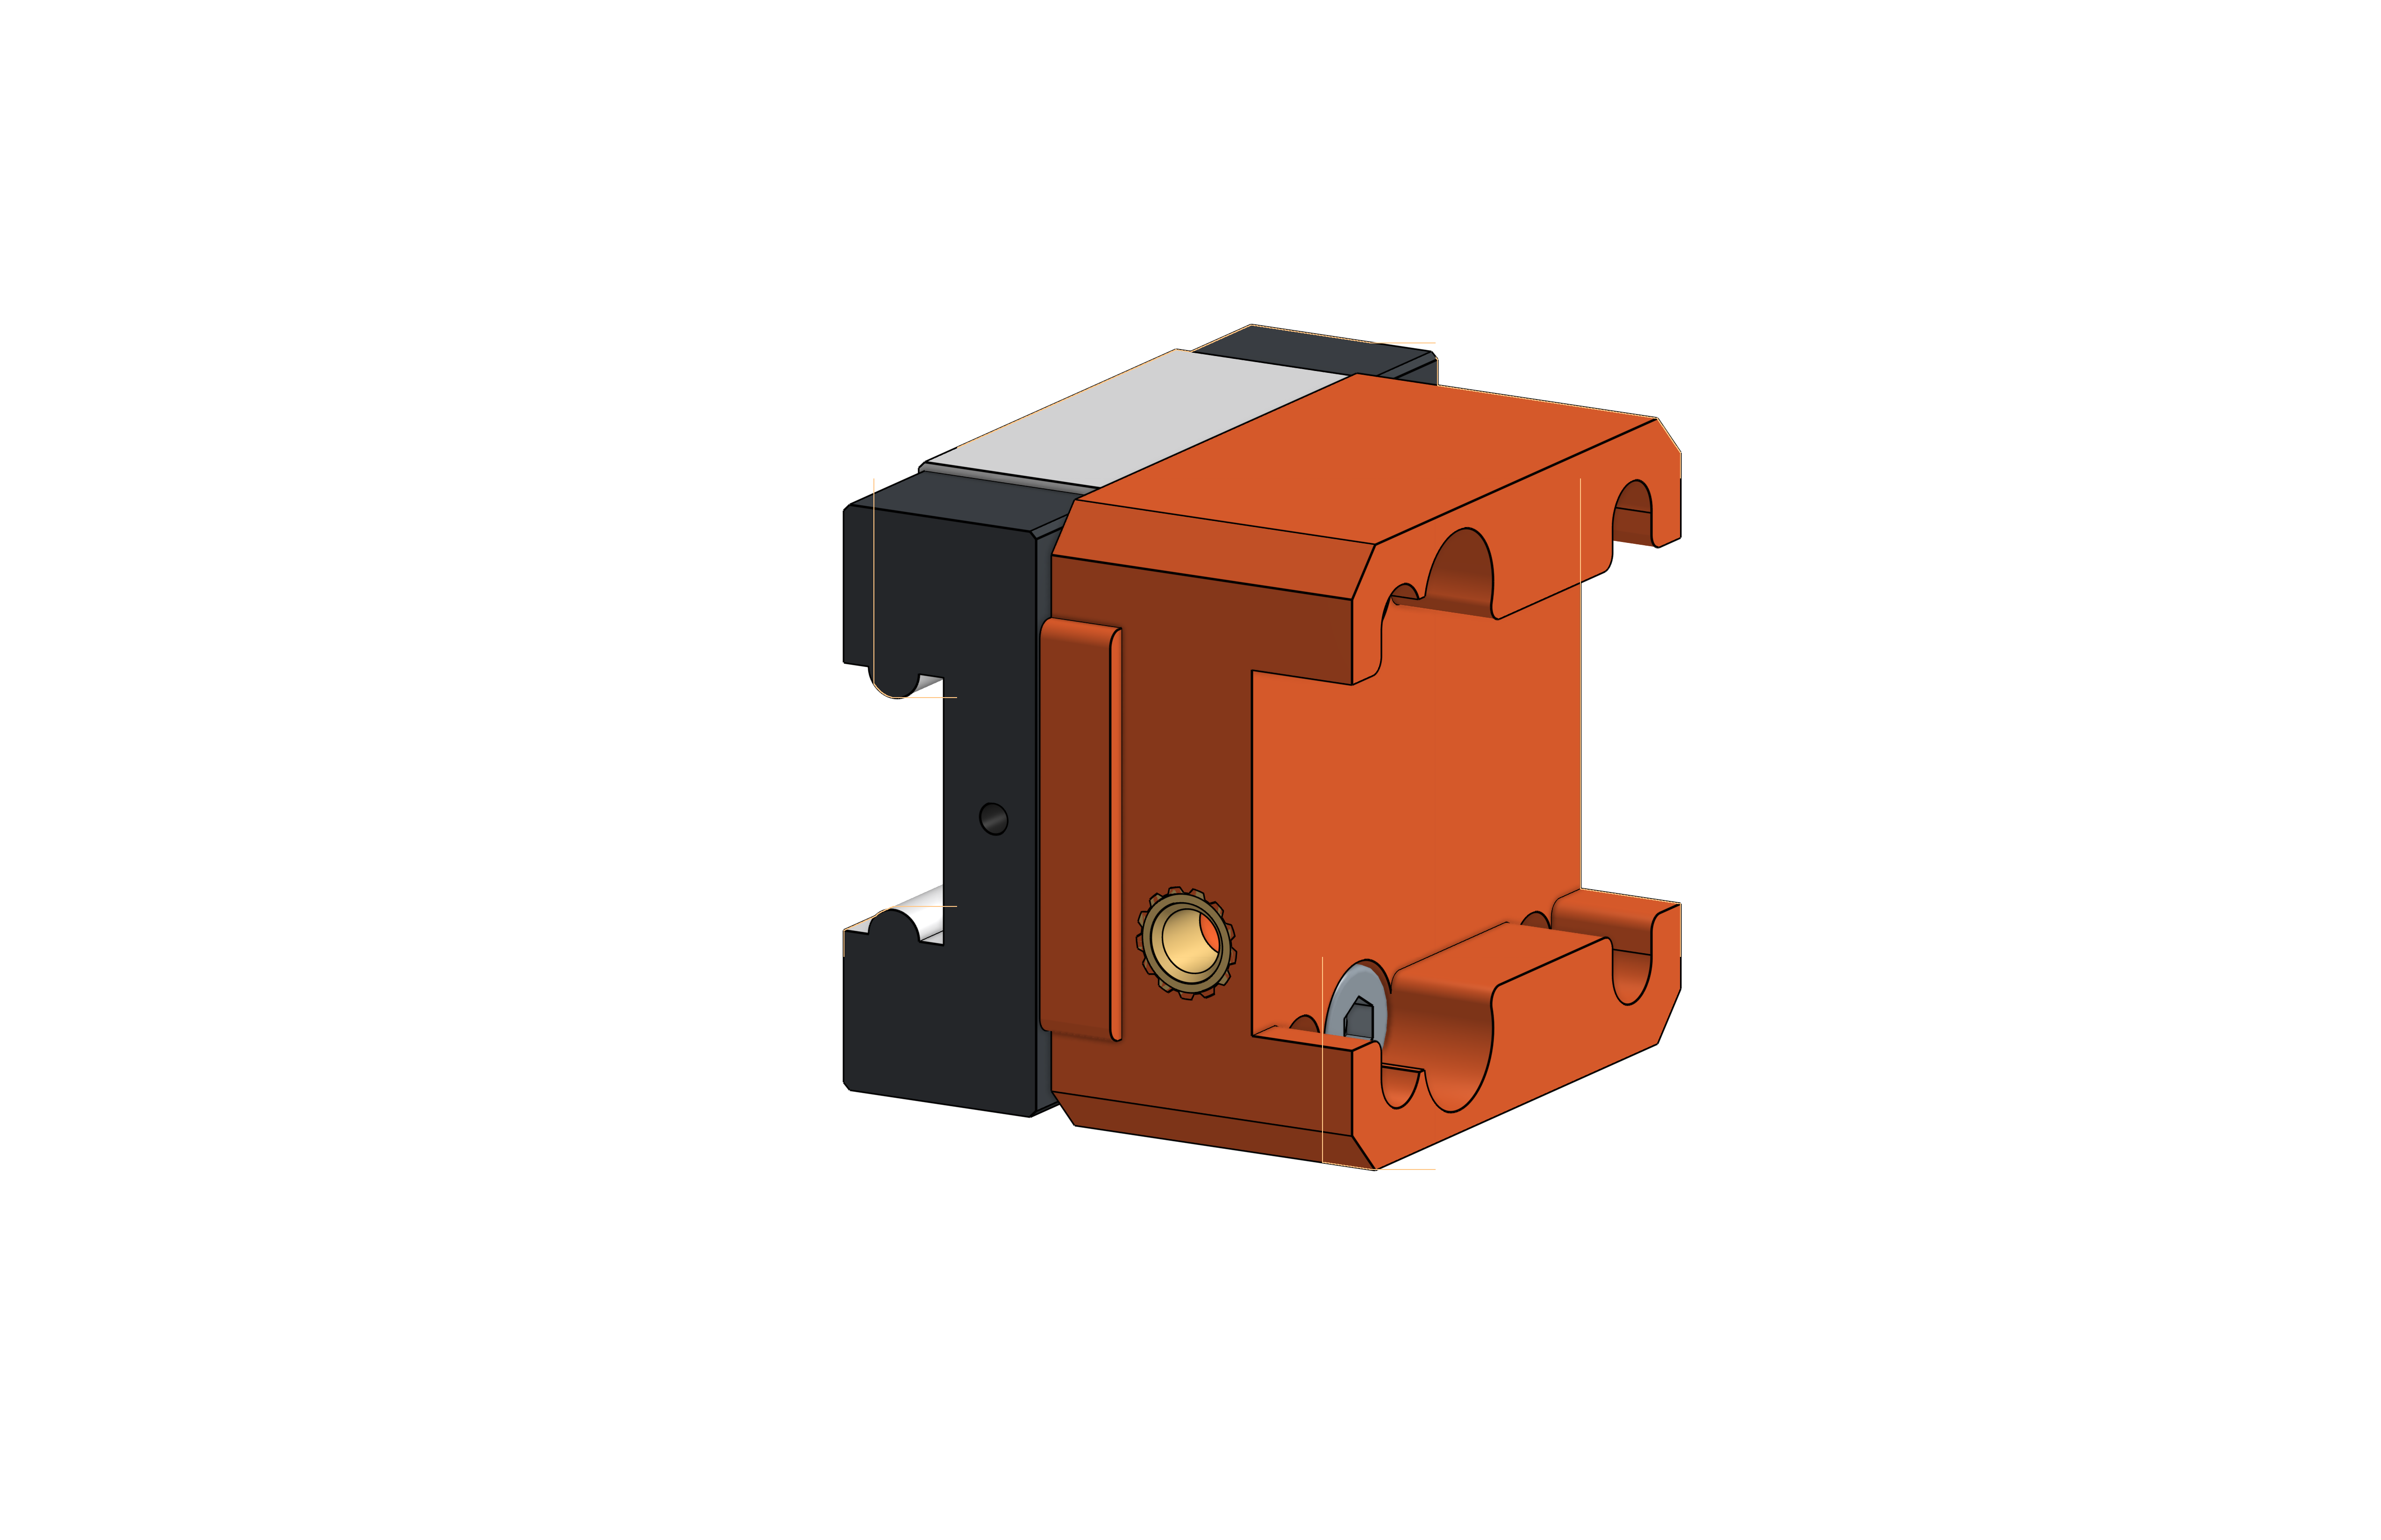 | 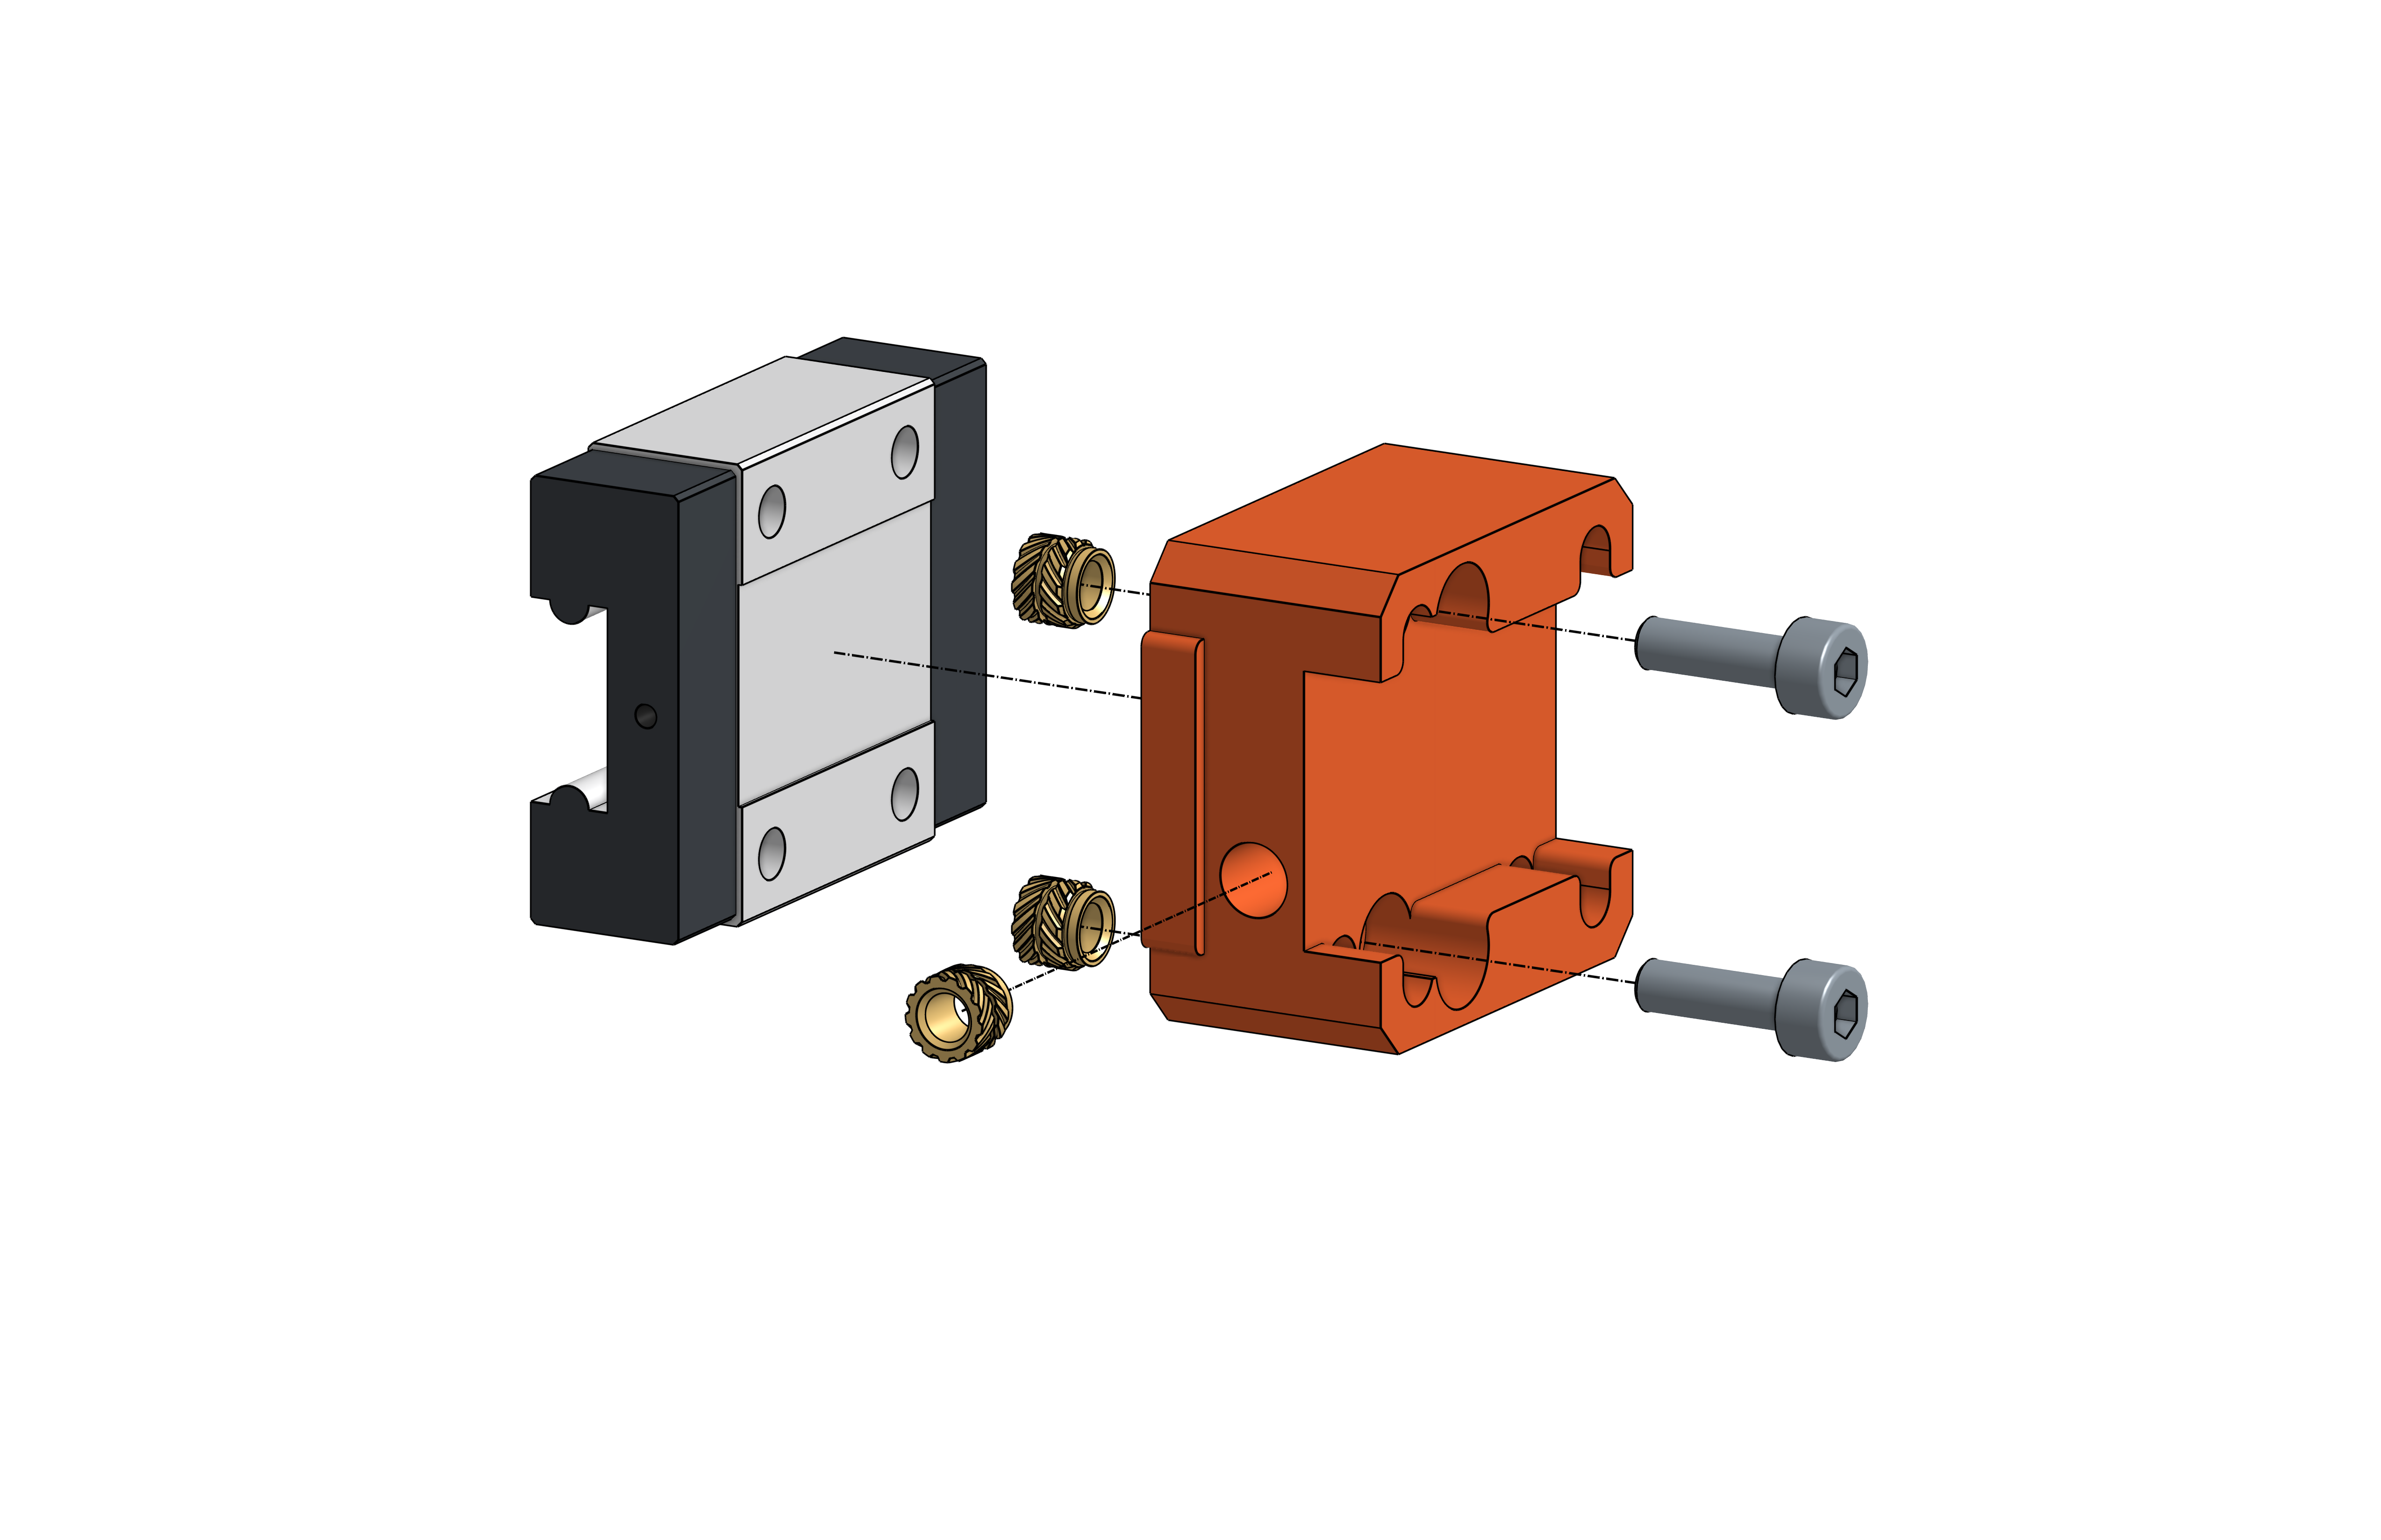 |
| # | Item |
|---|---|
| 1 | RB2_YGantryMount_MGN12C_Left |
| 3 | M3 Threaded Insert / Voron RX-M3x5x4
|
| 2 | M3 x 10 - Hex socket head cap screw
|
Y Gantry Mount Right - MGN12C
Note: This part can be used with both variants of the Y gantry, the original aluminum CNC machined one or the remixed printed one.
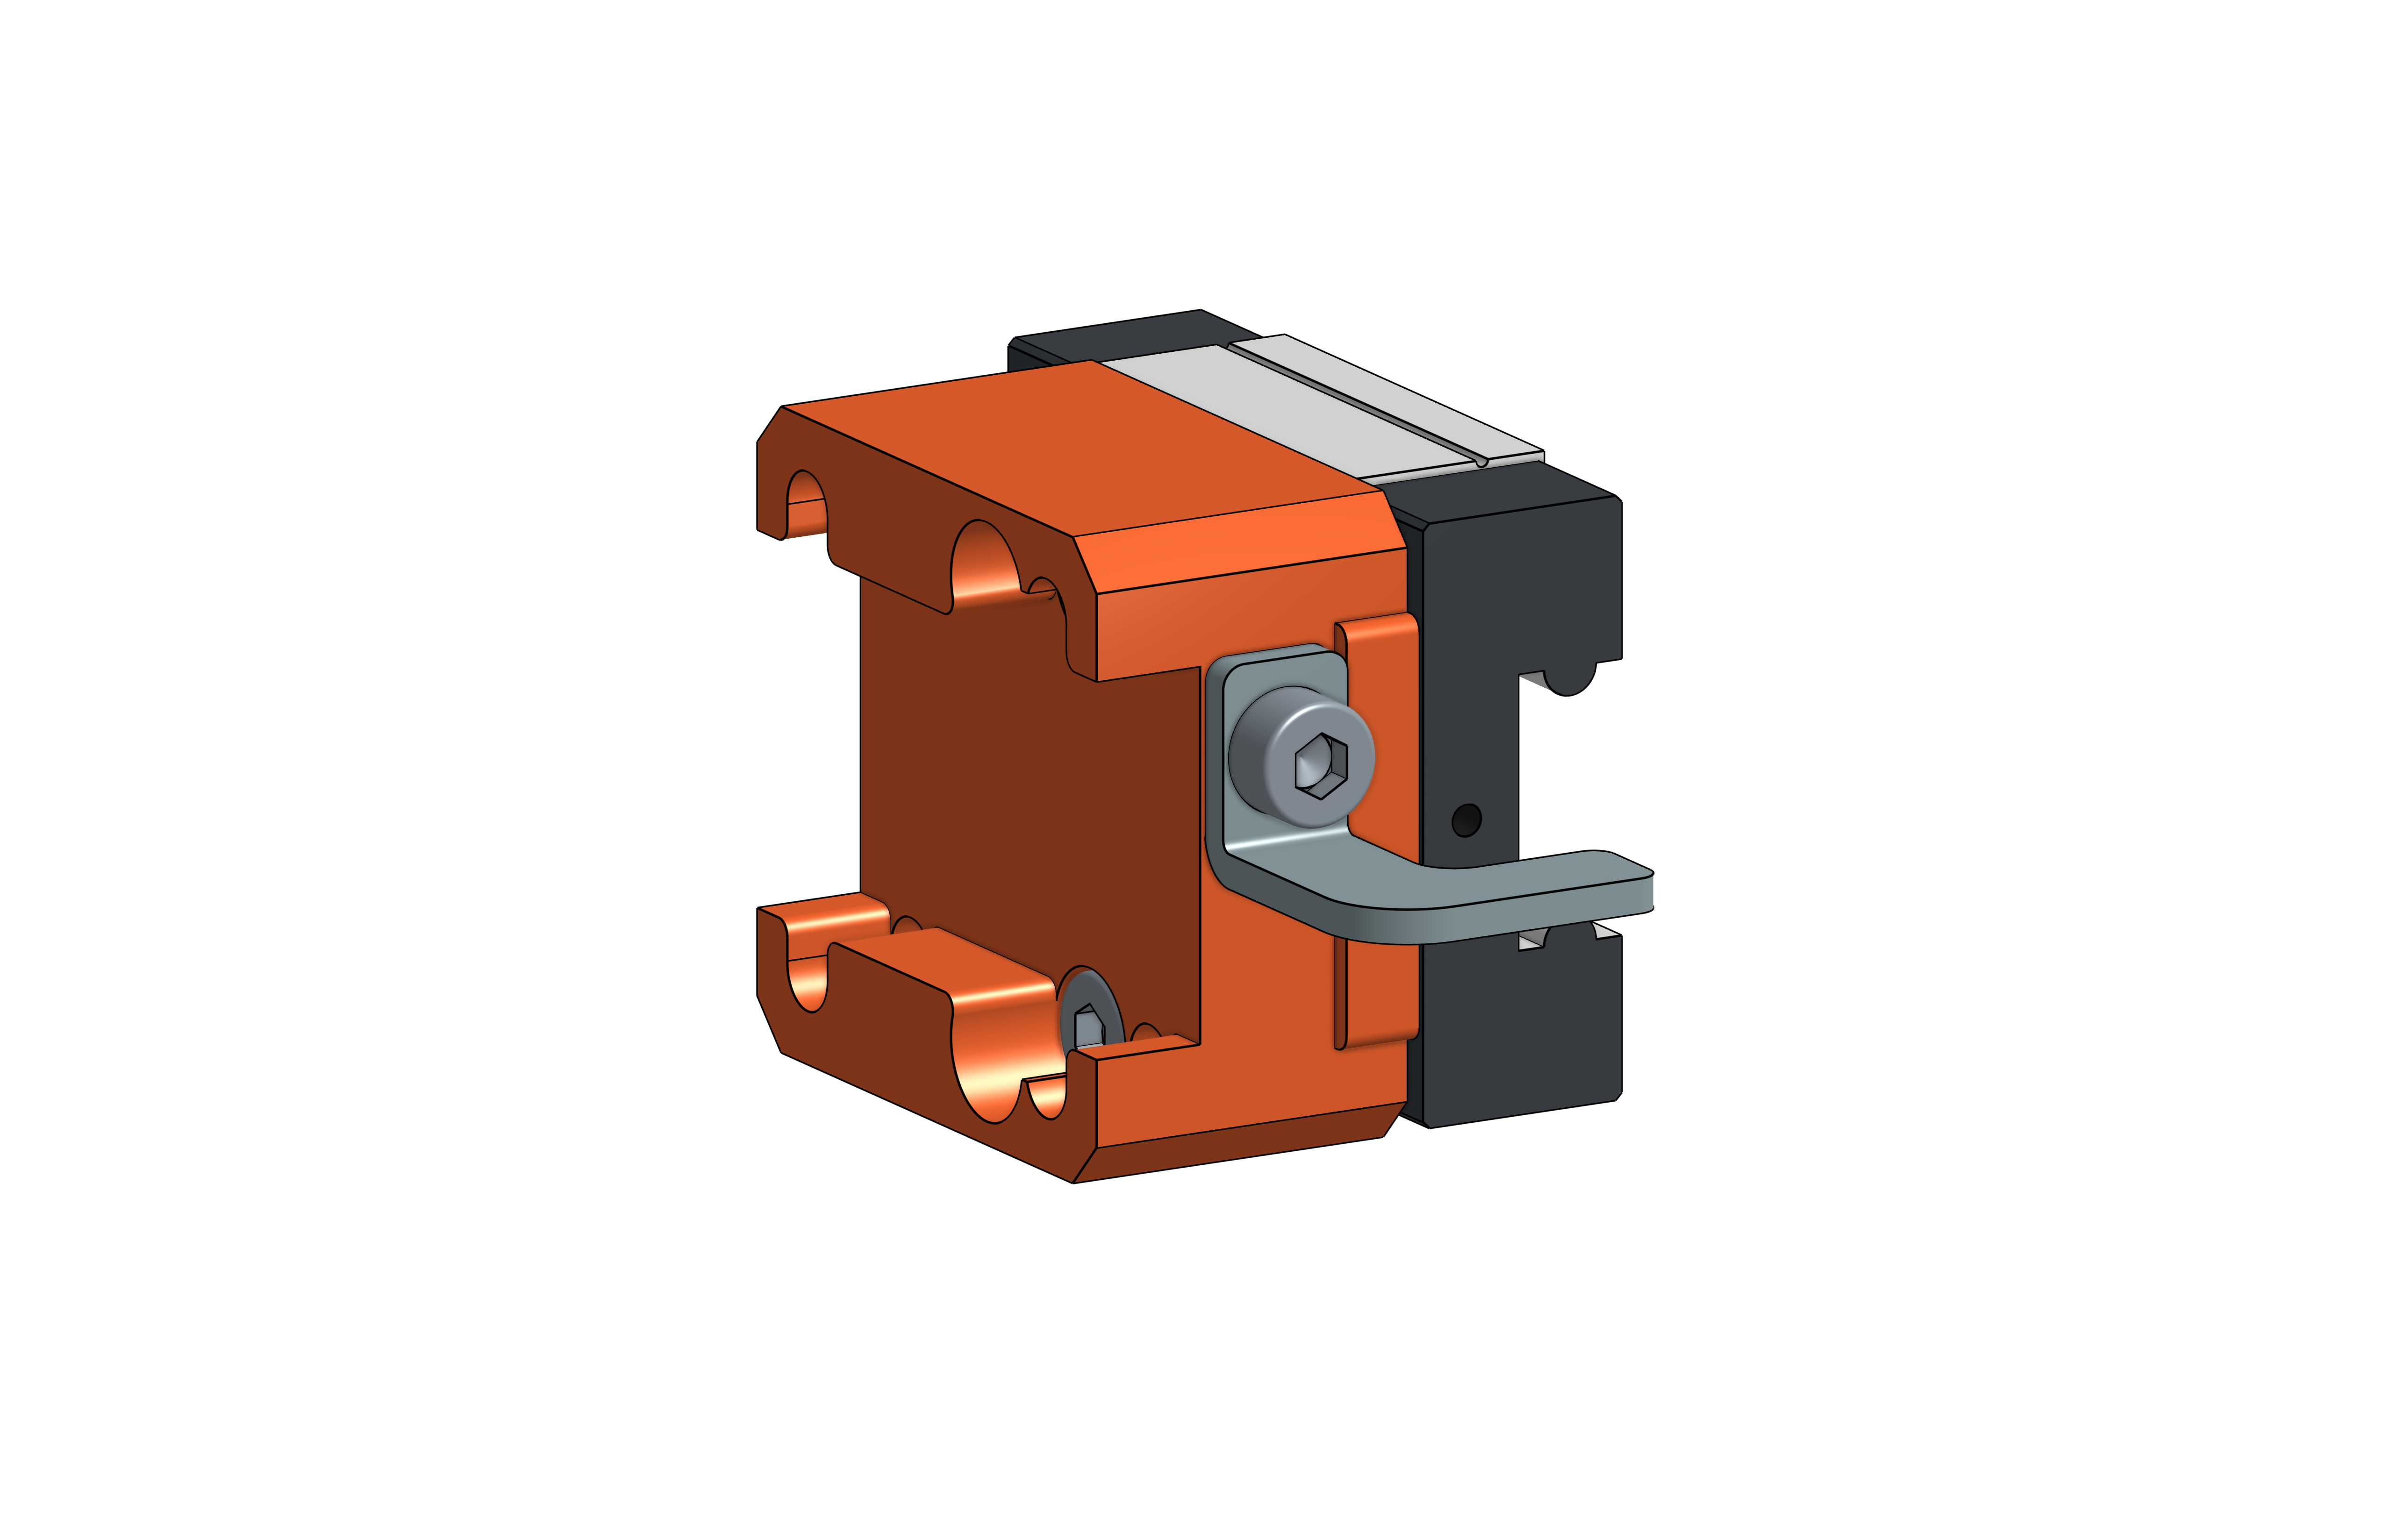 | 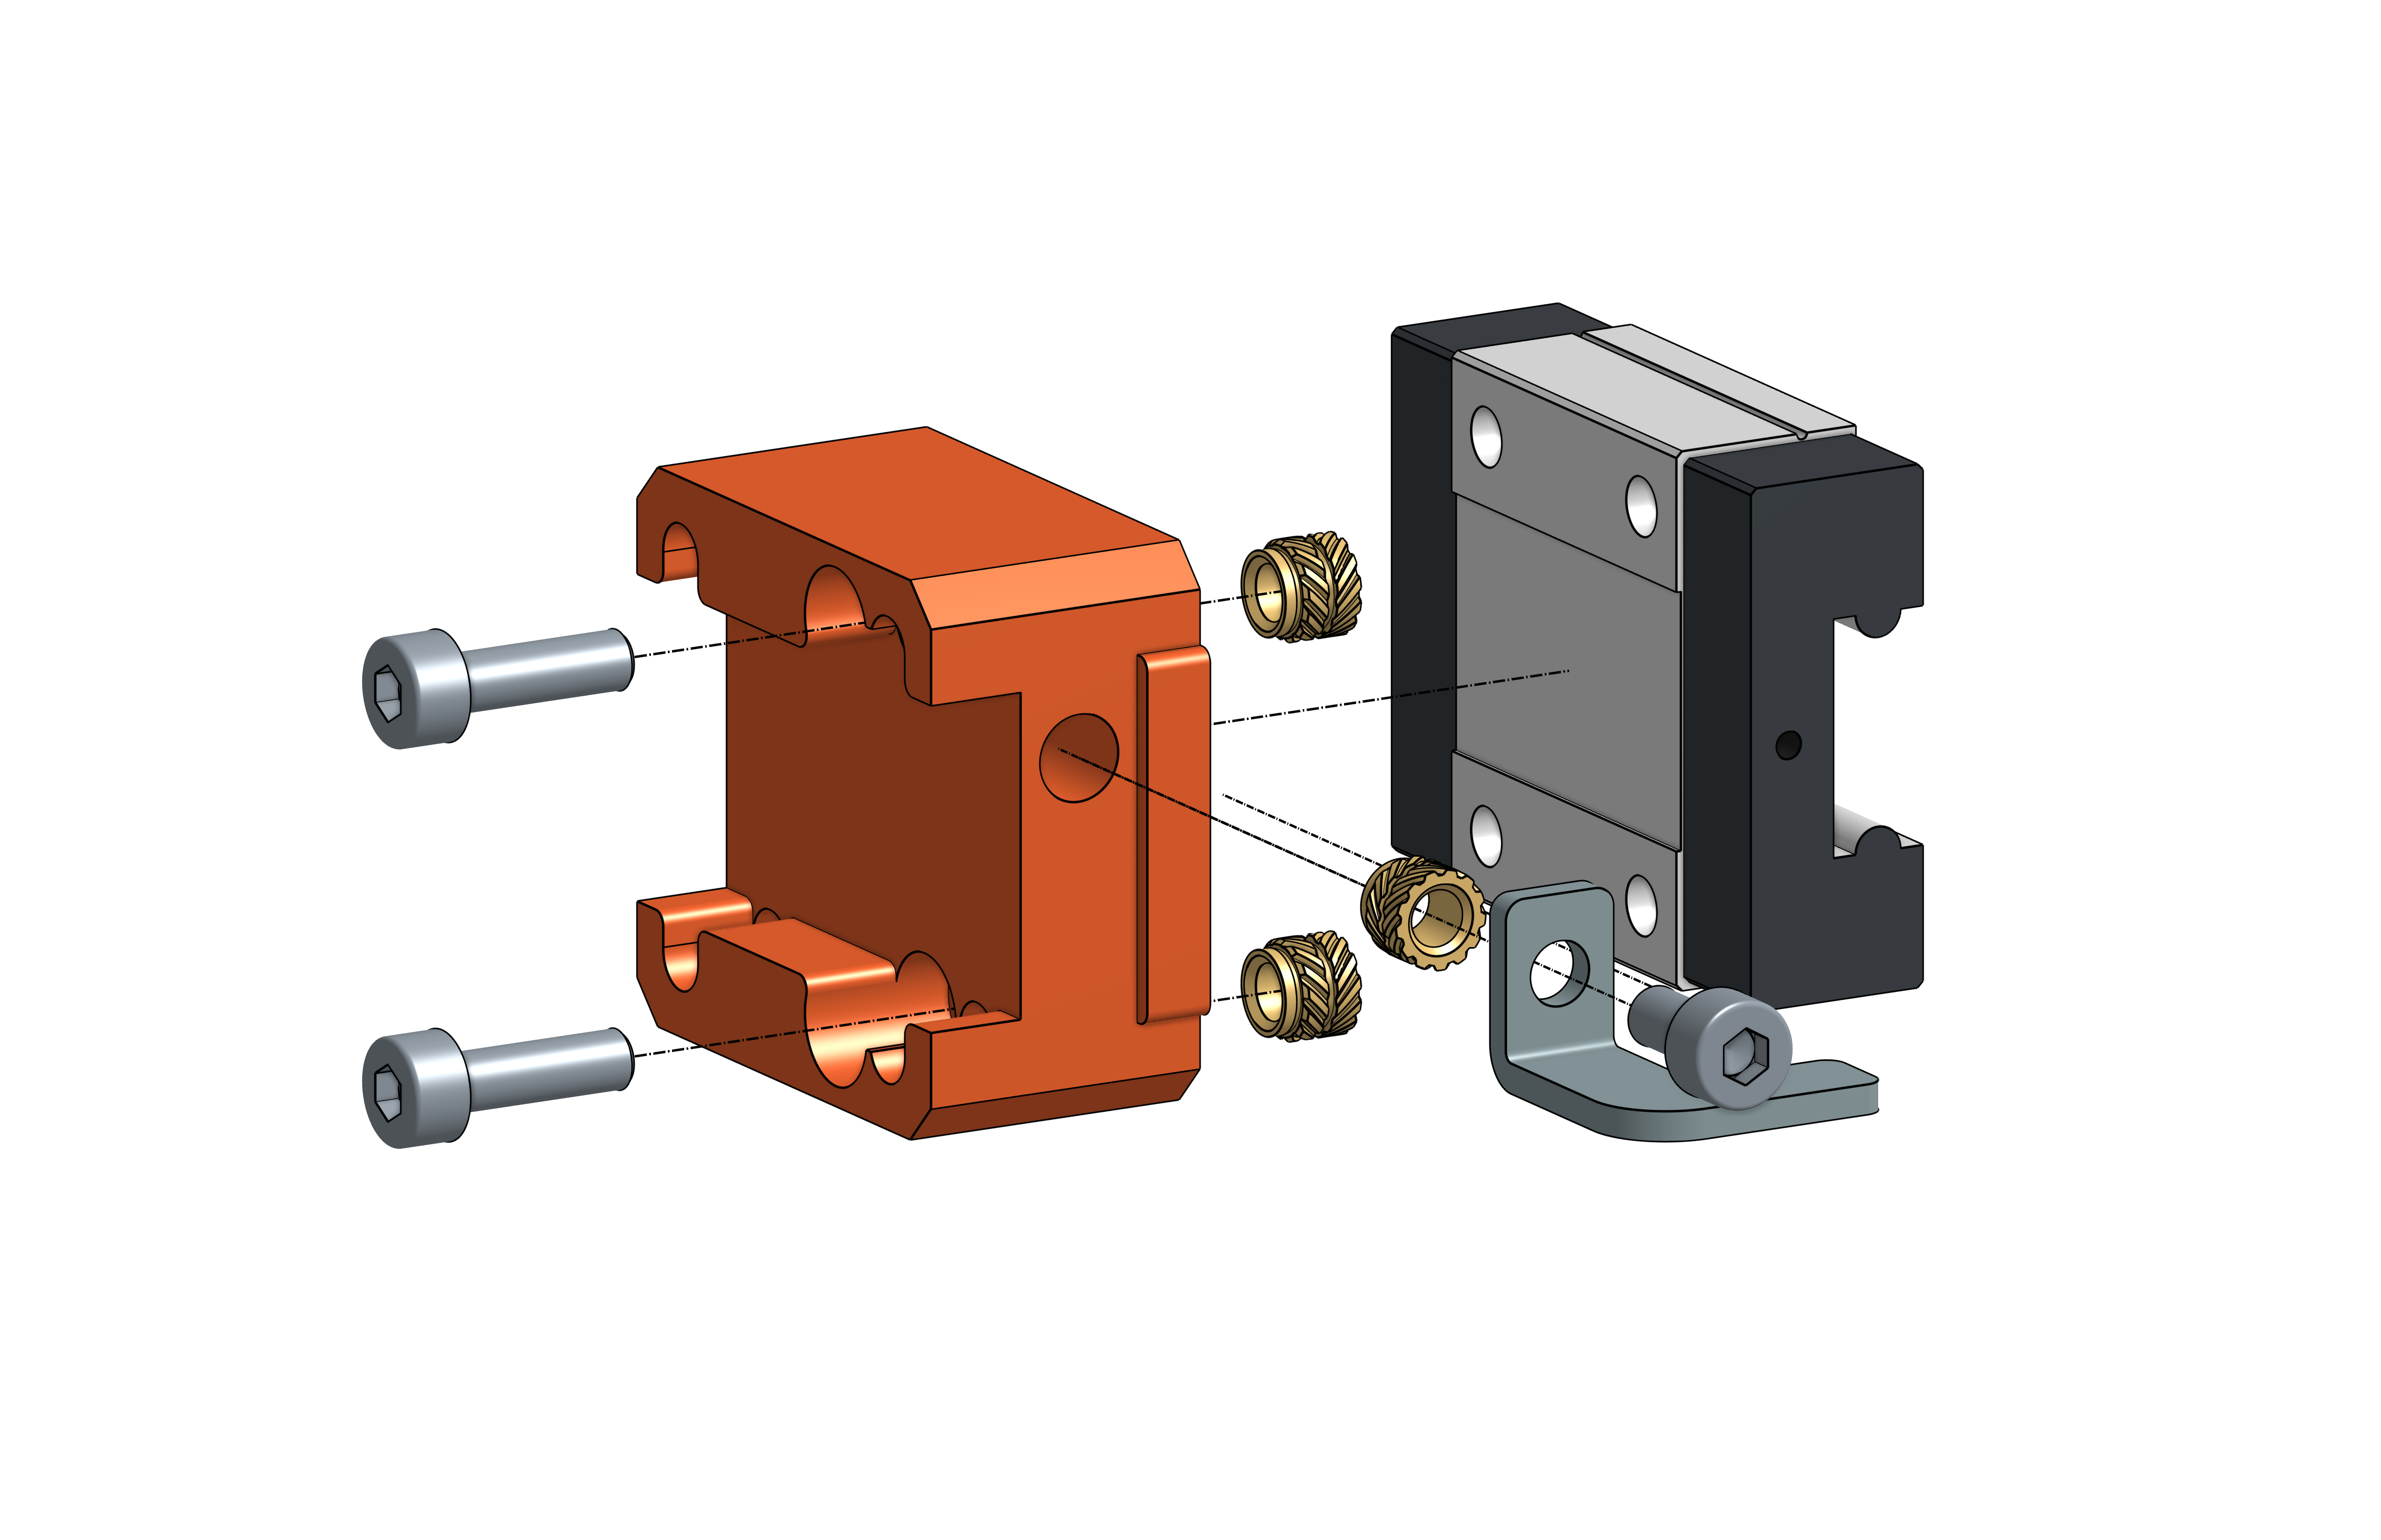 |
| # | Item |
|---|---|
| 1 | RB2_YGantryMount_MGN12C_Right |
| 3 | M3 Threaded Insert / Voron RX-M3x5x4
|
| 2 | M3 x 10 - Hex socket head cap screw
|
| 1 | Y Enstop Indicator |
| 1 | M3 x 6 - Hex socket head cap screw
|
Y Gantry Left Printed
Attention: At my own Reborn 2 the CNC version of the Y gantry is installed.
This remix was designed and tested for community purpose only.
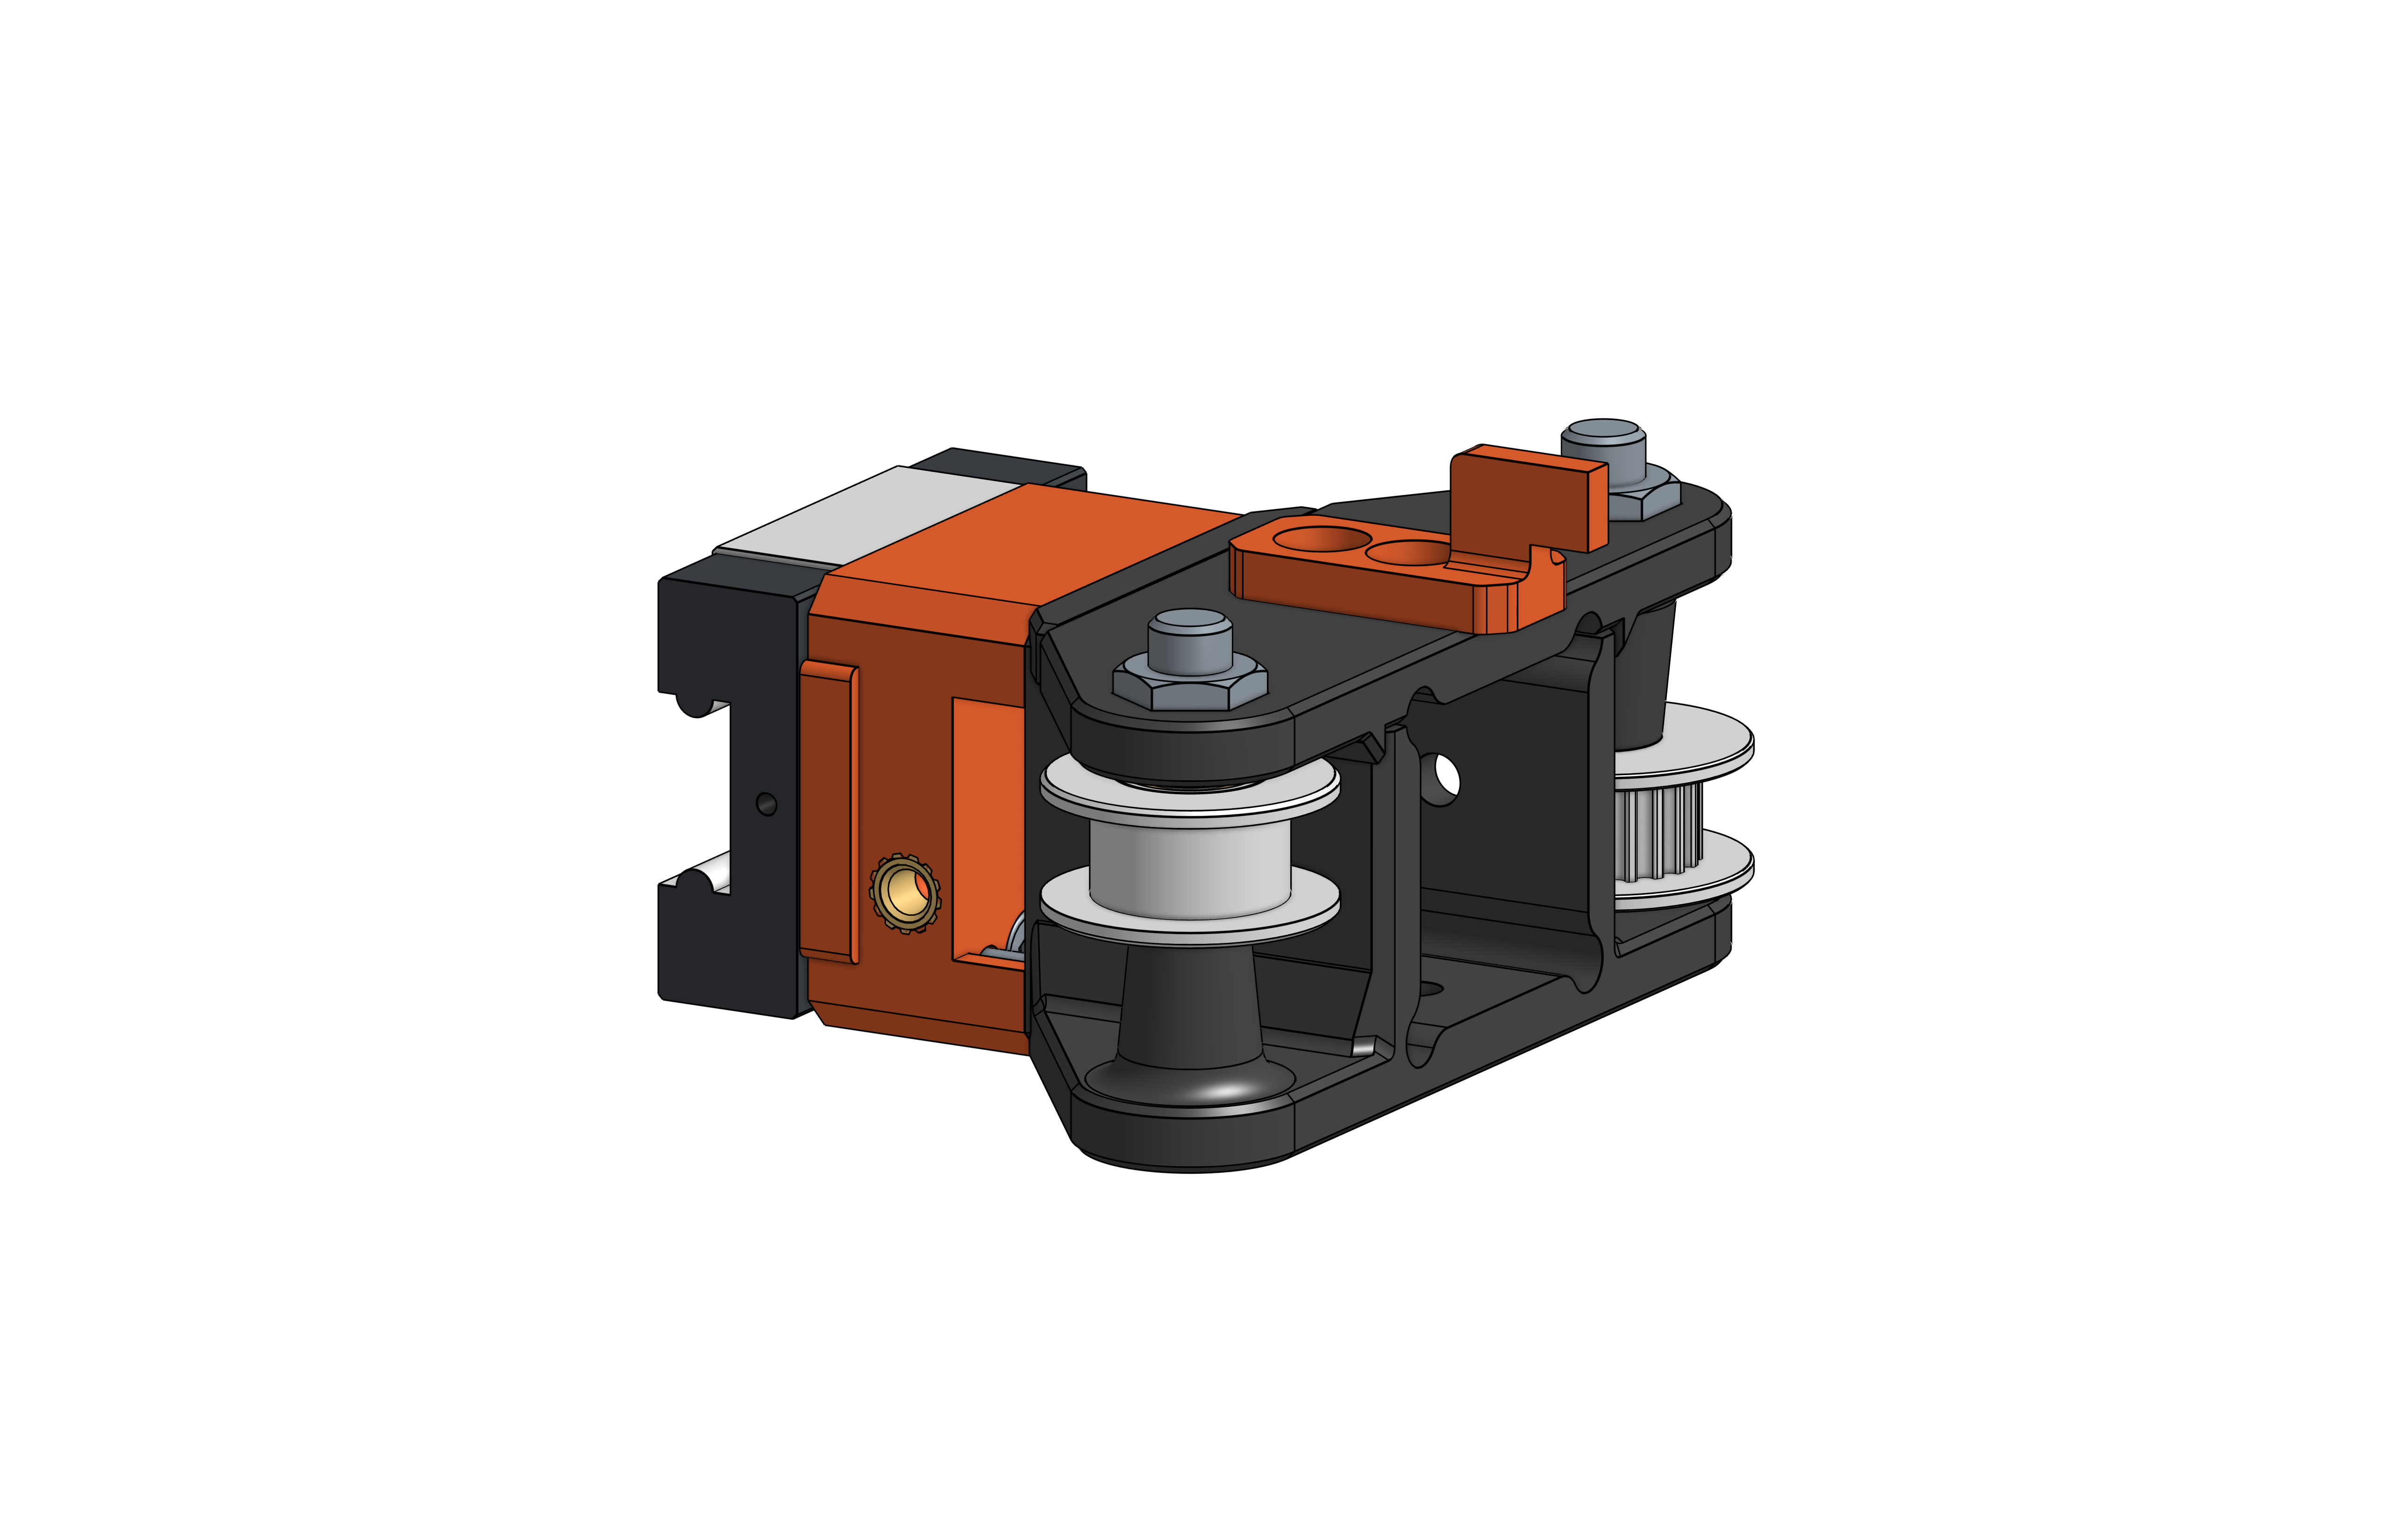 | 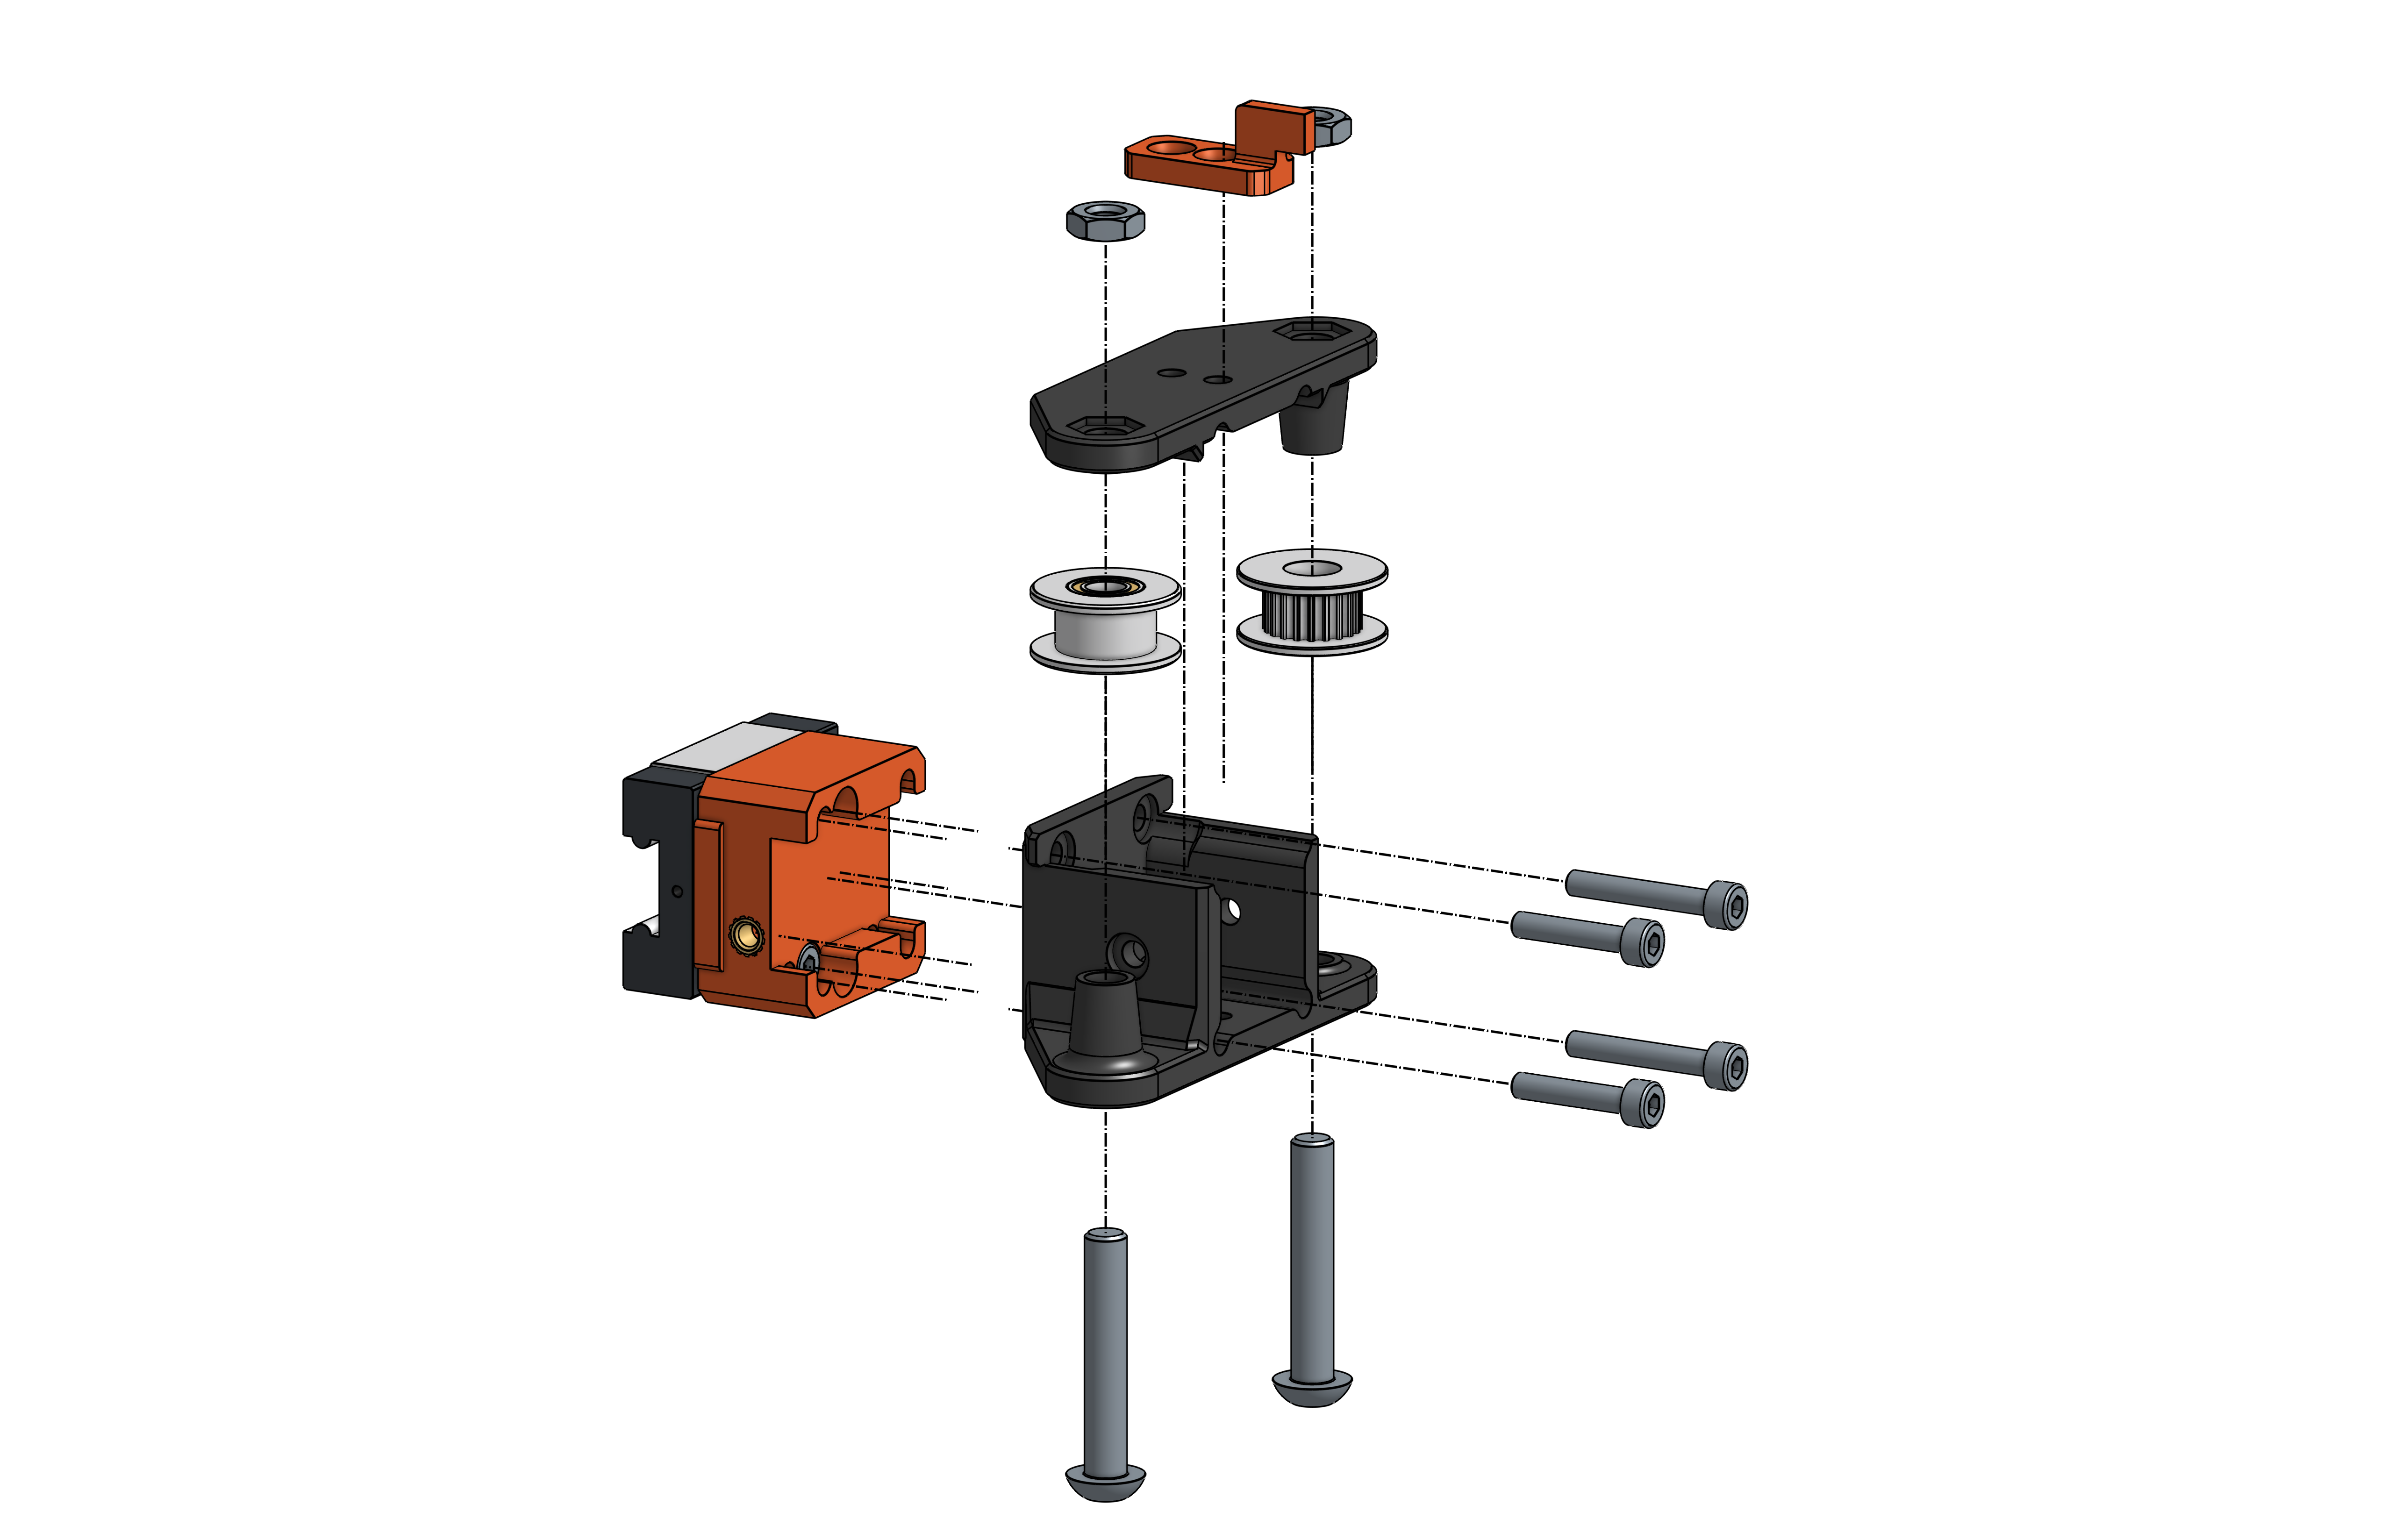 |
| # | Item |
|---|---|
| 1 | Pre-assembled Y Gantry Mount Left - MGN12C |
| 1 | RB2_YGantry_SVx_Bottom (remixed design) |
| 1 | RB2_YGantry_SVx_Top (remixed design) |
| 1 | RB2_XEndstopIndicator
|
| 2 | M3 x 16 - Hex socket head cap screw
|
| 2 | M3 x 20 - Hex socket head cap screw
|
| 1 | Idler pulley GT2 / for 6mm width / 5 mm bore |
| 1 | Pulley GT2 20T / for 6 mm width / 5 mm bore |
| 2 | Shaft variant 1 (SV1): Shaft variant 2 (SV2):
|
| 2 | Shaft variant 1 (SV1): Shaft variant 2 (SV2):
|
Y Gantry Right Printed
Attention: At my own build the CNC version of the Y gantry is installed.
This remix was designed and tested for community purpose only.
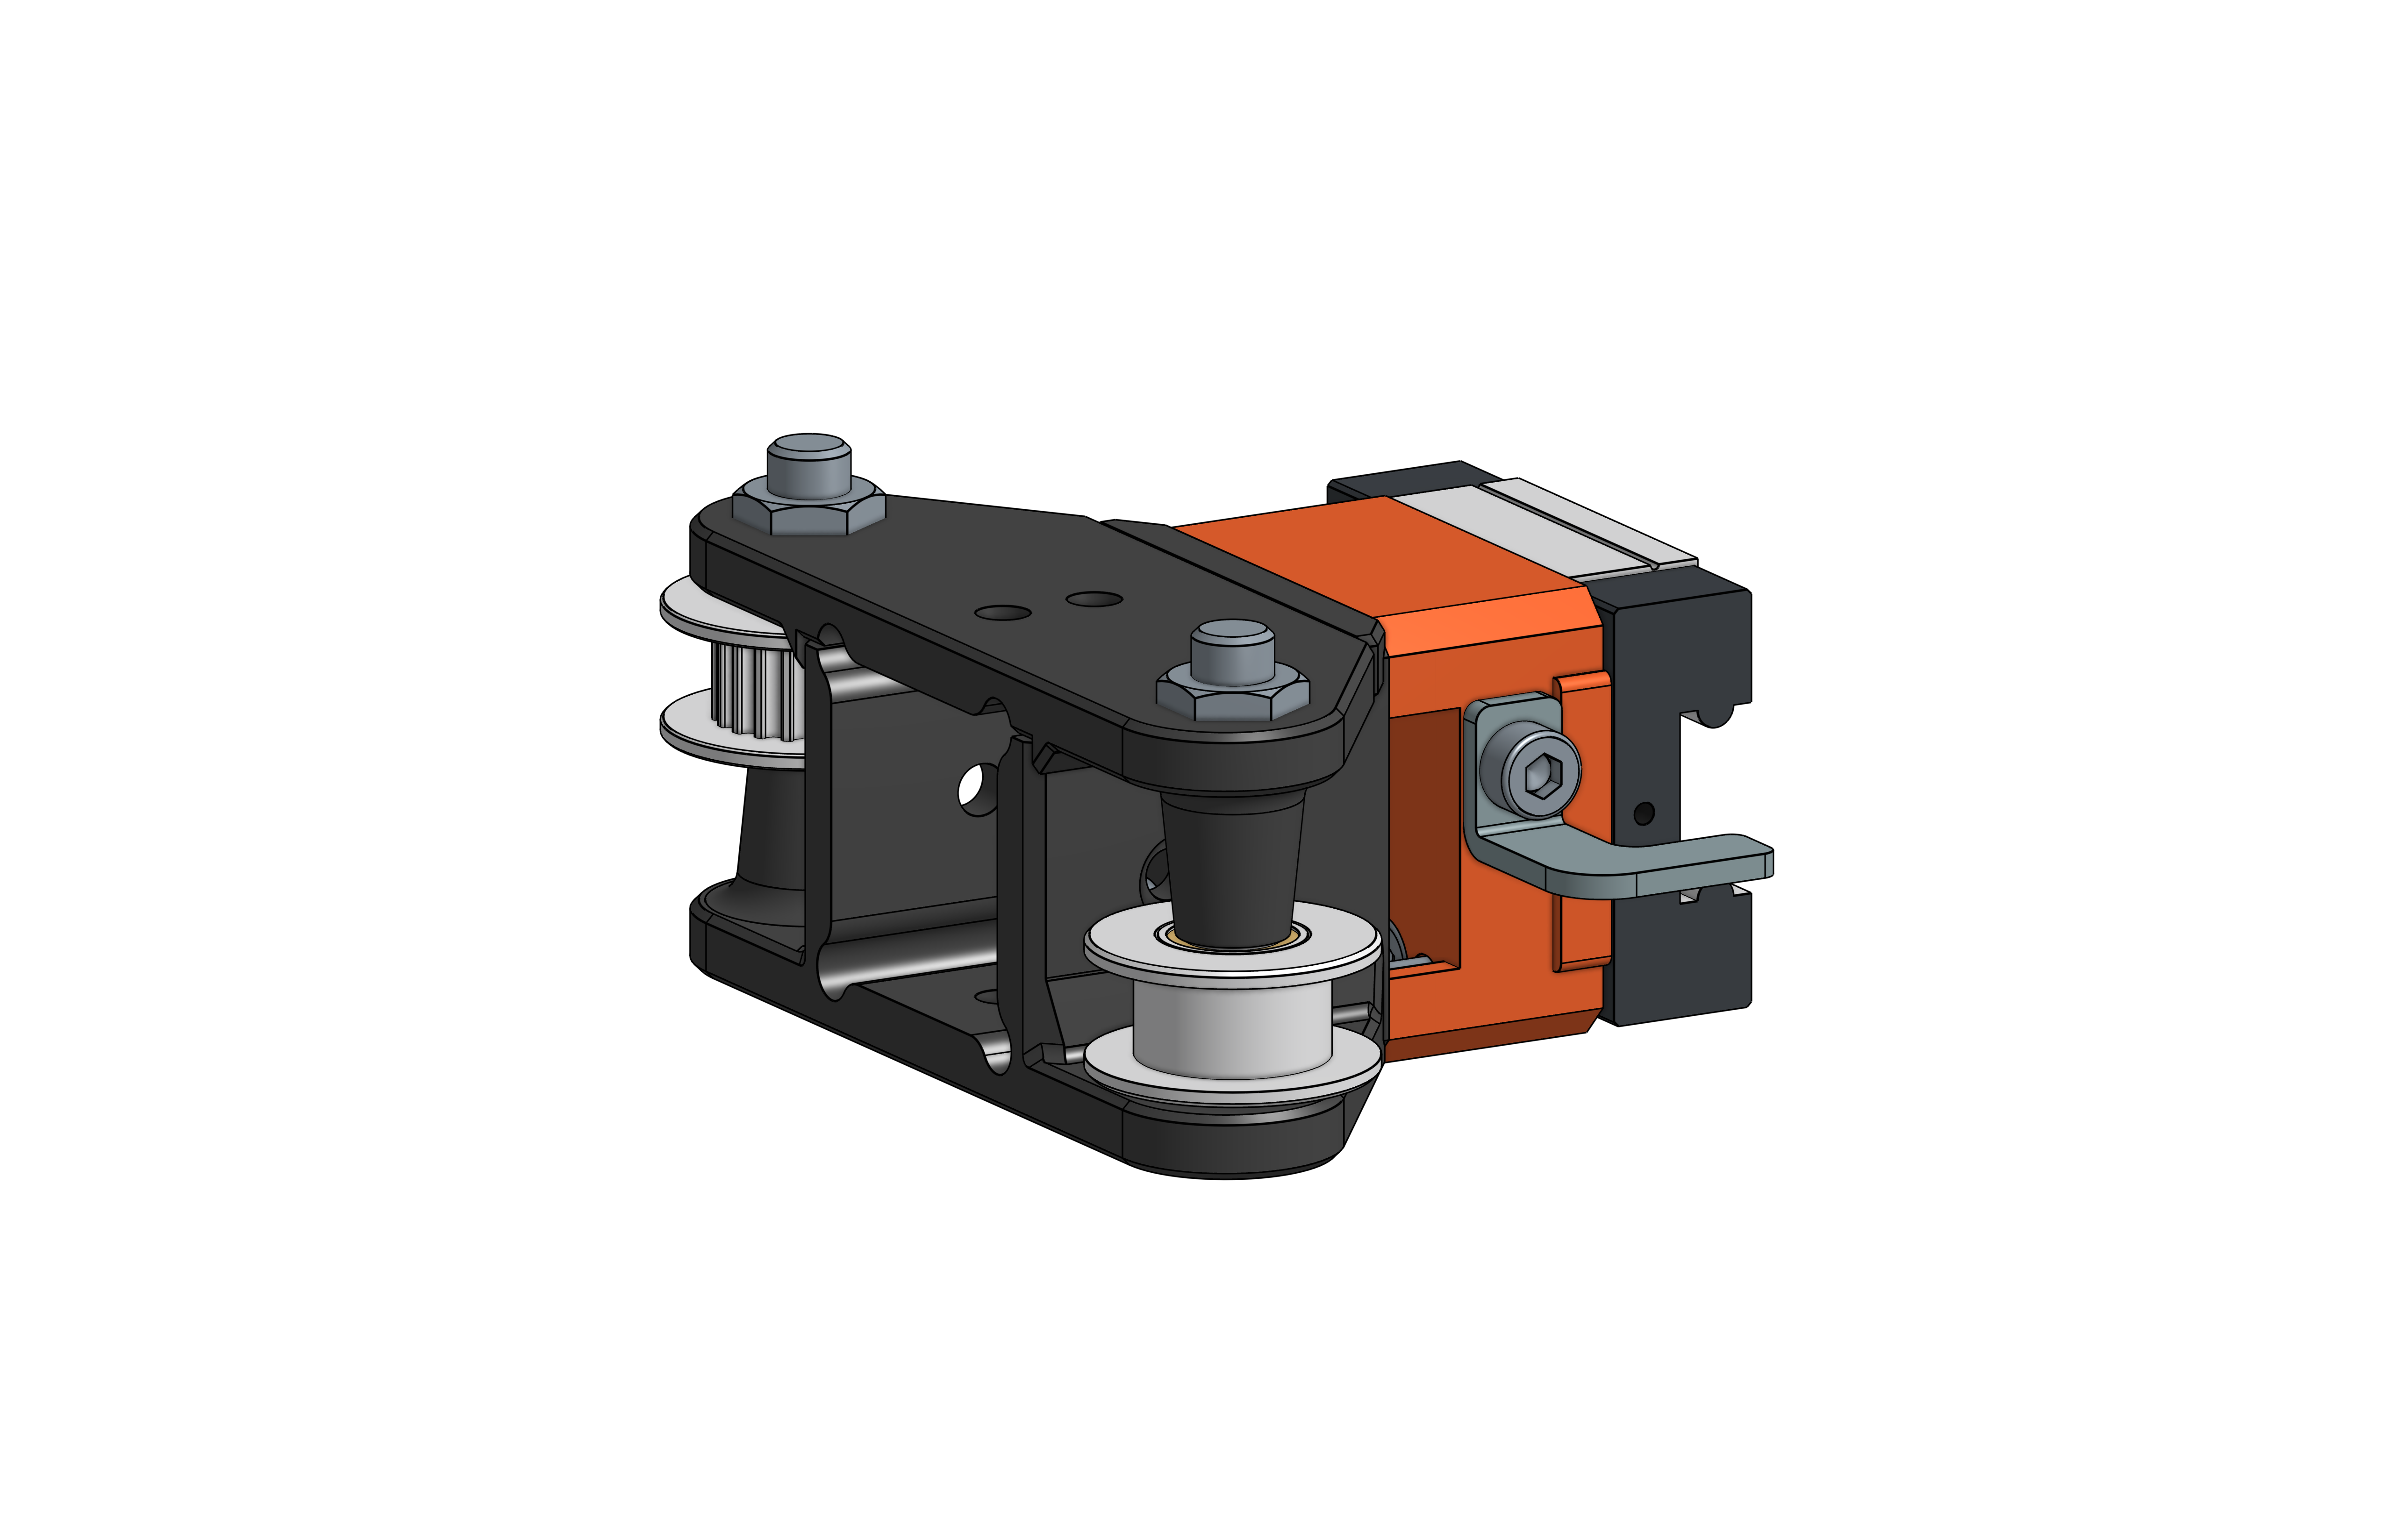 | 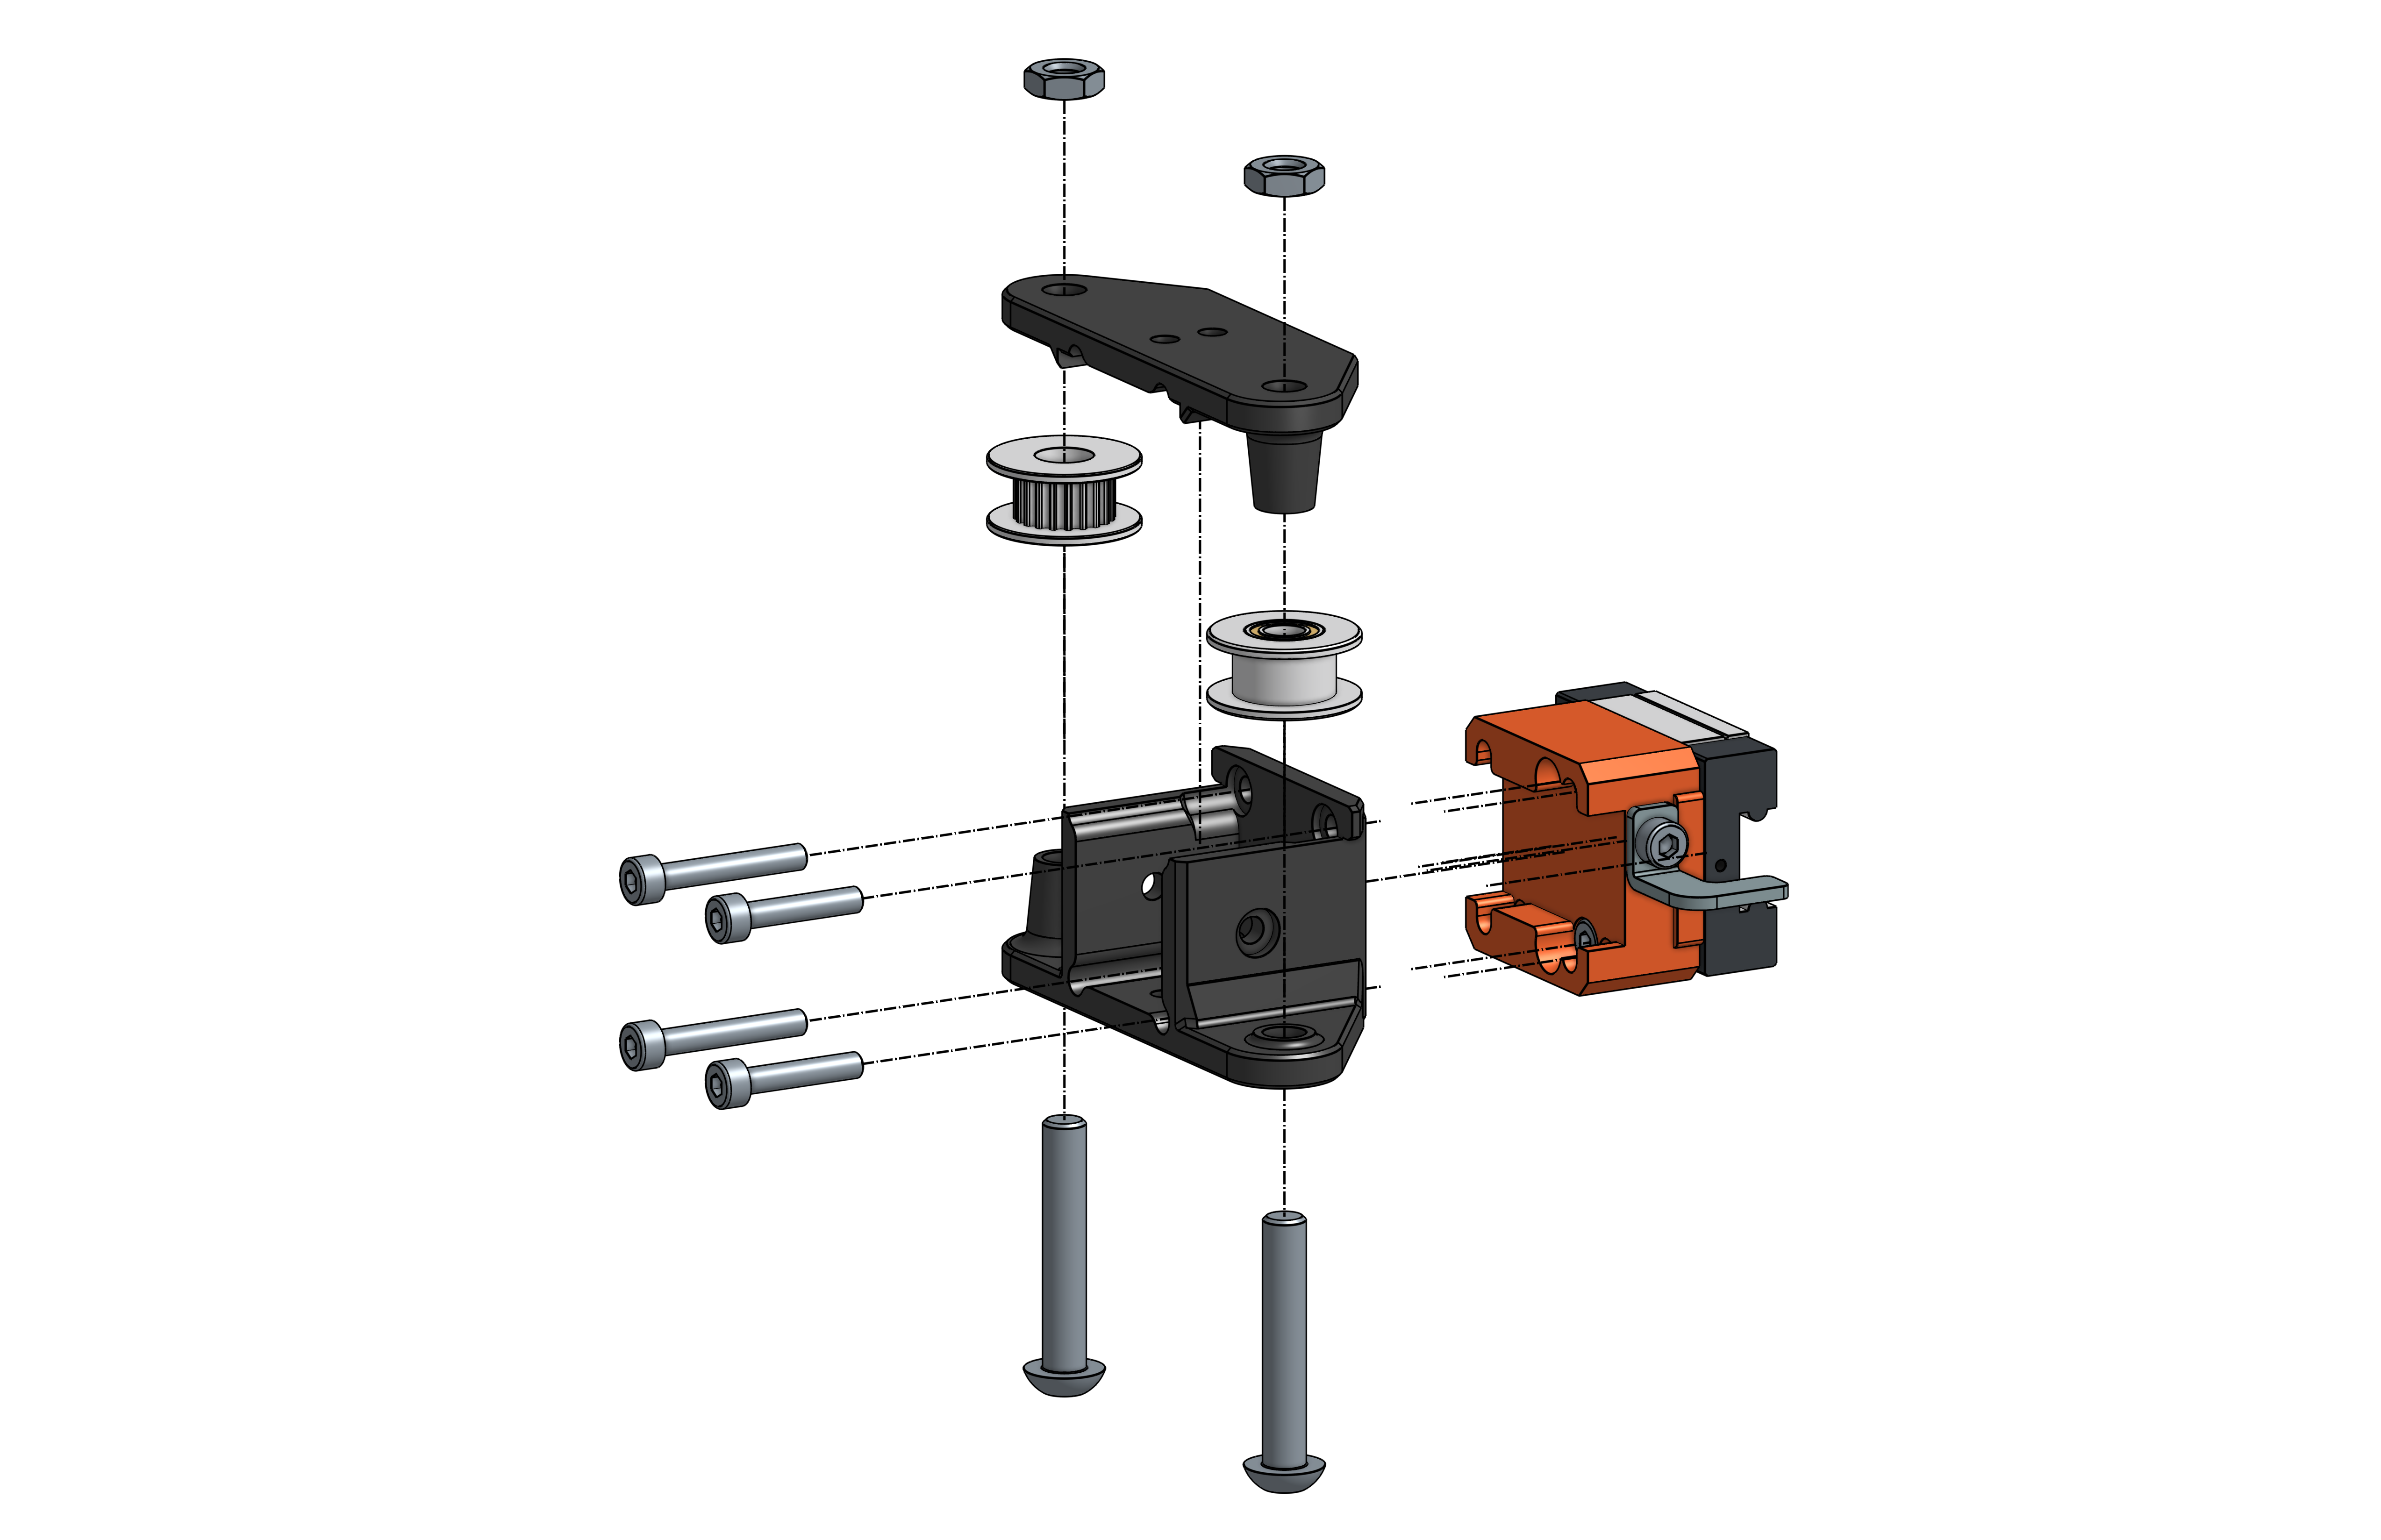 |
| # | Item |
|---|---|
| 1 | Pre-assembled Y Gantry Mount Right - MGN12C |
| 1 | RB2_YGantry_SVx_Bottom (remixed design) |
| 1 | RB2_YGantry_SVx_Top (remixed design) |
| 2 | M3 x 16 - Hex socket head cap screw
|
| 2 | M3 x 20 - Hex socket head cap screw
|
| 1 | Idler pulley GT2 / for 6mm width / 5 mm bore |
| 1 | Pulley GT2 20T / for 6 mm width / 5 mm bore |
| 2 | Shaft variant 1 (SV1): Shaft variant 2 (SV2):
|
| 2 | Shaft variant 1 (SV1): Shaft variant 2 (SV2):
|
Y Endstop
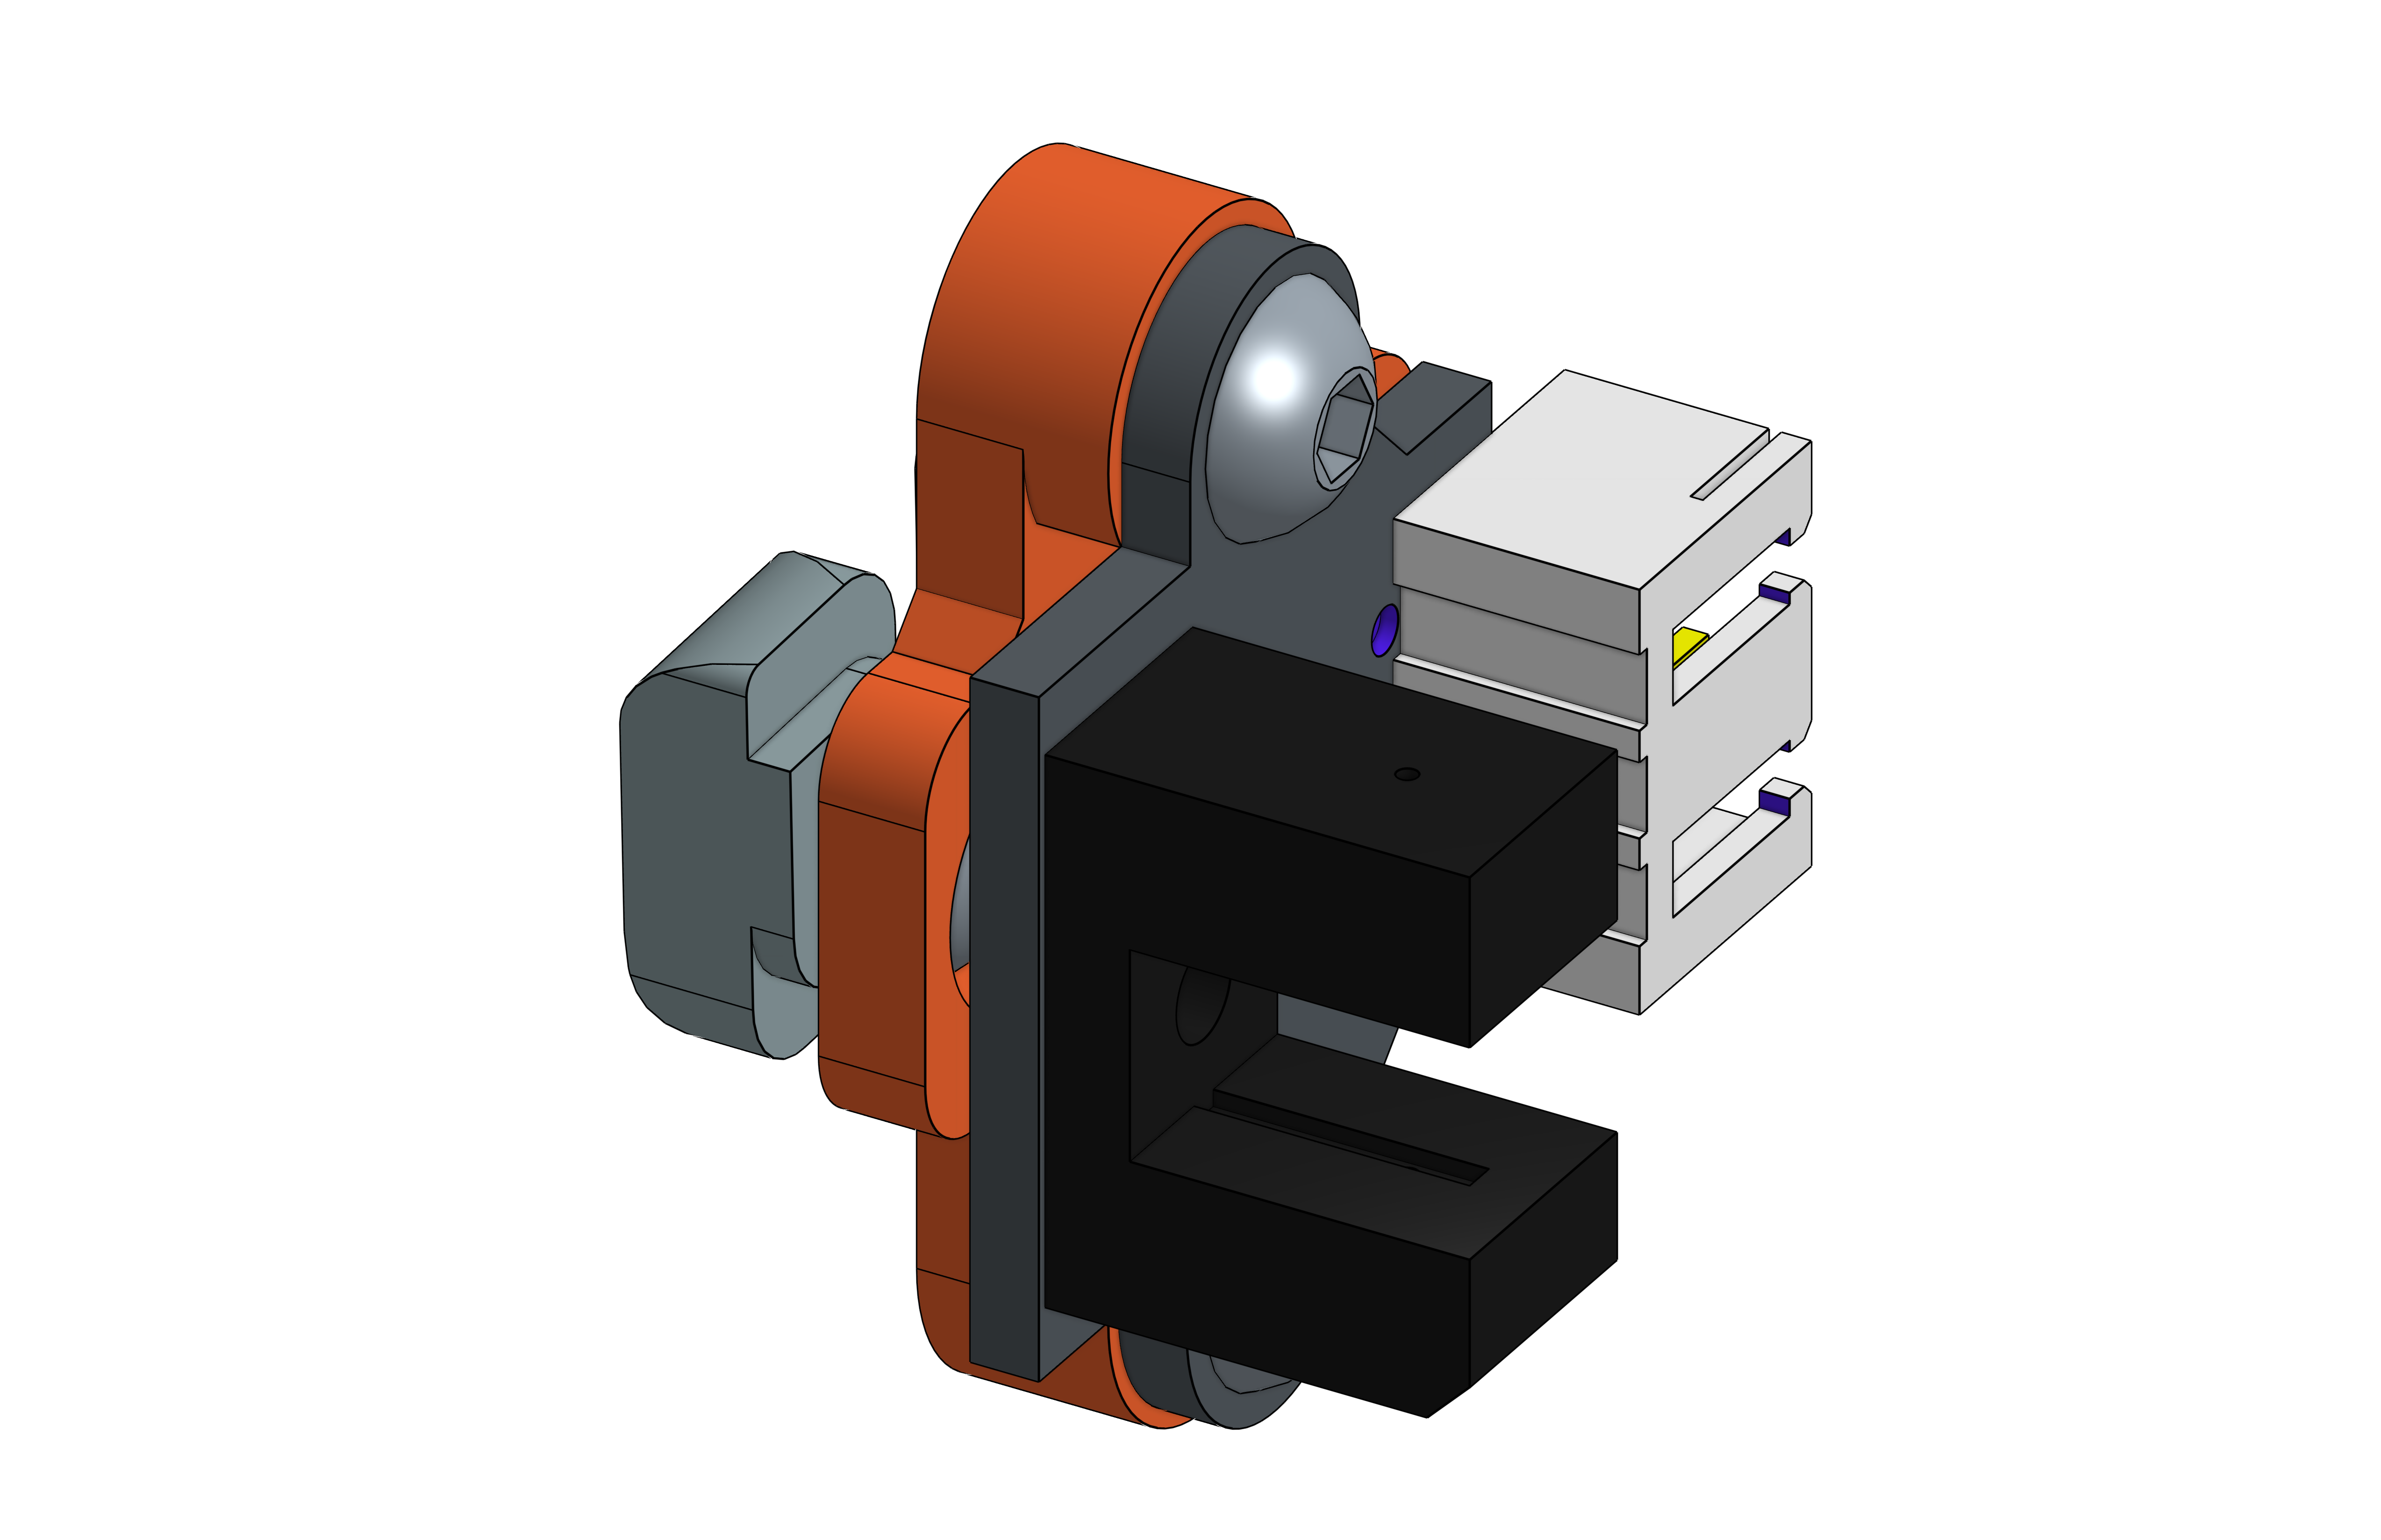 | 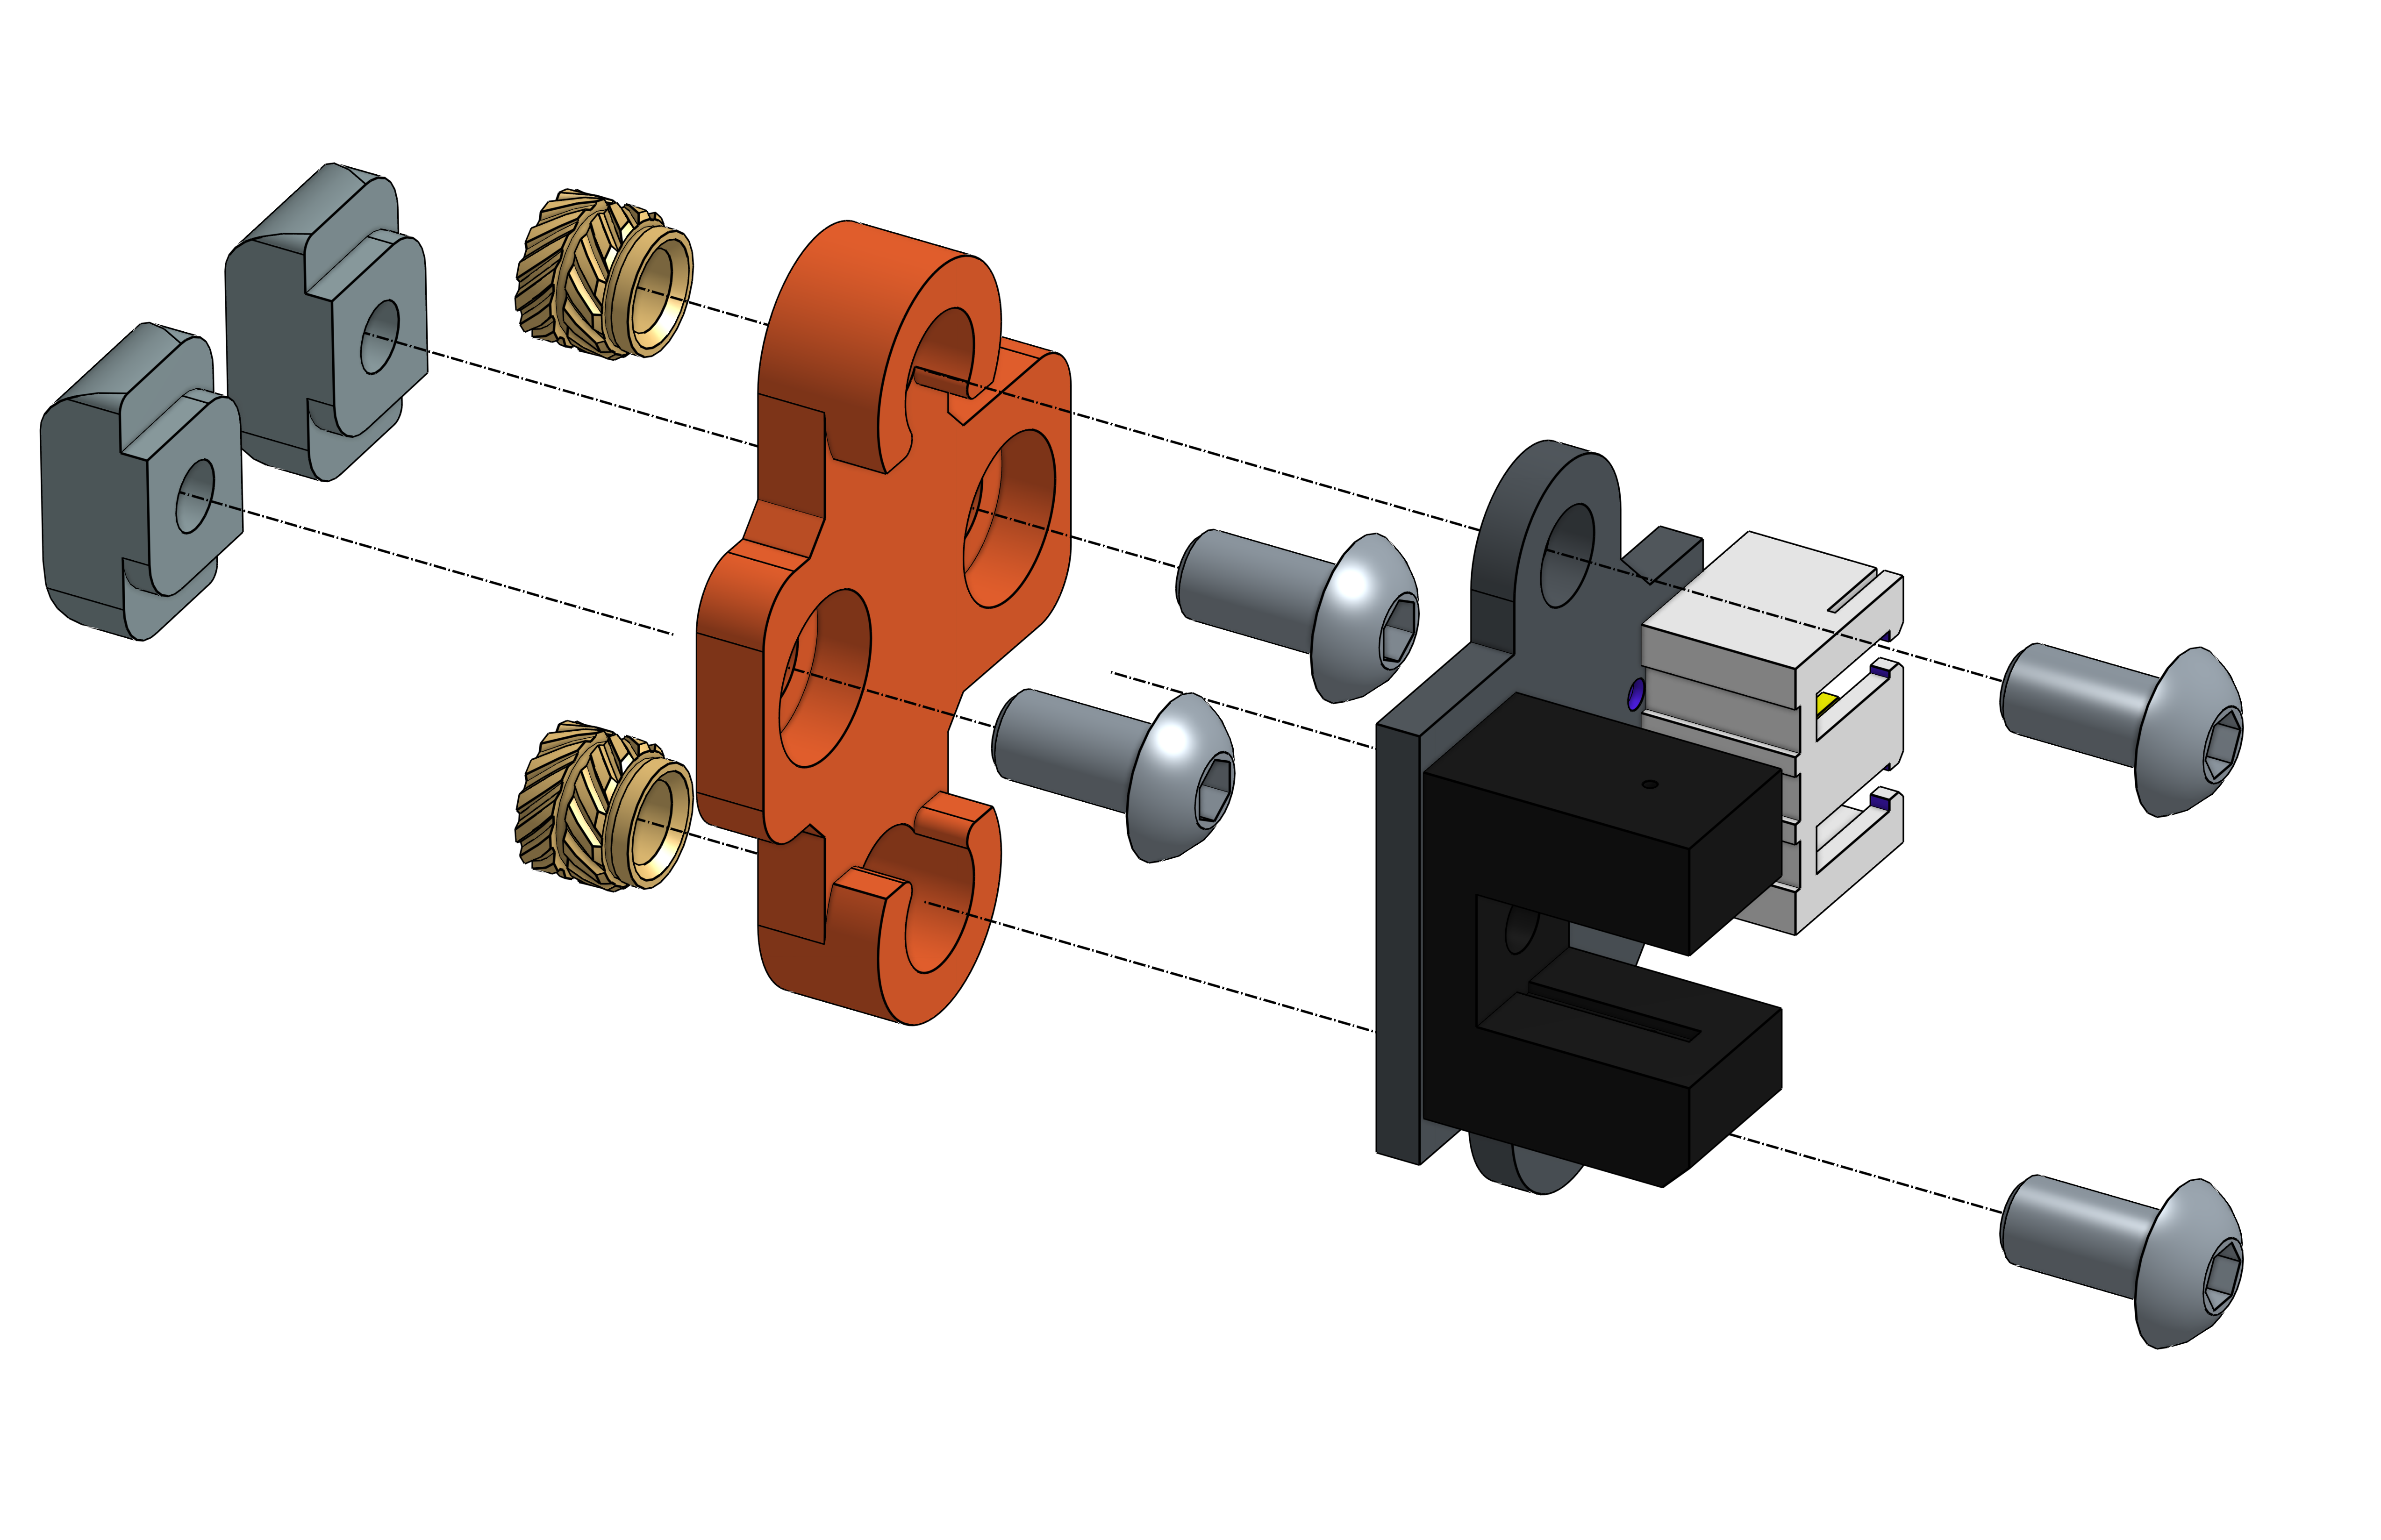 |
| # | Item |
|---|---|
| 1 | RB2_YEndstopMount |
| 2 | M3 Threaded Insert / Voron RX-M3x5x4
|
| 2 | M3 T-Nut for 2020 extrusion
|
| 4 | M3 x 6 - Socket button head screw
|
| 1 | Optical endstop |
X Endstop
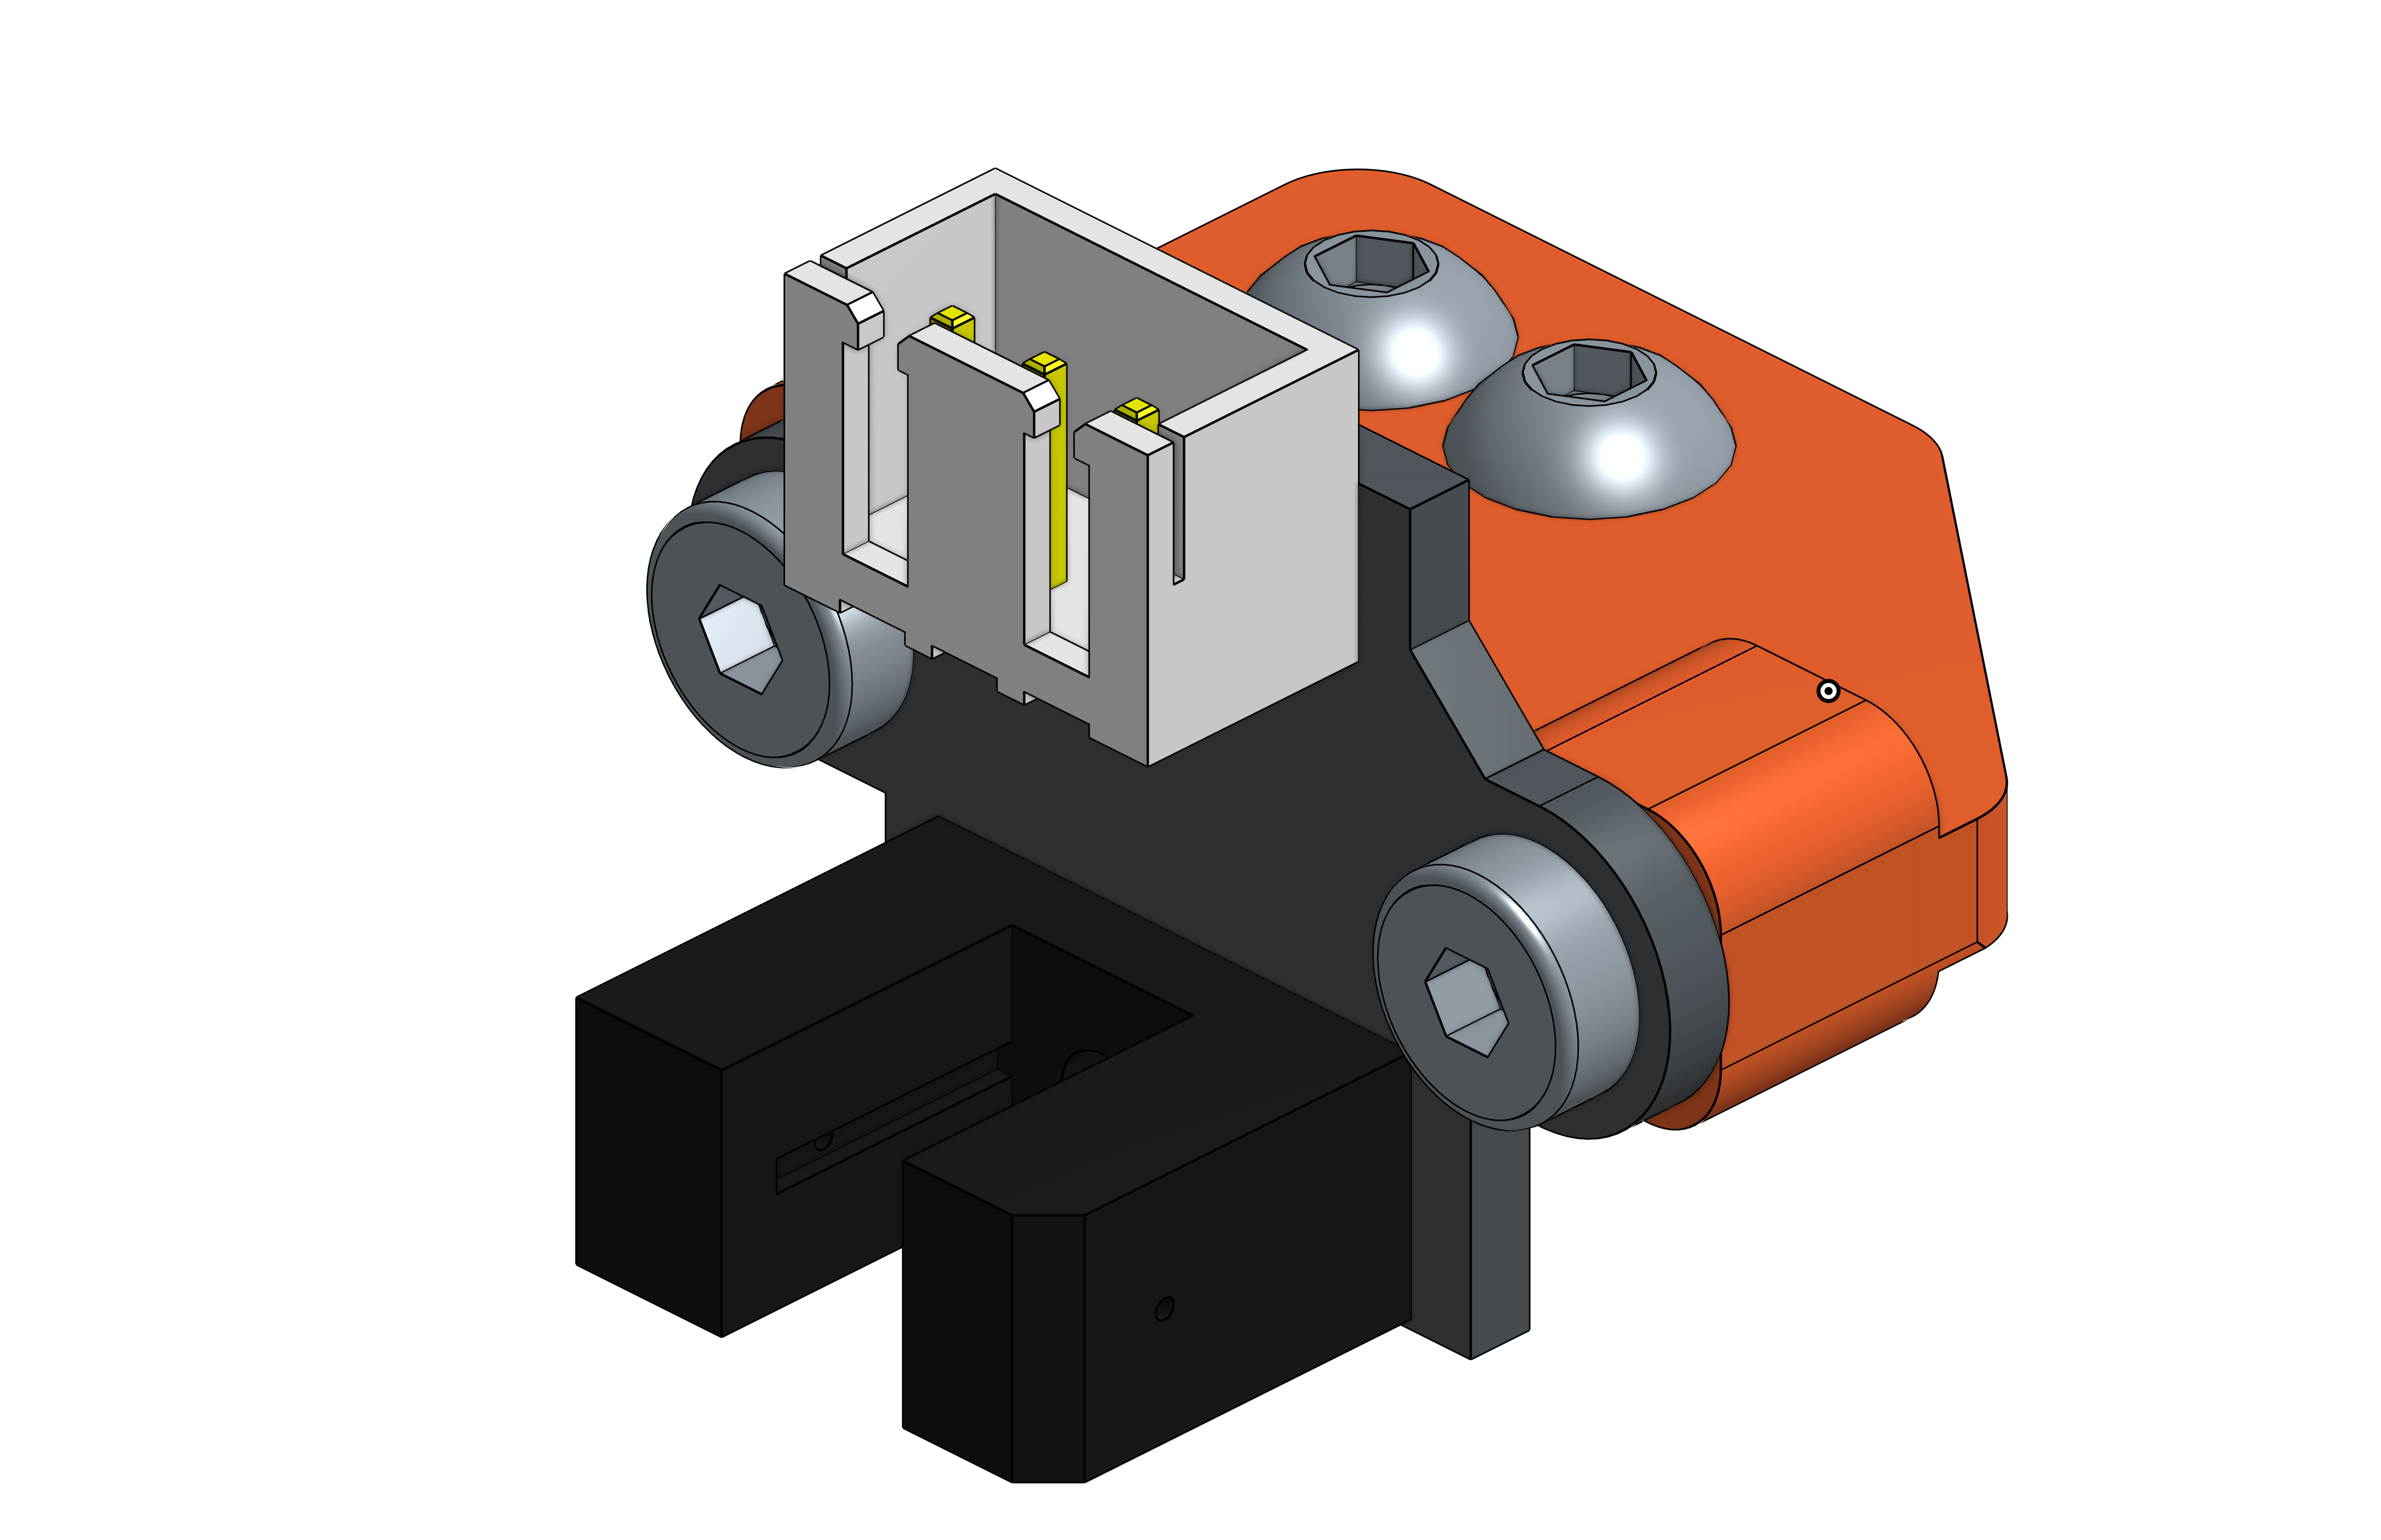 | 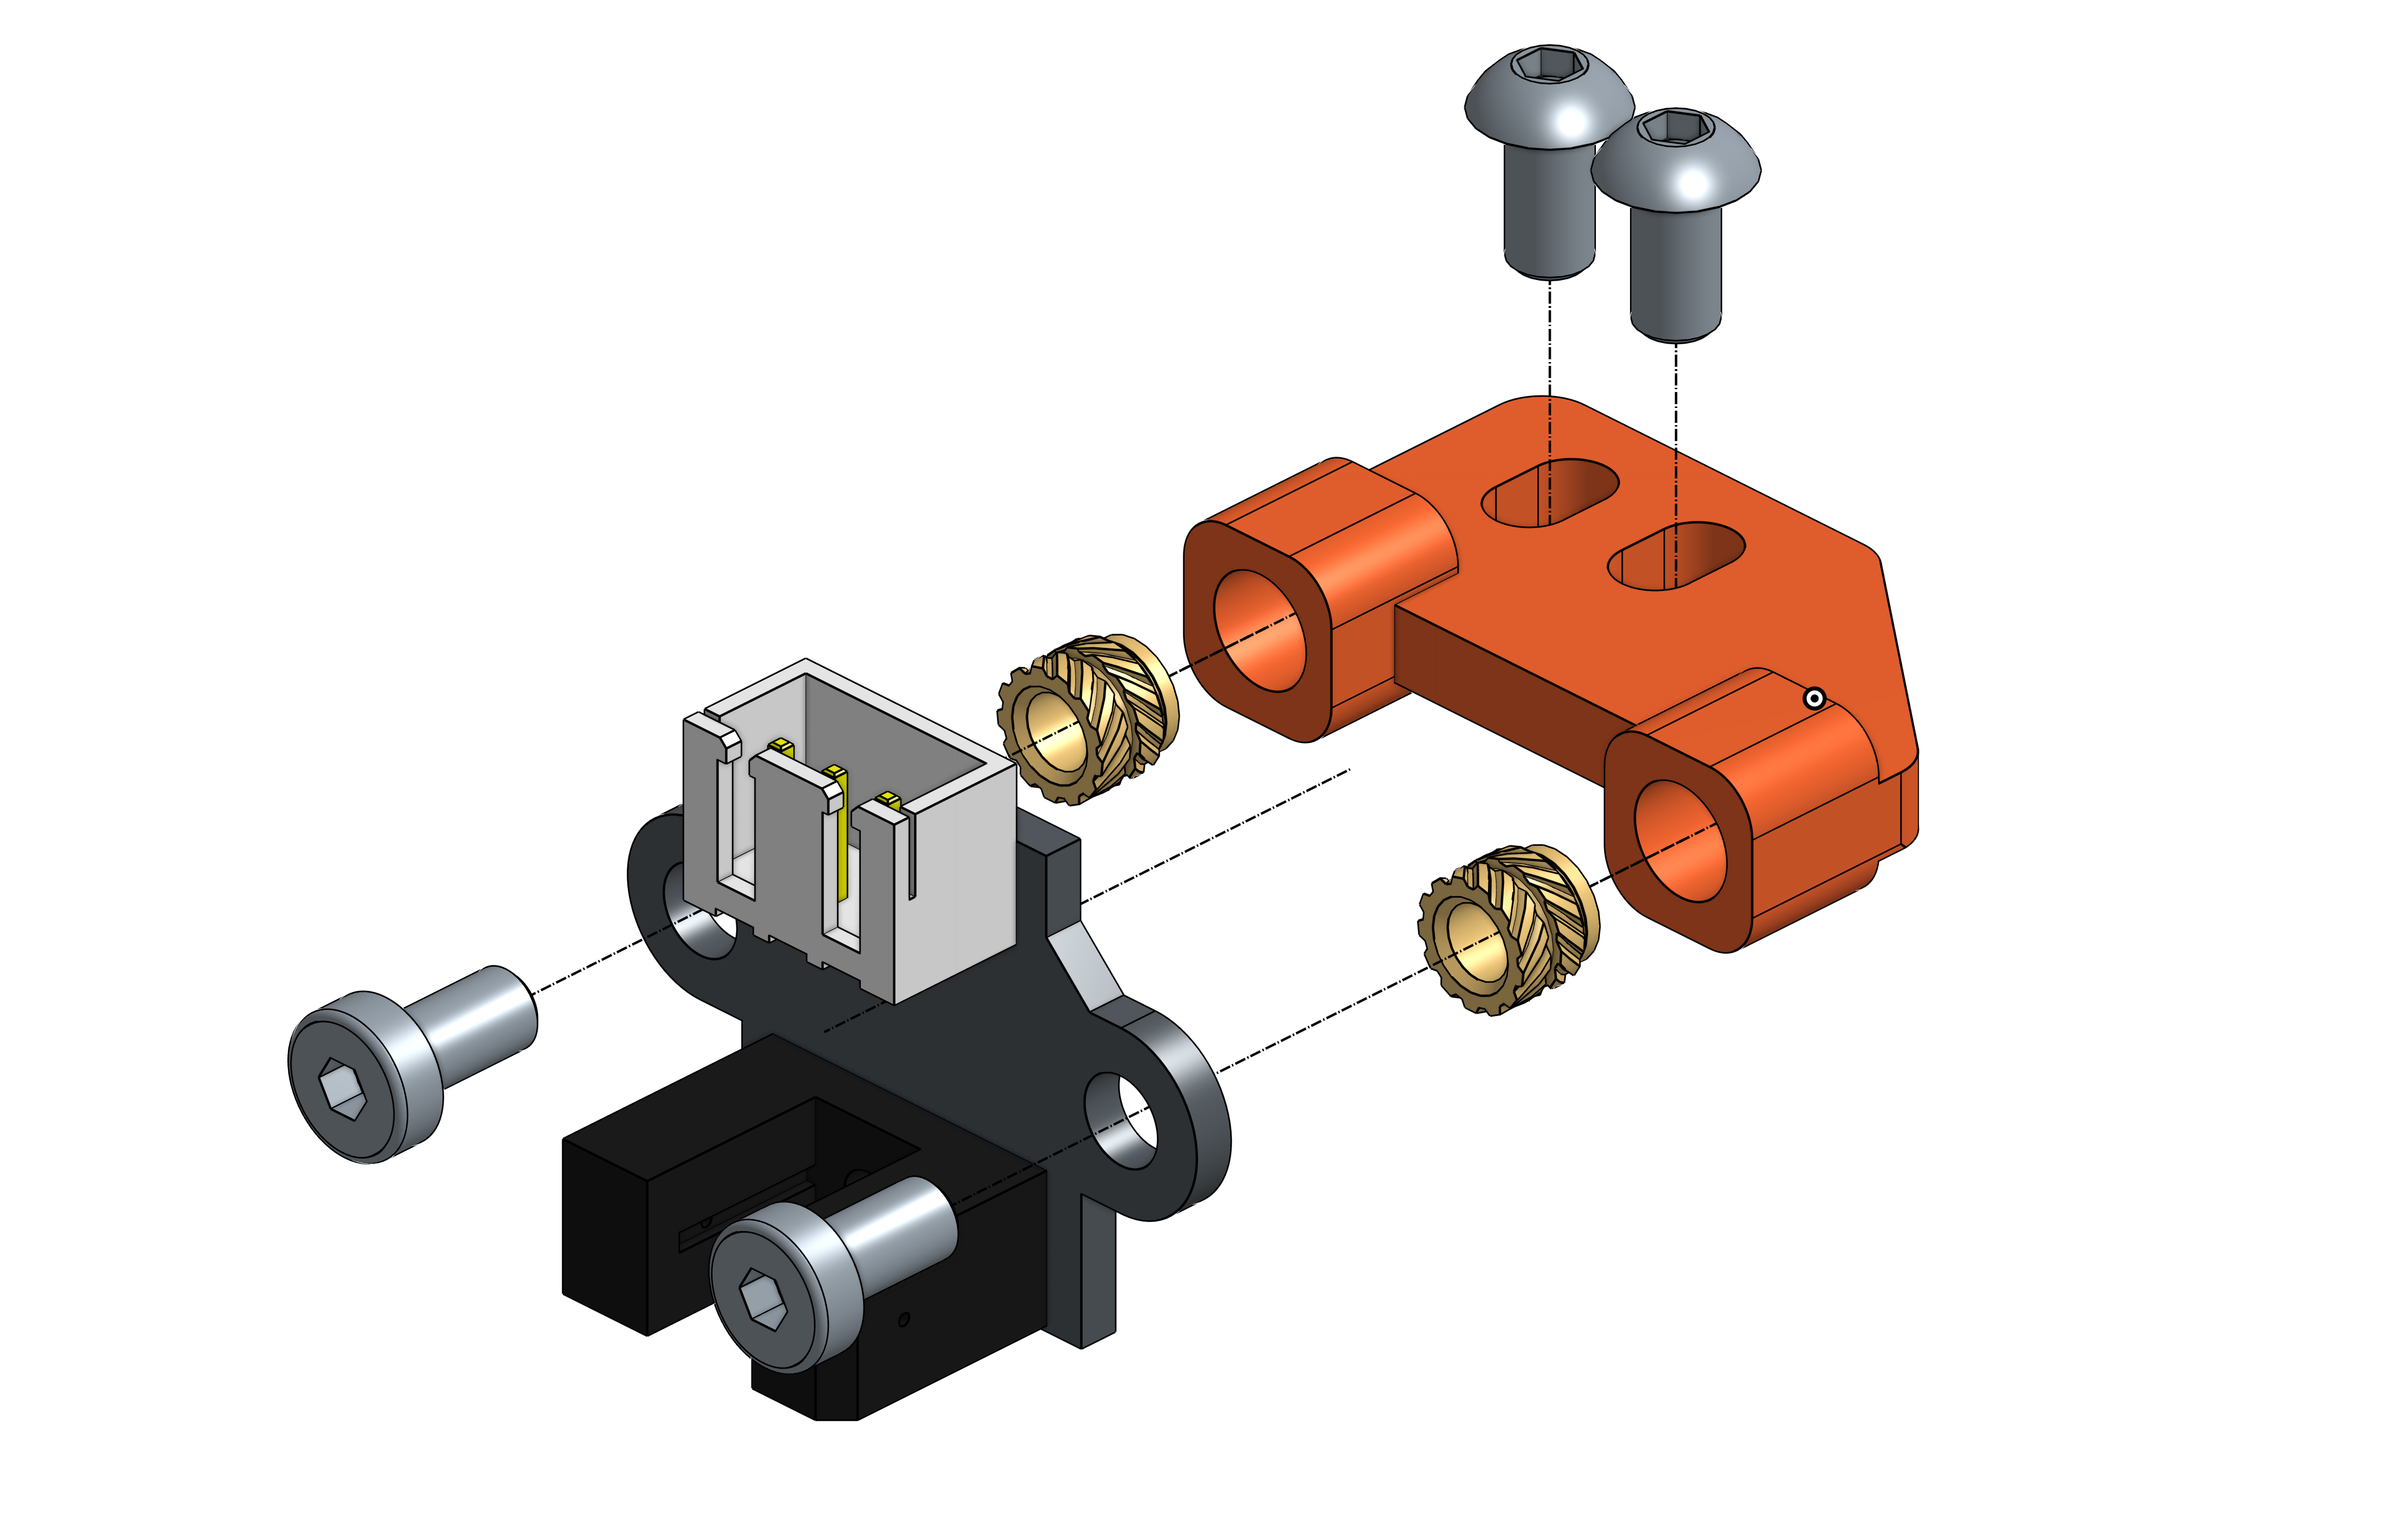 |
| # | Item |
|---|---|
| 1 | RB2_XEndstopMount |
| 2 | M3 Threaded Insert / Voron RX-M3x5x4
|
| 2 | M3 x 6 - Hex socket head cap screw
|
| 2 | M3 x 6 - Socket button head screw
|
| 1 | Optical endstop |
3 | Components Installation |
This chapter focuses on the installation of the pre-assembled components as described in chapter 2.3. Further information on the remaining VzBoT assembly steps can be found in the public VzBoT-Vz330 Github repository (Link).
3.1 | Removal of stock parts |
X/Y axis specific
Remove all stock parts of the X/Y motion system including the motors, idlers, gantry, printhead etc.
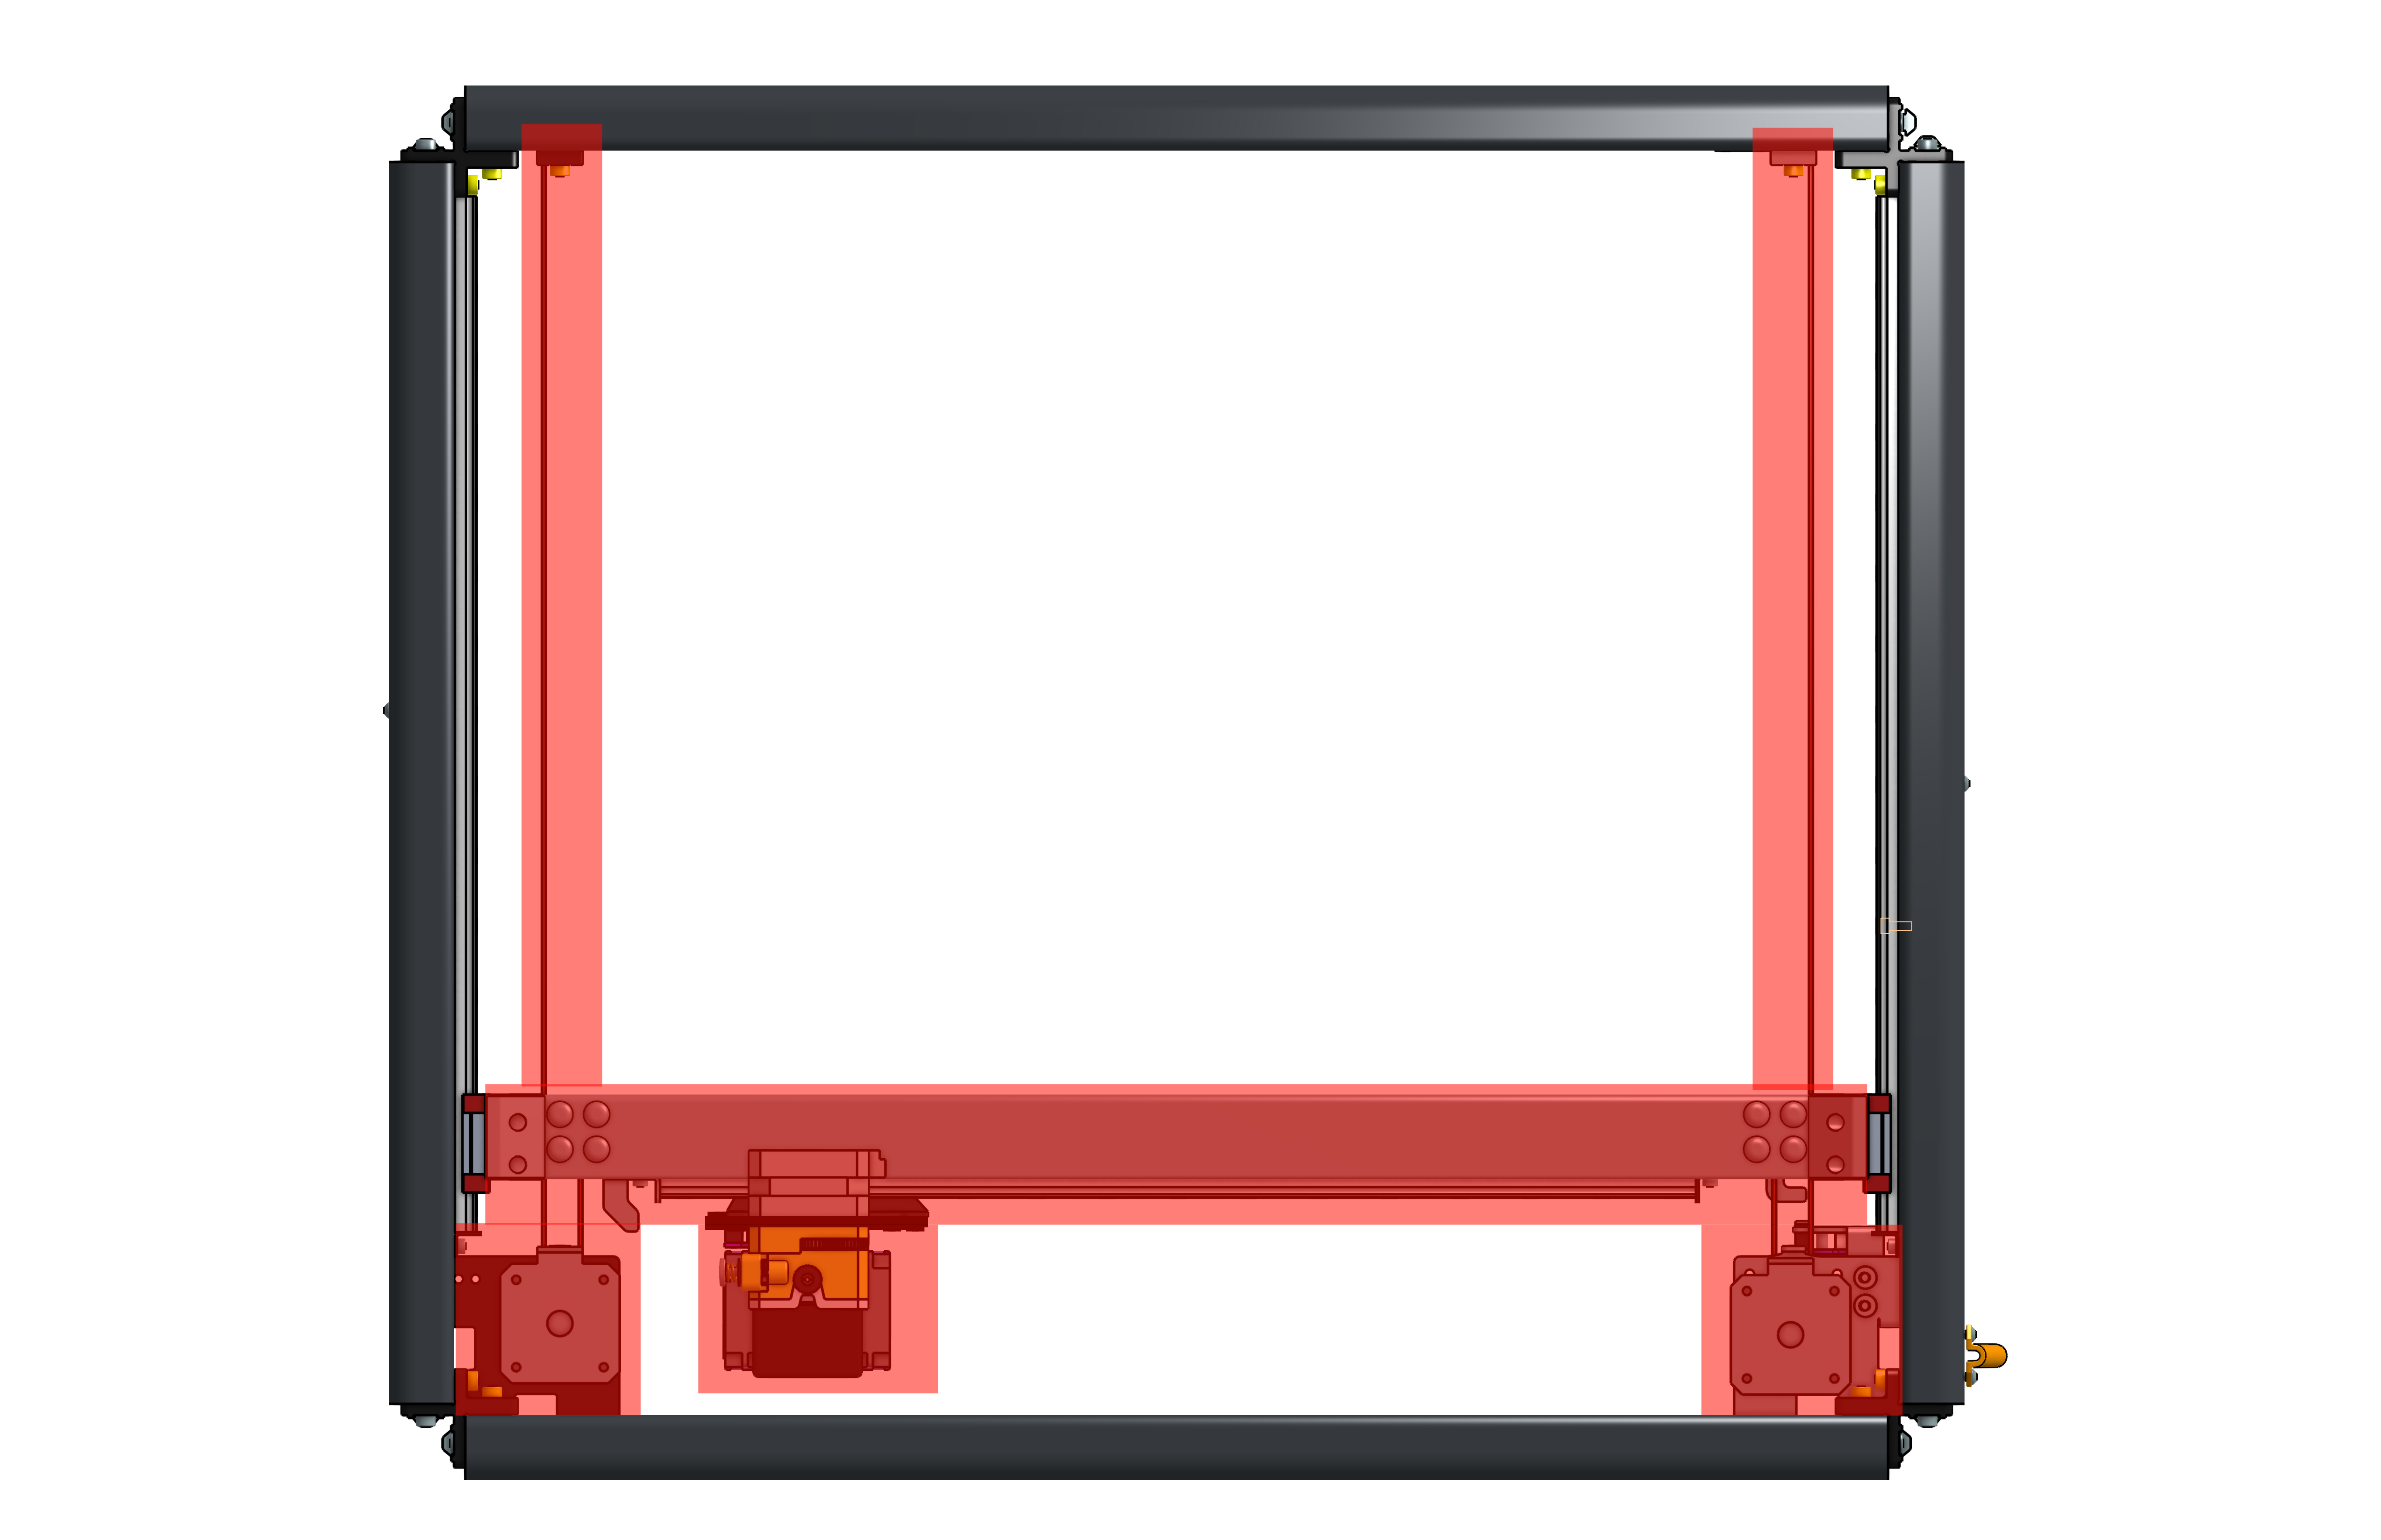
Z axis specific
It is assumed to use some kind of bed leveling probe with the Vz-Printhead. Due to that and the uplifted gantry, please remove all optical endstops and indicators on the z axis.
If you still want to use these optical endstops then you have to design custom indicators which are aligned for the installed hotend (highly user specific).
3.2 | Linear rails realignment |
Slightly loosen the screws on both linear rails for Y and move them by -15 mm to create some space for installing the Idler Mounts. Then retighten the screws of the linear rails.
Attention: Please use the Flying Bear Reborn 2 linear rail mounting helper (Link) to align the linear rails horizontally before retightening.
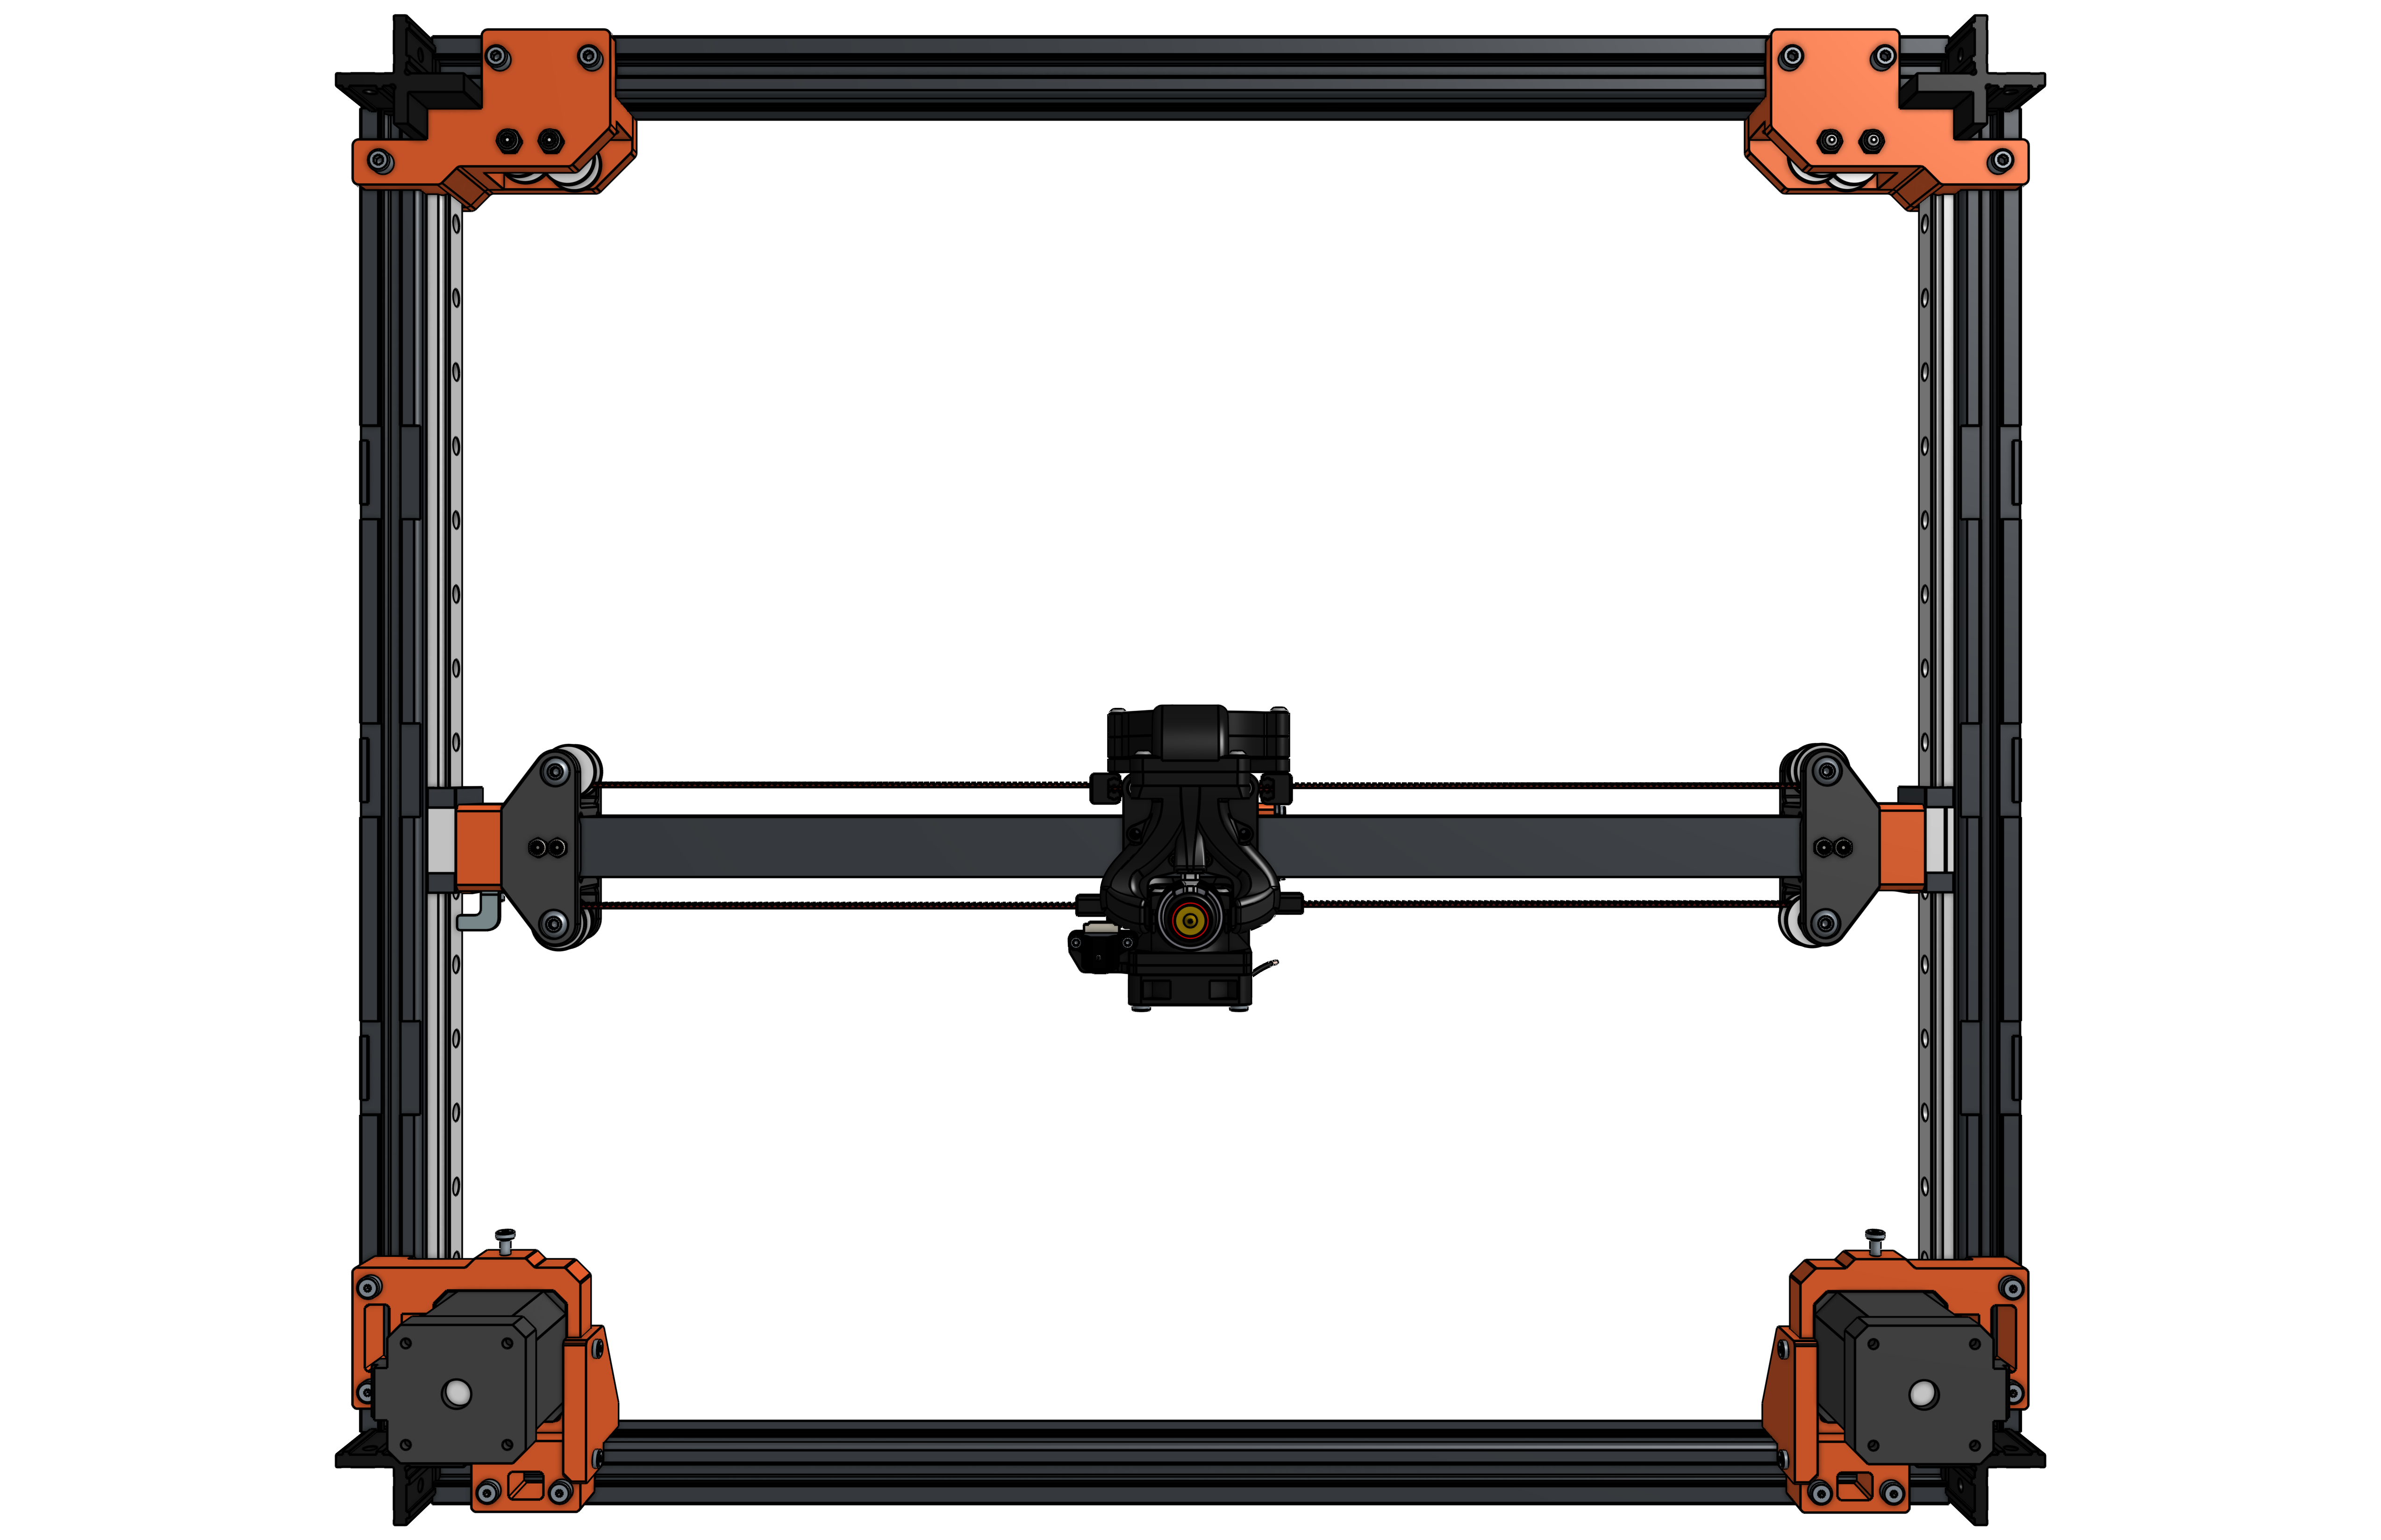
3.3 | Mounting components |
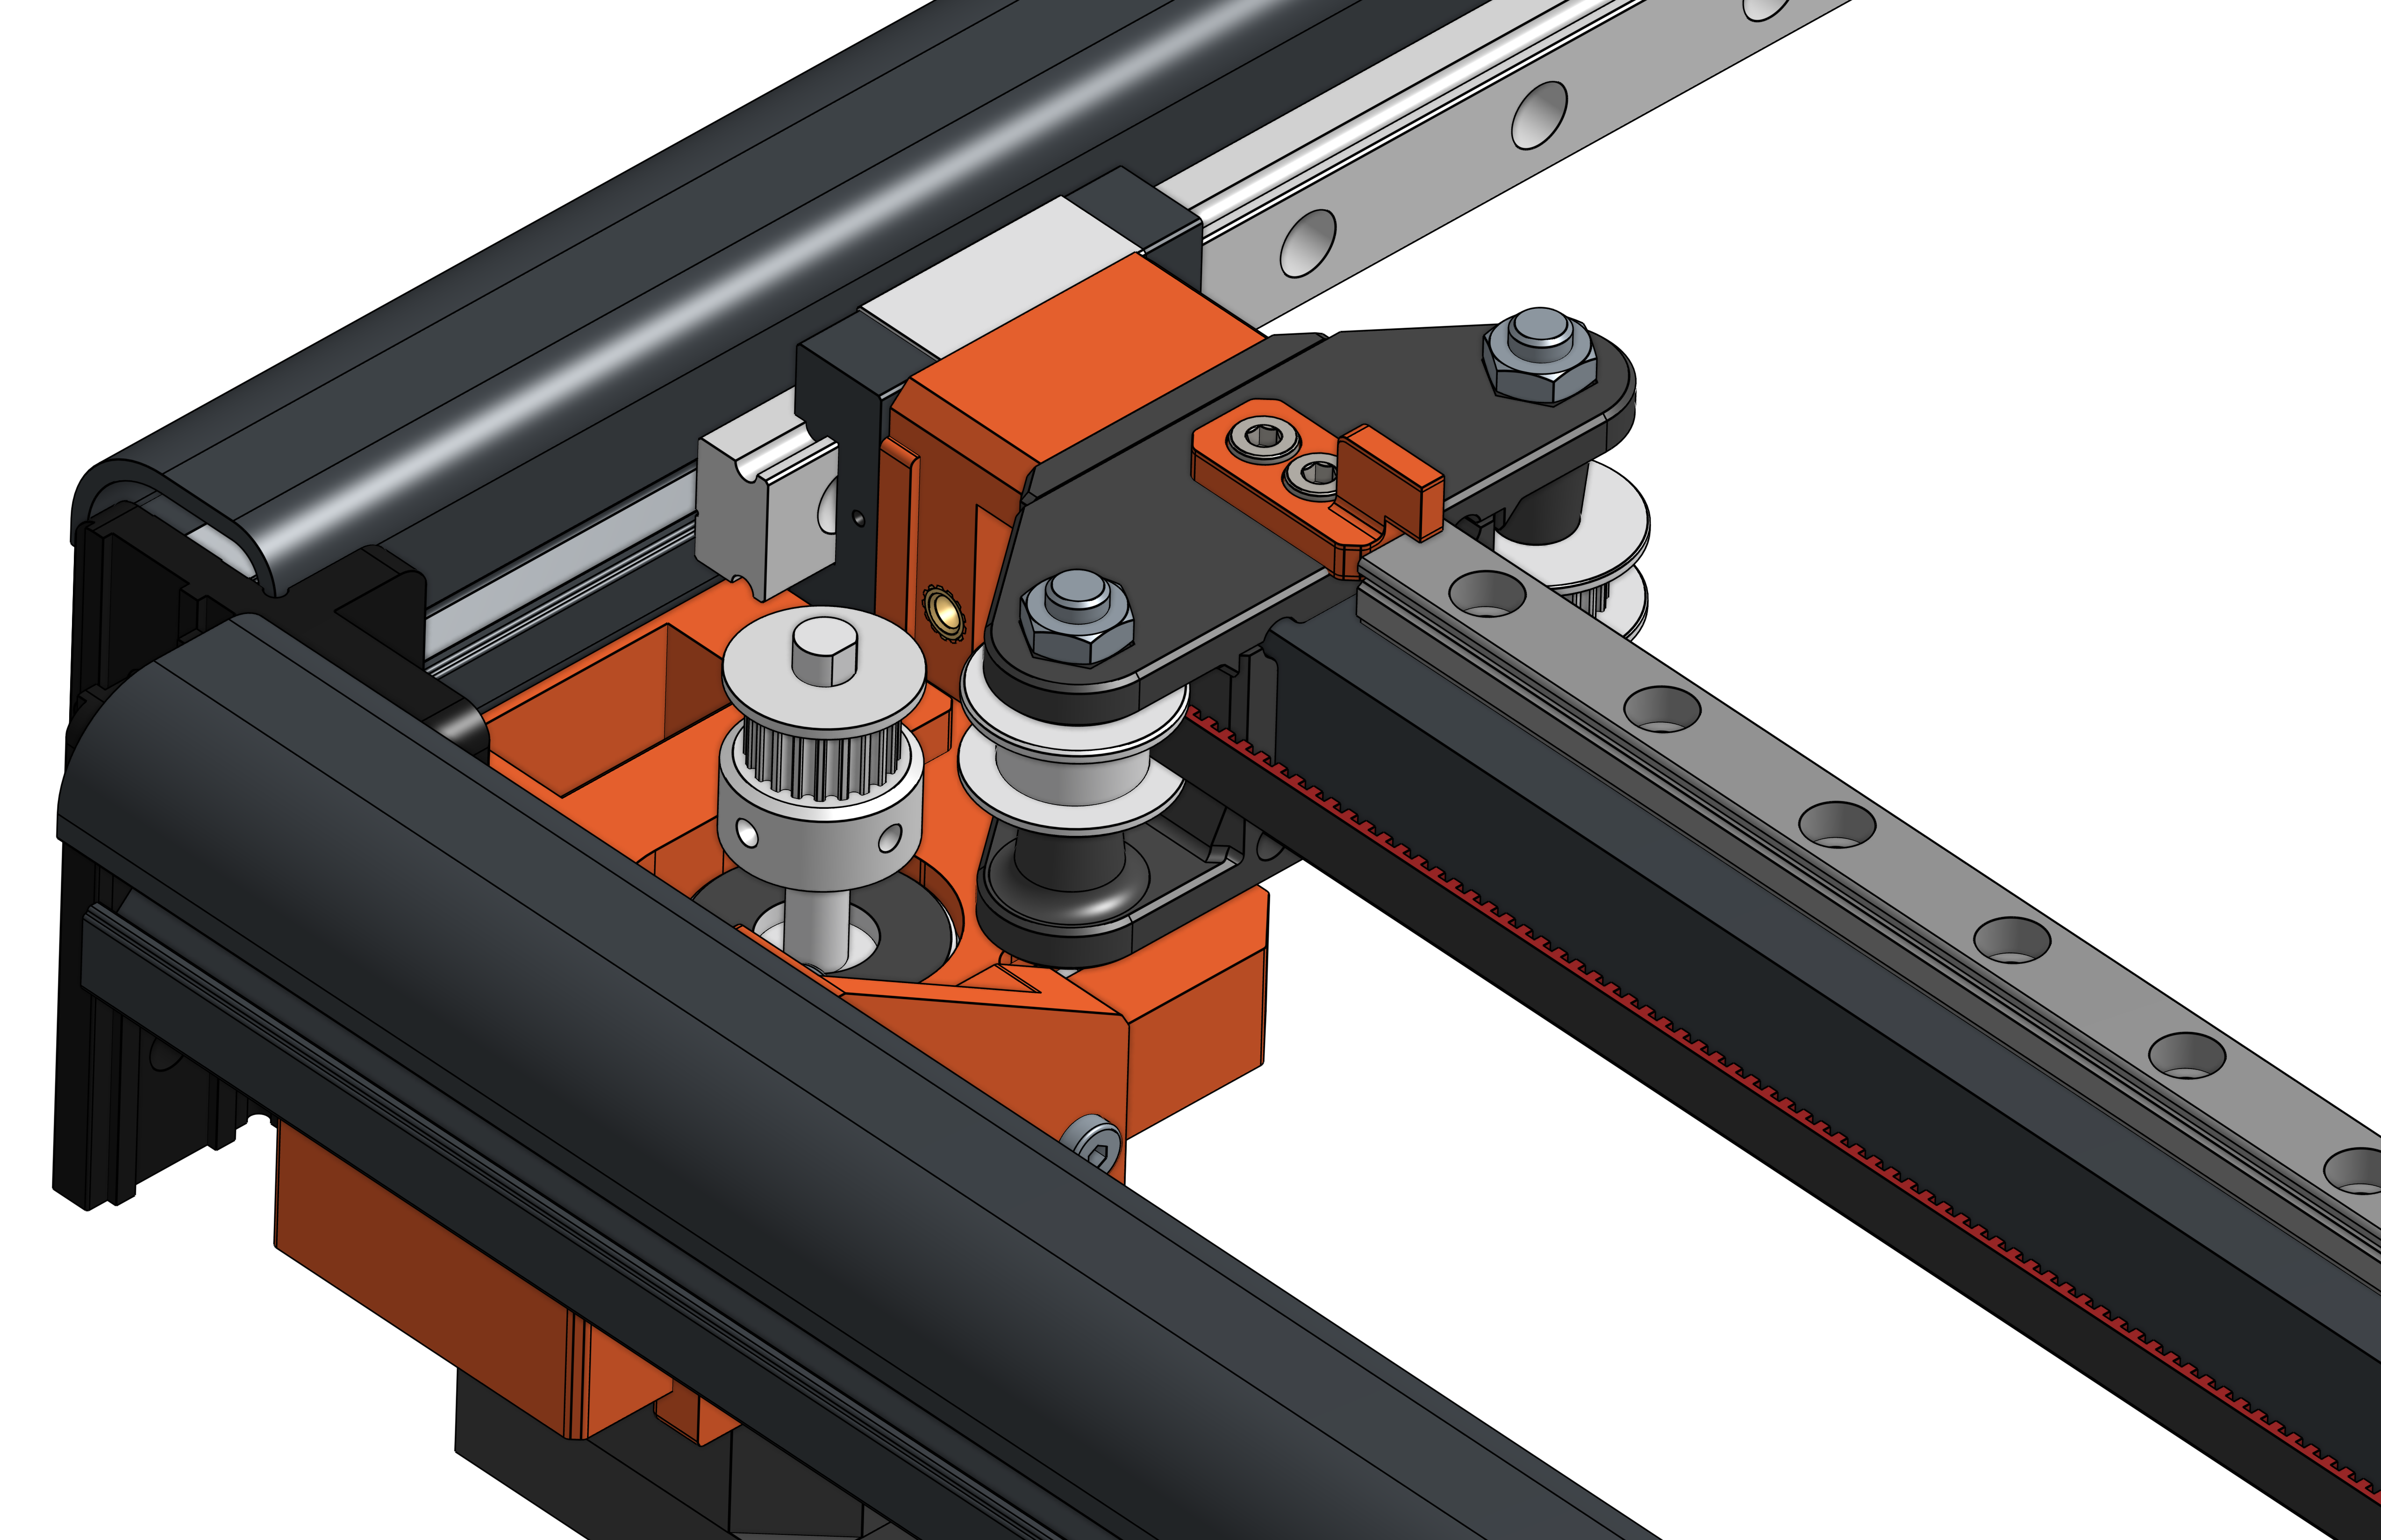
Mount all pre-assembled components to the frame as shown in the following pictures.
For the installation of the X beam, MGN9 rail, Vz Printhead etc. please check the Vz330 repository (Link) and the Youtube channel of Simon Vez (Link).
Full assembly
If anything in the following pictures is unclear then have a look in the overall asembly: Onshape Workspace Link (reduced snapshot, 2024-02-06)
Pictures
 |  |
 | |
 |  |
 |  |
3.4 | Belts installation and tensioning |
For the belts installation please follow the VzBoT assembly guide.
Caution: Please put the belt clips as close as possible to the Vz-Printhead. Otherwise the belt-clips will be moved into the idlers of the Y gantry while homing.
The belt tensioning mechanism is similar to that of the standard Reborn 2.
How to belt tensioning?

- Slightly loosen the mounting screws of the X/Y motors
- Adjust the belt tension with the screw in front of each motor (cw: increase tension, ccw: decrease tension). Measure the belt tension (Youtube Link) and repeat until the values are valid. Alternatively you can use a belt tension meter (Link).
- Retighten the mounting screws of the X/Y motors
- Done
3.5 | Z endstop |
With use of the Vz-Printhead some kind of bed leveling probe should be used.
3.6 | Optional: Print bed carriage modification |
According to the measurements, some print space is lost in the Y direction with the current configuration. If you want to avoid this, there are two options.
Option 1 (recommended): Modification of the print bed carriage
- Measure the lost Y space
- Remove the print bed carriage from the machine
- Drill 4 new holes in the carriage. Select the previously measured value as the distance to the original holes.
Attention: Don't drill inside the machine you could harm your ball bearings with metal chips - Install the print bed carriage again

Option 2 (not recommended): Repositioning of the Z motion system
I have implemented this option on my own Reborn 2 and cannot recommend it to anyone. It is complex and requires a new base plate. I then looked for a simpler solution. I came across option 1, which really anyone can do.
4 | Frequently Asked Questions |
What is the reason for this mod?
In November 2023, a thread was started in my 3D printing community about optimizing the print speed and acceleration of the Flying Bear Reborn 2. As we all know, the Reborn 2 is a rock solid machine with all its metal parts. However, due to the heavy weight of those parts, the possible speed of the machine is limited.
To solve this limitation, several ideas were discussed and their pros and cons evaluated. In the end, using the Vz-Printhead in combination with the Vz330 gantry seemed the most promising one.
This model is my personal approach to making the Reborn 2 compatible with the Vz-Printhead.
What will this mod set me back in terms of money?
There are so many variables involved which makes it quite difficult to give a proper estimation. But I can give you a rough overview of the materials I have bought for my own machine.
Originally, as of start of 2024, the mod set me back as follows:
- 100 EUR: Idlers, pulleys, screws, nuts, threaded inserts, timing belts, etc. and Mellow idler/gantry scew kit
- Lessons learned: I sourced the idlers & pullyes myself. Today, I would simply buy the Mellow pulley/idler/belt set
- 90 EUR: X beam (carbon or CNC), MGN9 linear & MGN9H block by LDO
- 35 EUR: 1x spool of ASA
… and then you can always spend more money on things like a new hotend, extruder, etc.
5 | Changelog |
| Date | Log |
|---|---|
| 2024-02-03 | Initial release of the step files and documentation |
| 2024-02-06 | Added chapter 2.2.1 X-Beam compatibility Added link to full assembly (reduced workspace snapshot) |