
Nebula Pad standalone stand
Obliczymy ostateczną cenę na podstawie wybranego pliku. Sprawdzisz ją i zaakceptujesz przed płatnością.
Zapisane na tym urządzeniu.
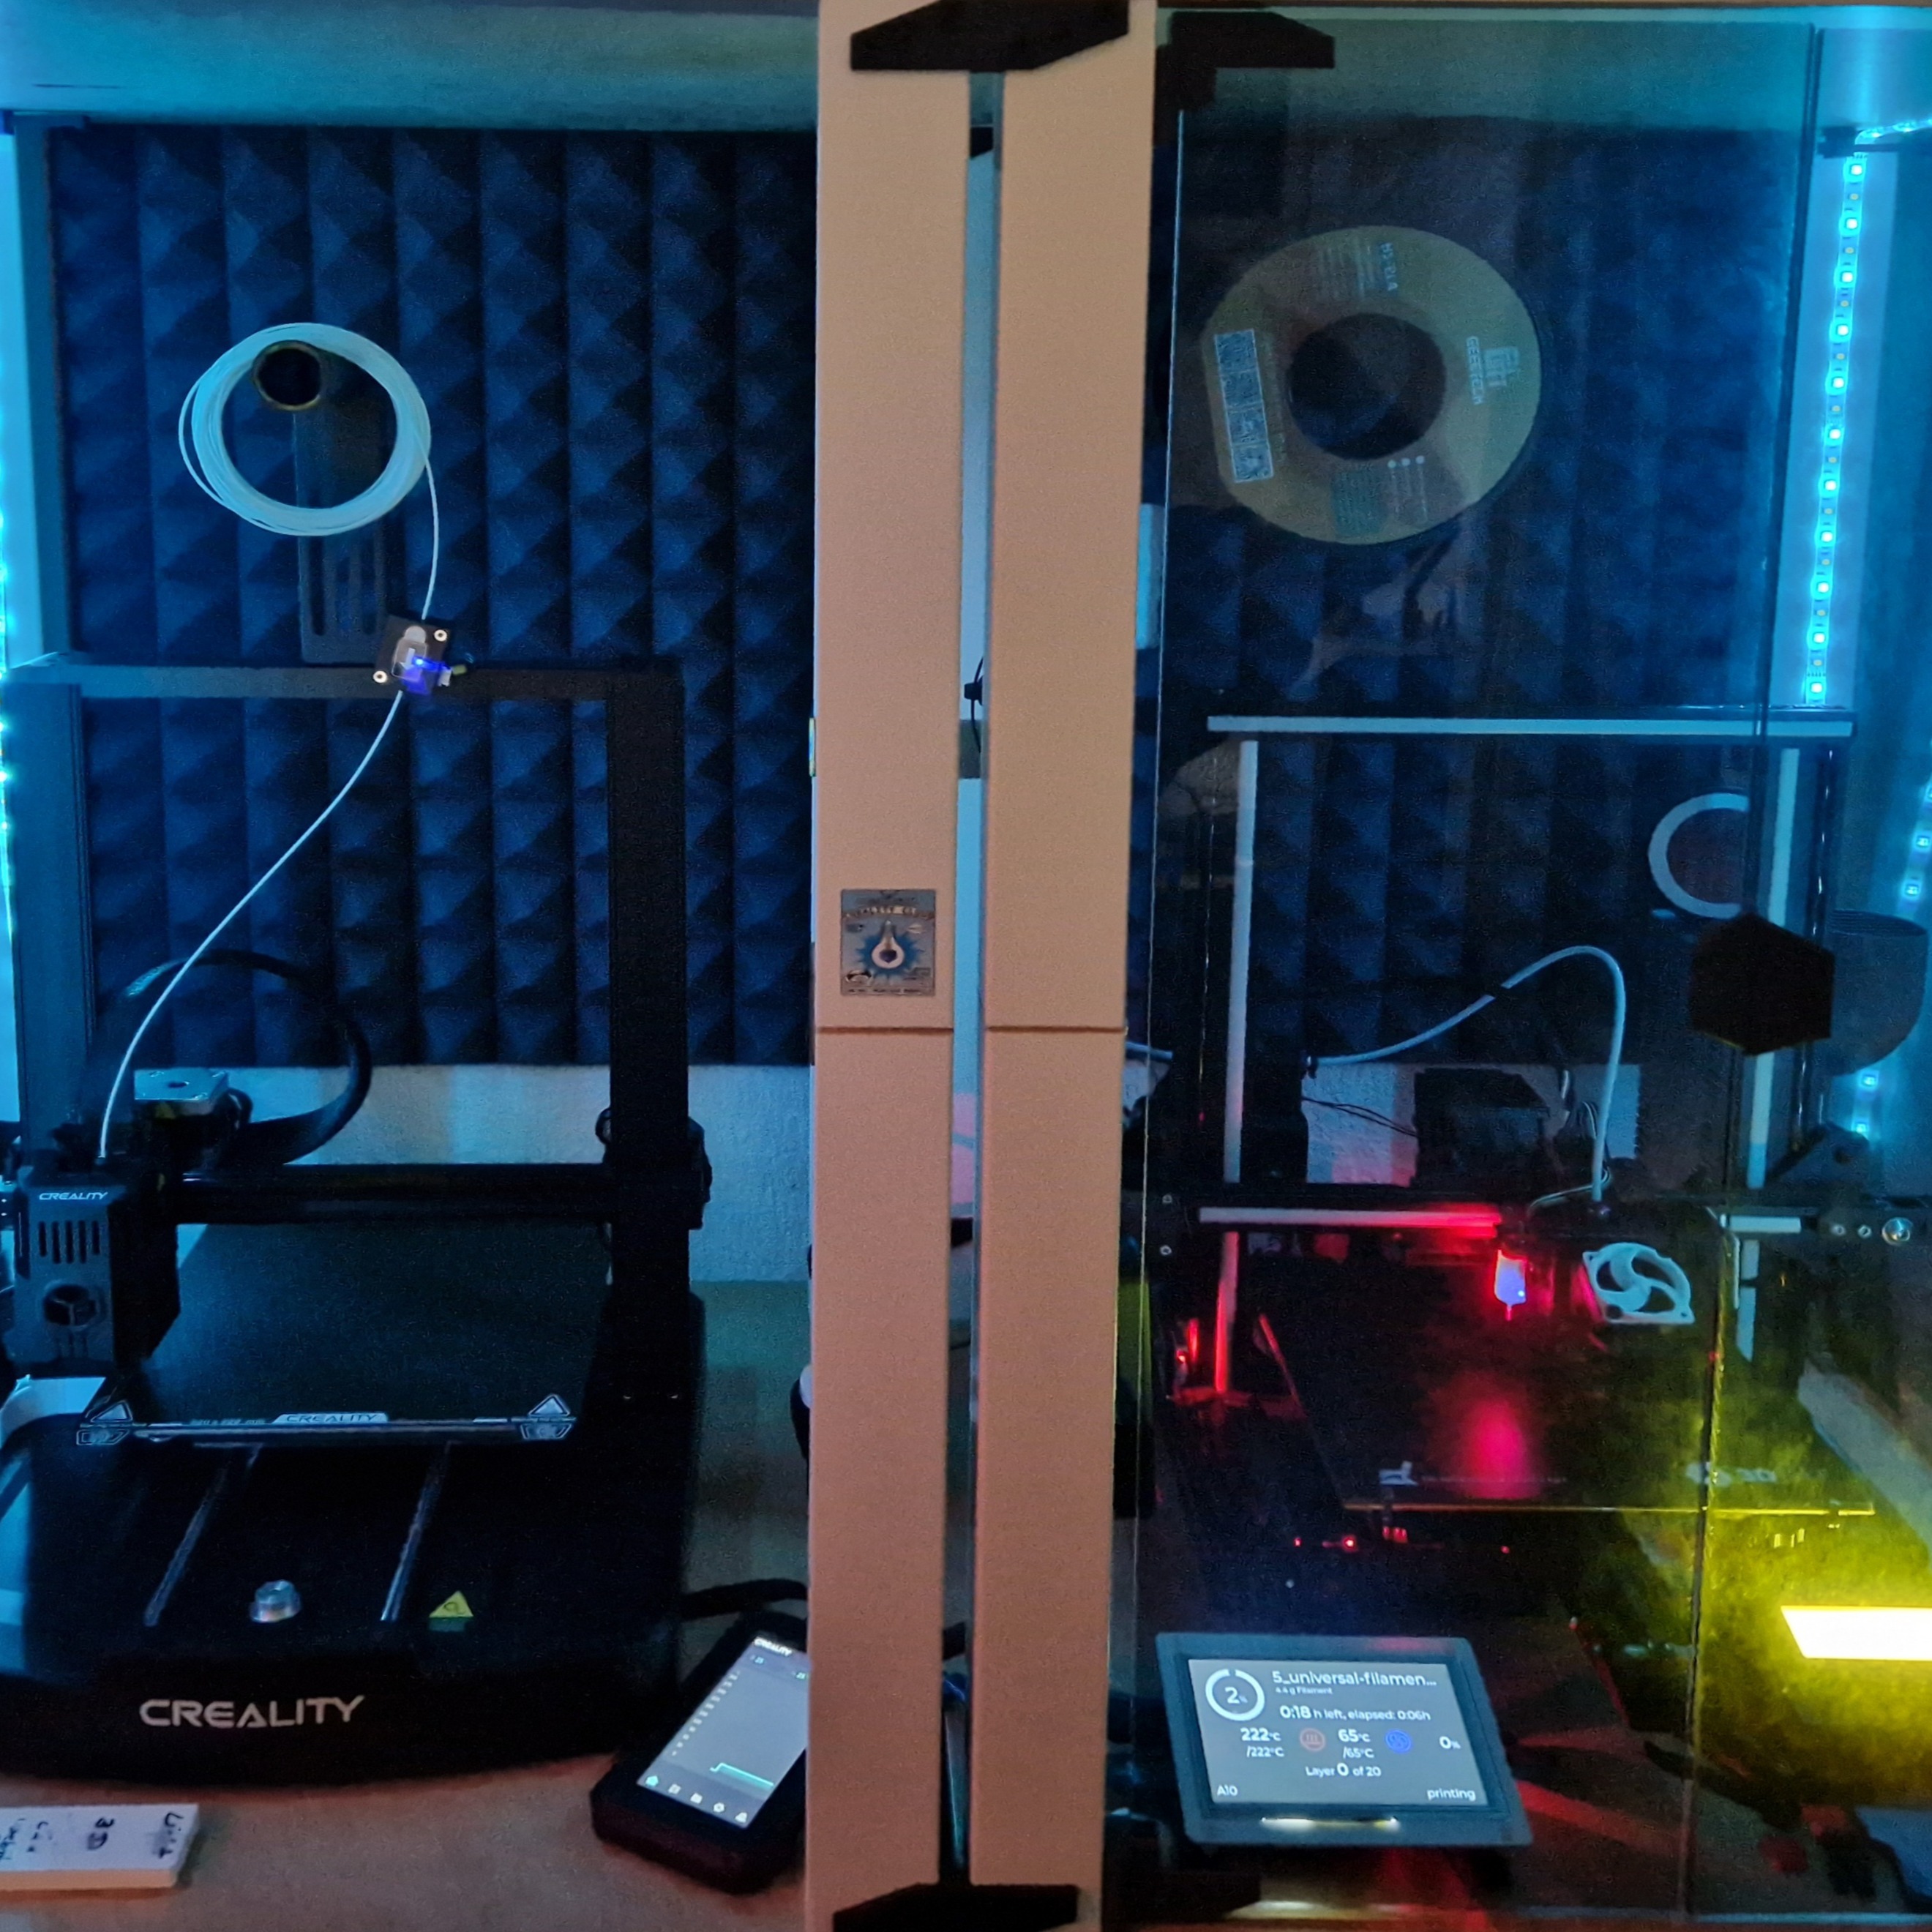
Standalone nebula pad stand
- Ocena
- 5 / 5
- Polubienia
- 60
- Pobrania
- 435
- Wydruki
- 2
- Wyświetlenia
- 2243
- Oceny
- 2
Aktualizacja u źródła:
Informacje o modelu
- Źródło
- Printables
- Kategoria
- Creality Parts & Upgrades
- Licencja
- Creative Commons — Attribution — Noncommercial — NoDerivatives
Standalone stand for nebula pad.
IDC 10 pin 2,54mm male/female extension cable do work to extend the Nebula cable →
https://www.ebay.com/itm/272617069892?var=571737481000

Alternative - the Nebula Pad cable is attached to the mainboard on the left side of the printer and is approx. 30cm longer if you lead it out to the left side of the printer. All you have to do is make a small opening in the base plate (don't forget to deburr to pretend the cable to being damaged)
2 versions available:
with screw holes, longer base
shorter base, you can attach it with double-sided tape
Printing with support recommended
If the back of your print looks as bad as mine (I printed without supports) then the pins need to be printed longer (change the Z axis only!)

If you still have problems installing the pins, first insert them into the Nebula Pad. If they can't be pushed down in the stand then take a screwdriver and use it to push the pins down on the back of the stand
--------
Eigenständiger Ständer für Nebula Pad.
2 Versionen:
mit Schraubenlöchern, längere Basis
mit kürzeren Basis, du kannst es mit doppelseitigem Klebeband befestigen
Ein IDC 10 Pin 2,54mm male/female Verlängerungskabel kann zum verlängern des Kabels benutzt werden - z. B. https://amzn.eu/d/82dTKSN

Alternative - das Nebula Pad Kabel ist im Drucker auf der linke Seite am Mainboard befestigt und ca. 30cm länger wenn man es auf der linken Seite des Druckers rausführt. Hierzu muss nur eine kleine Öffnung in die Bodenplatte gemacht werden (entgraten nicht vergessen damit das Kabel nicht beschädigt wird)
Sollte am besten mit support gedruckt werden.
Wenn die Rückseite deines Drucks auch so schlecht aussieht wie meine (habe ohne Supports gedruckt) dann müssen die Pins länger gedruckt werden (nur Z-Achse verändern!)

Wenn du trotzdem immer noch Probleme beim Anbringen der Pins hast, stecken sie erst in das Nebula Pad. Wenn sie nicht einfach von hand in den Ständer gedrückt werden können, nehme einen Schraubenzieher und drücken sie damit auf der Rückseite des Ständers nach unten