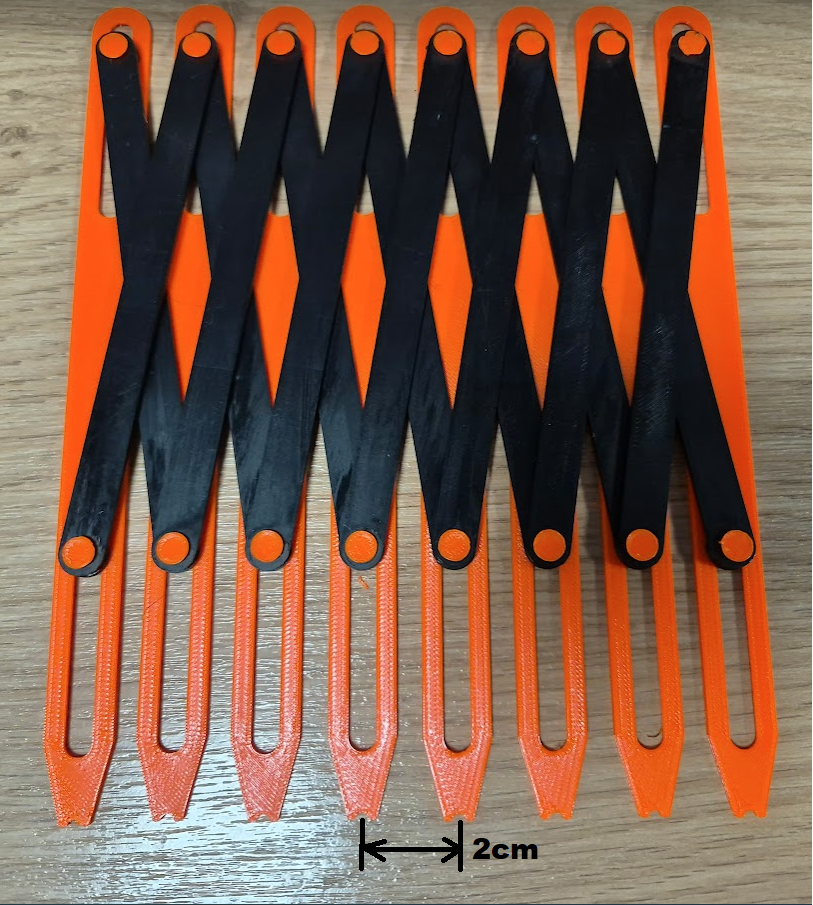
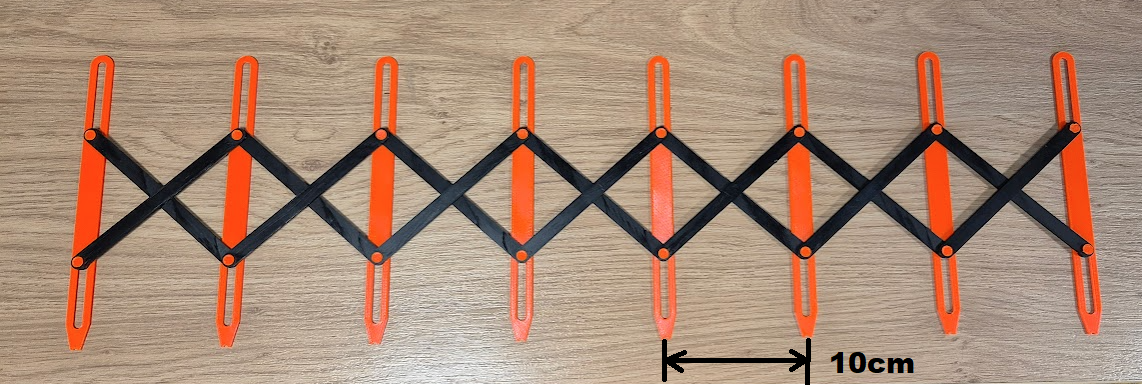
FleXi button Marker Tool (Assembling PIP)
Obliczymy ostateczną cenę na podstawie wybranego pliku. Sprawdzisz ją i zaakceptujesz przed płatnością.
Zapisane na tym urządzeniu.

You need to build parts between the print process. After it is flexible and can't be disassembled. Raster 2 to 10cm.
- Ocena
- 4 / 5
- Polubienia
- 220
- Pobrania
- 210
- Wydruki
- 1
- Wyświetlenia
- 2148
- Oceny
- 1
Aktualizacja u źródła:
Informacje o modelu
- Źródło
- Printables
- Kategoria
- Tools
- Licencja
- Creative Commons — Attribution — Noncommercial — NoDerivatives
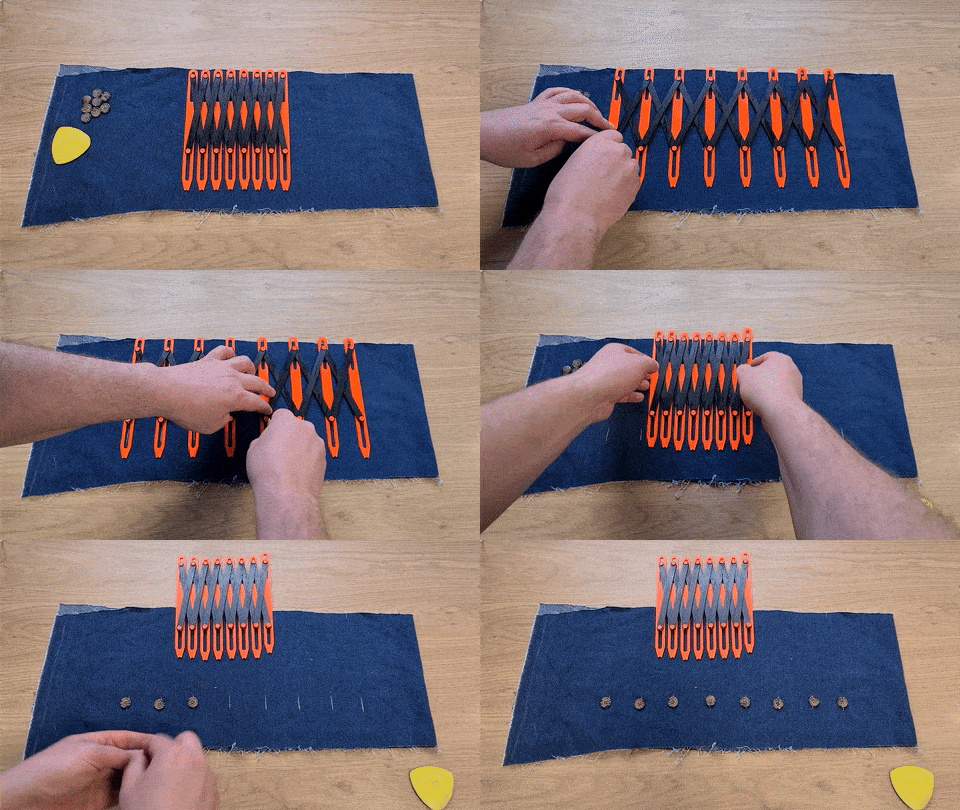
This print technic I used to avoid support and to get model flex, assembled and locked with pins after the end of a print. And you are not limited with number of modules. You can build it endlessly if you continue with Levers instead Rings.
Print instructions:
Z=0,2
Prepared printed parts should be cold and not banded for next process!
First you need to print 7pcs Lever 1 (the one with 3 holes)
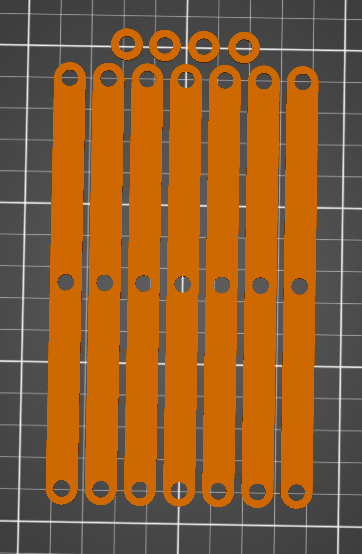
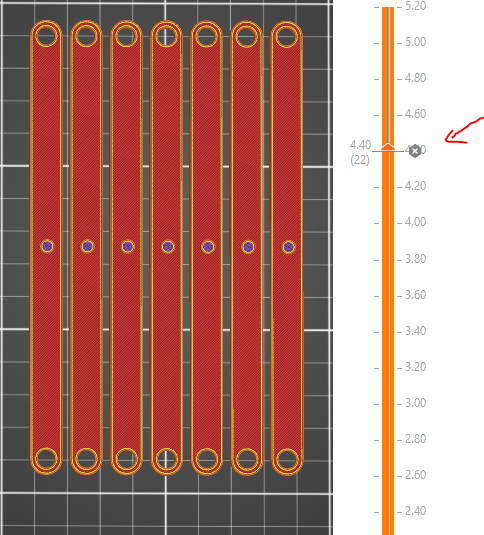
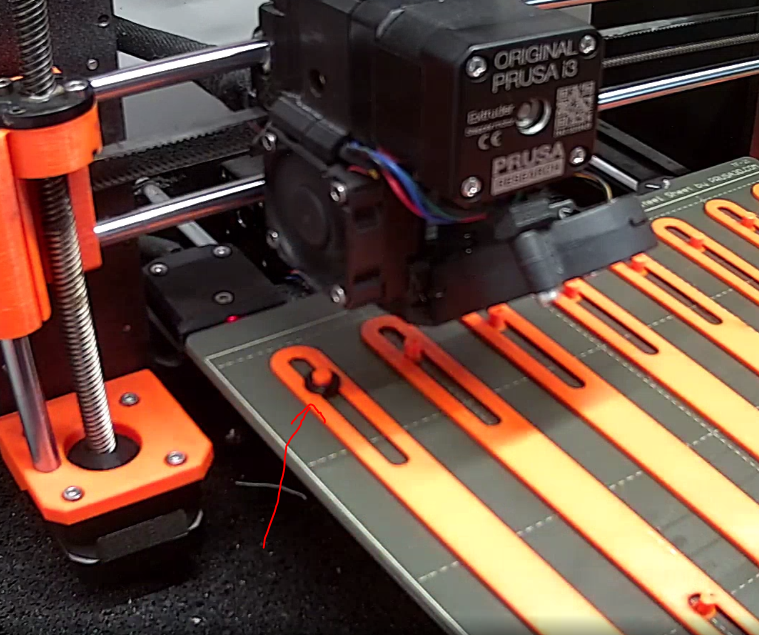
Then print 7pcs Lever 2 (2 holes and a pin) This one You have to stop at Z=4,40, put Lever1 on it and print forward. After print Levers1&2 are locked and flexible.
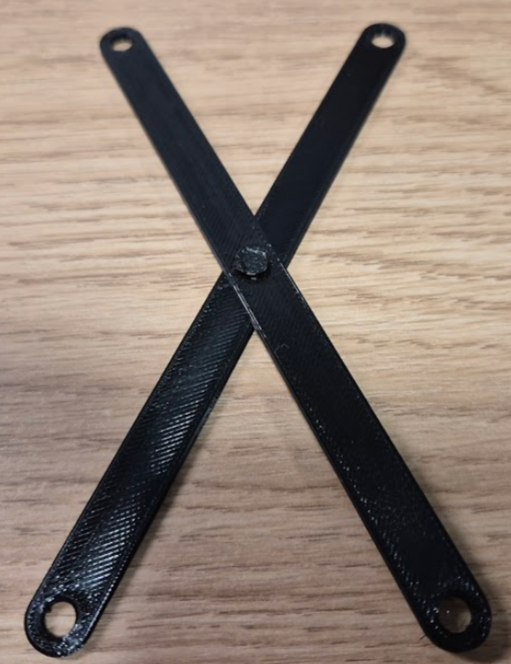
You get 7pcs like this:
Then you need to print Markers with pins and use the same technic. Stop a print at Z=6,4
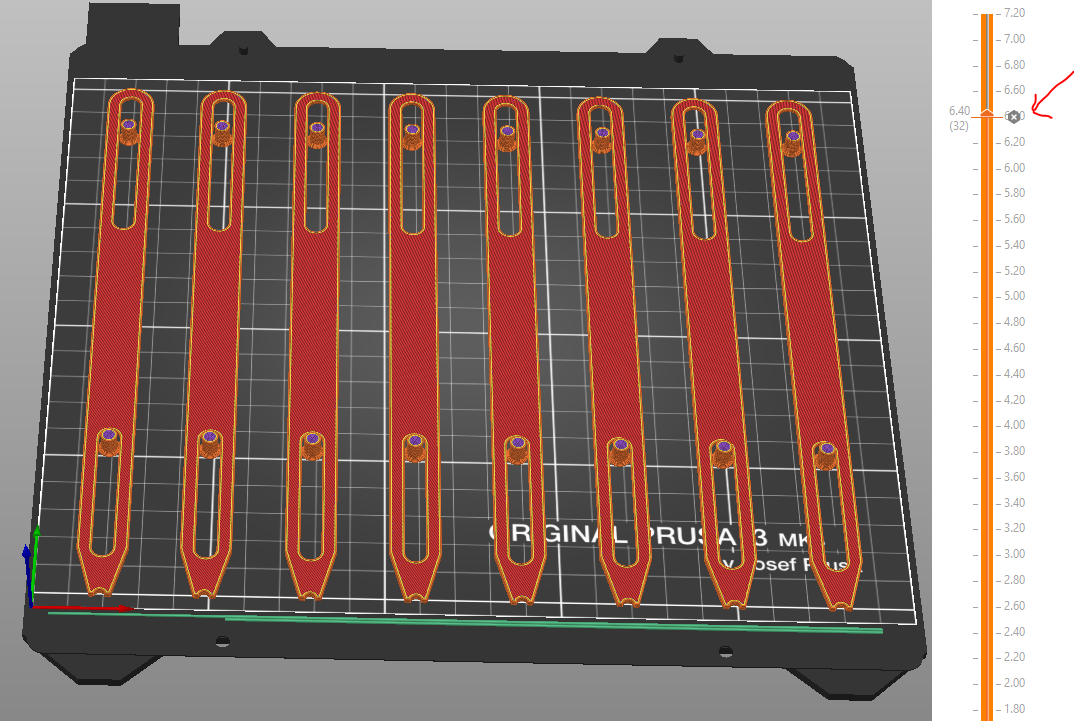
Put Levers1&2 on it and print. ! Locked pins must look down! !
Be careful that Levers aren't banding higher than next print Z. (You can use office tape if lever is banned over a pin)
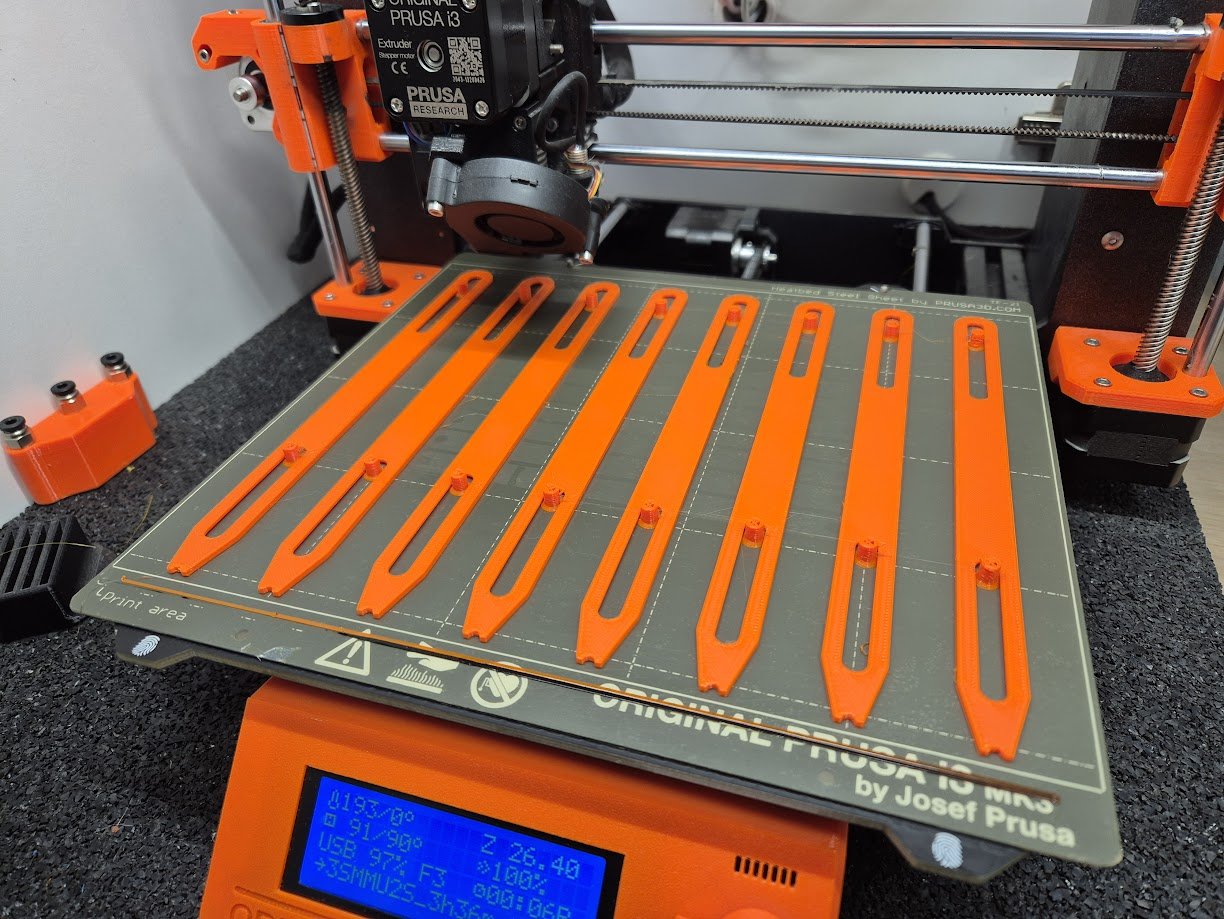
On the left and right Marker you need to put rings on 4 pins.
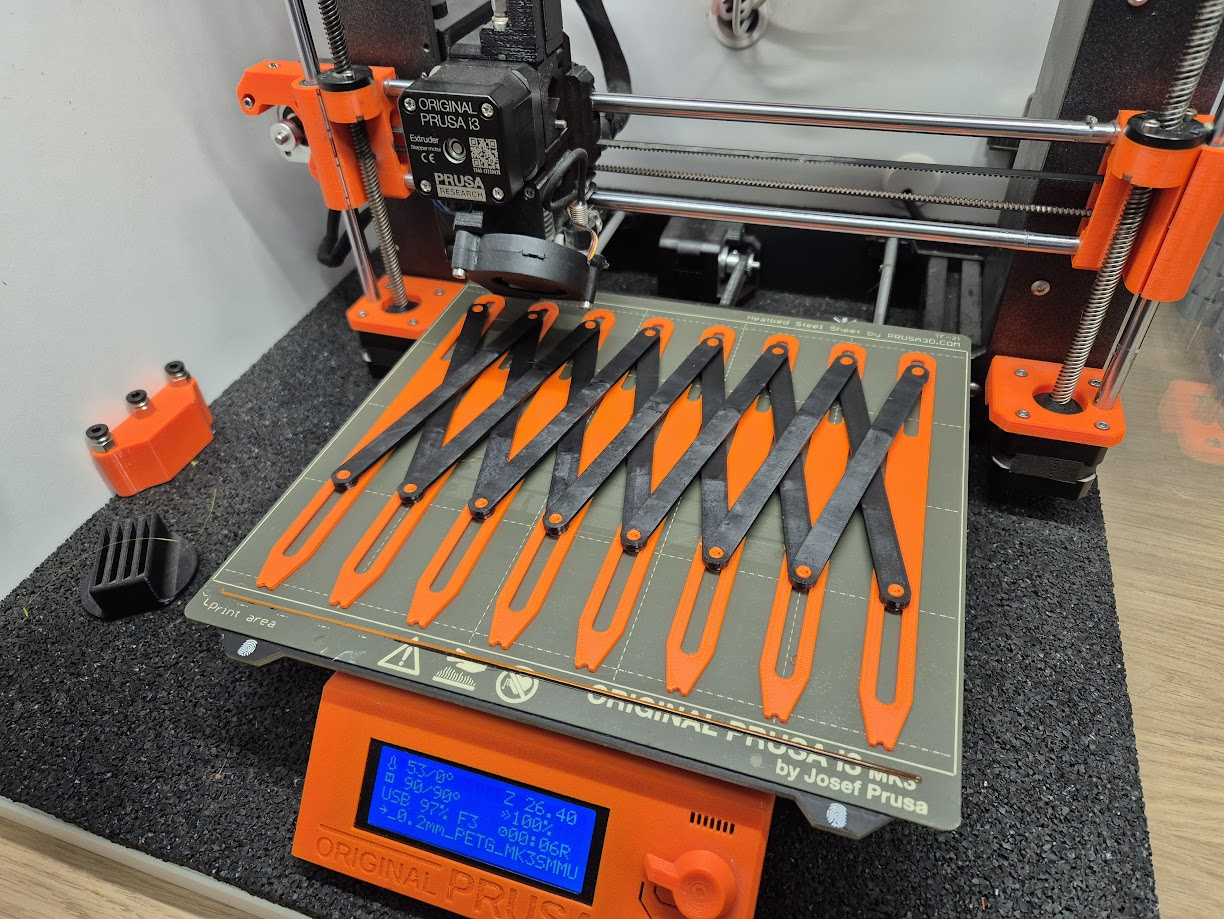
Print to the END and have Fun