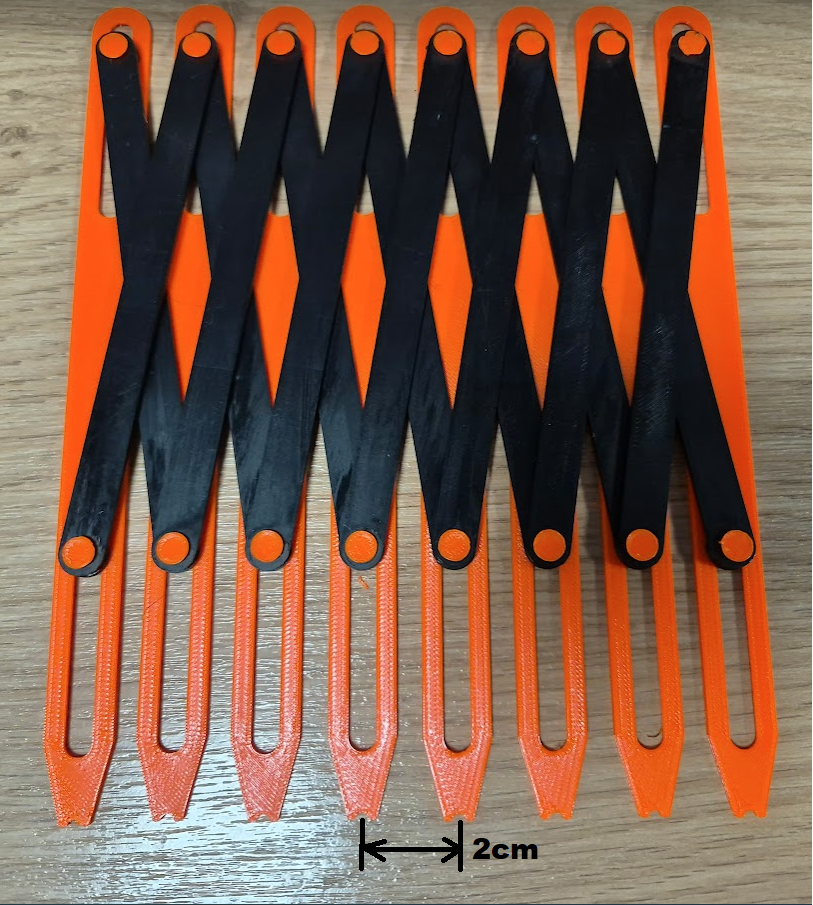
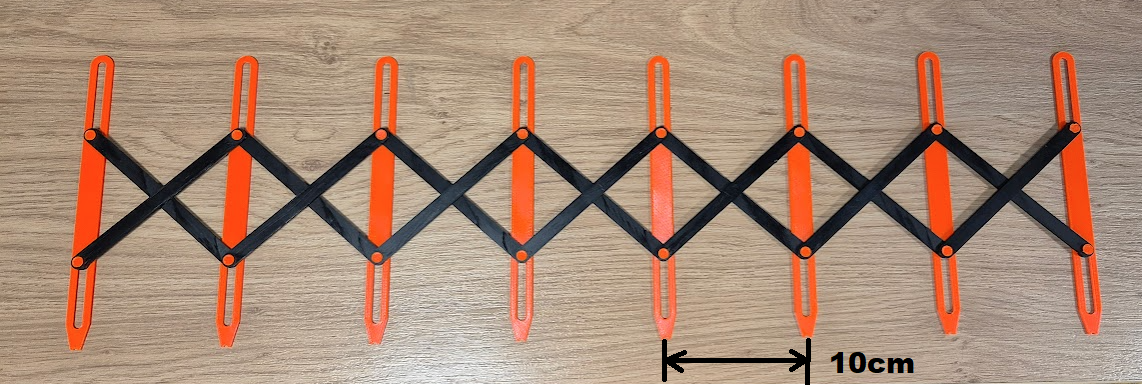
FleXi button Marker Tool (Assembling PIP)
We calculate the final price from your selected file. You review and accept it before payment.
Saved on this device.

You need to build parts between the print process. After it is flexible and can't be disassembled. Raster 2 to 10cm.
- Rating
- 4 / 5
- Likes
- 220
- Downloads
- 210
- Makes
- 1
- Views
- 2,148
- Reviews
- 1
Updated at source:
Model information
- Source
- Printables
- Category
- Tools
- License
- Creative Commons — Attribution — Noncommercial — NoDerivatives
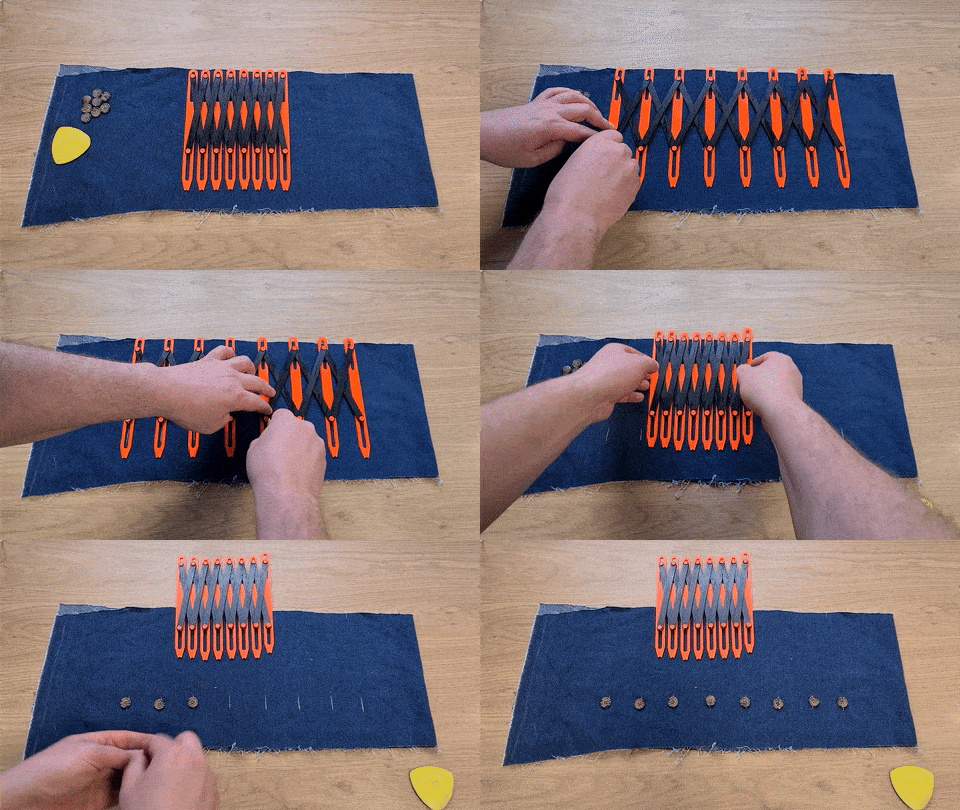
This print technic I used to avoid support and to get model flex, assembled and locked with pins after the end of a print. And you are not limited with number of modules. You can build it endlessly if you continue with Levers instead Rings.
Print instructions:
Z=0,2
Prepared printed parts should be cold and not banded for next process!
First you need to print 7pcs Lever 1 (the one with 3 holes)
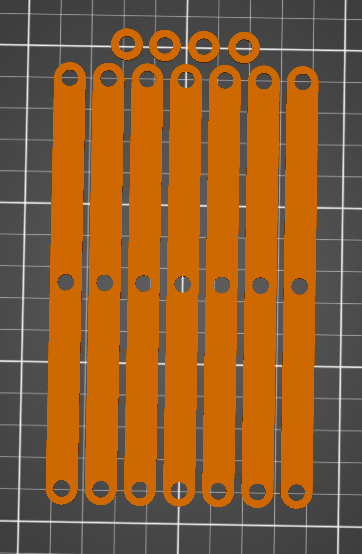
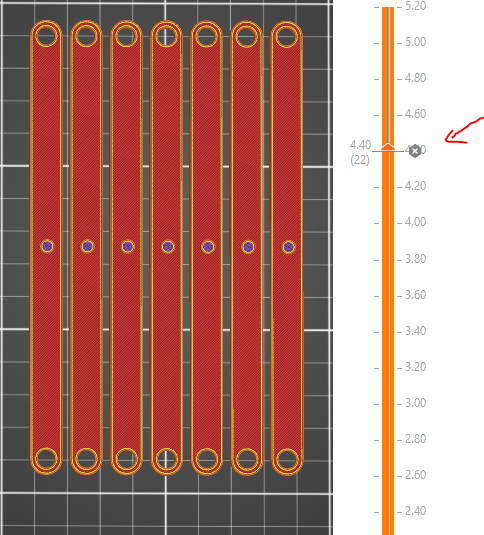
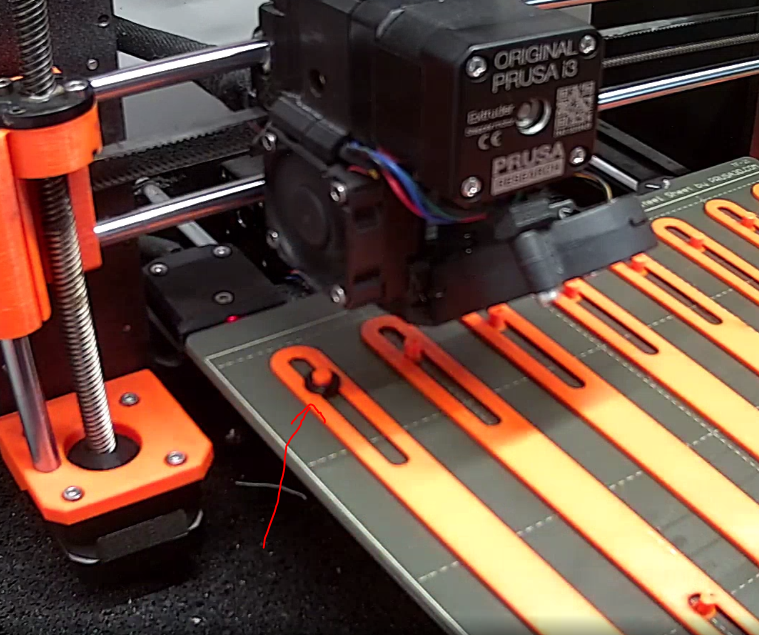
Then print 7pcs Lever 2 (2 holes and a pin) This one You have to stop at Z=4,40, put Lever1 on it and print forward. After print Levers1&2 are locked and flexible.
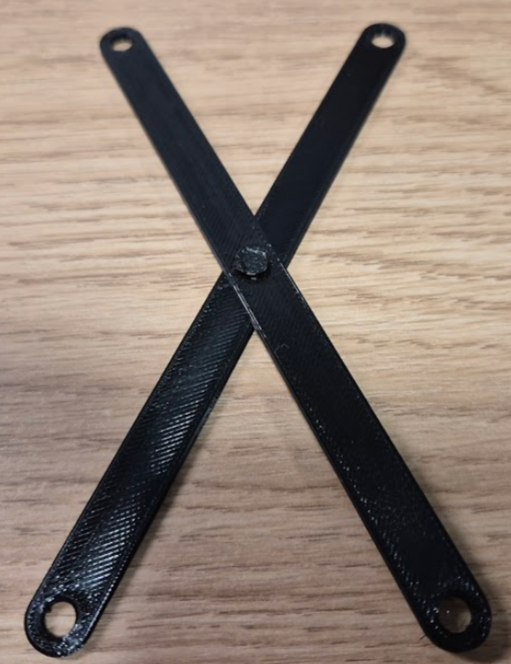
You get 7pcs like this:
Then you need to print Markers with pins and use the same technic. Stop a print at Z=6,4
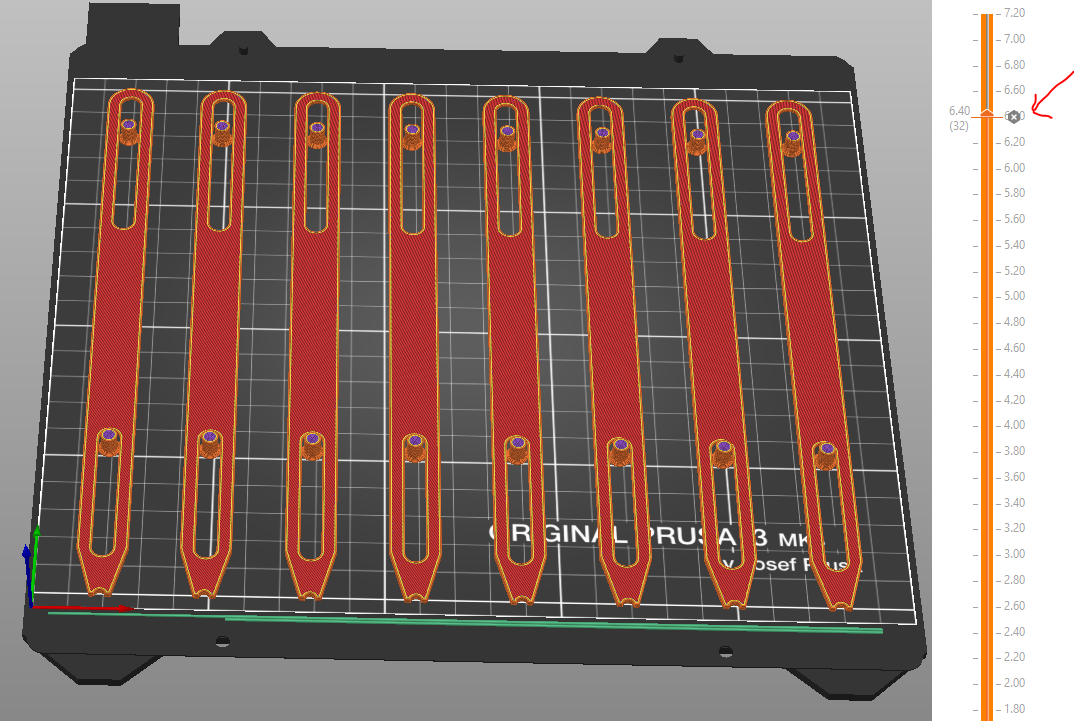
Put Levers1&2 on it and print. ! Locked pins must look down! !
Be careful that Levers aren't banding higher than next print Z. (You can use office tape if lever is banned over a pin)
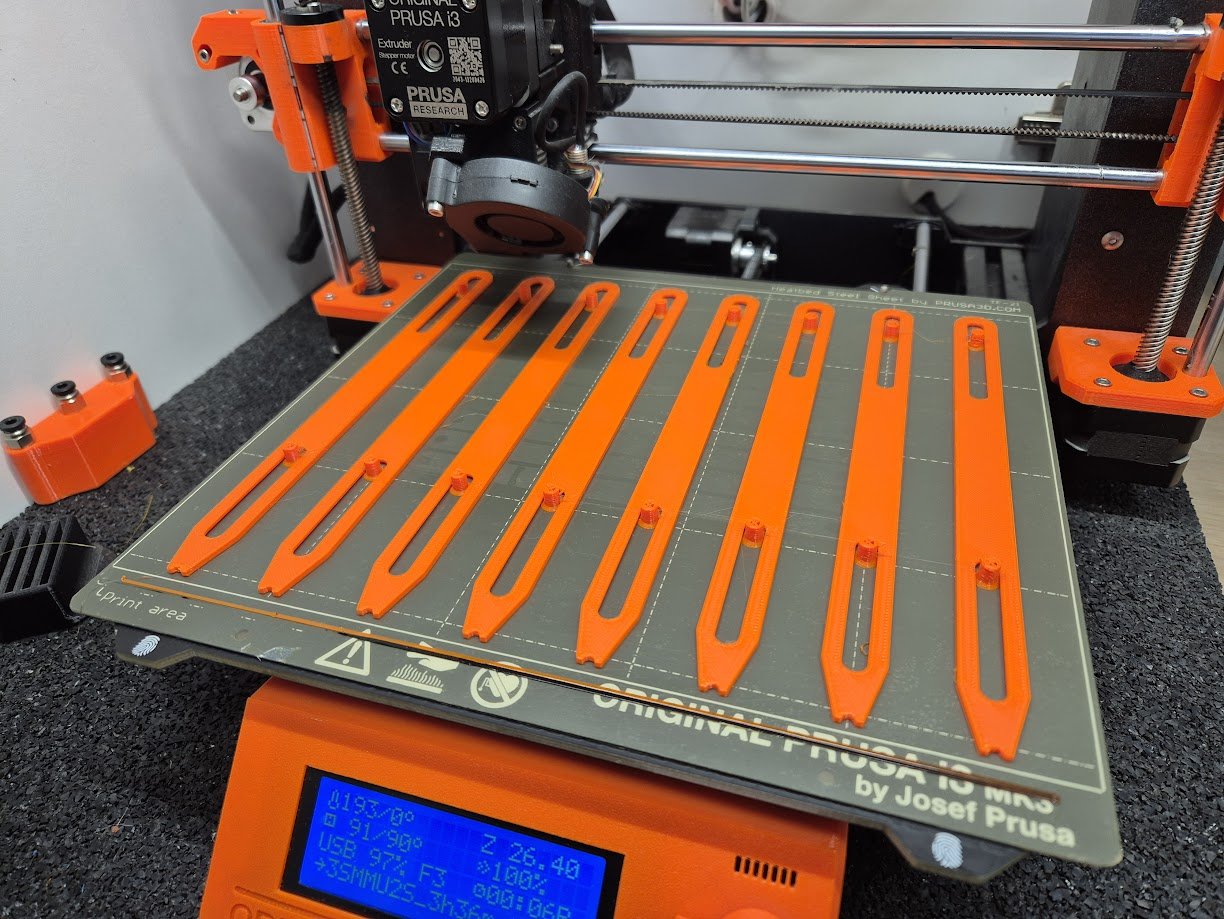
On the left and right Marker you need to put rings on 4 pins.
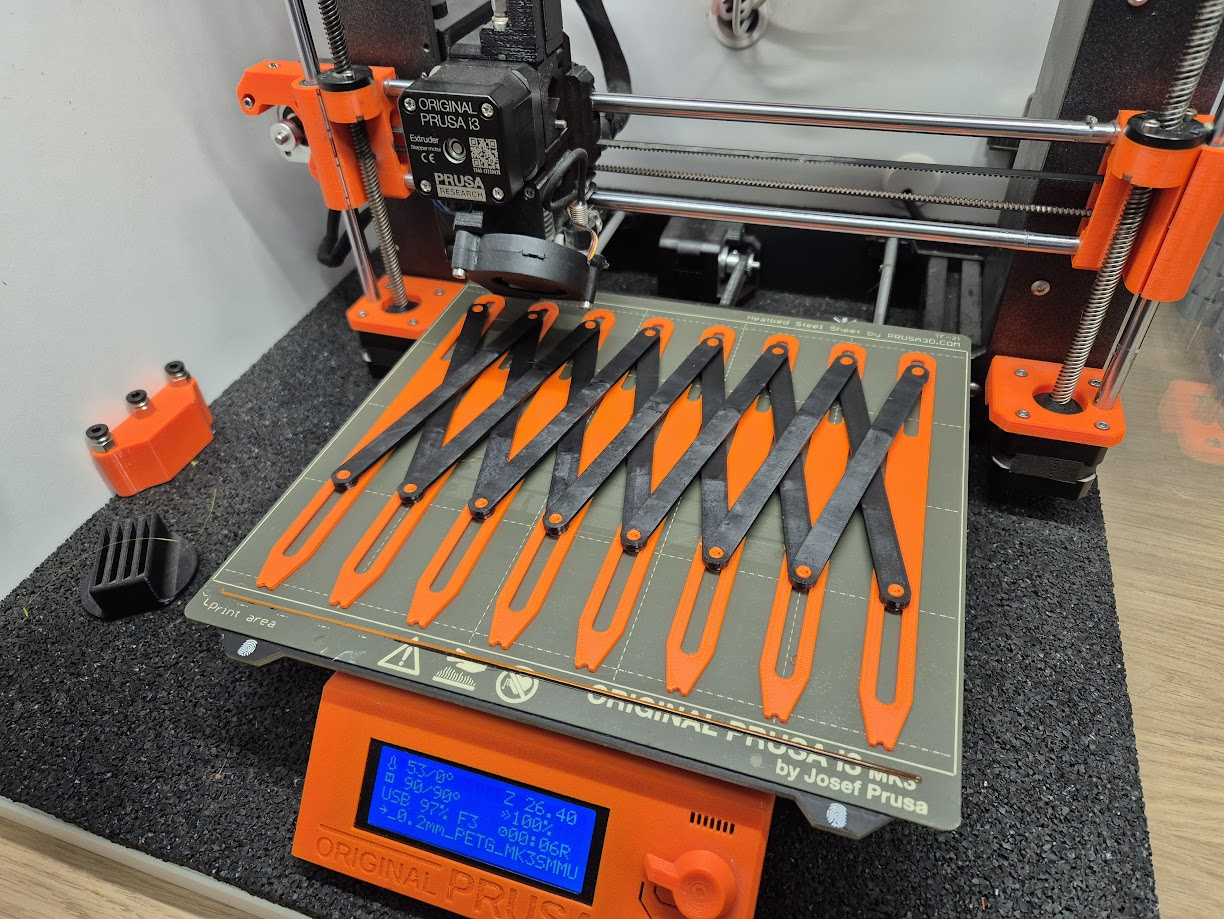
Print to the END and have Fun