
Honeycomb Wall Mount for AMS
Obliczymy ostateczną cenę na podstawie wybranego pliku. Sprawdzisz ją i zaakceptujesz przed płatnością.
Zapisane na tym urządzeniu.

A honeycomb design for a strong and lightweight way to mount your BambuLab AMS on the wall
- Ocena
- 0 / 5
- Polubienia
- 20
- Pobrania
- 71
- Wydruki
- 0
- Wyświetlenia
- 746
- Oceny
- 0
Aktualizacja u źródła:
Informacje o modelu
- Źródło
- Printables
- Kategoria
- Organizers
- Licencja
- Creative Commons — Attribution — Noncommercial — Share Alike
Inspired by the Filament spool shelf honeycomb by Maoirae, this 3D printable wall mount utilizes a honeycomb design for a strong and lightweight way to mount your BambuLab AMS on the wall. Frees up valuable bench space and keeps your AMS organized!
If you own a BambuLab Printer go here for easy printing.
Features:
- Securely mounts BambuLab AMS to your wall
- Honeycomb design for strength and reduced weight
- Inspired by the popular honeycomb design used on the HSW
Printing:
- Model:
- You have to mirror the top on the x-axis so get the right-hand side for printing if you use the STLs
- Global:
- reduced speed for the top and outer layer to 70mm/s
- Add support to the wall angle
- Object-specific for PLA:
- 35% infill, 5 walls, gyroid infill pattern for the wall mount
- 15% infill, 4 walls, 3d-honeycomb for the top
- 10% infill, 2 walls, grid for the template
- Print material:
- This model is tested with PLA. If you use PETG/ABS/ASA, you can reduce the infill percentage to 8% for the wall mount and the number of walls to 4
- Separate 3MF print profiles are in the BambuLab folder for PETG and PLA
Required:
- Material:
- 4x M3 Ruthex (or same sized M3x5.7) inserts (e.g. Amazon DE - Affiliate-Link)
- 4x M3x8 or M3x10 countersink screws
- 4x Dowel with 6mm diameter and 50mm length (e.g. Amazon DE - Affiliate-Link)
- 4x Wall Screws with 4,5mm diameter and 60mm length (e.g. Amazon DE - Affiliate-Link)
- Tools:
- Drill
- Soldering Iron
- Soldering Iron Tips for Ruthex Thread (e.g. Amazon DE - Affiliate-Link)
Bill of (Printed) Materials:
| Description | Amount | Picture |
| Shelf Angle | 2x |  |
Option 1 Top Holder with Honeycomb Design | 2x |  |
Option 2 Top Holder without Honeycomb Design | 2x |  |
Optional Screw Template | 1x | 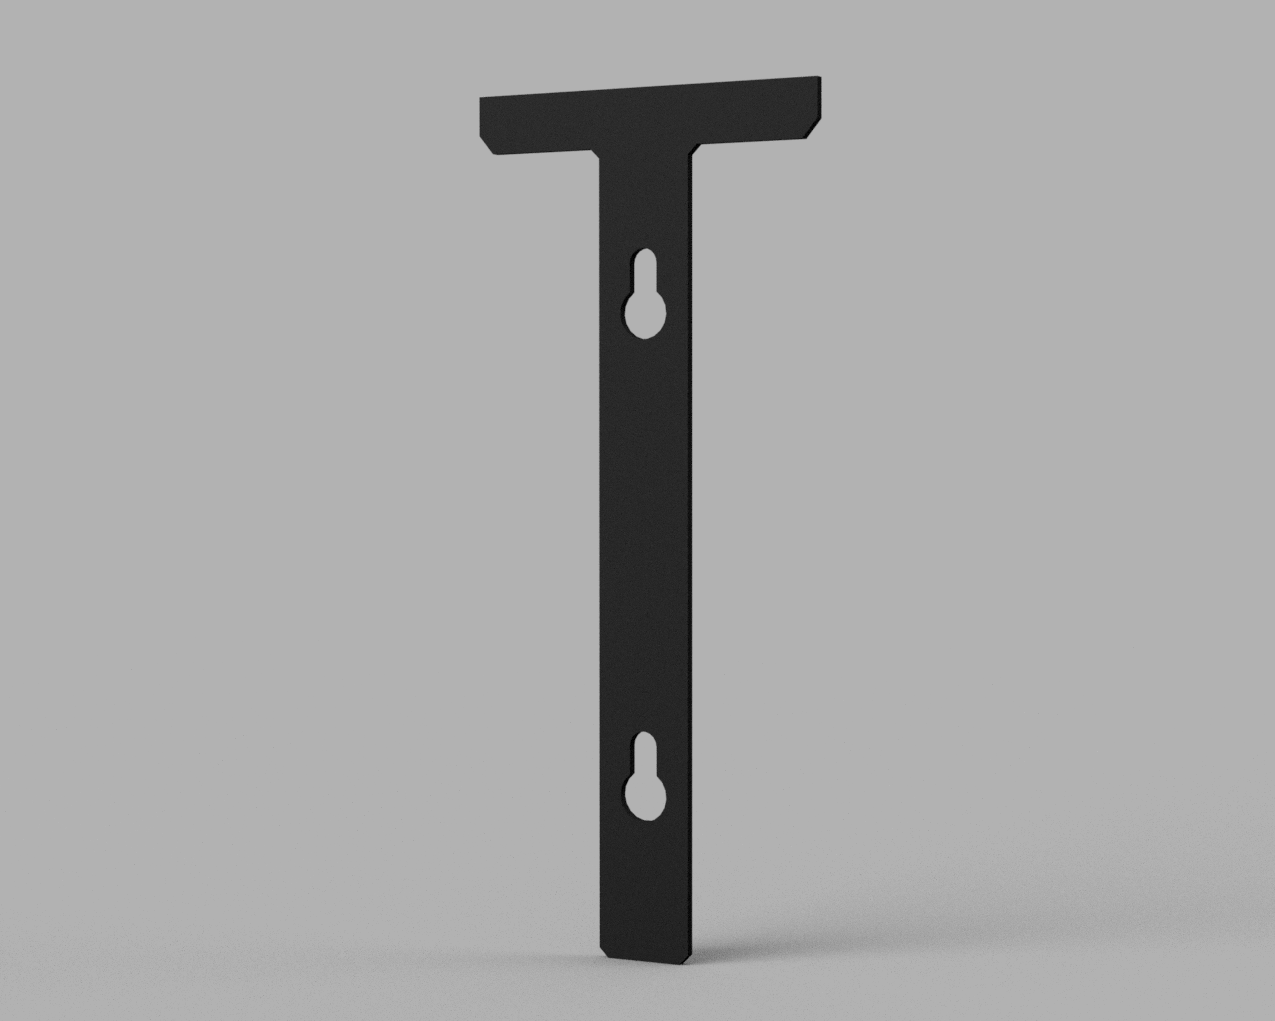 |
Note: You only have to print either Option 1 or Option 2. They are separated by Print Profiles.
Assembly:
- Print the Shelf and Top
- Insert all M3 Ruthex inserts with a soldering iron
- Place the Top Holder on the Shelf
- Screw the M3x8 screws in the top holder and into the Shelf
- Do not screw them to tight or the filament breaks!
- Use the Screw Template to measure at the wall the distance for the holes and drill holes in the wall
- The optimal distance between the two Shelfs is 360 mm measured from the middle of the drill hole
- Insert Dowles, Screws and fix the shelfs
Changelog:
- 07/04/2024 - Initial Release with 2 versions for PLA
- 08/04/2024 - Added PETG Print Profiles for Bambu Studio
I hope you find this model useful!
Like this 3D model?
☕ Show your appreciation by buying me a coffee!
👍 Share your creation and leave a comment below with any feedback or suggestions!
Disclaimer
This page includes links to products on Amazon. I am a participant in the Amazon Associates Program, which means I may earn a commission from qualifying purchases at no additional cost to you. This helps support my work and allows me to continue creating content you might enjoy.