
1 / 6
F1 MONACO WALL ART with F1 car miniature
Zamów wydruk tego modelu
Obliczymy ostateczną cenę na podstawie wybranego pliku. Sprawdzisz ją i zaakceptujesz przed płatnością.
Zapisane na tym urządzeniu.

Ferrari Monaco track wall art with miniature of SF-23 Charles Leclerc 1:43 Write in the comments whitch track to do next
- Ocena
- 0 / 5
- Polubienia
- 28
- Pobrania
- 103
- Wydruki
- 0
- Wyświetlenia
- 1247
- Oceny
- 0
Aktualizacja u źródła:
Informacje o modelu
- Źródło
- Printables
- Kategoria
- Wall-mounted
- Licencja
- Creative Commons — Attribution — Noncommercial
SzczegółyPliki (7)Wydruki i komentarze (Wydruki: 0) (Komentarze: 7)Remiksy (0)Kolekcje (31)Powiązane
sWall art of Monaco track with miniature of F1 car SF-23 Charles Leclerc 1:43 (Burago).
Needed stuff
- Burrago F1 model 1:43! (the choice is yours)
- Frame 18x24 cm (I used this clip frame)
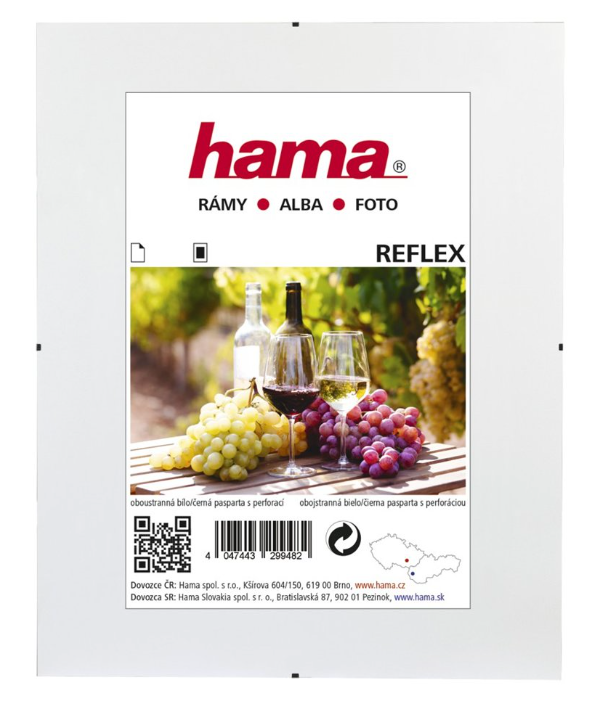
- Some glue (be careful with second glue, it makes white spots)
Printing settings
1, Frame
- Layer height- 0,28mm
- Temperature- 210°C and 60°C
- Speed- 60mm/s
- Carbon bed (not needed)
- Tree supports on bed
2, Monaco miniature
- Layer height- 0,20mm
- Temperature- 210°C and 60°C
- Speed- 60mm/s
- Clasic bed
- Change color- after first layer (black to white)
3, Texts
- Layer height- 0,20mm
- Temperature- 210°C and 60°C
- Speed- 60mm/s
- Clasic bed
- Change color- after first layer (black to wellow)
4, Flag RED and Track
- Layer height- 0,20mm
- Temperature- 210°C and 60°C
- Speed- 60mm/s
- Clasic bed
- Tree supports on bed
flag is printed upside down!
5, Flag WHITE
- Layer height- 0,20mm
- Temperature- 210°C and 60°C
- Speed- 60mm/s
- Clasic bed
flag is printed upside down!
Completion
- Slide the board from the purchased frame into the printed frame.
- Apply glue to the corner and insert the other part of the frame.
- Repeat the step and pay attention to the correct dimensions of the inner edges of the frame.
- stick on Monaco miniature, text and after that GP Monaco to the middle. Also stick on the flag under the text FERRARI.
- measure your hole to drill a small hole to hold the formula and drill it.
- Attach the formula.
- Slide the glass into the frame and stick on the last part of the frame. (!!!clear everything from dust before closing the frame!!!)
- ENJOY
Thank you for download and enjoy your print.
PRINTED ON CREALITY CR-6SE !!! (use g-codes only if you you have the same printer)