
1 / 6
F1 MONACO WALL ART with F1 car miniature
Order a print of this model
We calculate the final price from your selected file. You review and accept it before payment.
Saved on this device.

Ferrari Monaco track wall art with miniature of SF-23 Charles Leclerc 1:43 Write in the comments whitch track to do next
- Rating
- 0 / 5
- Likes
- 28
- Downloads
- 100
- Makes
- 0
- Views
- 1,236
- Reviews
- 0
Updated at source:
Model information
- Source
- Printables
- Category
- Wall-mounted
- License
- Creative Commons — Attribution — Noncommercial
sWall art of Monaco track with miniature of F1 car SF-23 Charles Leclerc 1:43 (Burago).
Needed stuff
- Burrago F1 model 1:43! (the choice is yours)
- Frame 18x24 cm (I used this clip frame)
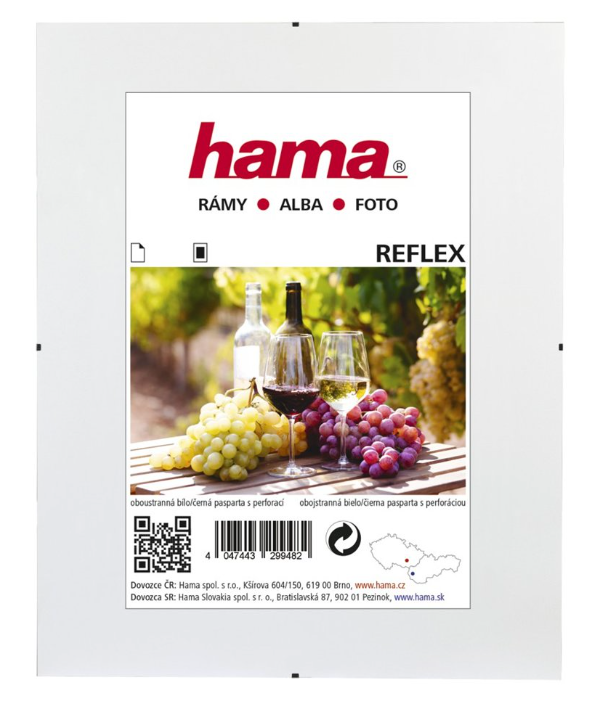
- Some glue (be careful with second glue, it makes white spots)
Printing settings
1, Frame
- Layer height- 0,28mm
- Temperature- 210°C and 60°C
- Speed- 60mm/s
- Carbon bed (not needed)
- Tree supports on bed
2, Monaco miniature
- Layer height- 0,20mm
- Temperature- 210°C and 60°C
- Speed- 60mm/s
- Clasic bed
- Change color- after first layer (black to white)
3, Texts
- Layer height- 0,20mm
- Temperature- 210°C and 60°C
- Speed- 60mm/s
- Clasic bed
- Change color- after first layer (black to wellow)
4, Flag RED and Track
- Layer height- 0,20mm
- Temperature- 210°C and 60°C
- Speed- 60mm/s
- Clasic bed
- Tree supports on bed
flag is printed upside down!
5, Flag WHITE
- Layer height- 0,20mm
- Temperature- 210°C and 60°C
- Speed- 60mm/s
- Clasic bed
flag is printed upside down!
Completion
- Slide the board from the purchased frame into the printed frame.
- Apply glue to the corner and insert the other part of the frame.
- Repeat the step and pay attention to the correct dimensions of the inner edges of the frame.
- stick on Monaco miniature, text and after that GP Monaco to the middle. Also stick on the flag under the text FERRARI.
- measure your hole to drill a small hole to hold the formula and drill it.
- Attach the formula.
- Slide the glass into the frame and stick on the last part of the frame. (!!!clear everything from dust before closing the frame!!!)
- ENJOY
Thank you for download and enjoy your print.
PRINTED ON CREALITY CR-6SE !!! (use g-codes only if you you have the same printer)