
BTT HDMI 5 Display Voron Mount (Works with Clicky Clacky Door)
Obliczymy ostateczną cenę na podstawie wybranego pliku. Sprawdzisz ją i zaakceptujesz przed płatnością.
Zapisane na tym urządzeniu.

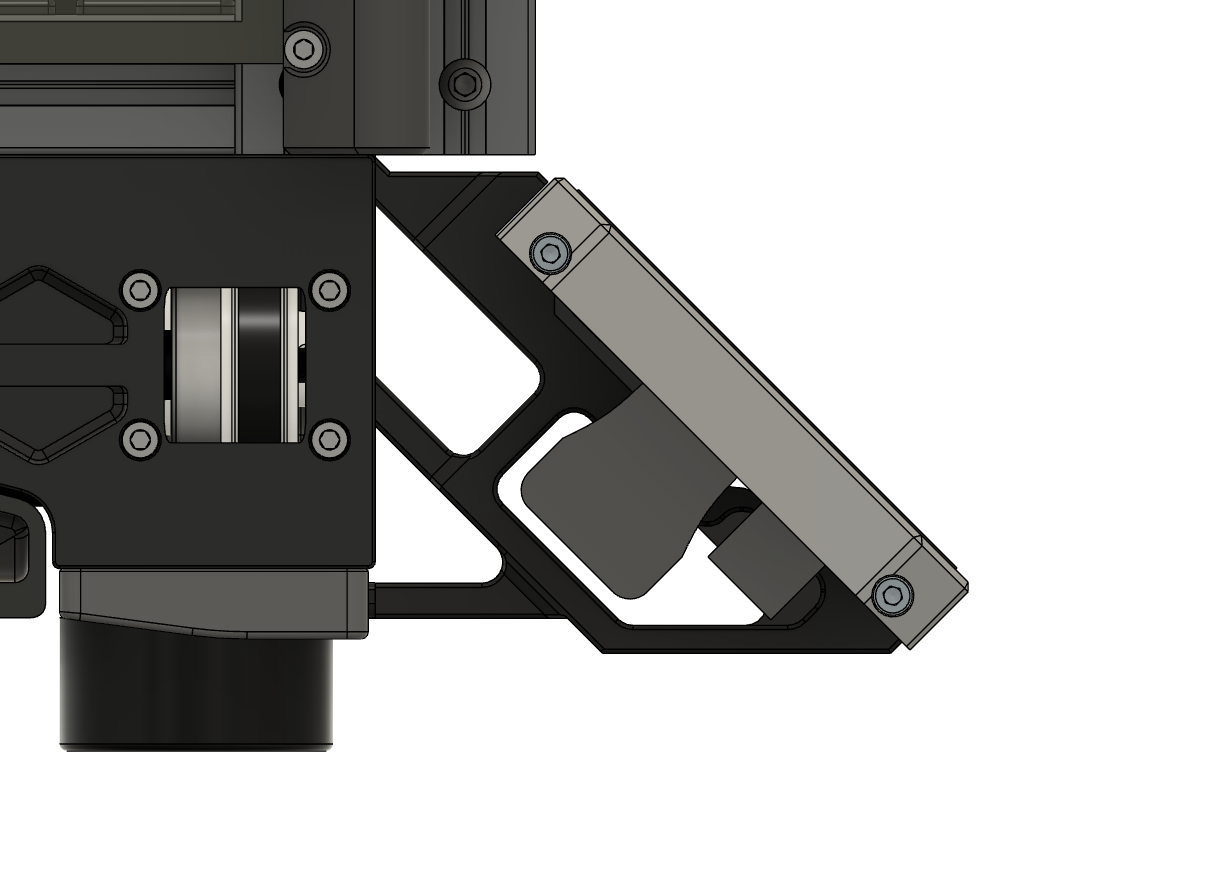
A Voron display mount for BTT HDMI5 compatible with Clicky Clacky Door (and standard doors).
- Ocena
- 4,778 / 5
- Polubienia
- 276
- Pobrania
- 13 560
- Wydruki
- 12
- Wyświetlenia
- 29 018
- Oceny
- 9
Aktualizacja u źródła:
Informacje o modelu
- Źródło
- Printables
- Kategoria
- Voron Parts & Upgrades
- Licencja
- Creative Commons — Attribution
This is a remix of the BTT HDMI display mount Voron with all modified parts being compatible with the originals design. So you can
- Use the remixed mount bracket with the original asymmetrical display frame
- Use the original mount bracket with the remixed symmetrical display frame
- Use the original straight and 180° cable protectors
The initial reason for remixing was to optimize it for a Clicky Clacky fridge style door. And I took the chance to make it symmetrical as well by just adding the required mount points to the right side.
I use this model on a Voron 2.4 (R2) but if I am correct it should also fit the Trident (I am sure if you have one you will know ;-) )
And as it was requested by a user there is also a display cover included that protects the screen when the printer is not in use.
Design
 |  |  |  |
 |
Printing and Assembly
- Download the required original parts (you will at least need the cable protectors that go to the left and right side)
- Printing using standard Voron parts settings; make sure to place the parts in a useful orientation on your print bed and not as they were falling out of the CAD :-)
- Follow the original BOM (also for the compatible 180° adapters); for the second cable protector on the right side you will need additional
- 2 x 3mm heatset inserts
- 2 x M3x6 SHC (I had some trouble with M3x8 SHC, but made it work using Nylon washers. If you have it, use 6mm screws or be careful during assembly)
- For the display cover you can glue in the inlays if you like some accent color. You can also add support to the complete logo area (reduce the contact z distance to 0) and you will get the logo printed with a different “texture”.
And here are just some photos of the assembly (I will post some pics with the Clicky Clacky door later when I have it installed):
 |  |  |  |
 |  |  |
 |  |  |
Hardware
If you are looking for the correct adapters, that's what I am using:
- HDMI Adapter Amazon.de Link
- USB-C Adapter Amazon.de Link
Attribution
If you are using some unmodified parts, please download the files from the original creator so that he also gets the credits. I will upload the original files just as a backup to a dedicated folder in the files section so that the model is complete and usable even if there are changes made to the original project.