
Parabolic Calculator
Obliczymy ostateczną cenę na podstawie wybranego pliku. Sprawdzisz ją i zaakceptujesz przed płatnością.
Zapisane na tym urządzeniu.
Did you know that you can multiply two numbers using a parabola and a ruler?
- Ocena
- 0 / 5
- Polubienia
- 21
- Pobrania
- 106
- Wydruki
- 0
- Wyświetlenia
- 1133
- Oceny
- 0
Aktualizacja u źródła:
Informacje o modelu
- Źródło
- Printables
- Kategoria
- Math
- Licencja
- Creative Commons — Attribution
Did you know that you can multiply two numbers using a parabola and a ruler?
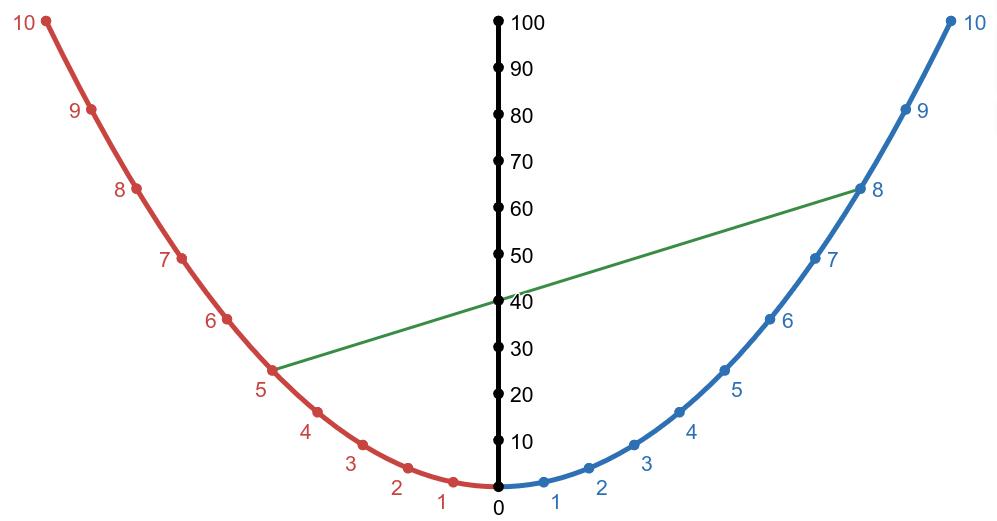
This template let you easily draw a piece of a parabola. But don't be fooled, it's much more than a simple drawing template…
- You can draw a parabola, its focus and the parallel lines that converge there!
- With an additional ruler (with 1 mm markings), you can easily multiply any pair of single digit numbers using the Parabolic Multiplication Nomogram embedded in this design!!!
- Includes a 10 cm ruler with 5 mm ticks for approximate measuring. [UPDATE] Version 2 now includes a 10 cm ruler with 1 mm ticks for precise measuring.
- Customizable: Using the OpenScad script, or directly on your slicer of choice. Change the infill pattern and the number of perimeters to get a completely unique variation!
- Compact & Strong: It fits in a 10×10 cm square, and you can scale the thickness freely (the default 2 mm makes it quite durable). You can print 2 at a time in a Prusa Mini+!
- Classroom ready: It's specially designed to work well in combination with 5×5 mm square grid paper. Surprise your students with an innovative hands-on activity about linear and quadratic functions!
- Easy to print, end-of-spool kind of design: Lies flat on the plate, prints in ~30 min, and uses ~6g of any material you have at hand.
Specifications:
The model consist in the piece of the parabola: Y=(X/5)² that goes from X=-50 to X=50 (all dimensions expressed in mm). Since all parabolas are similar to each other, I could have taken any other quadratic function, but taking Y=(X/5)² in the interval [-50,50] has several advantages:
- It fits snugly in a 10×10 cm square, which is a nice form factor.
- The straight segment can be used to mark the parabola axis.
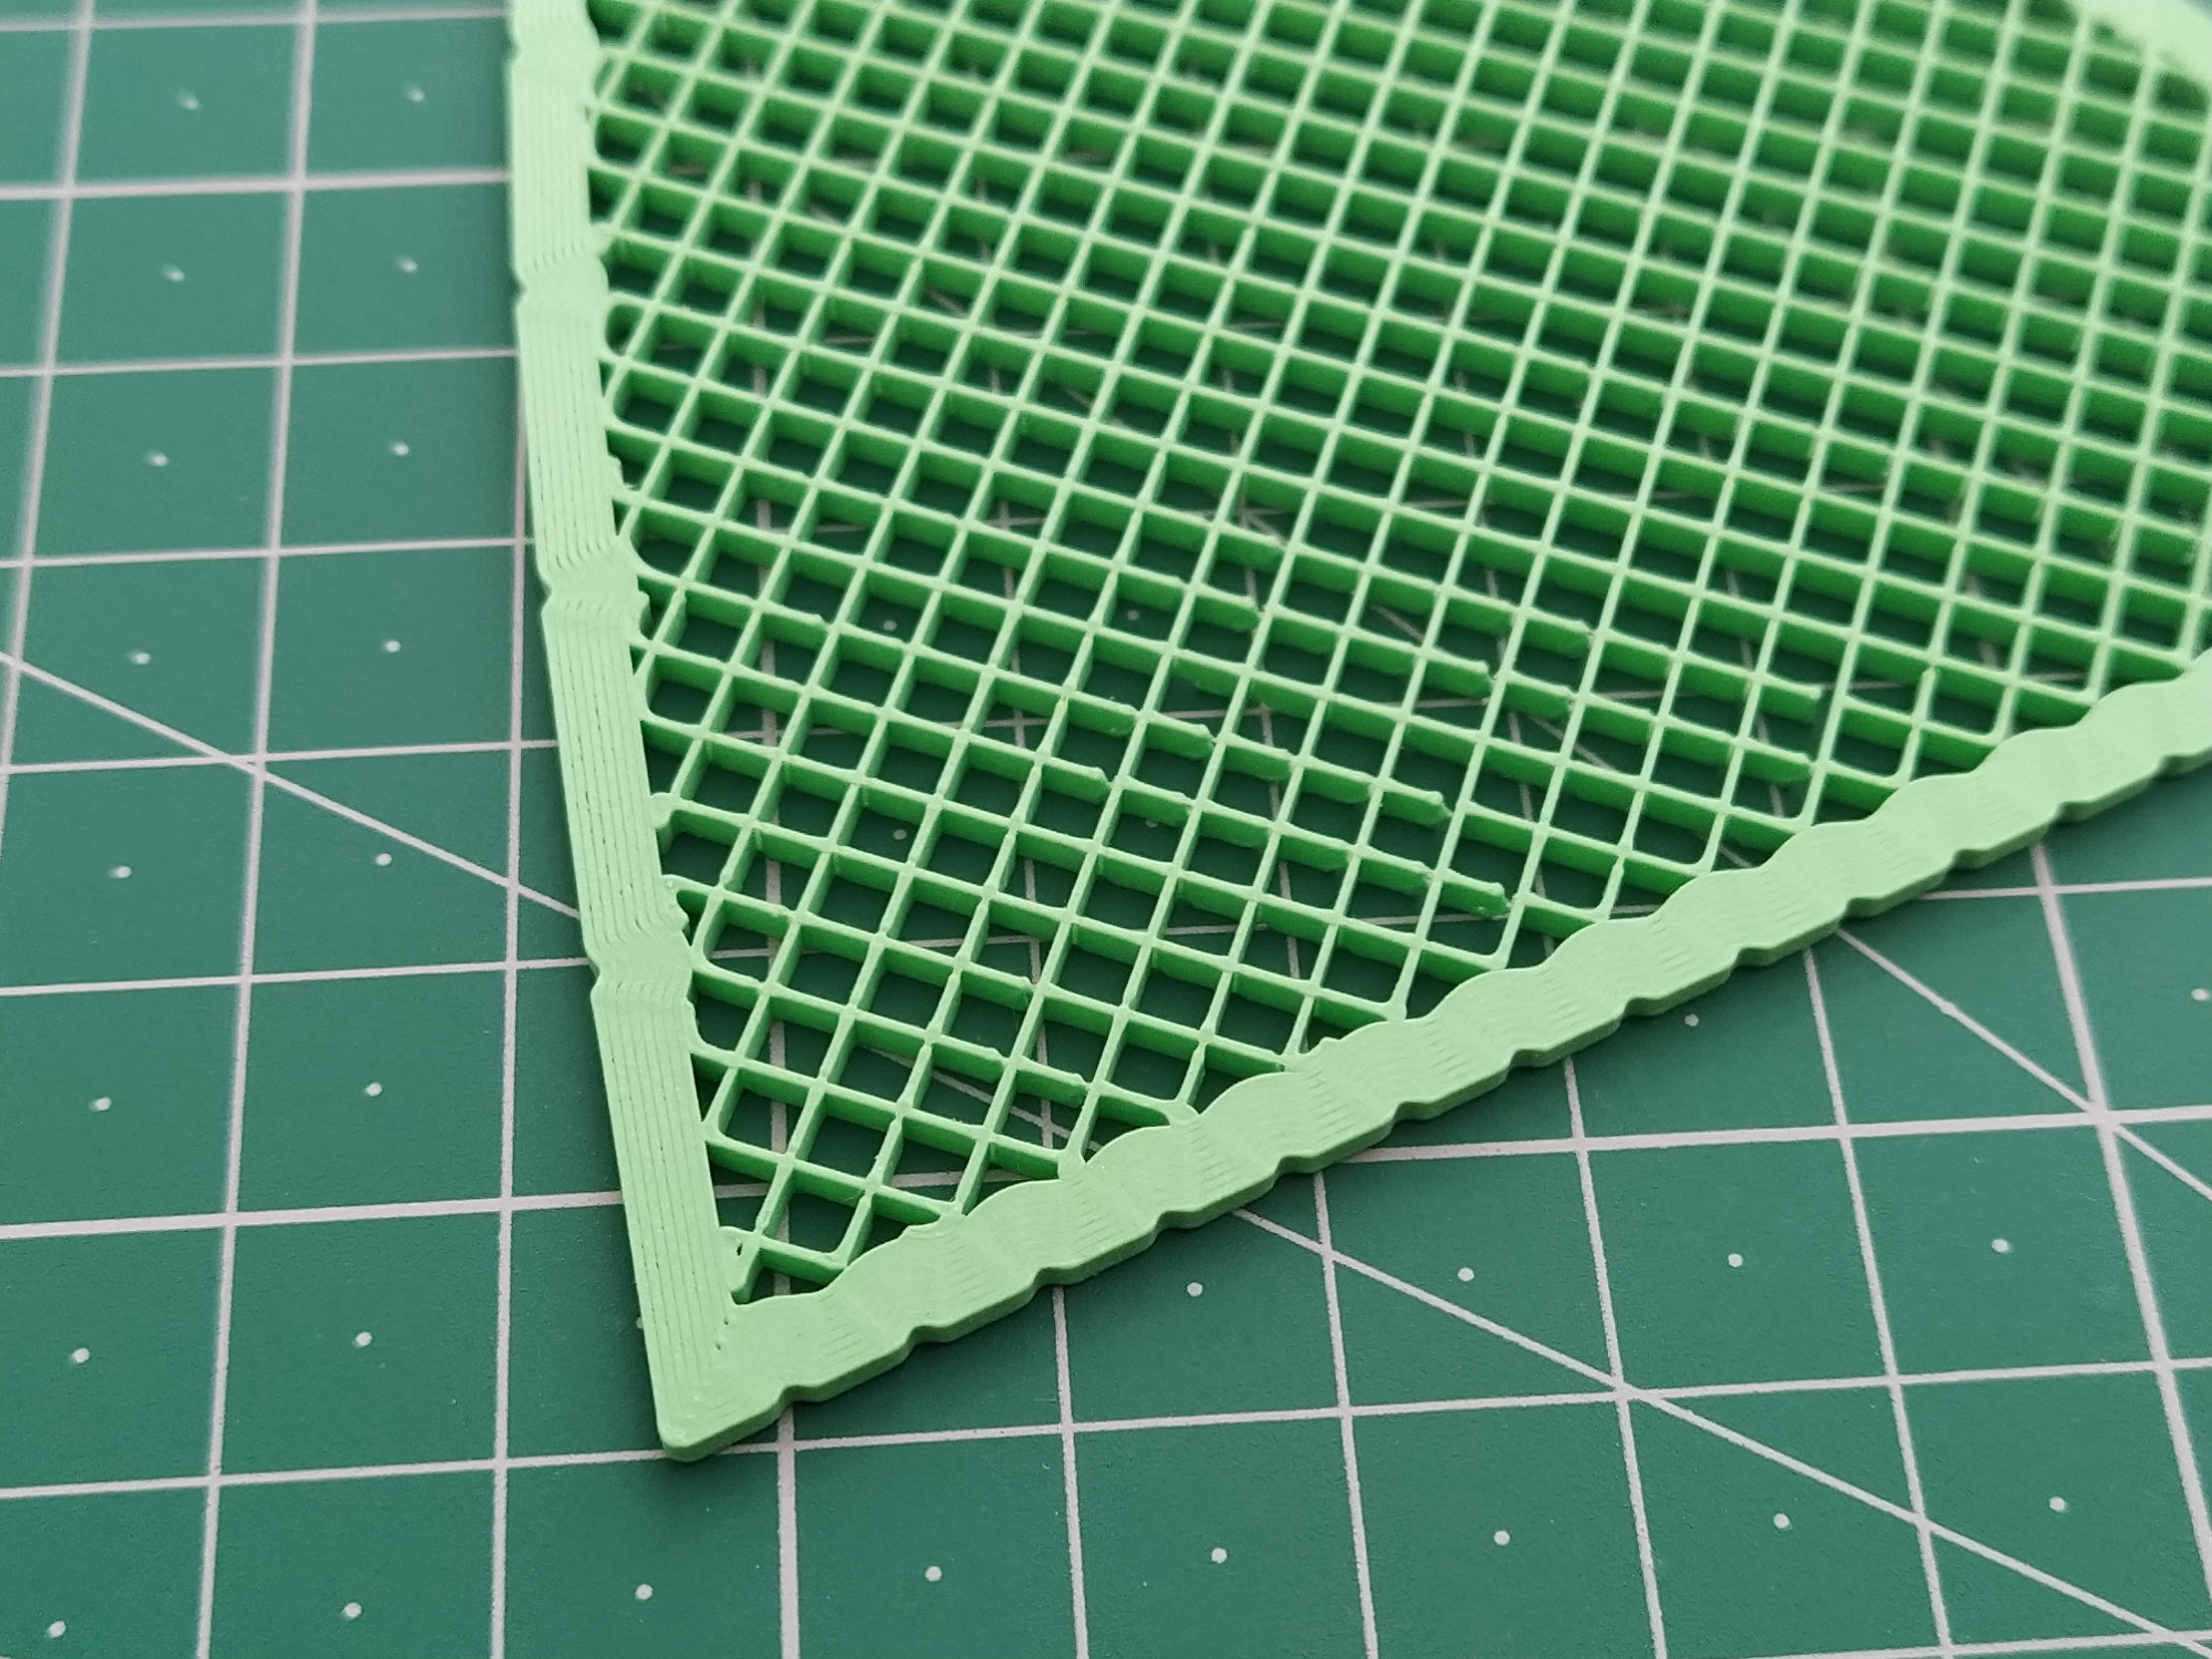
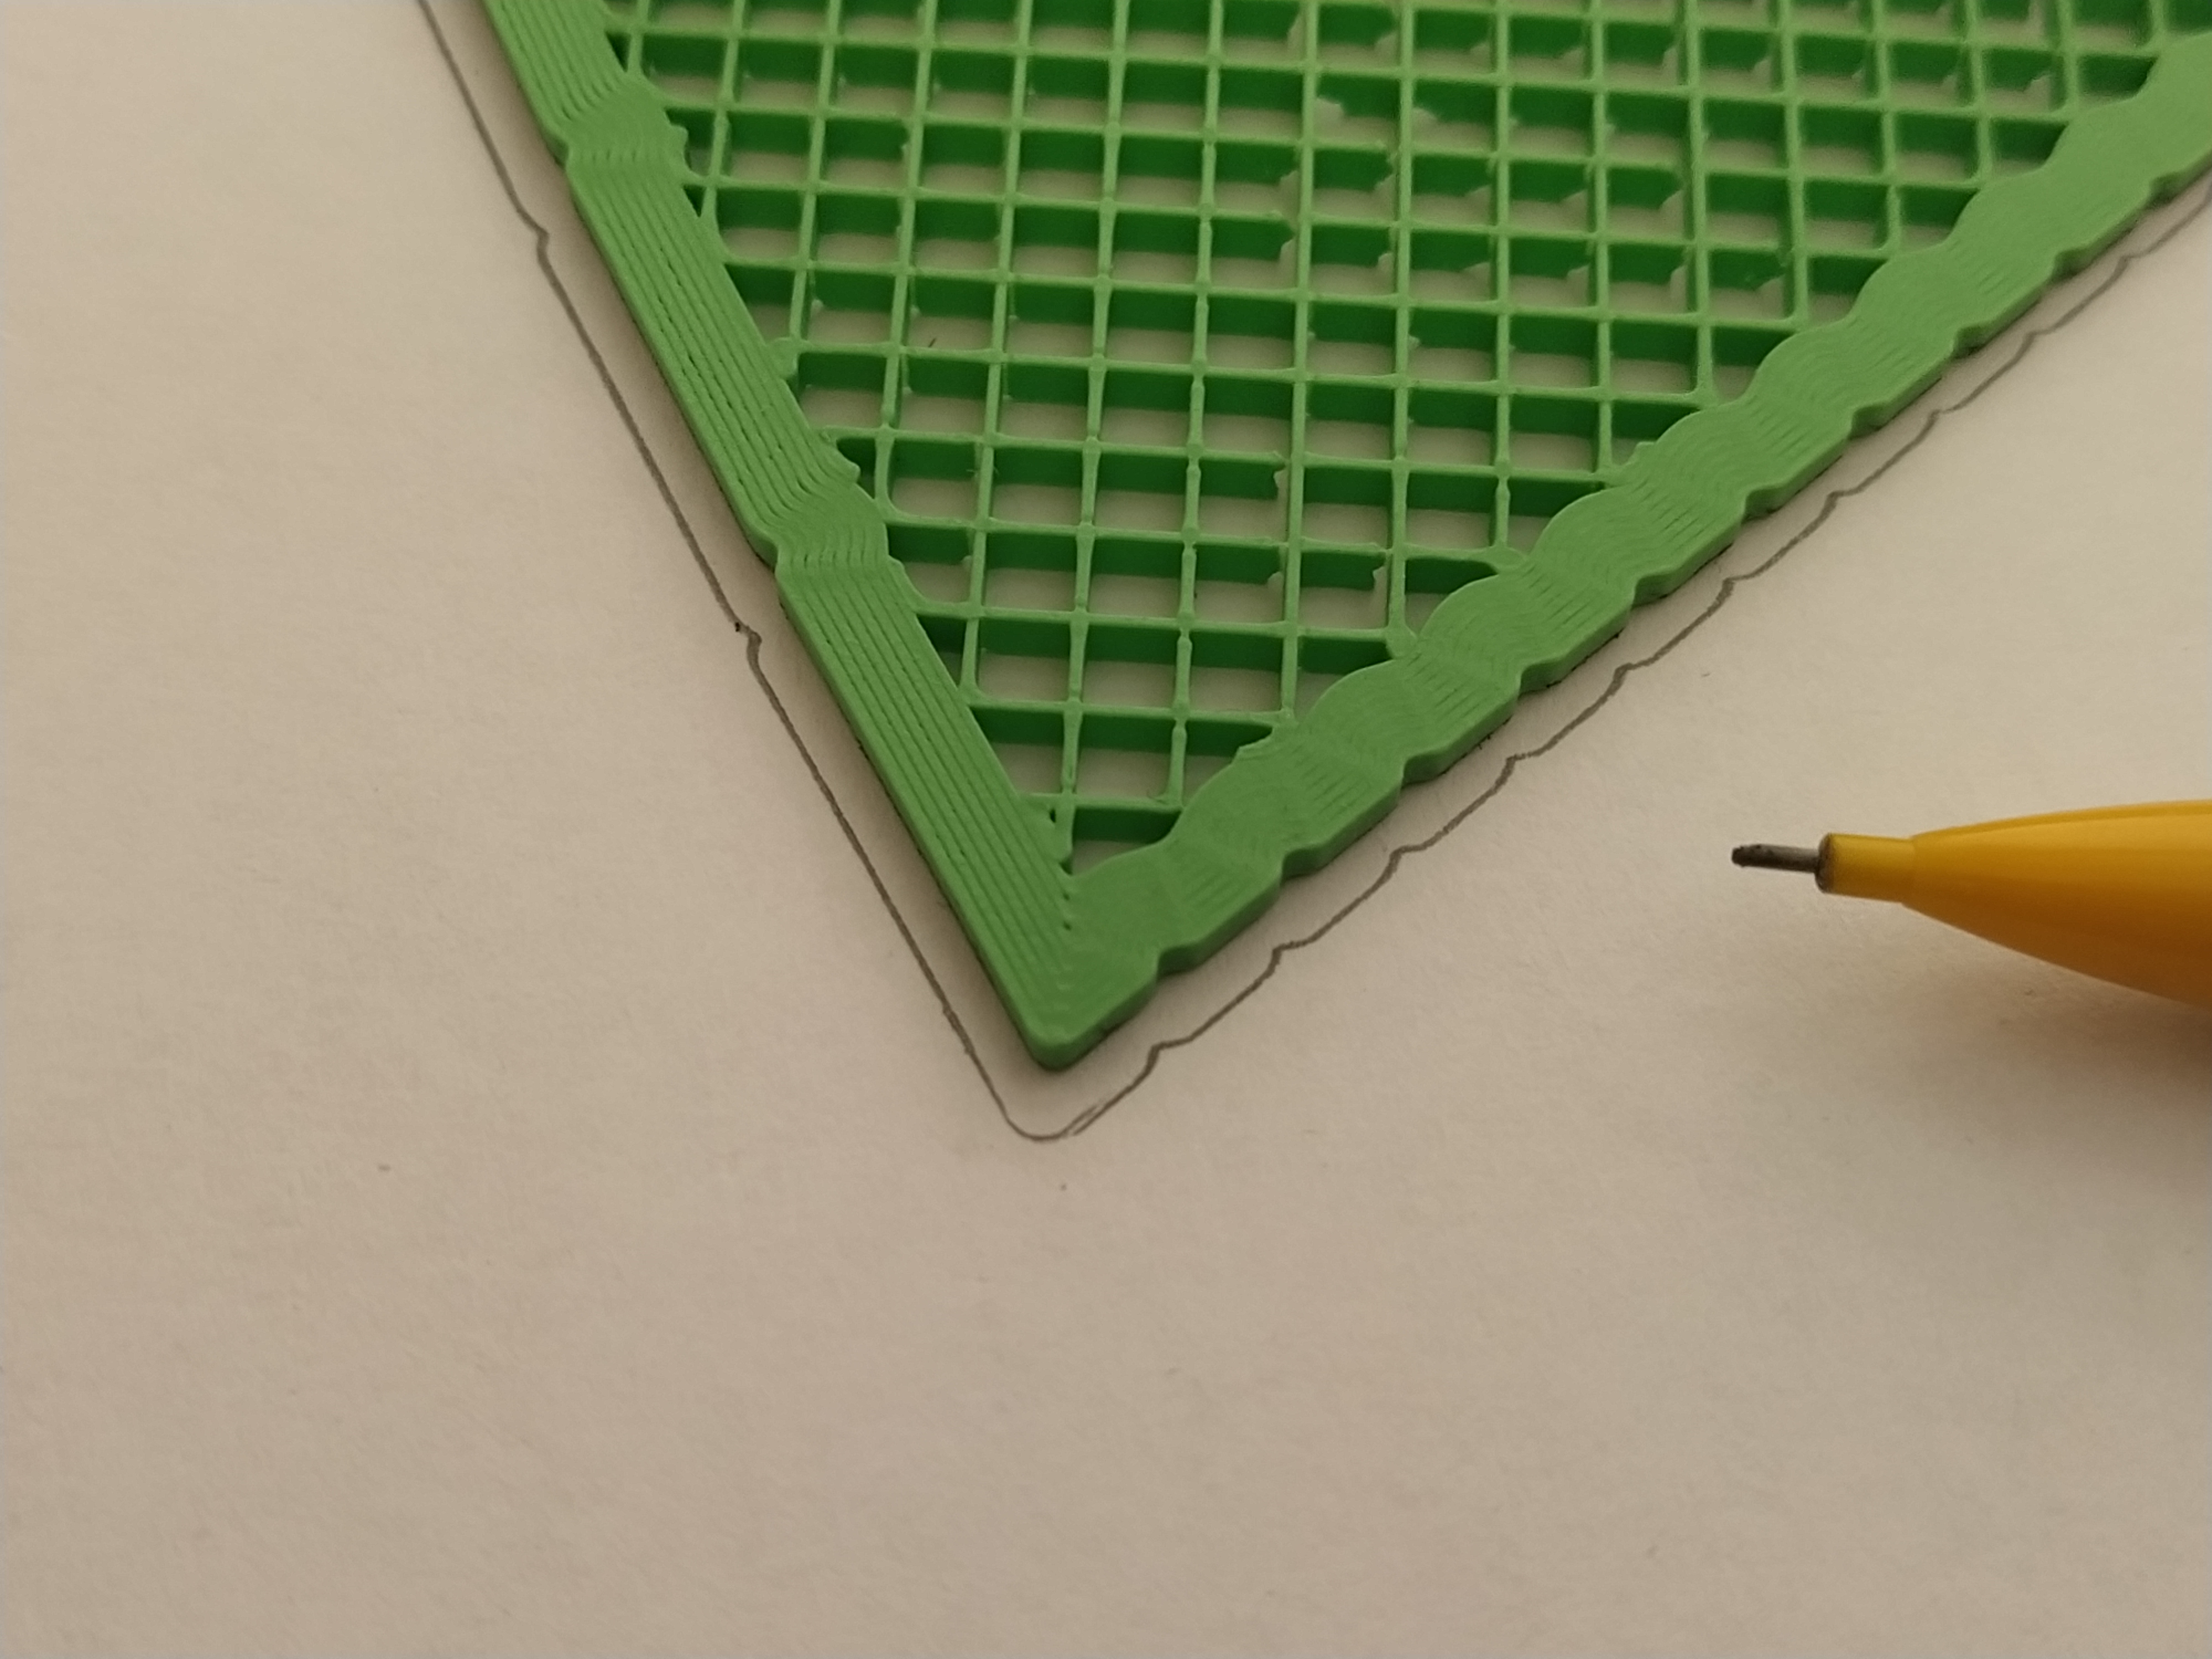
- It works perfectly well with 5×5 mm square grid paper, but I've added some ticks in the perimeter (5 mm horizontally apart from each other) so it can be used with plain paper too:
 |  |
Usage:
The main uses for this model are:
- Drawing a generic parabola (and its focus).
- Drawing line segments up to 10 cm, which is always handy.
- Drawing a schematic diagram of the reflexive property of the parabola.
- Drawing the Parabolic Multiplication Nomogram, an analogical calculator that is able to perform 1 digit multiplications with the help of a ruler.
The first two uses don't require any further explanation, so let's focus on the latter ones.
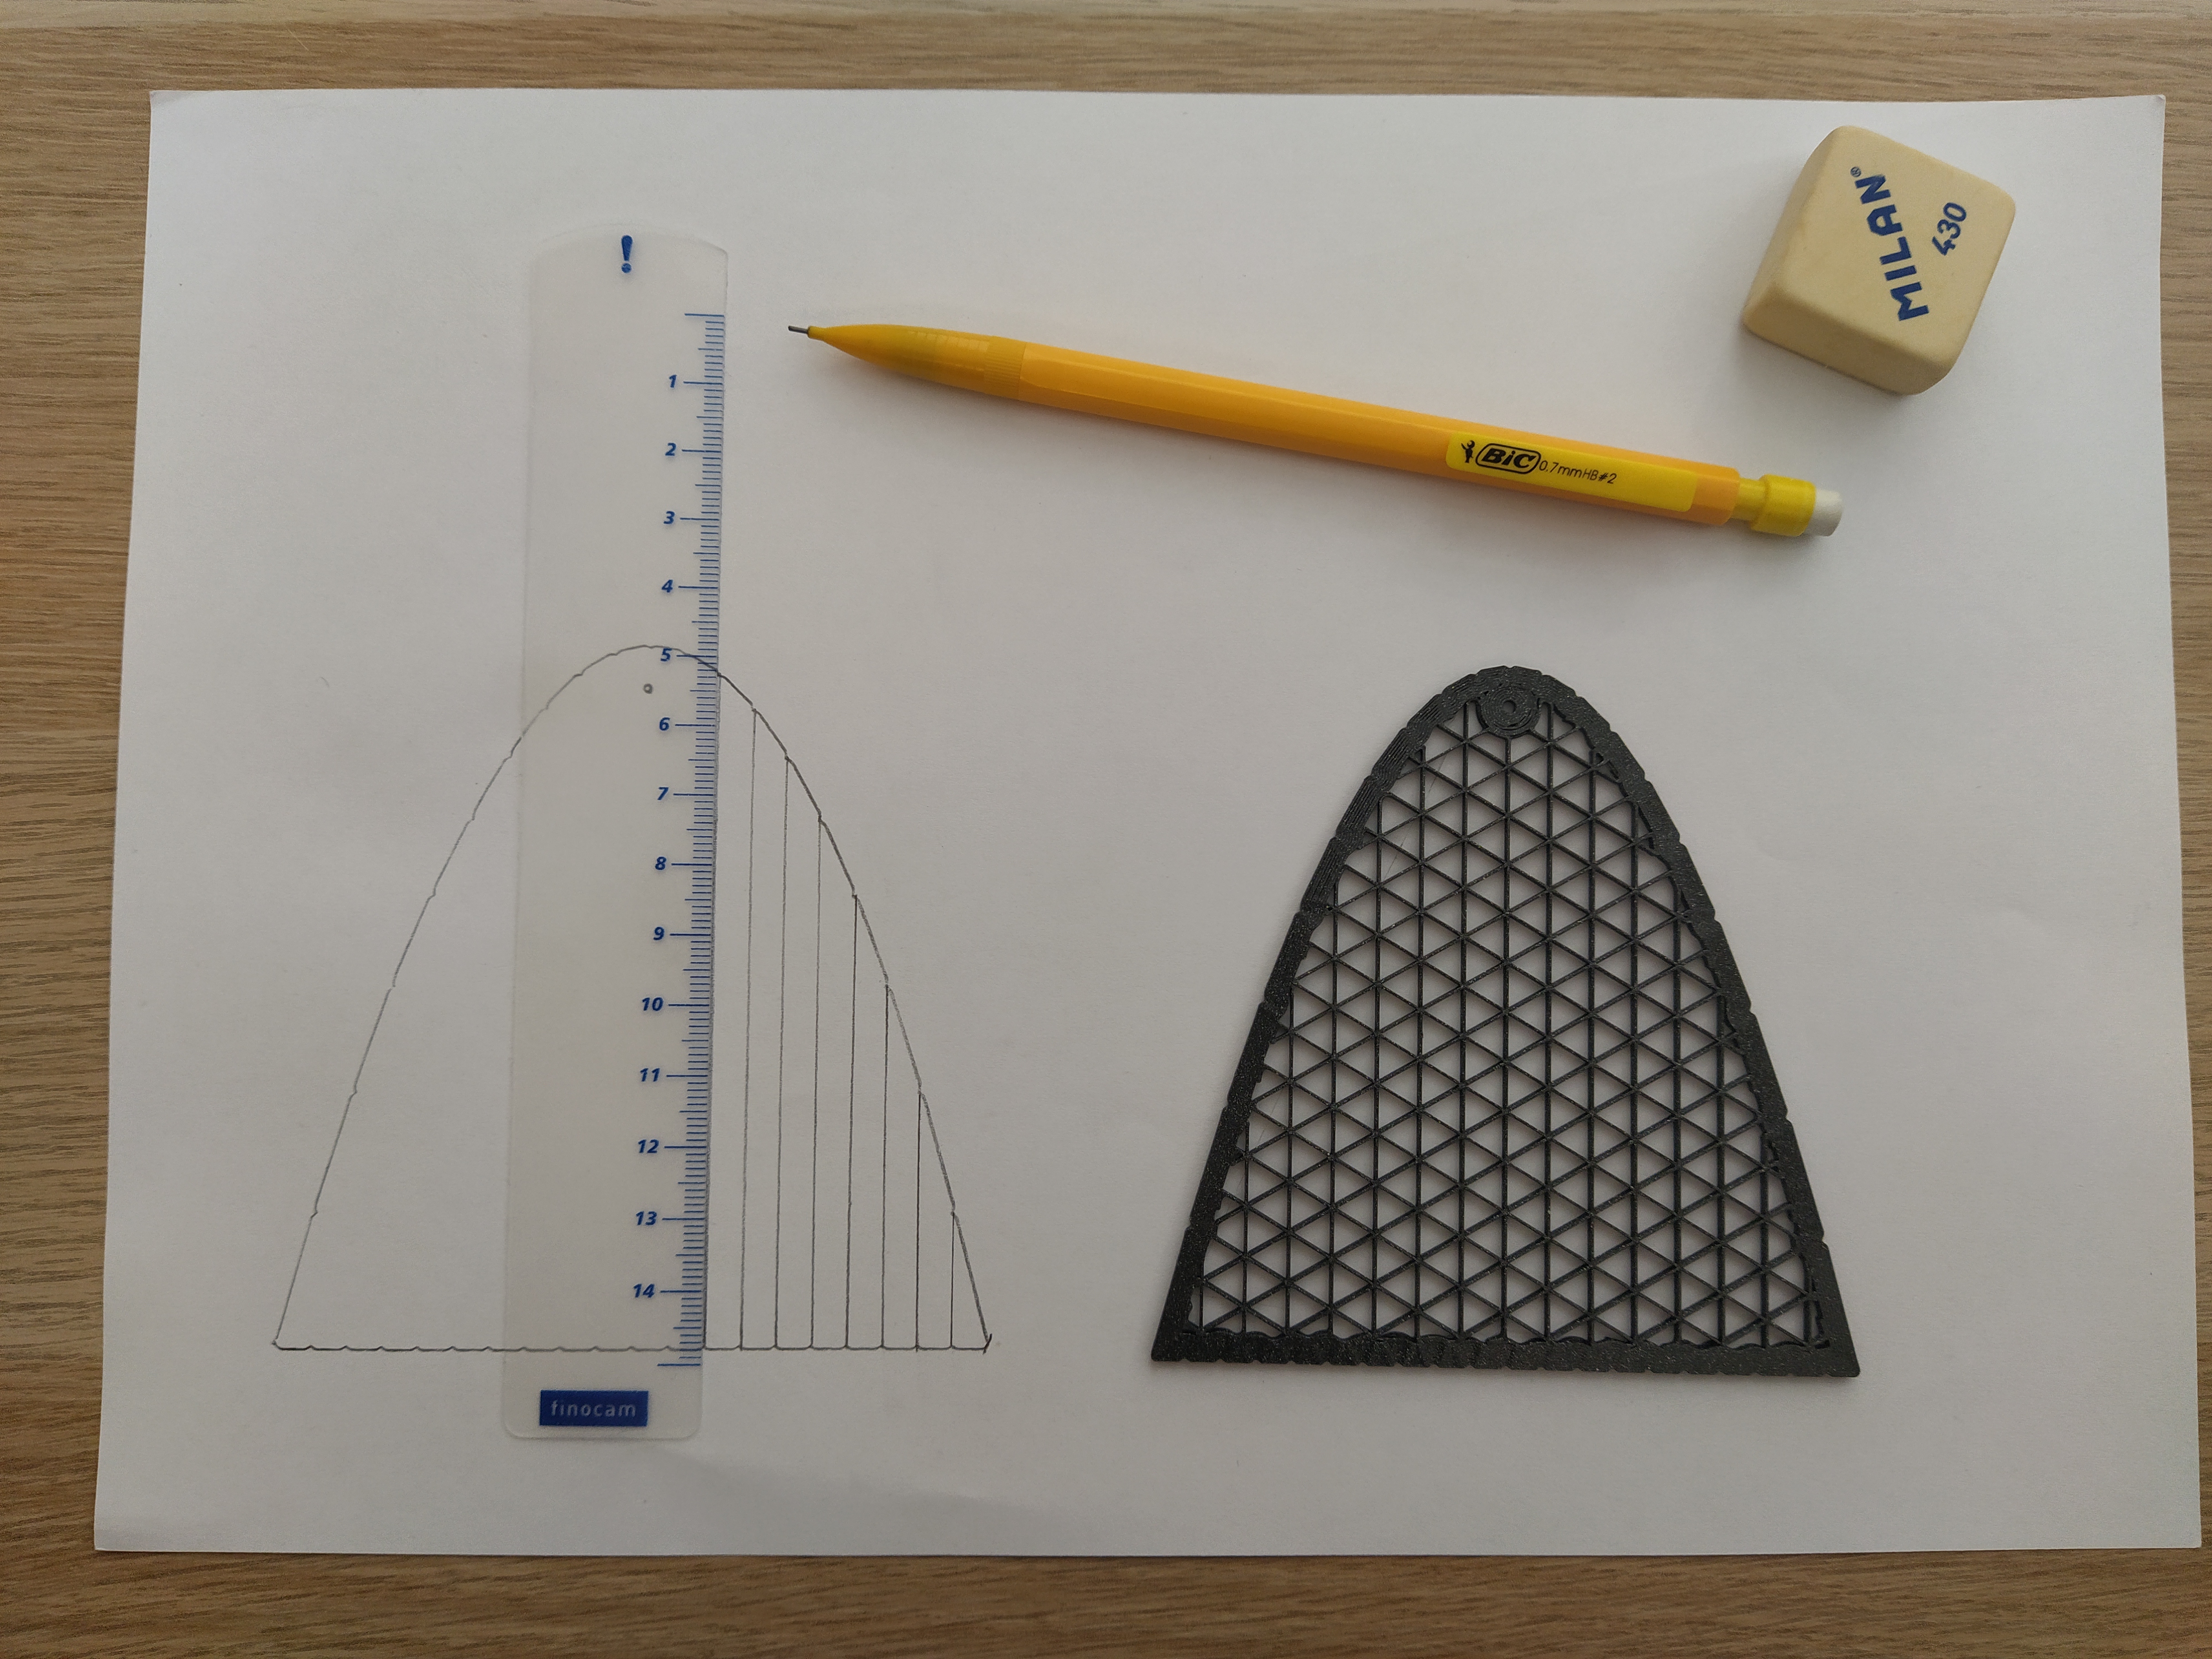
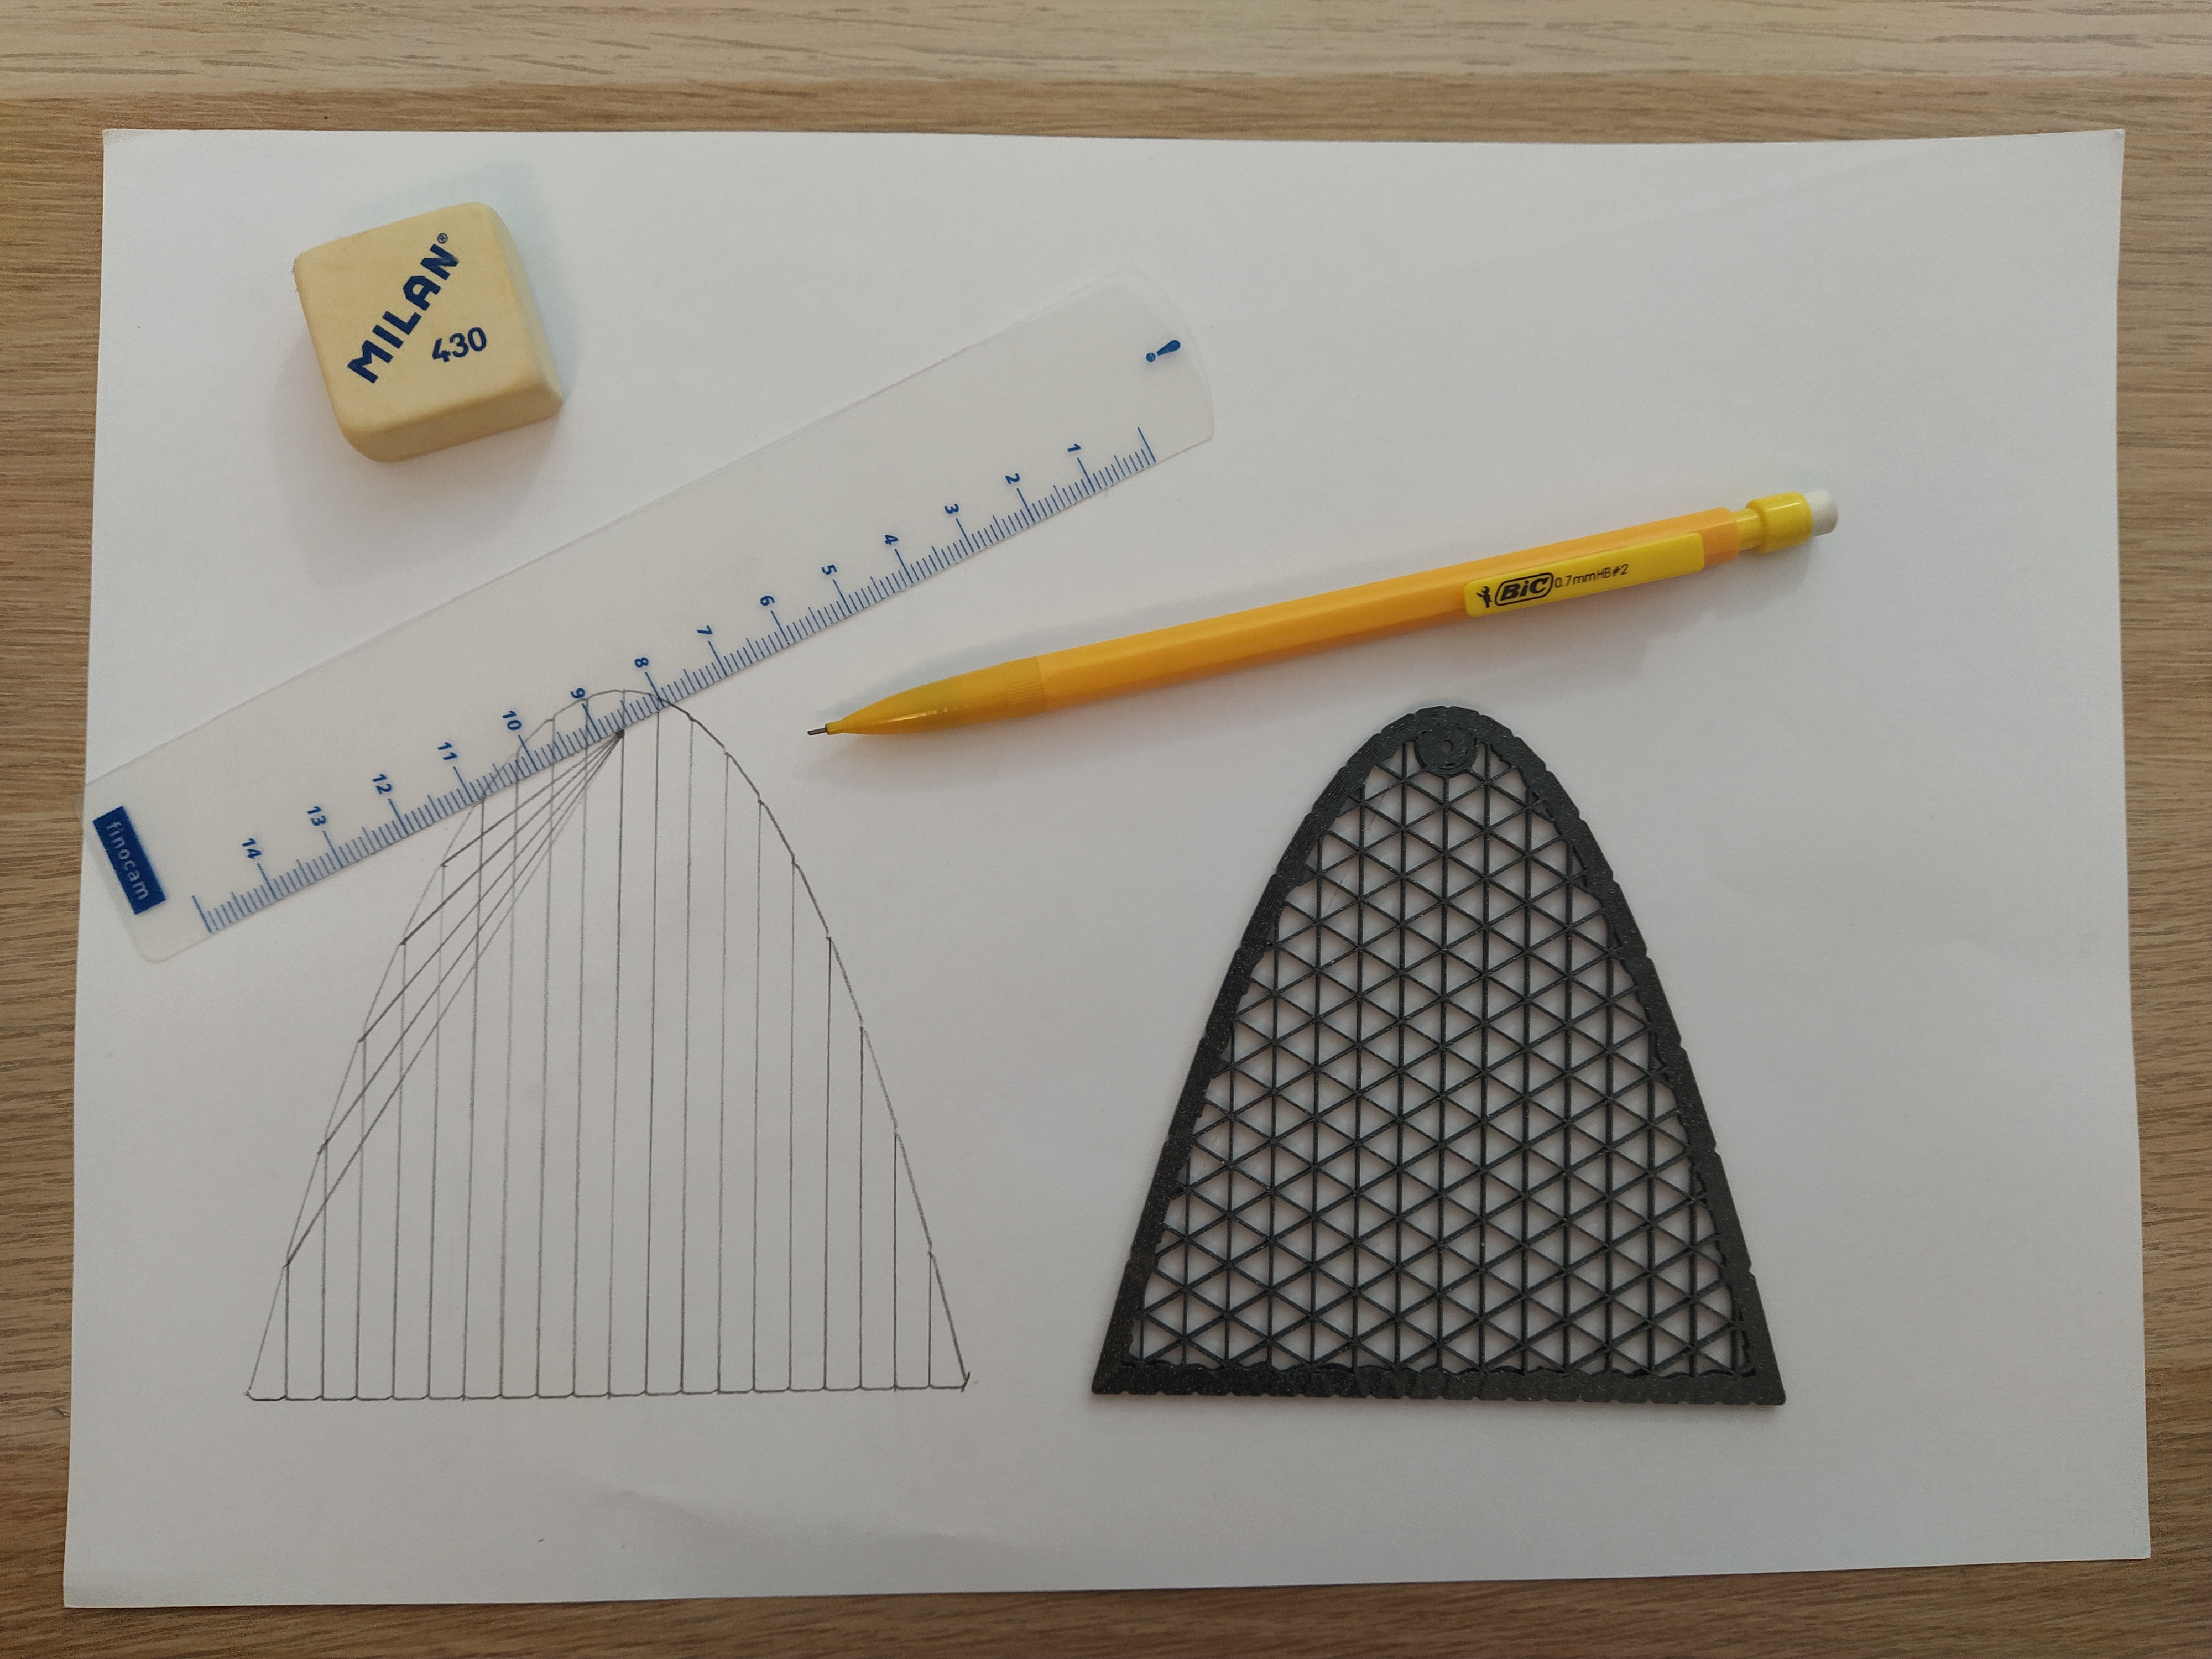
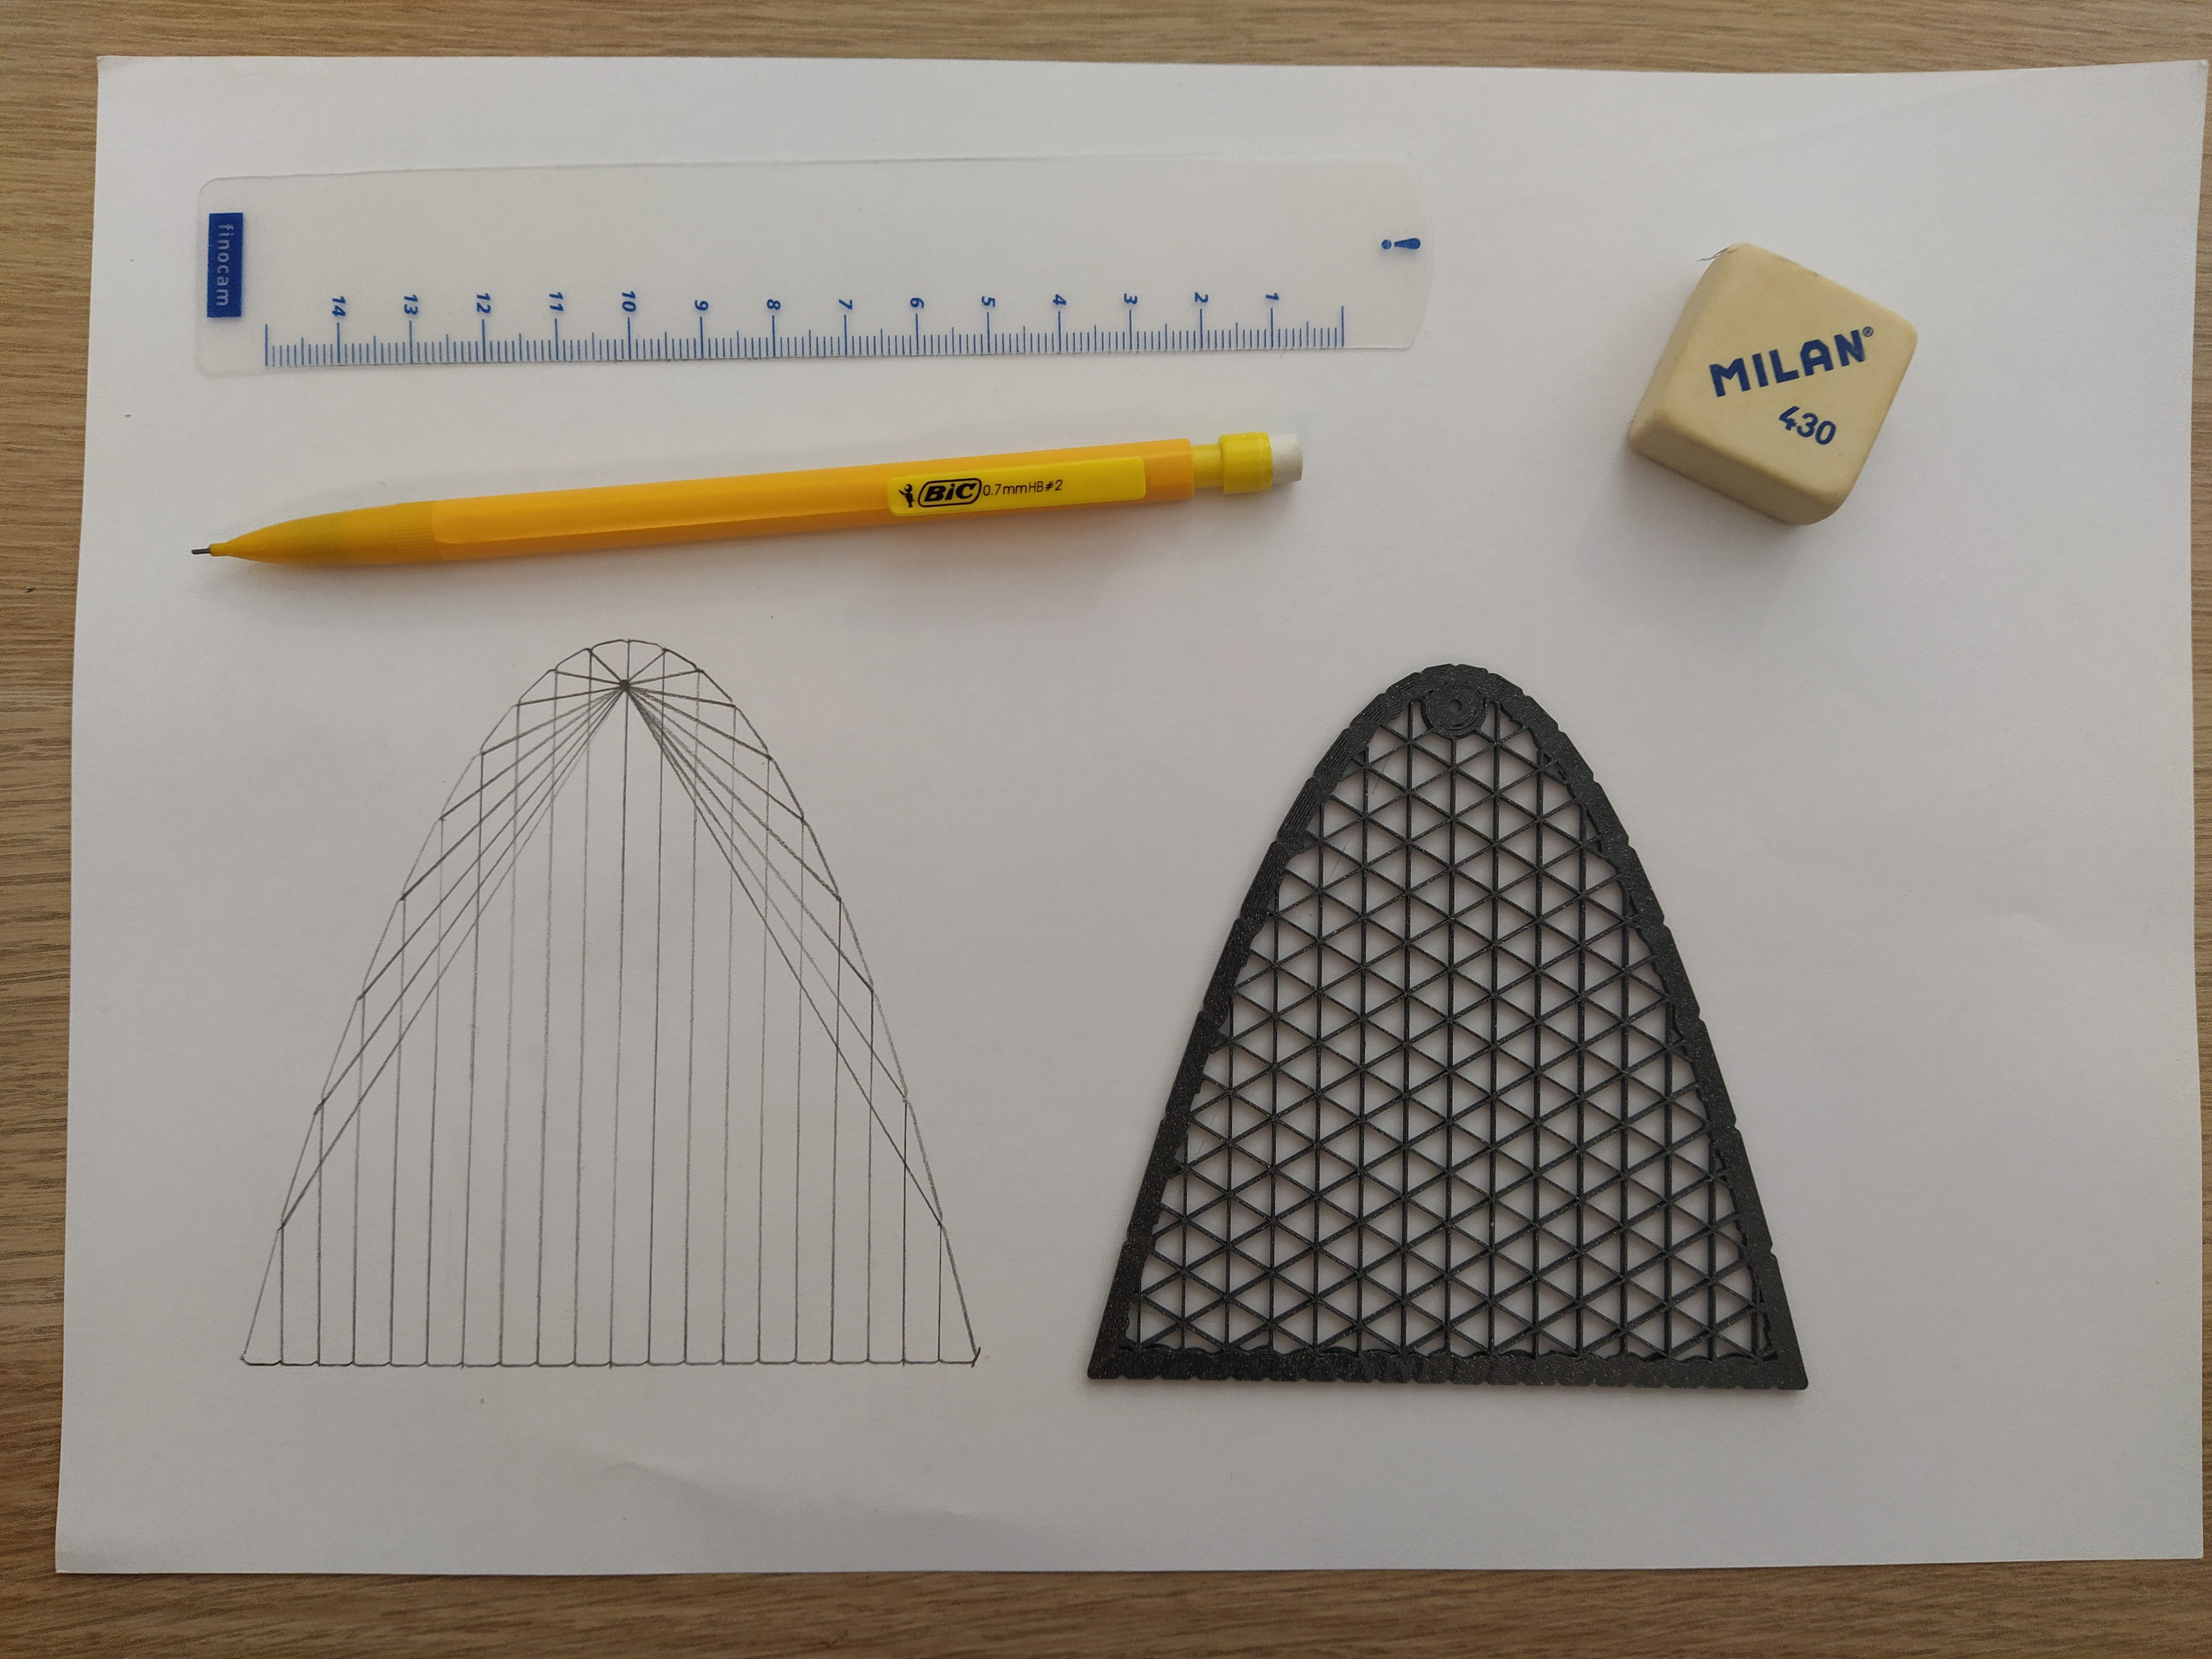
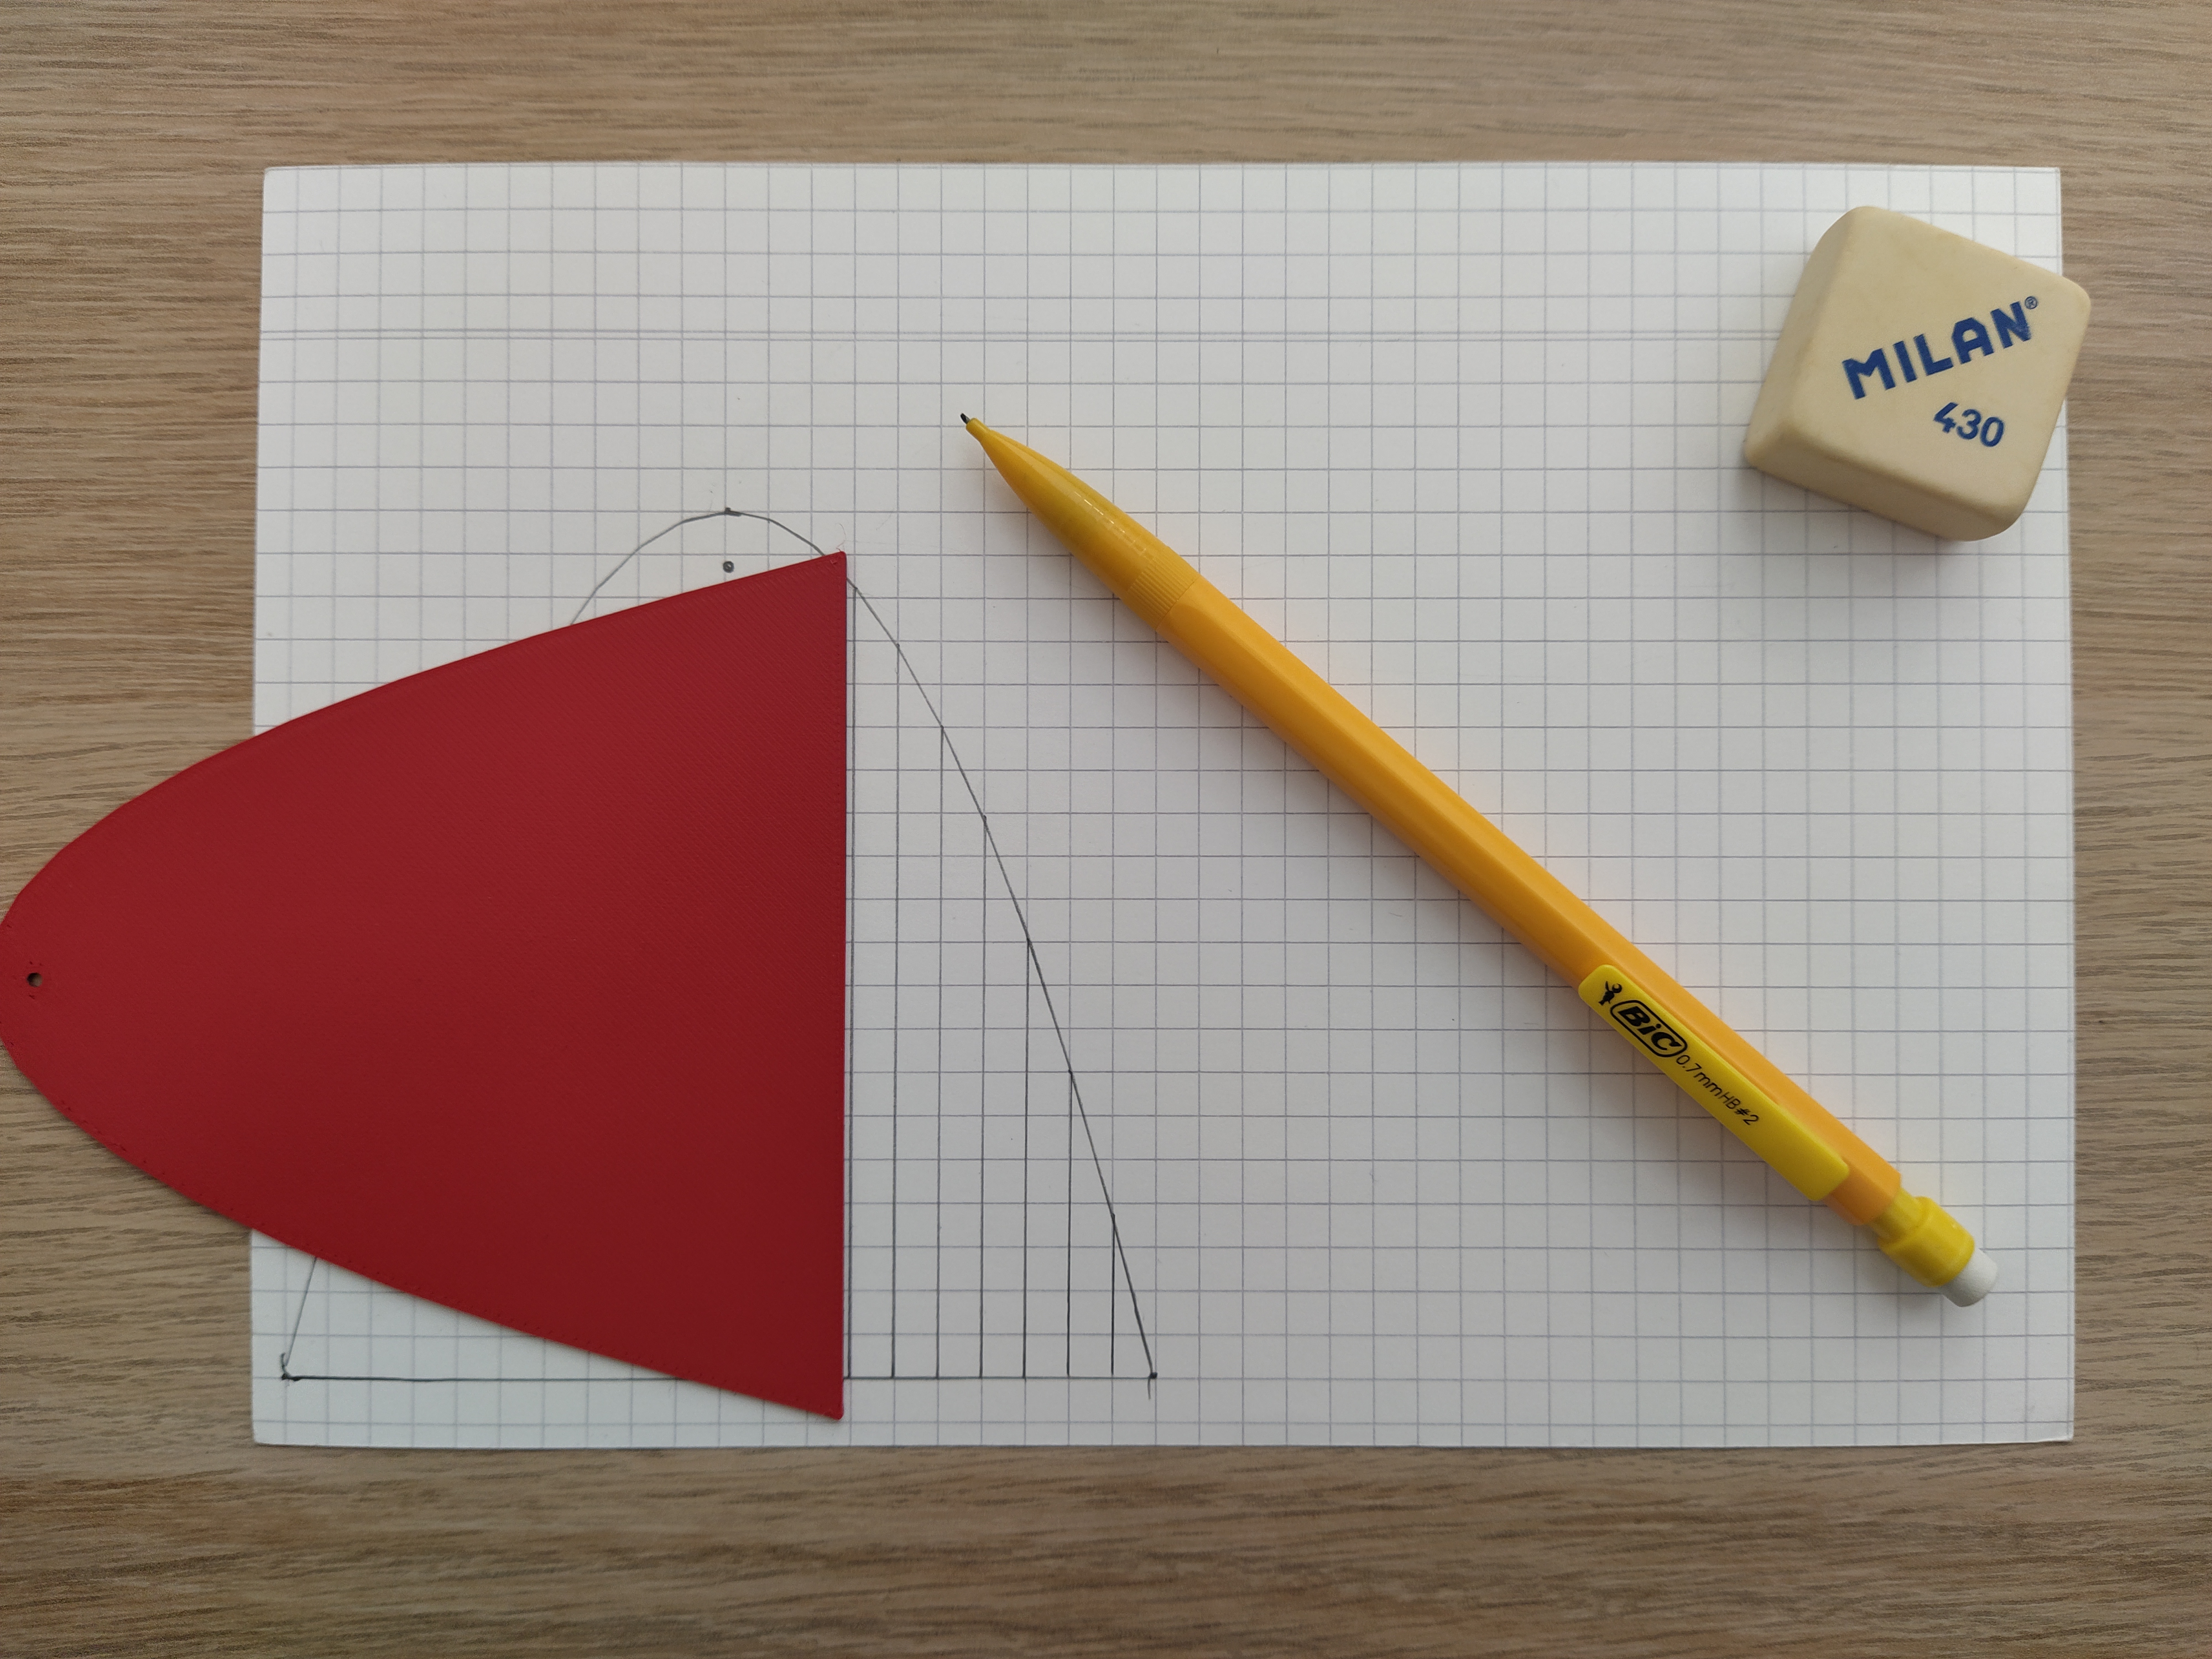
To draw a diagram of the reflexive property of the parabola, you will need to use a variant of the model that includes the Focus hole.
For plain paper, use a variant that includes Ticks in the perimeter, so you can make all the lines with the aid of a standard ruler:
 |  |  |
For square grid paper, you can use a model without Ticks in the perimeter, which allows you to use the straight segment of the model to draw the lines:
 | 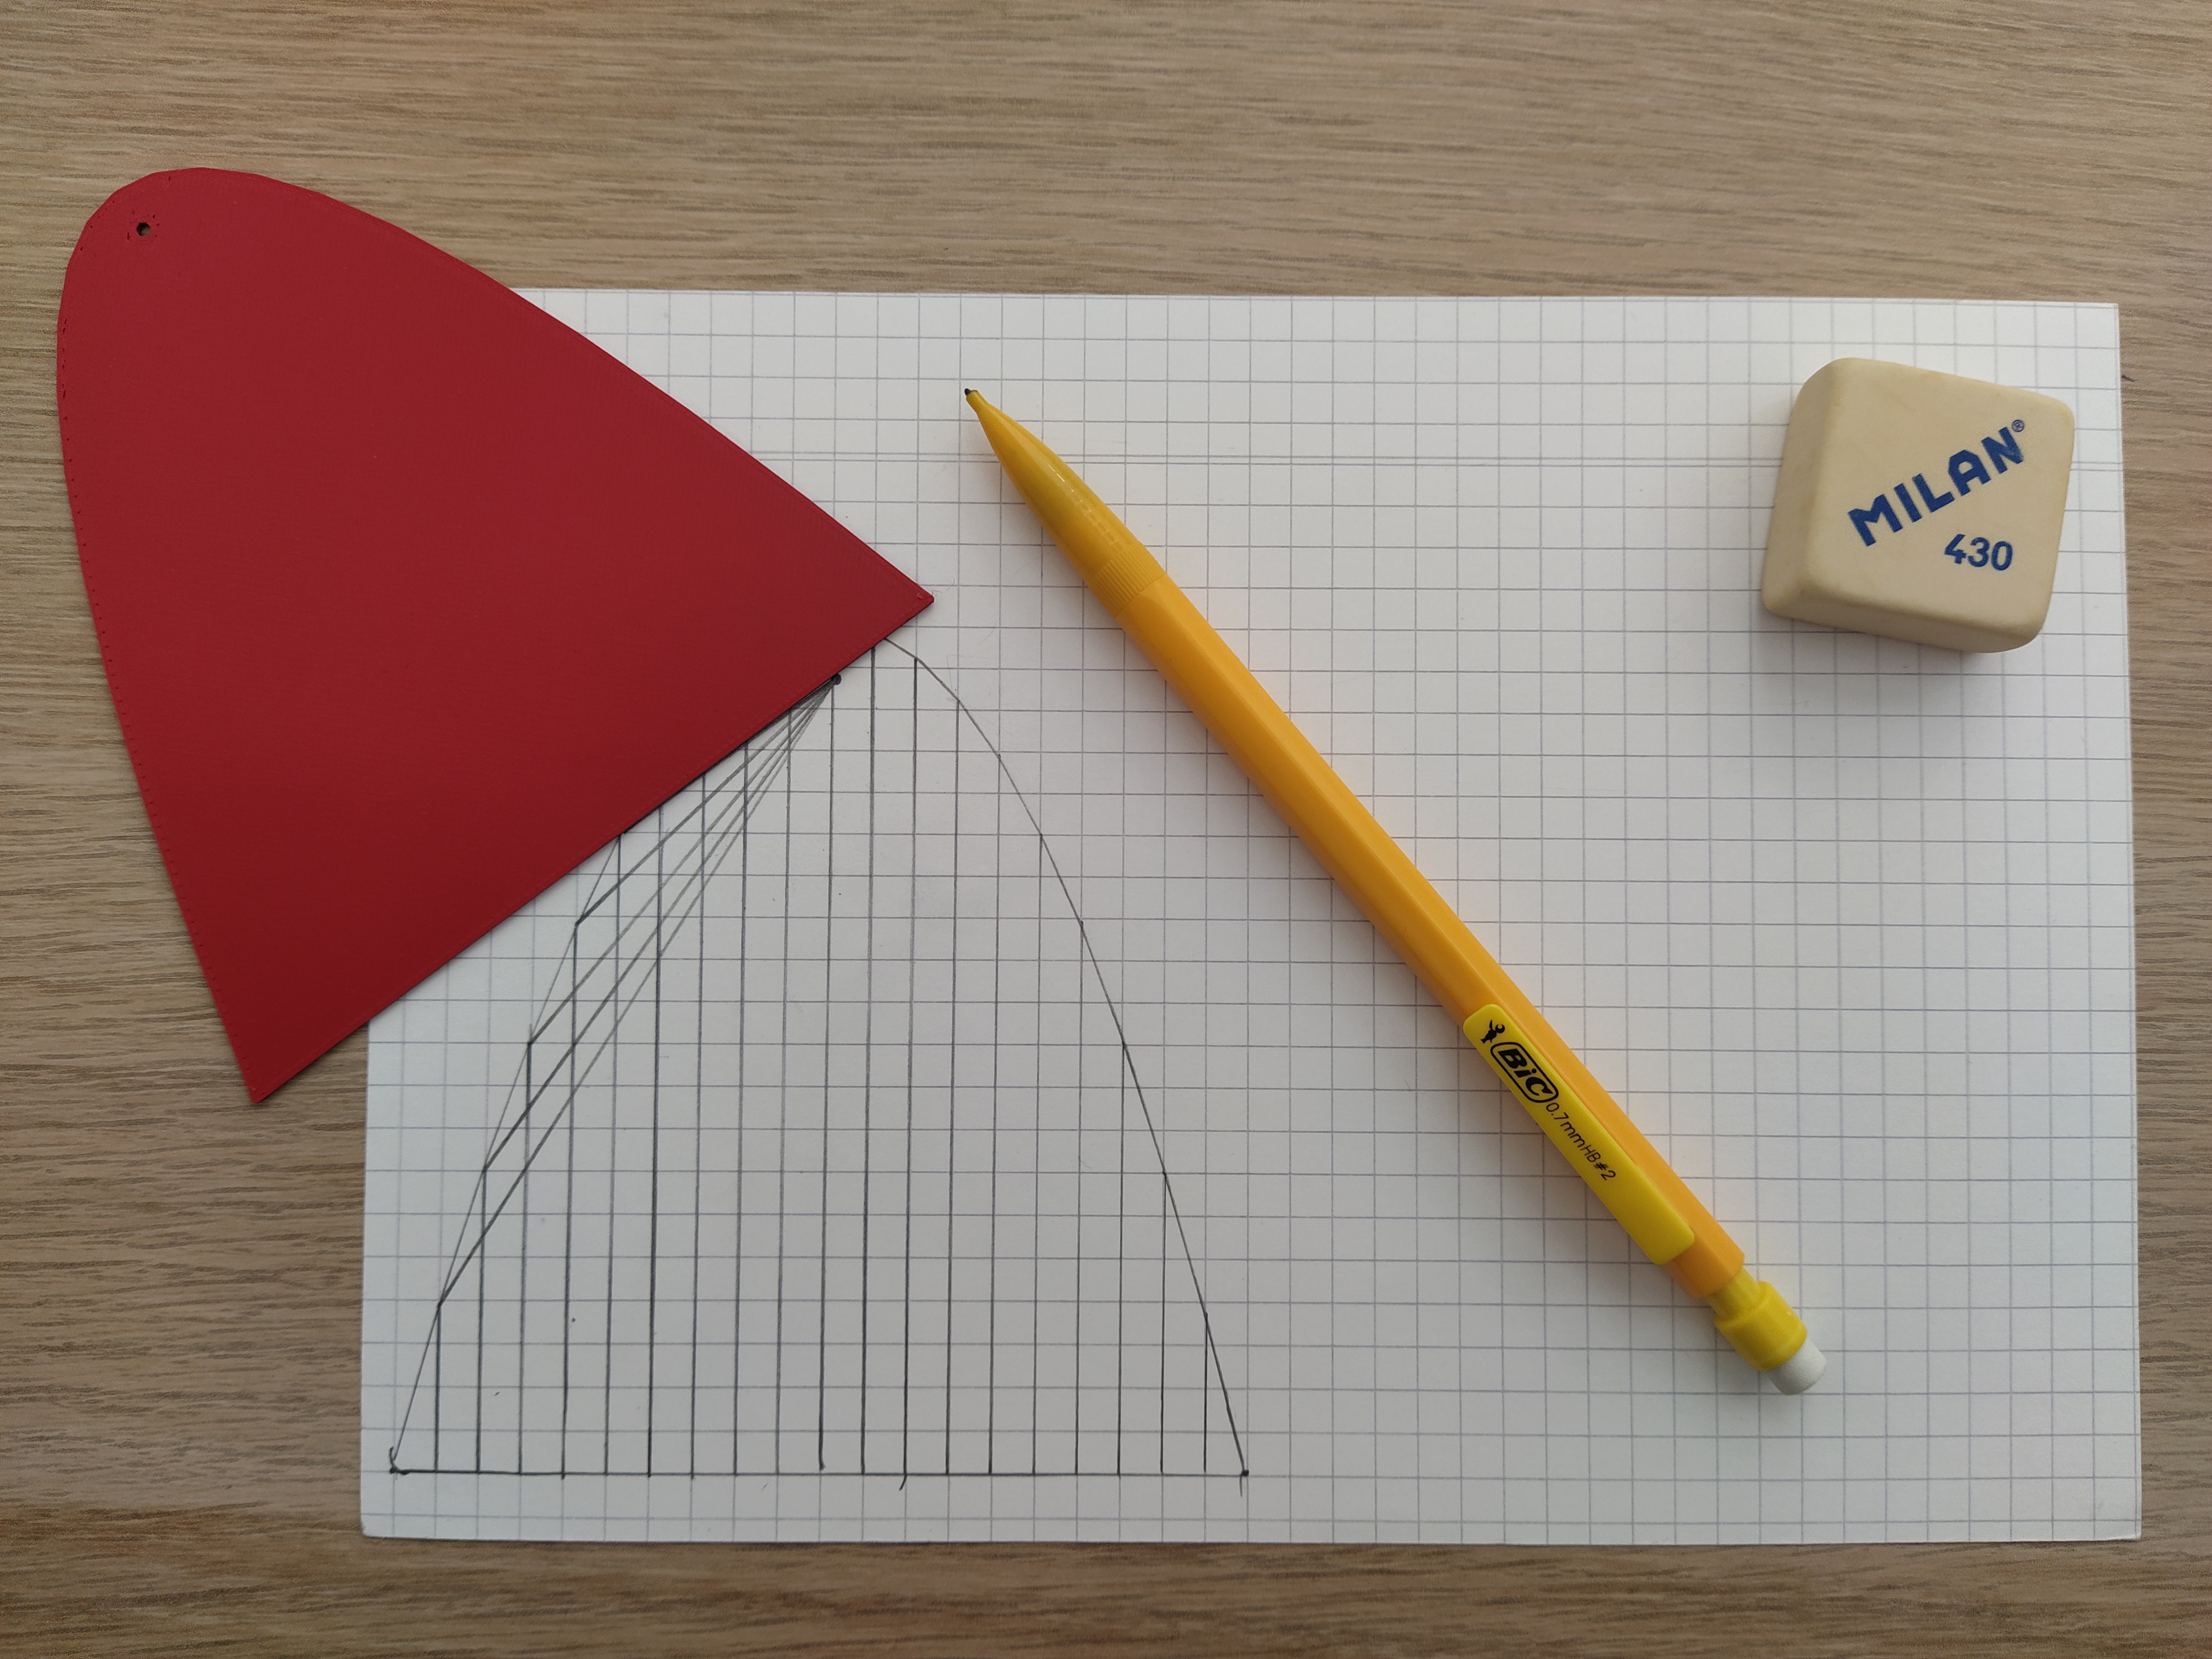 | 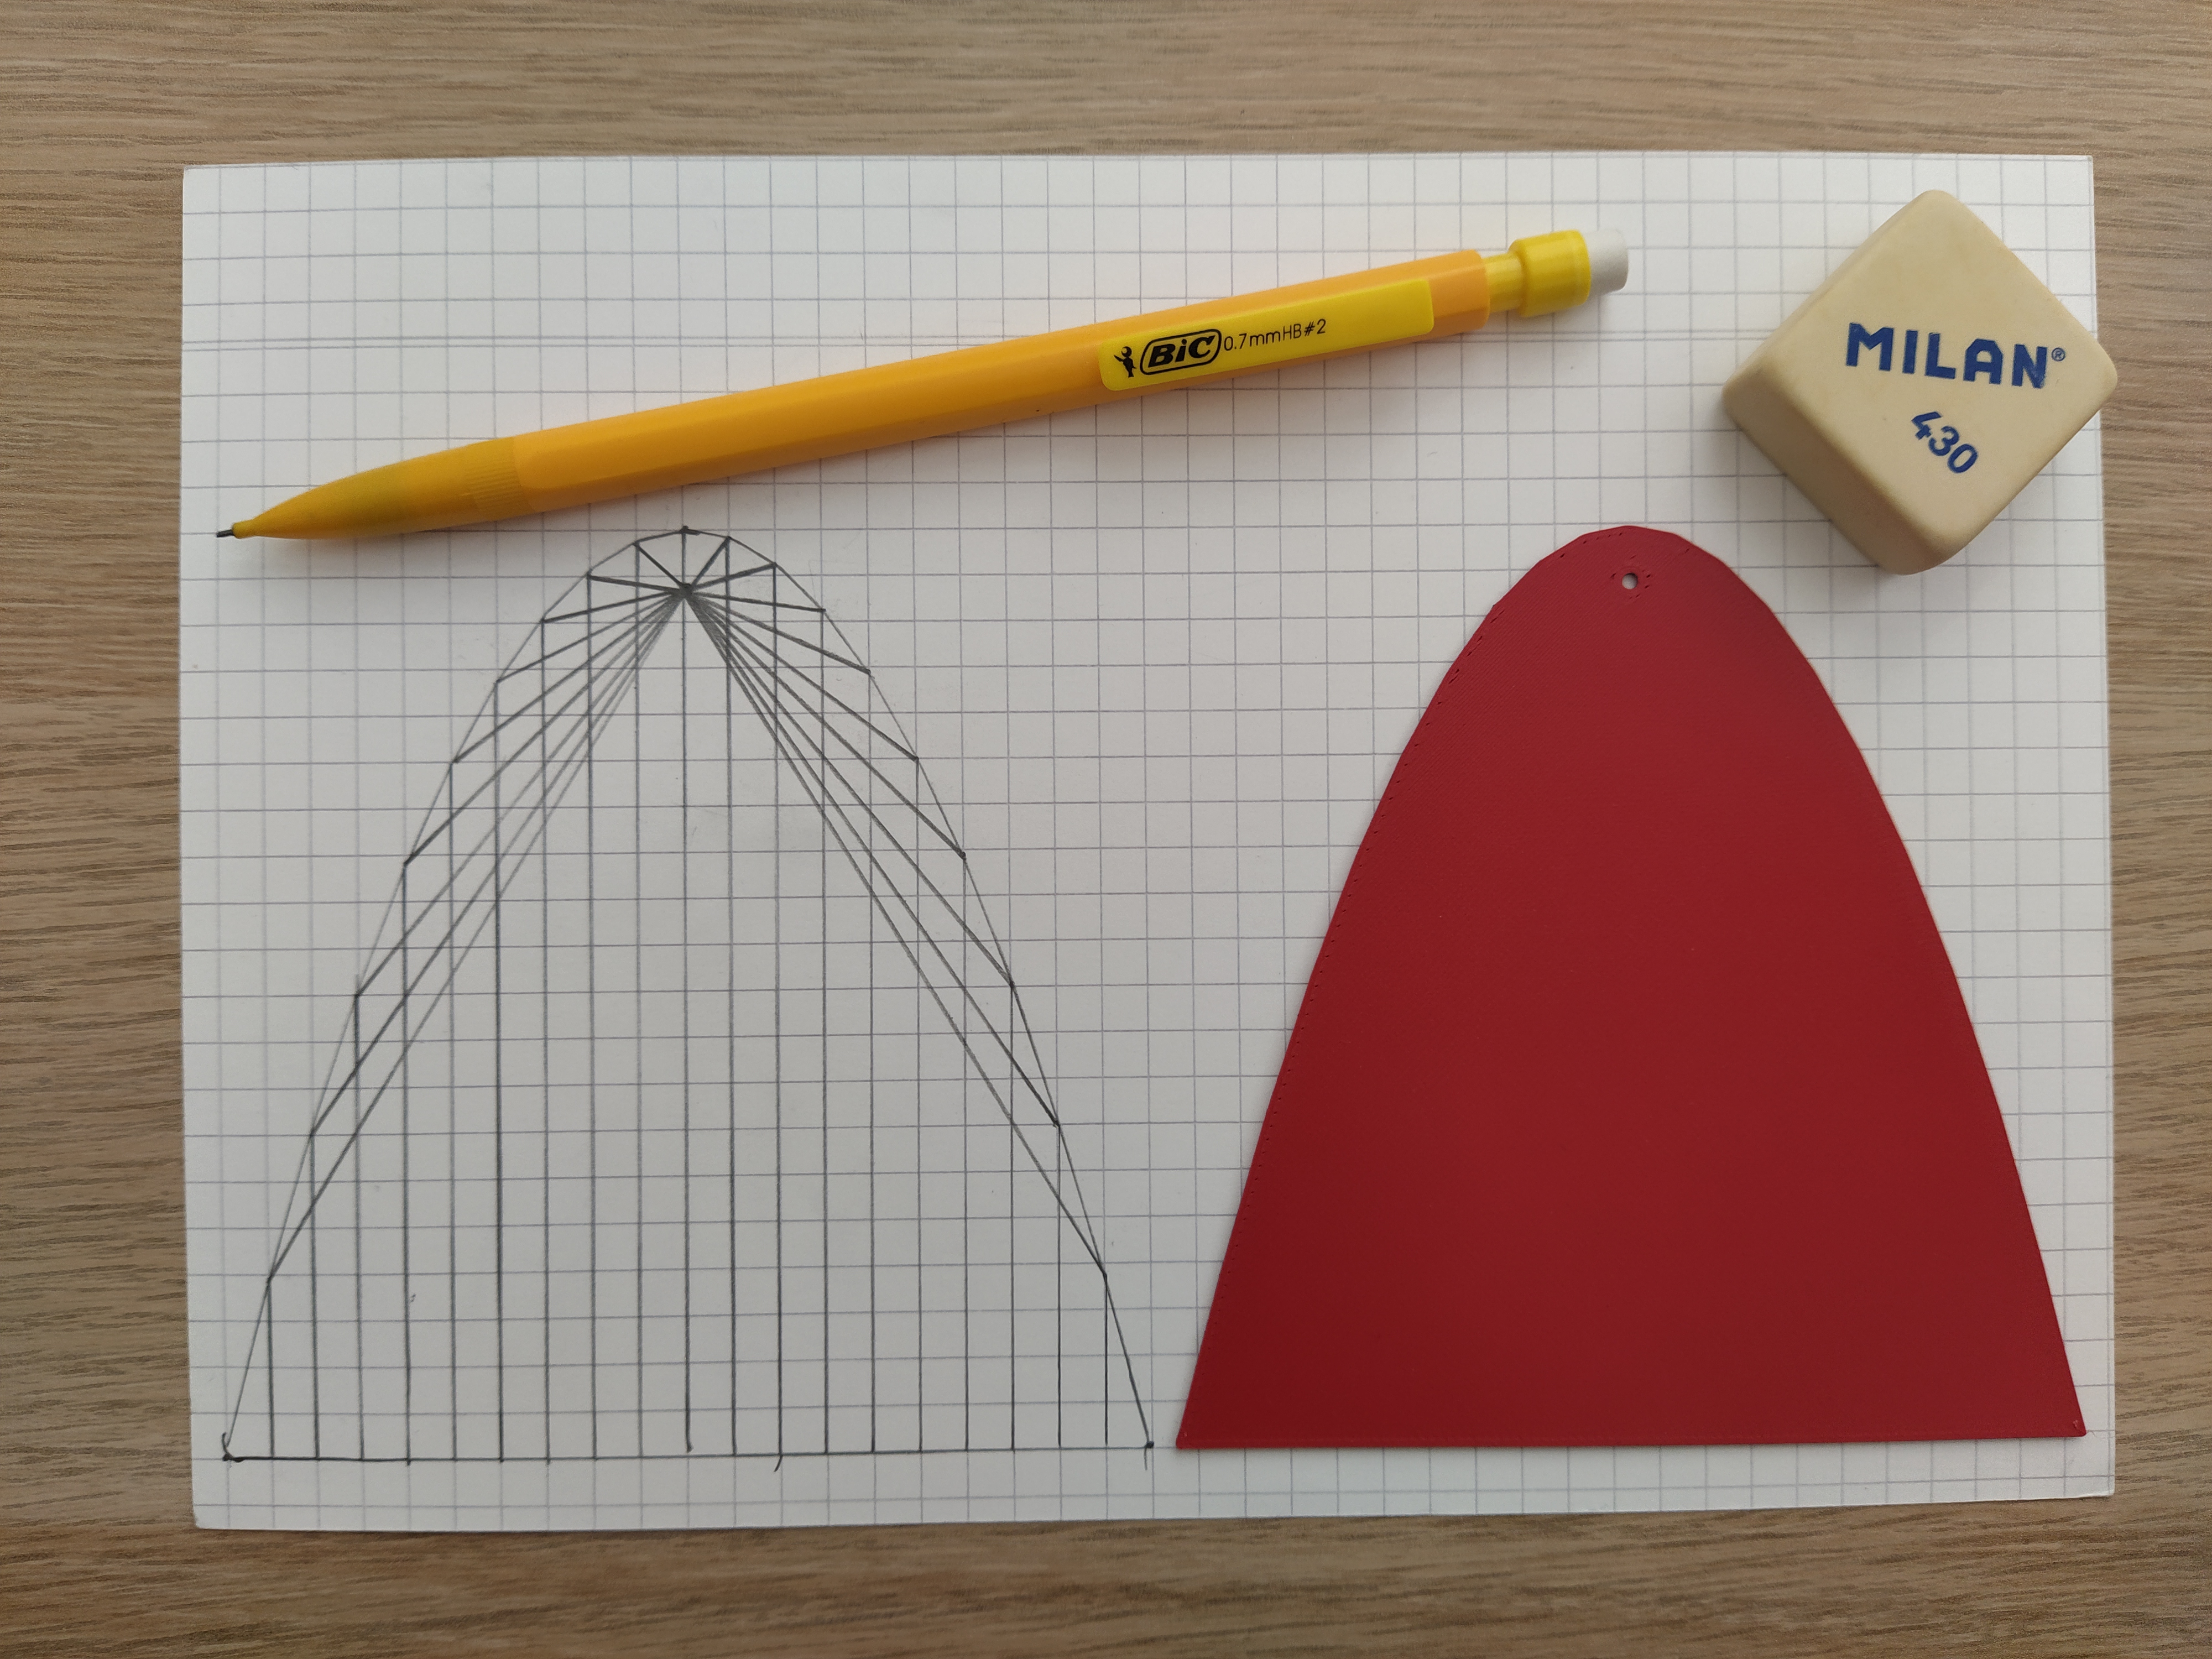 |
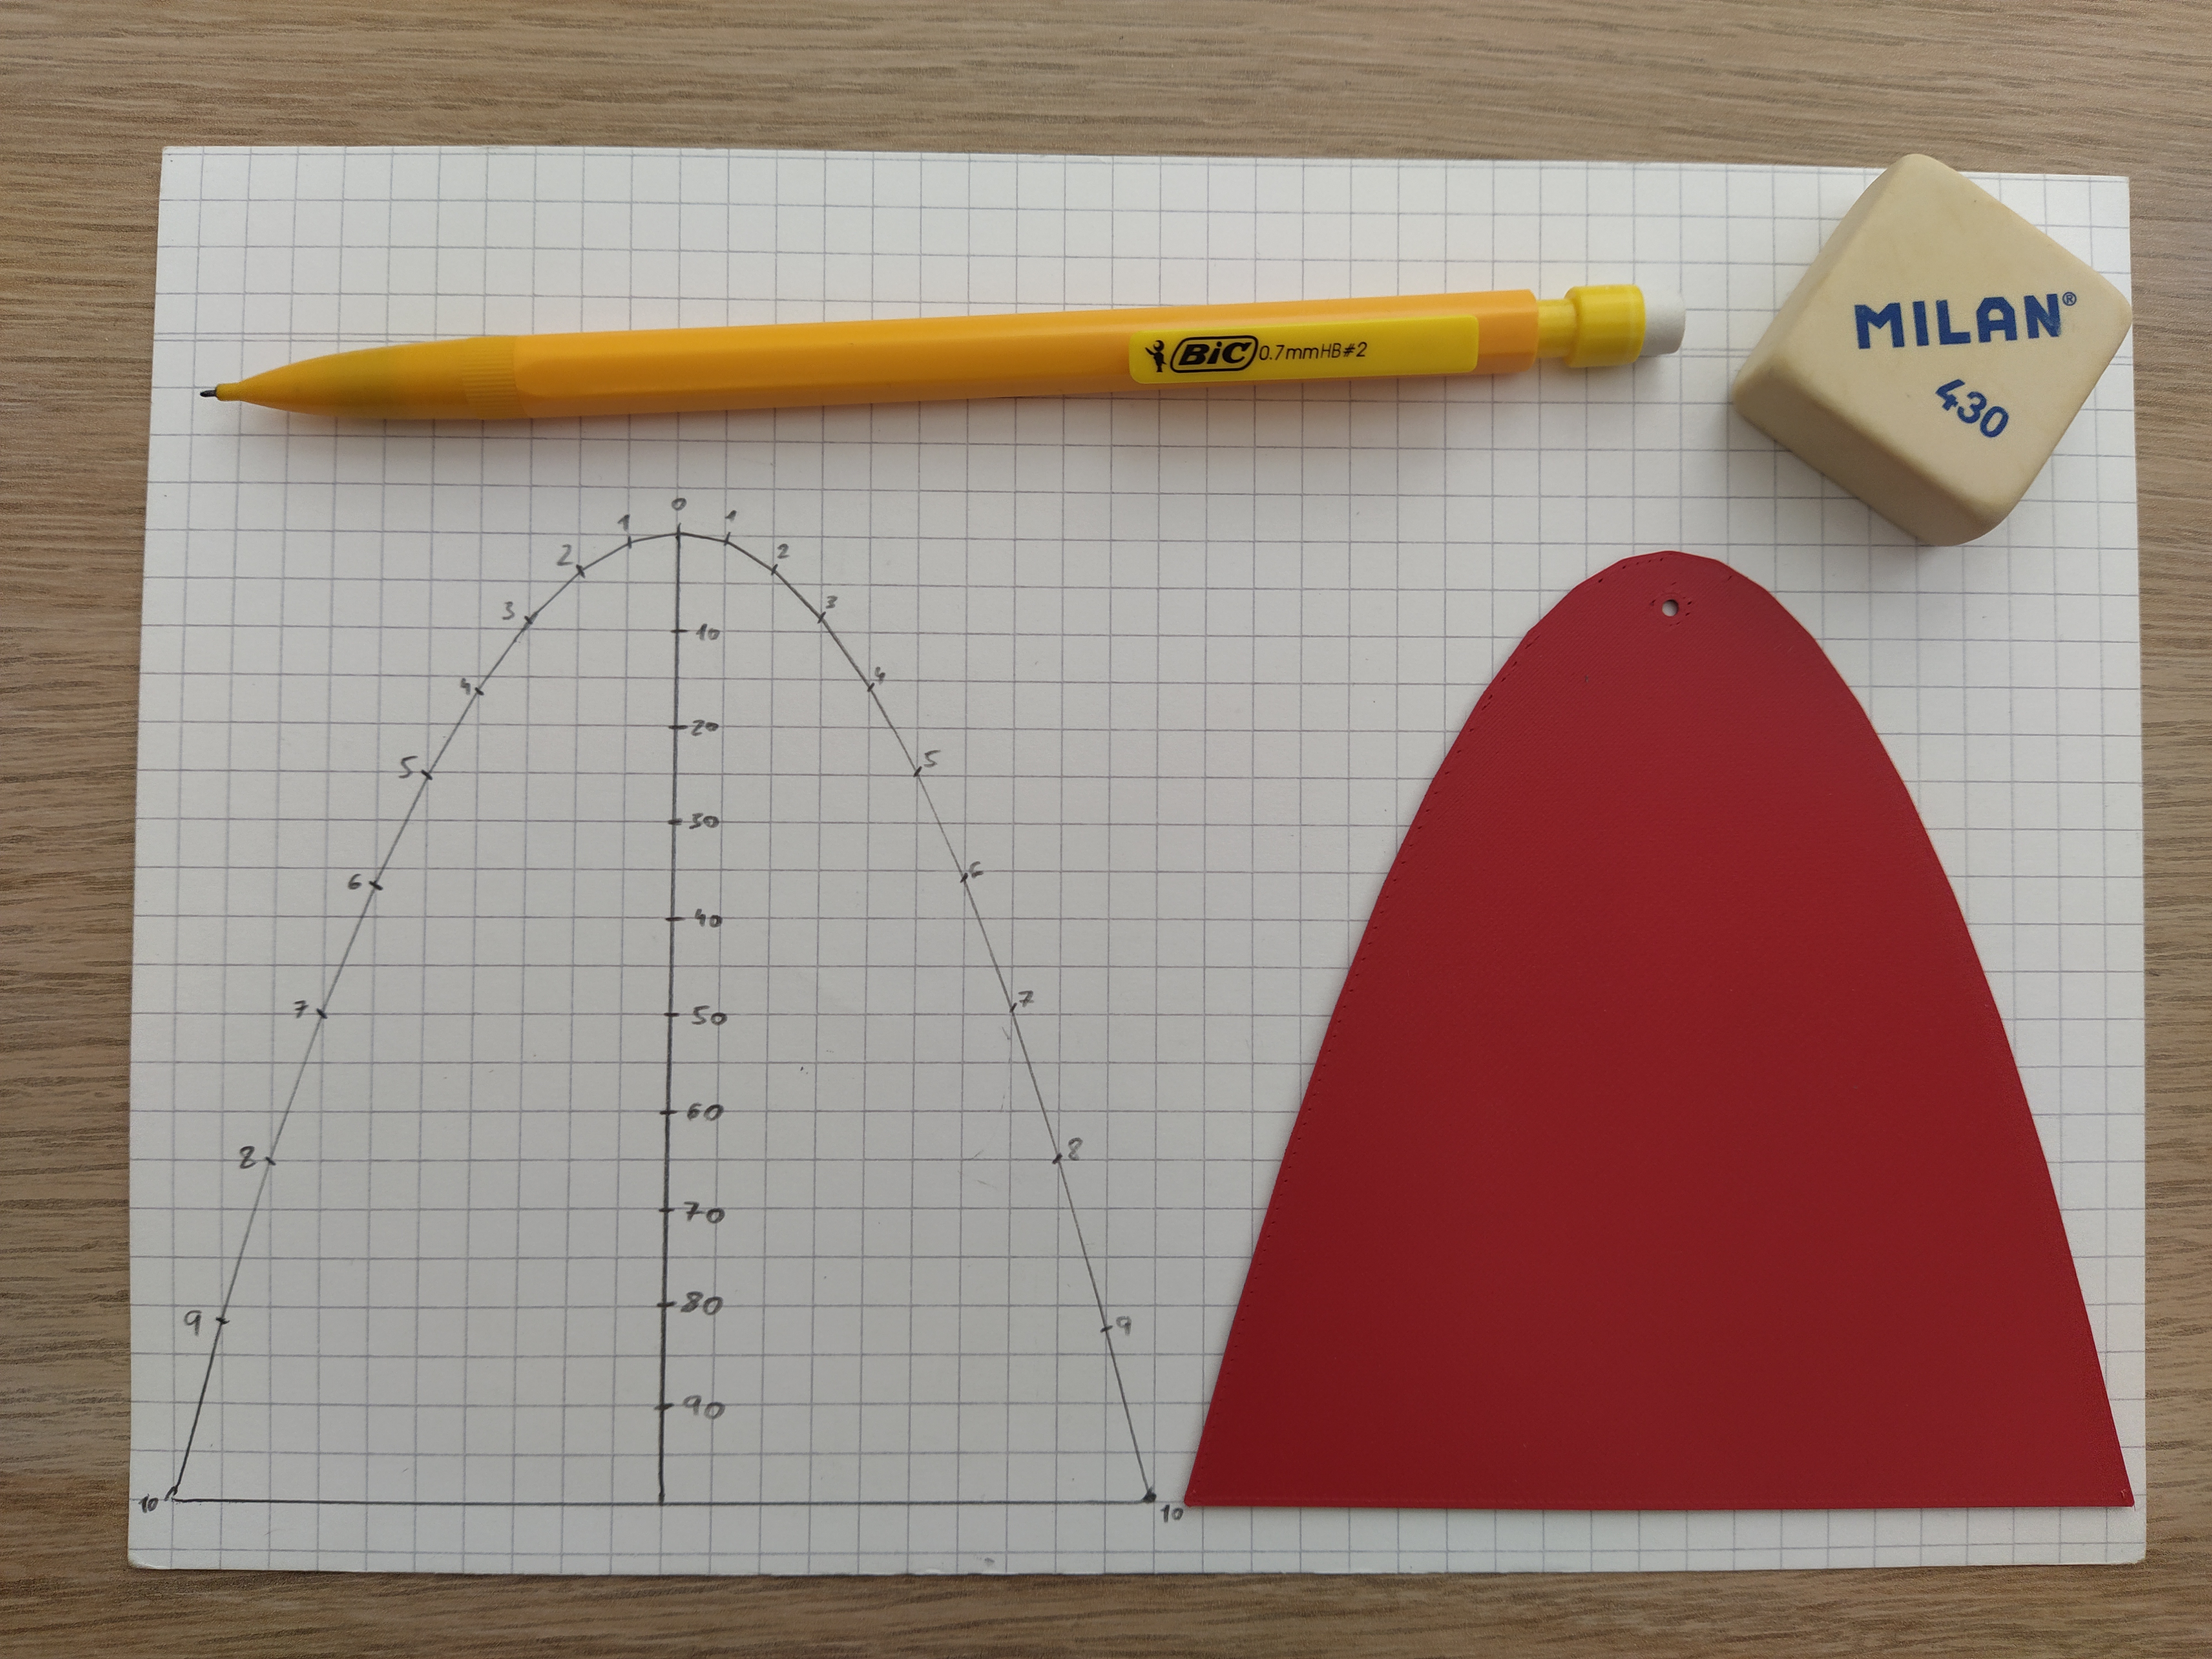
To use the Parabolic Multiplication Nomogram, you need to draw the perimeter of a model with Ticks, then draw the axis of the parabola, and finally mark all the points with their corresponding values:
 | 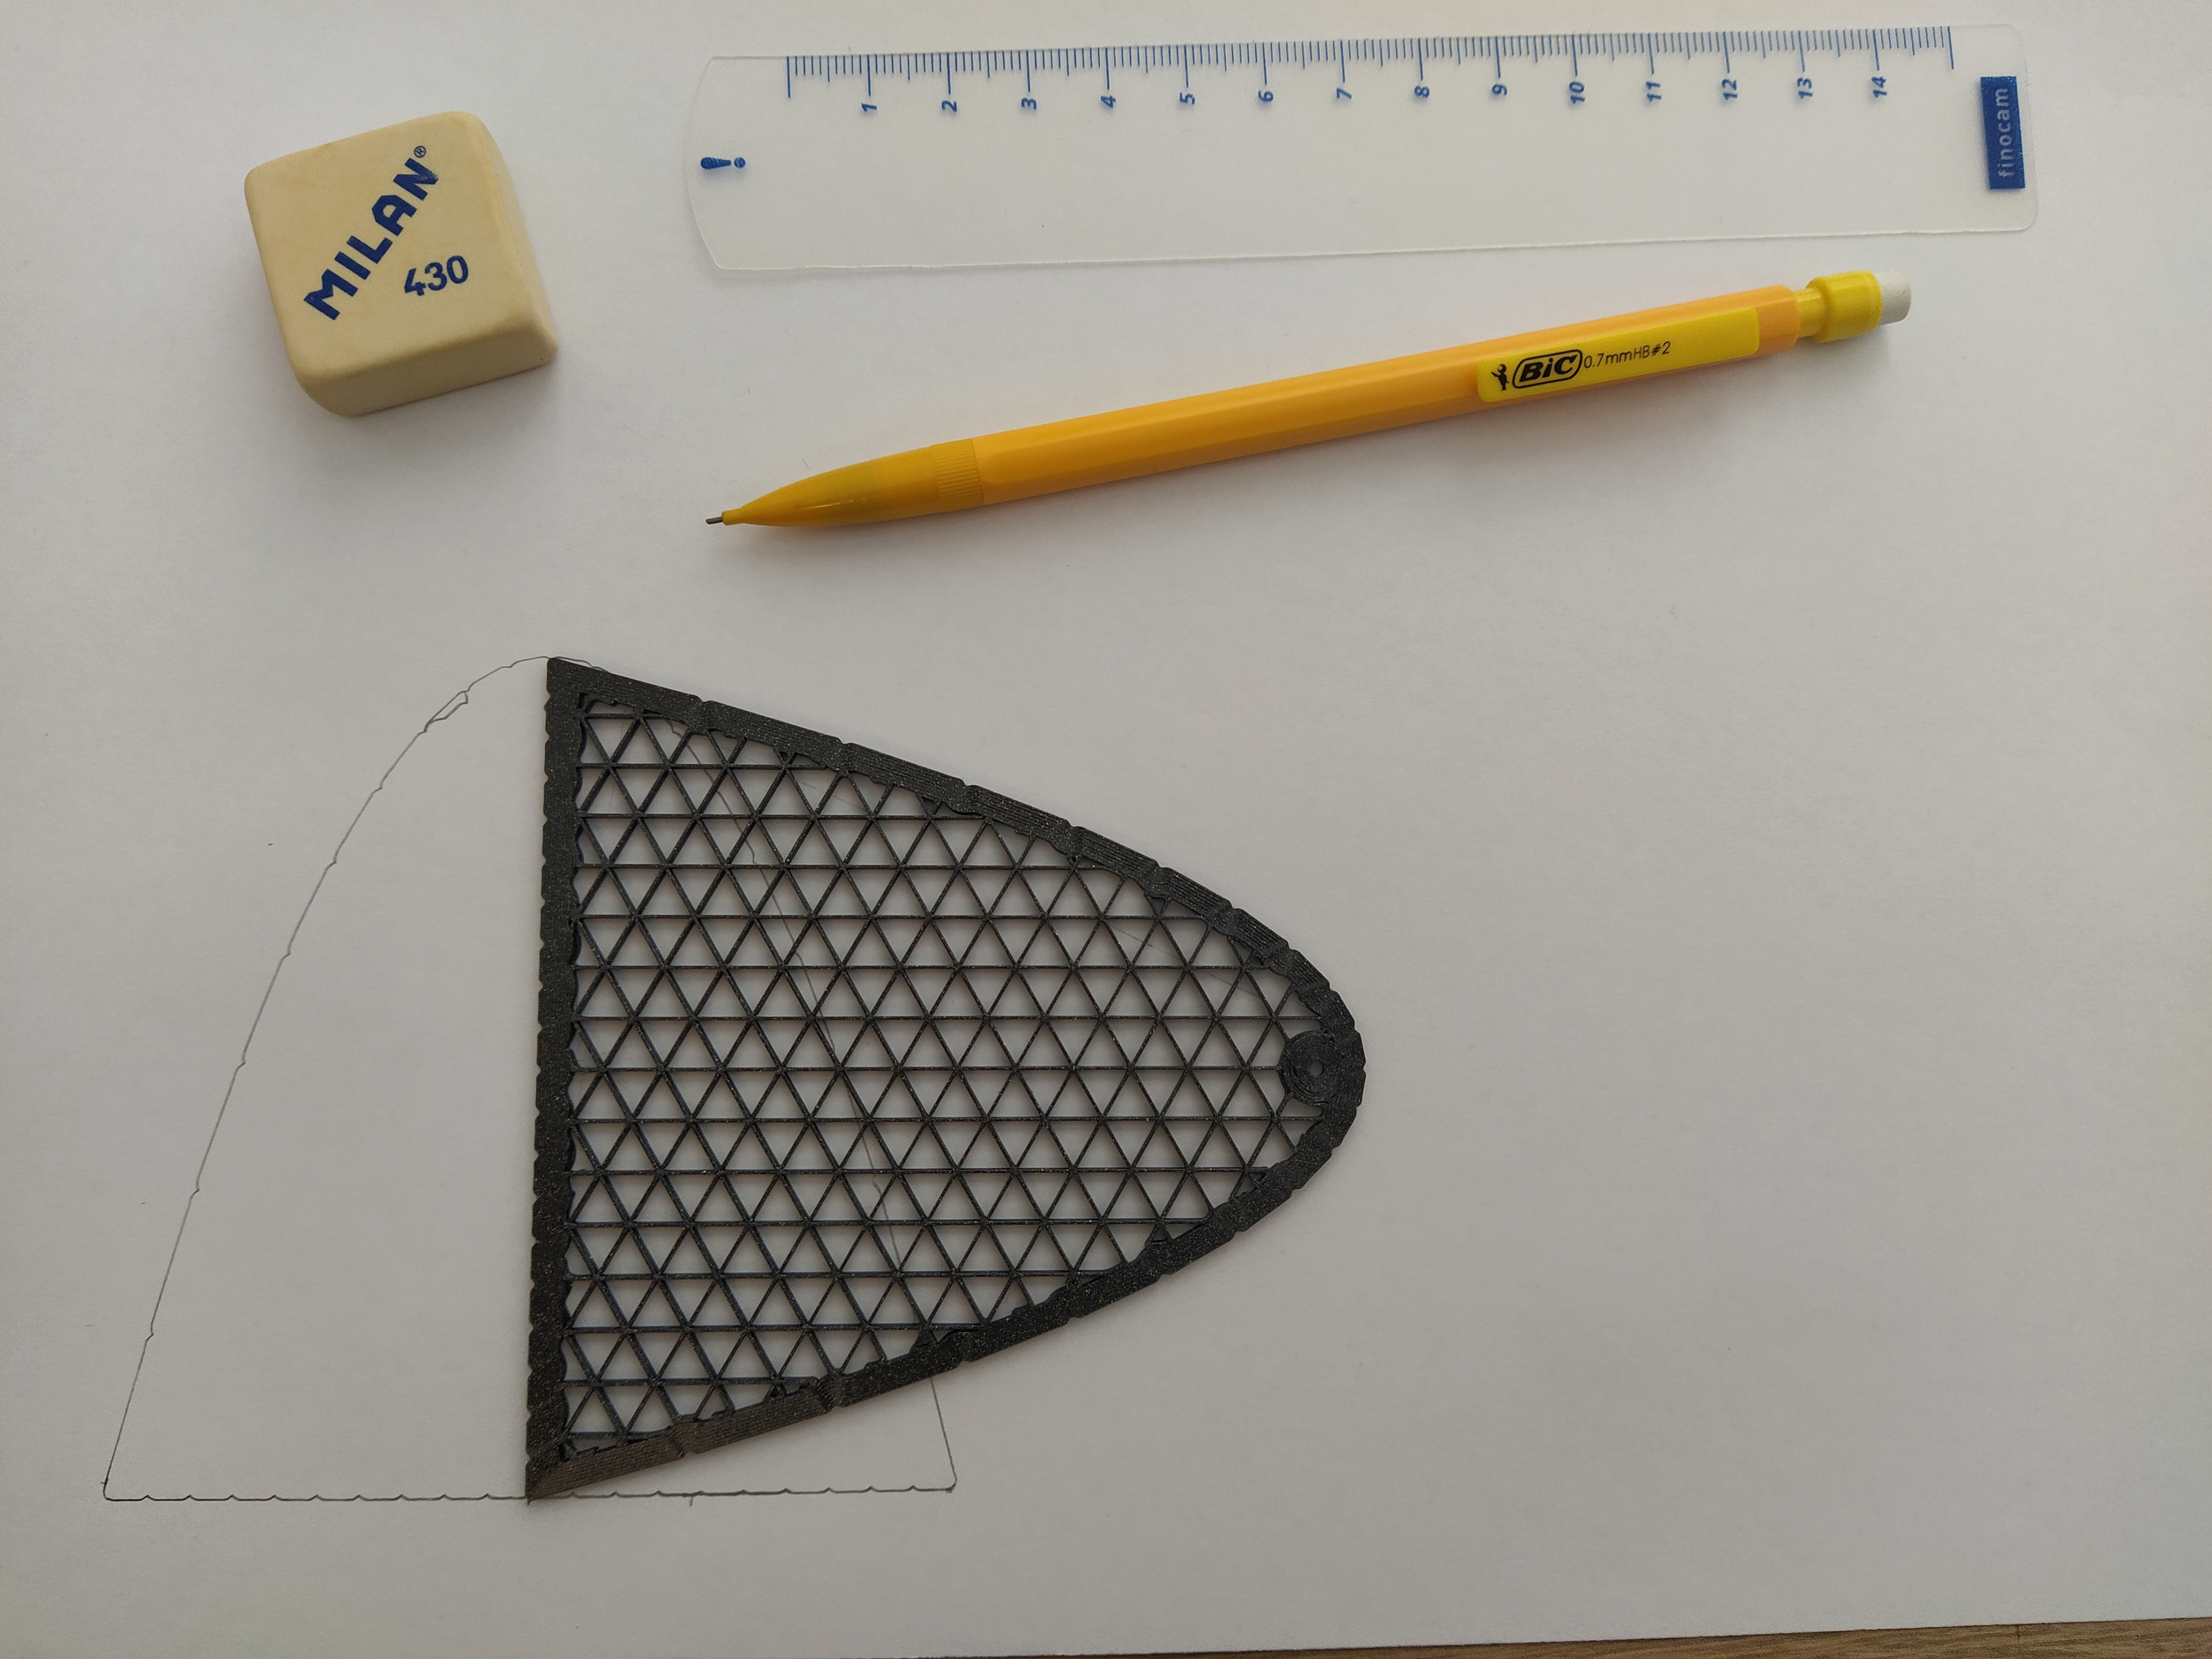 | 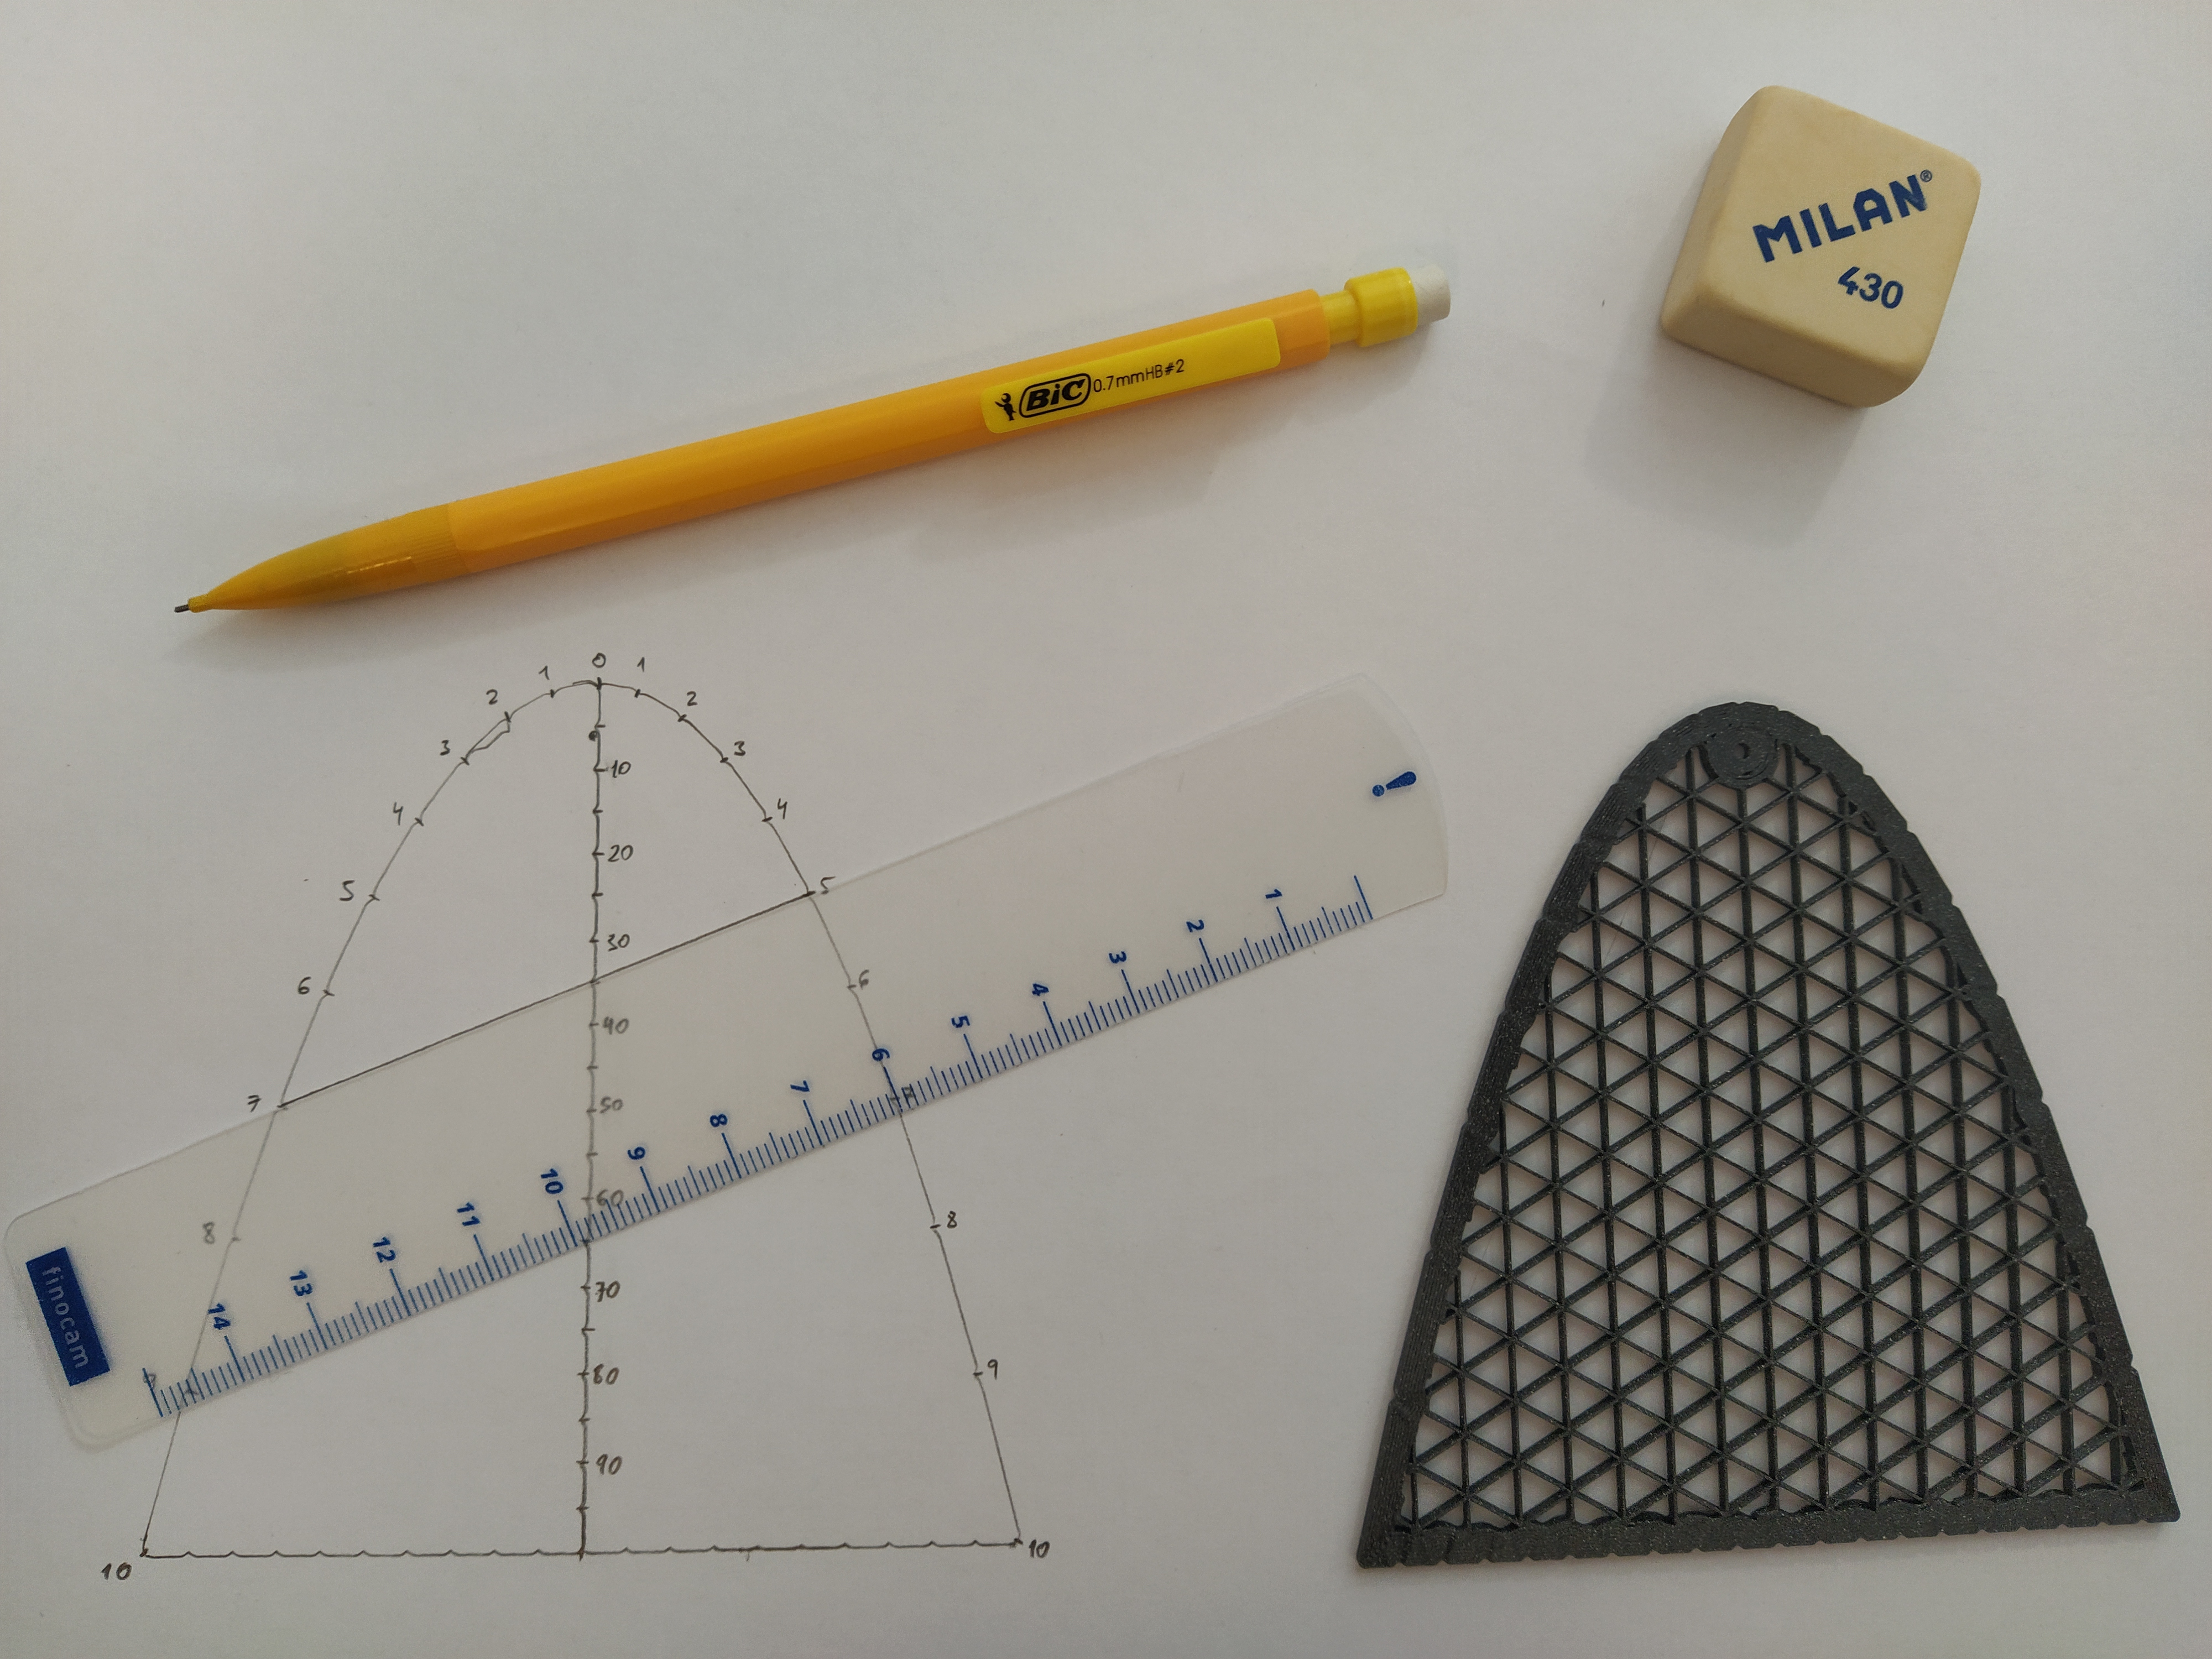 |
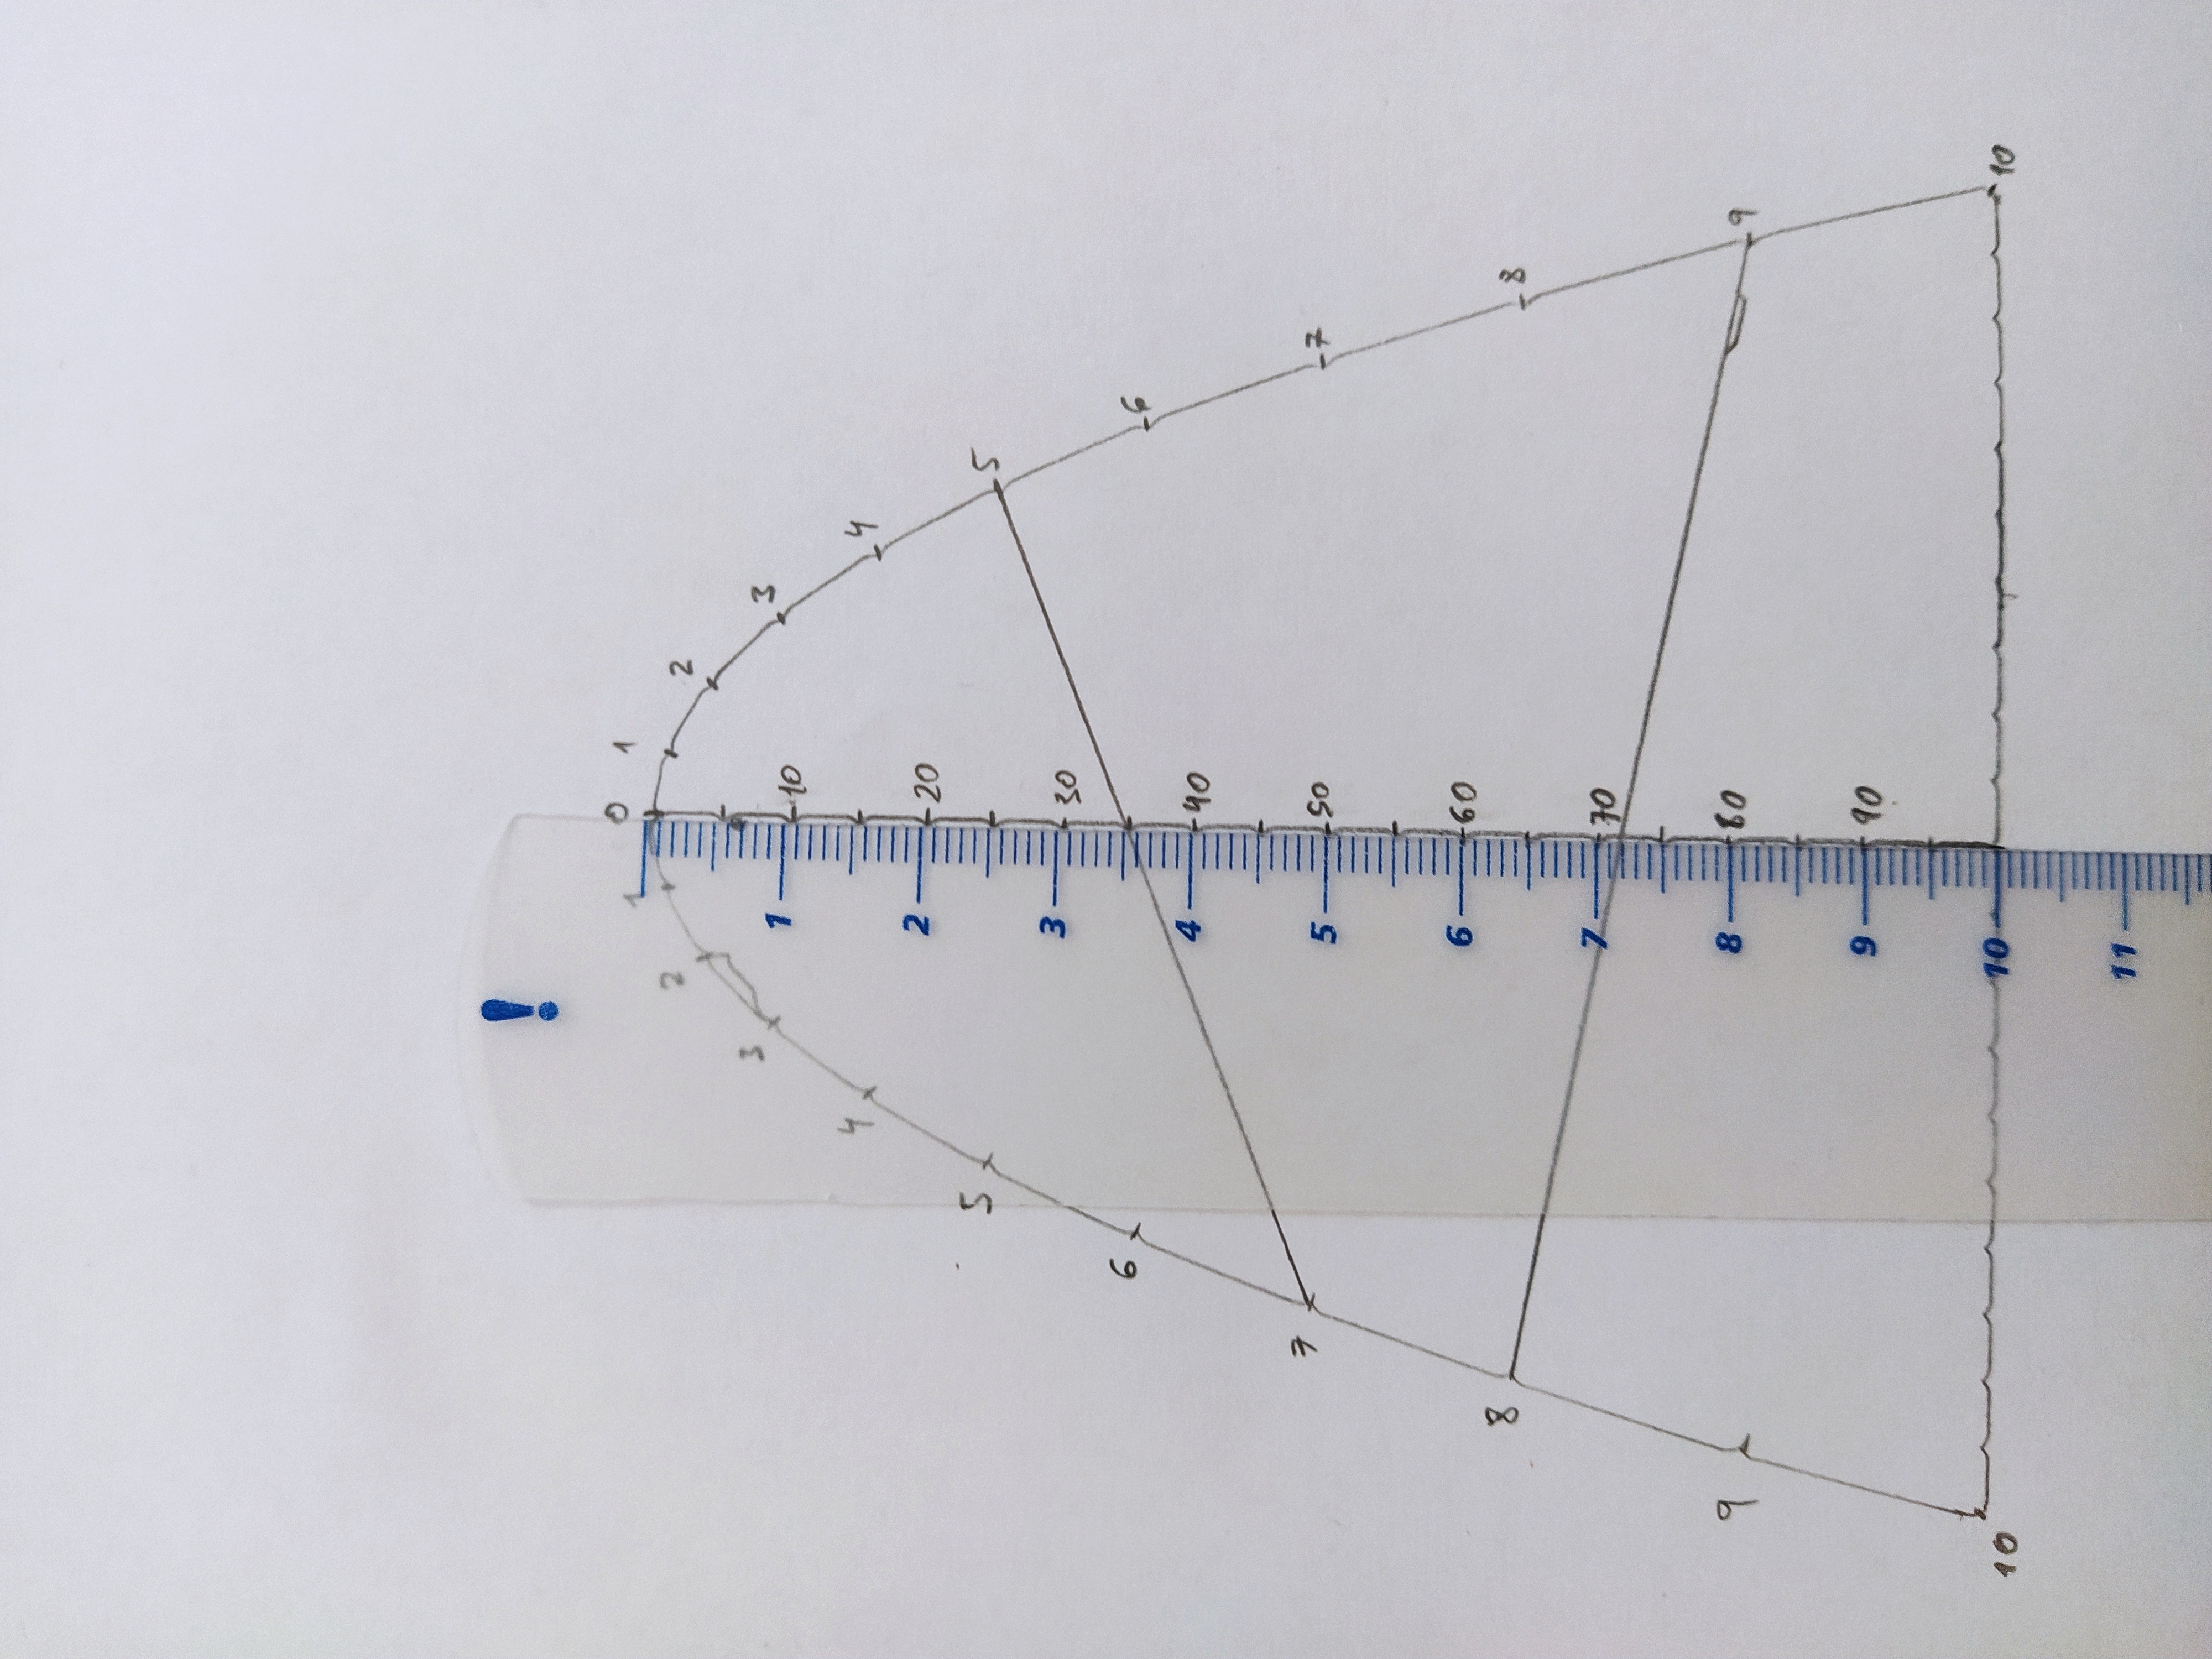
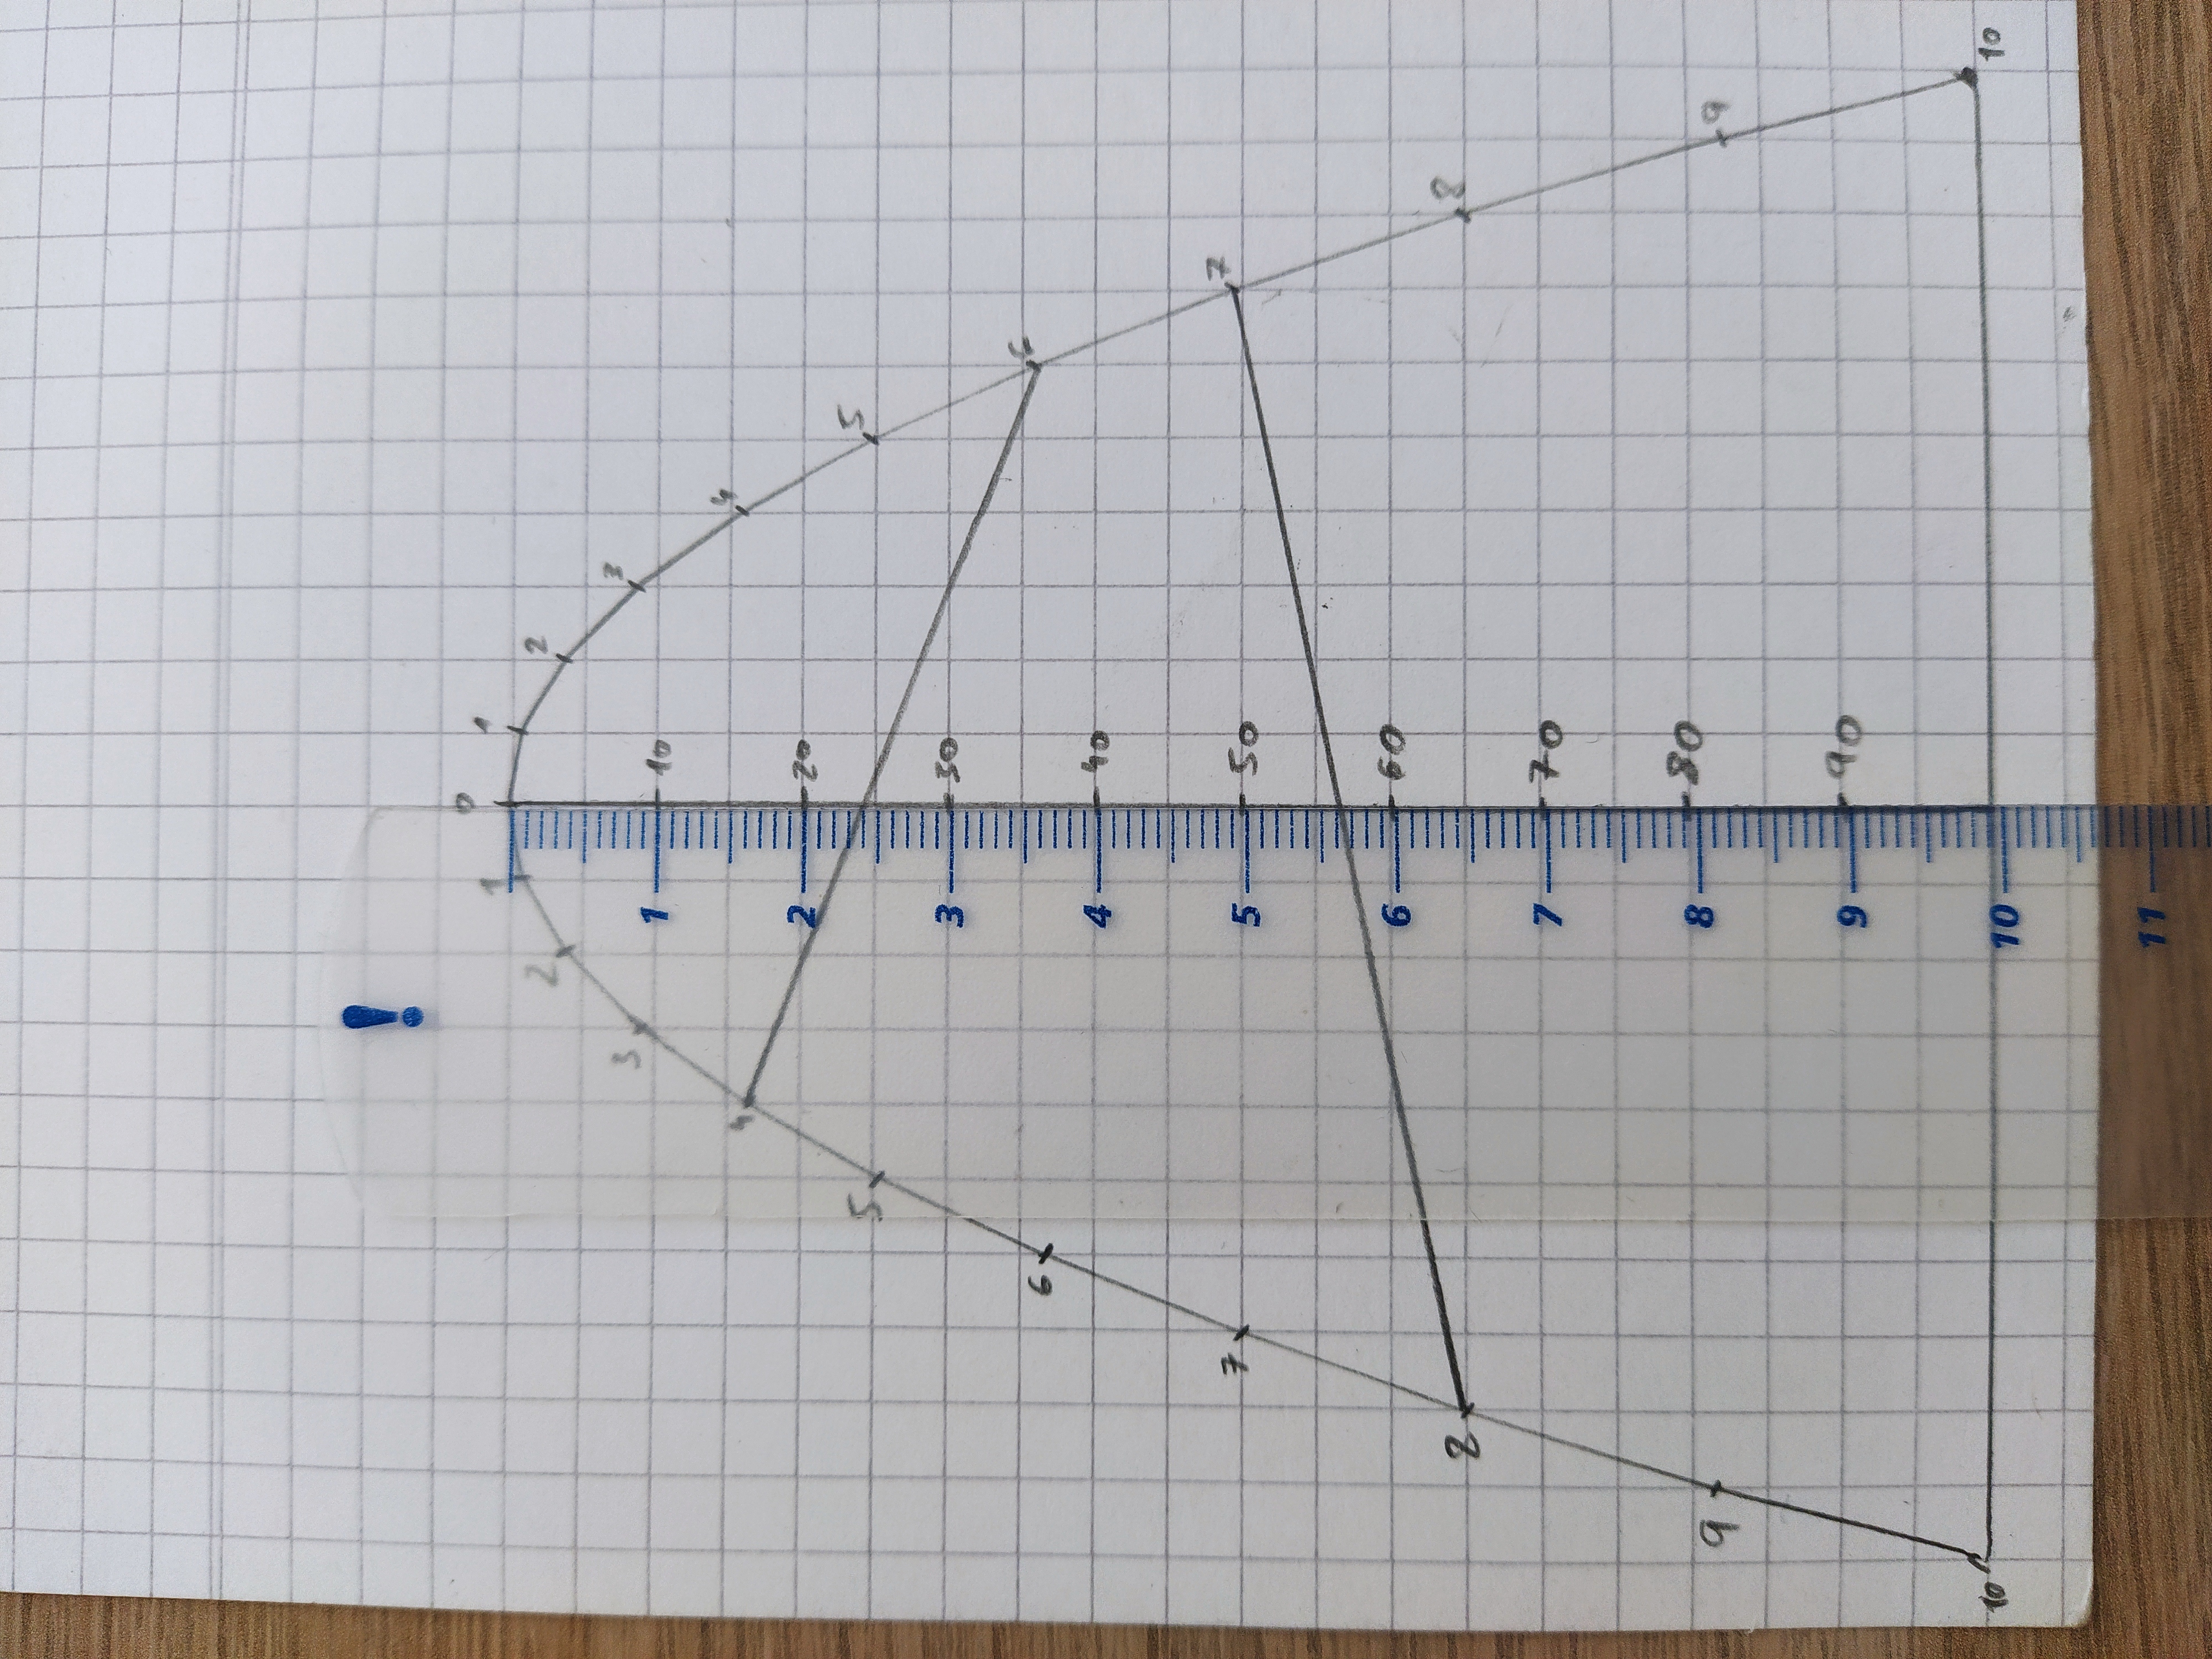
Now, you can multiply two single digit numbers in the parabola by joining them with a straight line and reading the results in the axis with the help of the ruler (7×5=35 and 8×9=72):
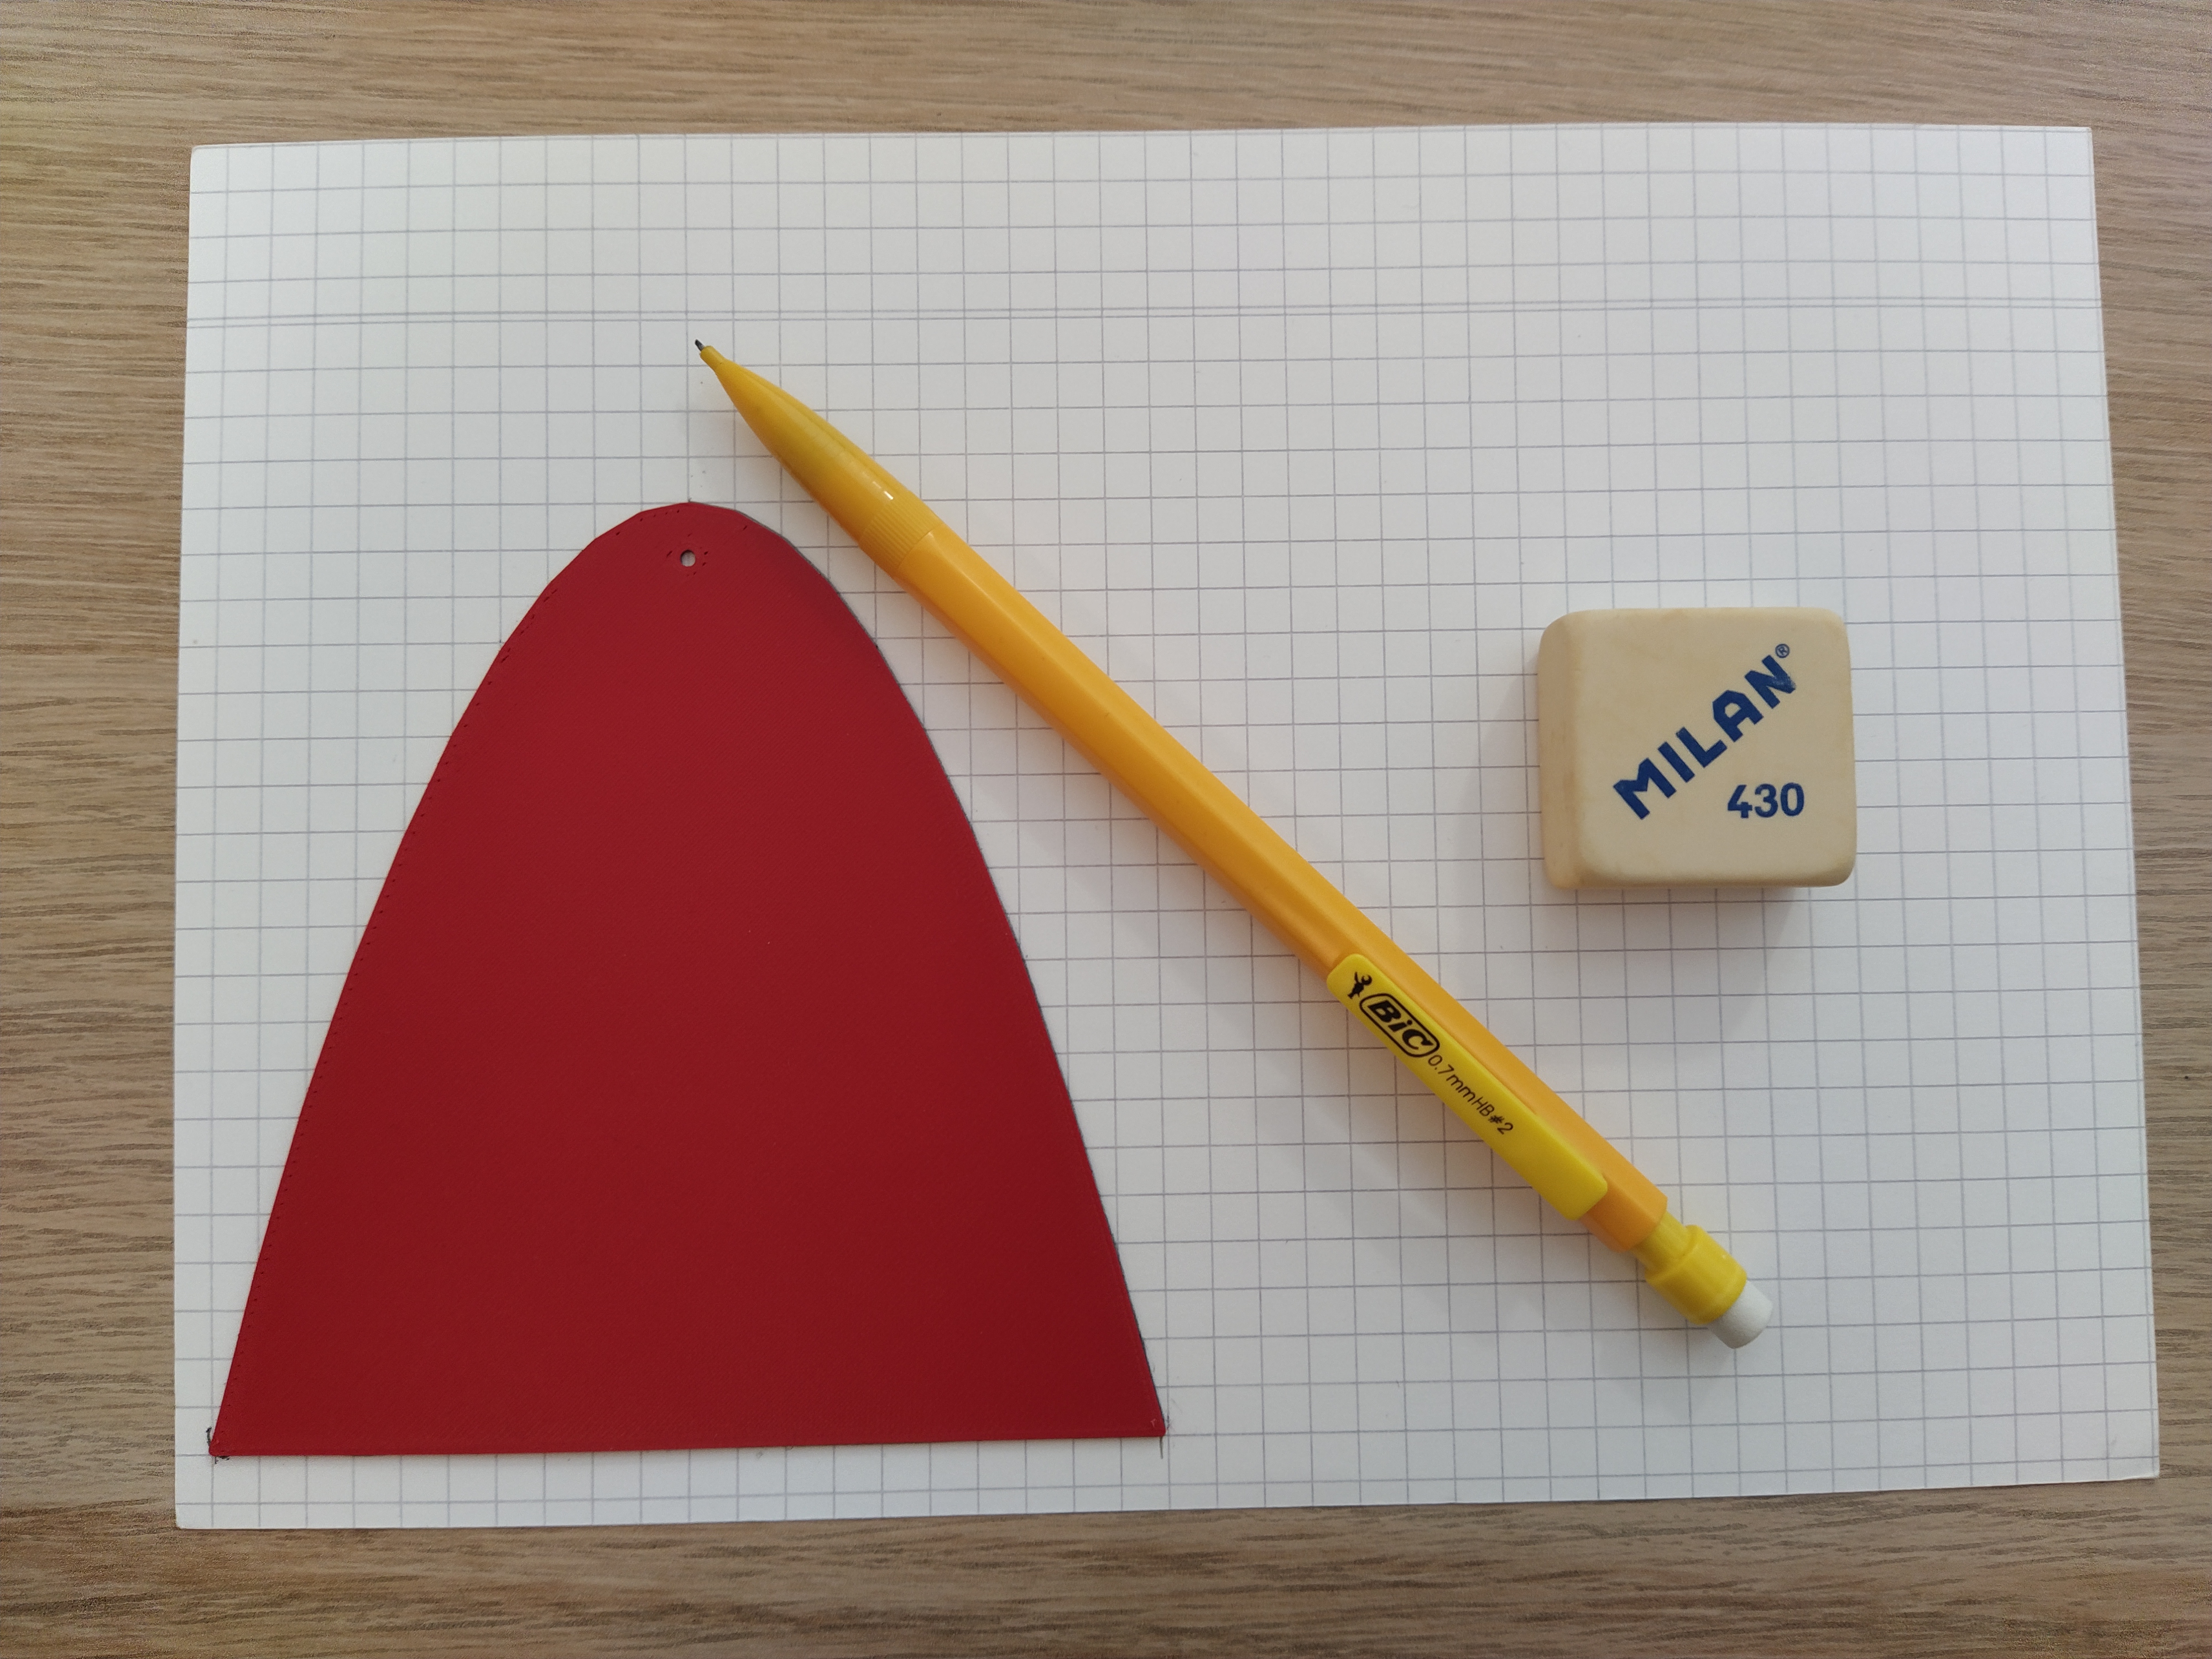
Again, with square grid paper, you can use a variant without Ticks, just make sure that you align the straight segment extremes with two grid intersections 10 cm apart:
 |  | 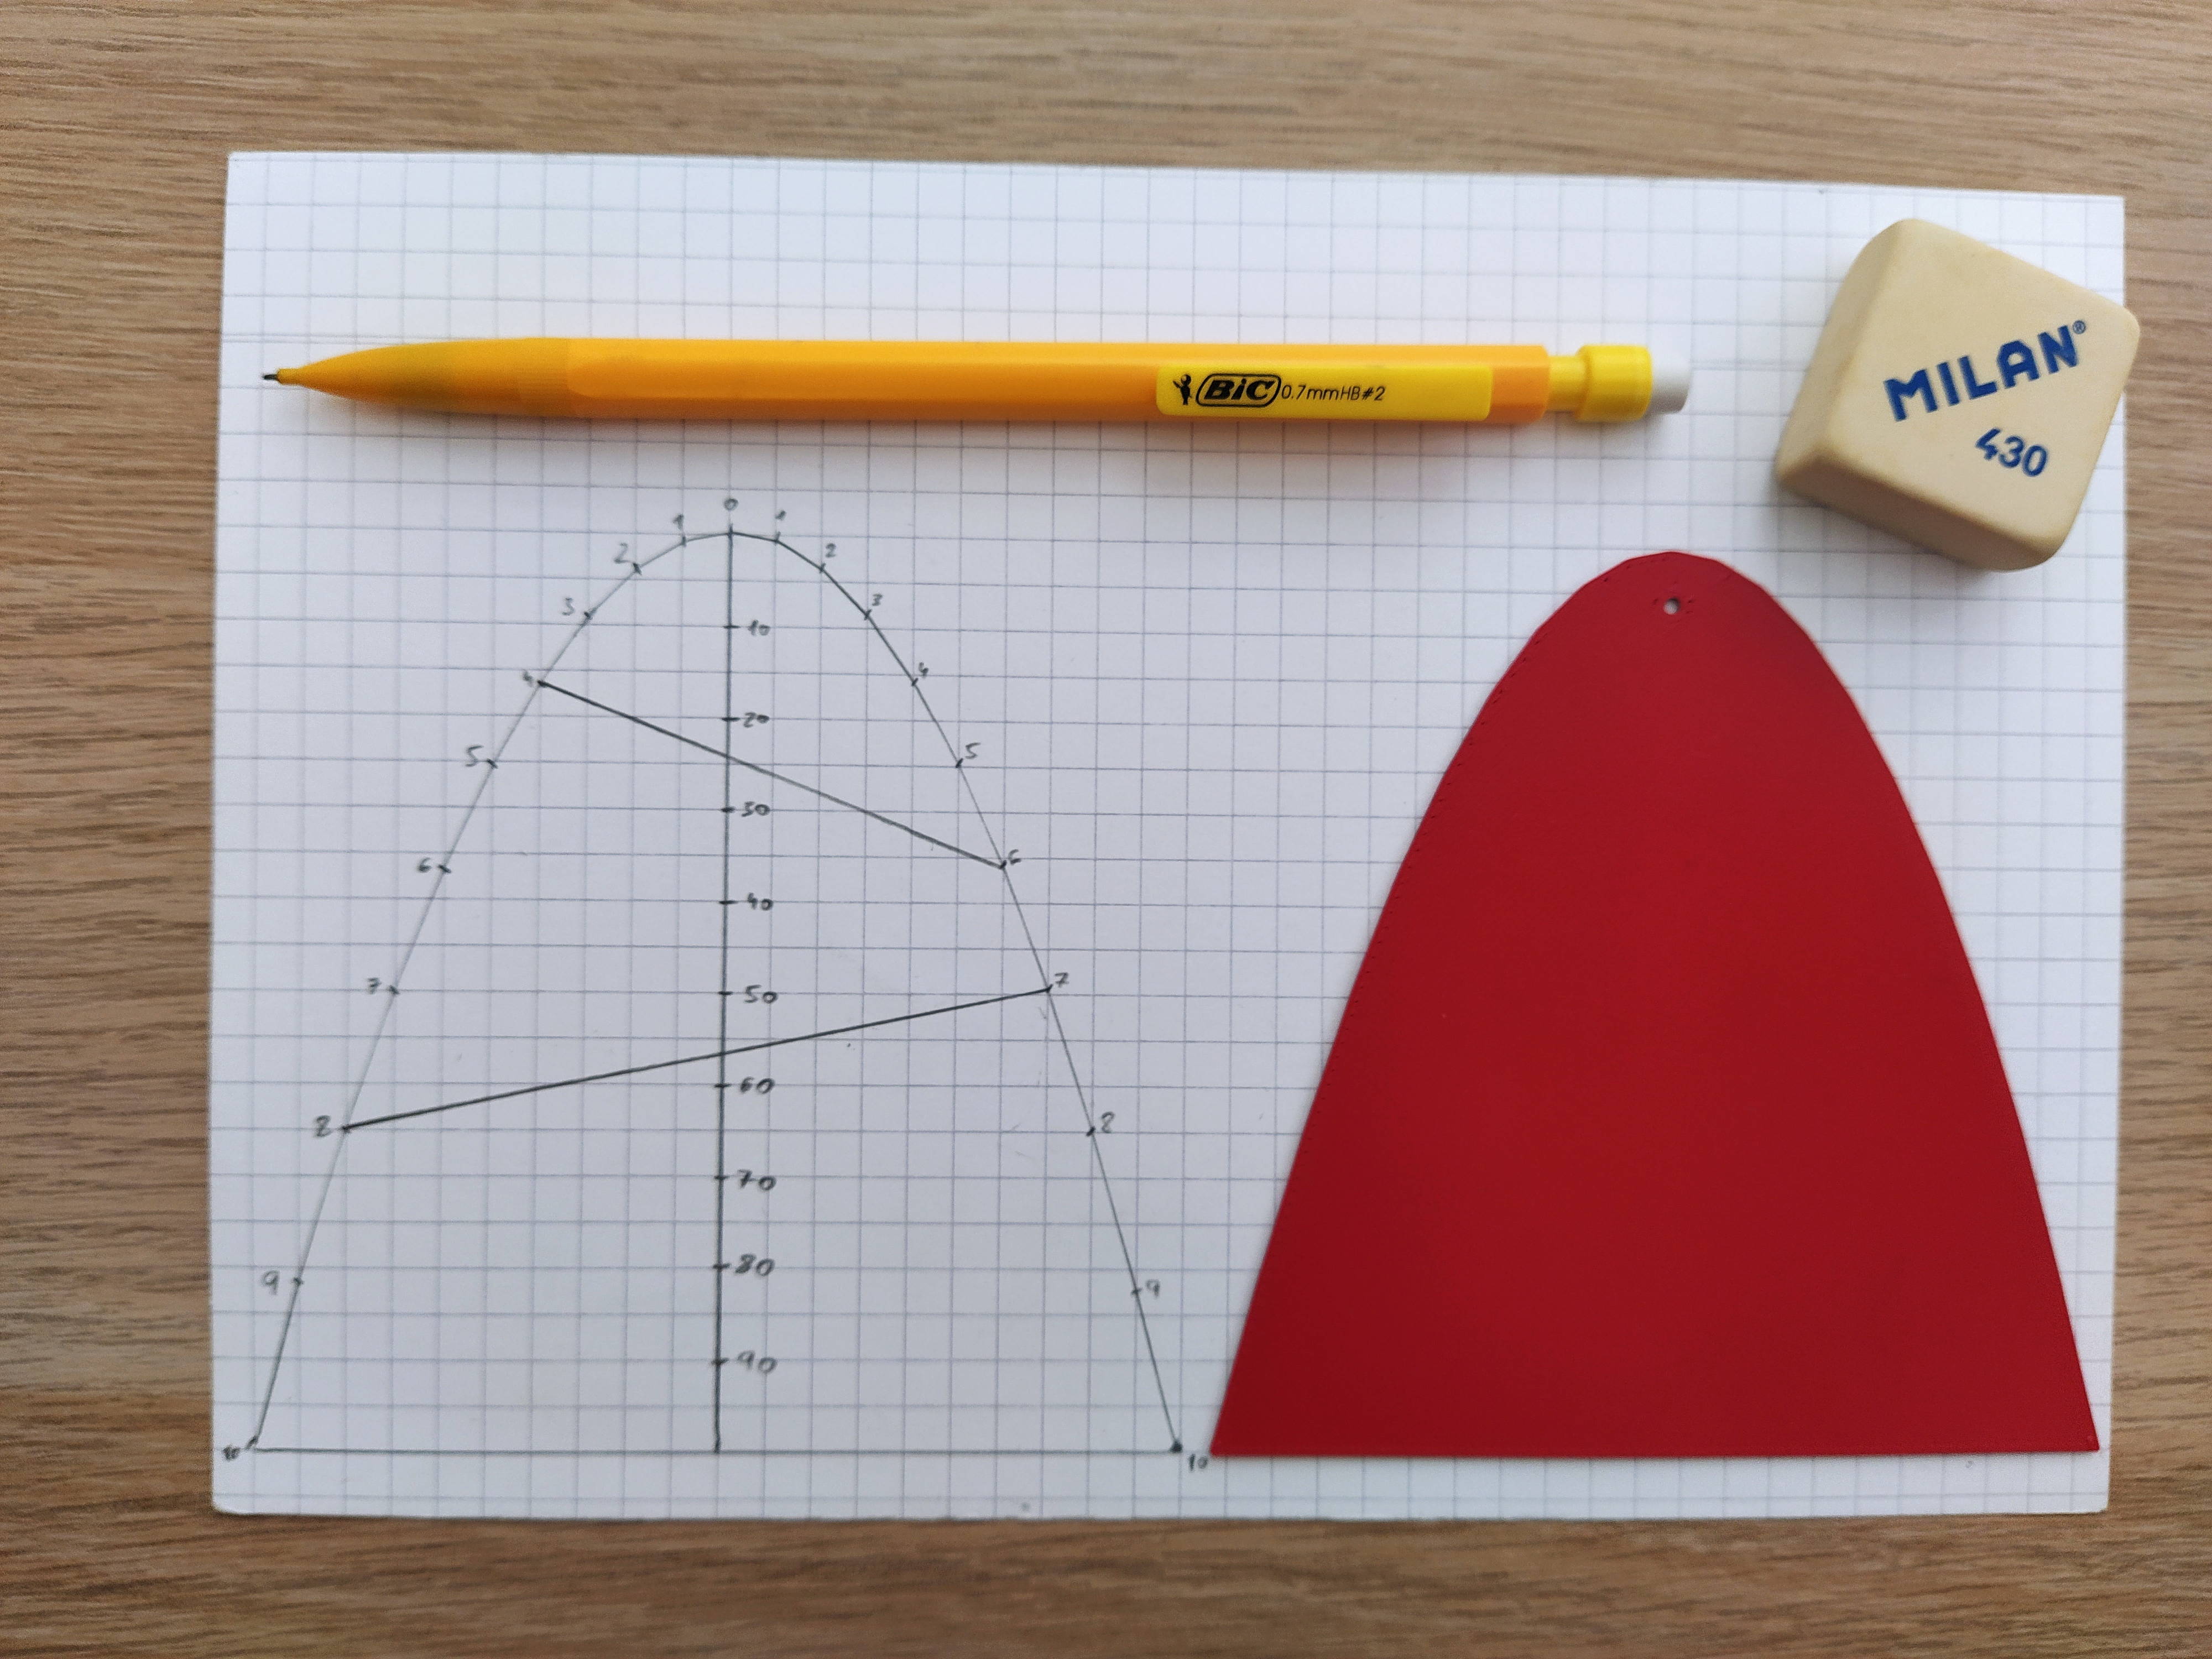 |
You still need a ruler to read the exact results, though (4×6=24 and 8×7=56):
Variants:
I provide several variants that are ready to print:
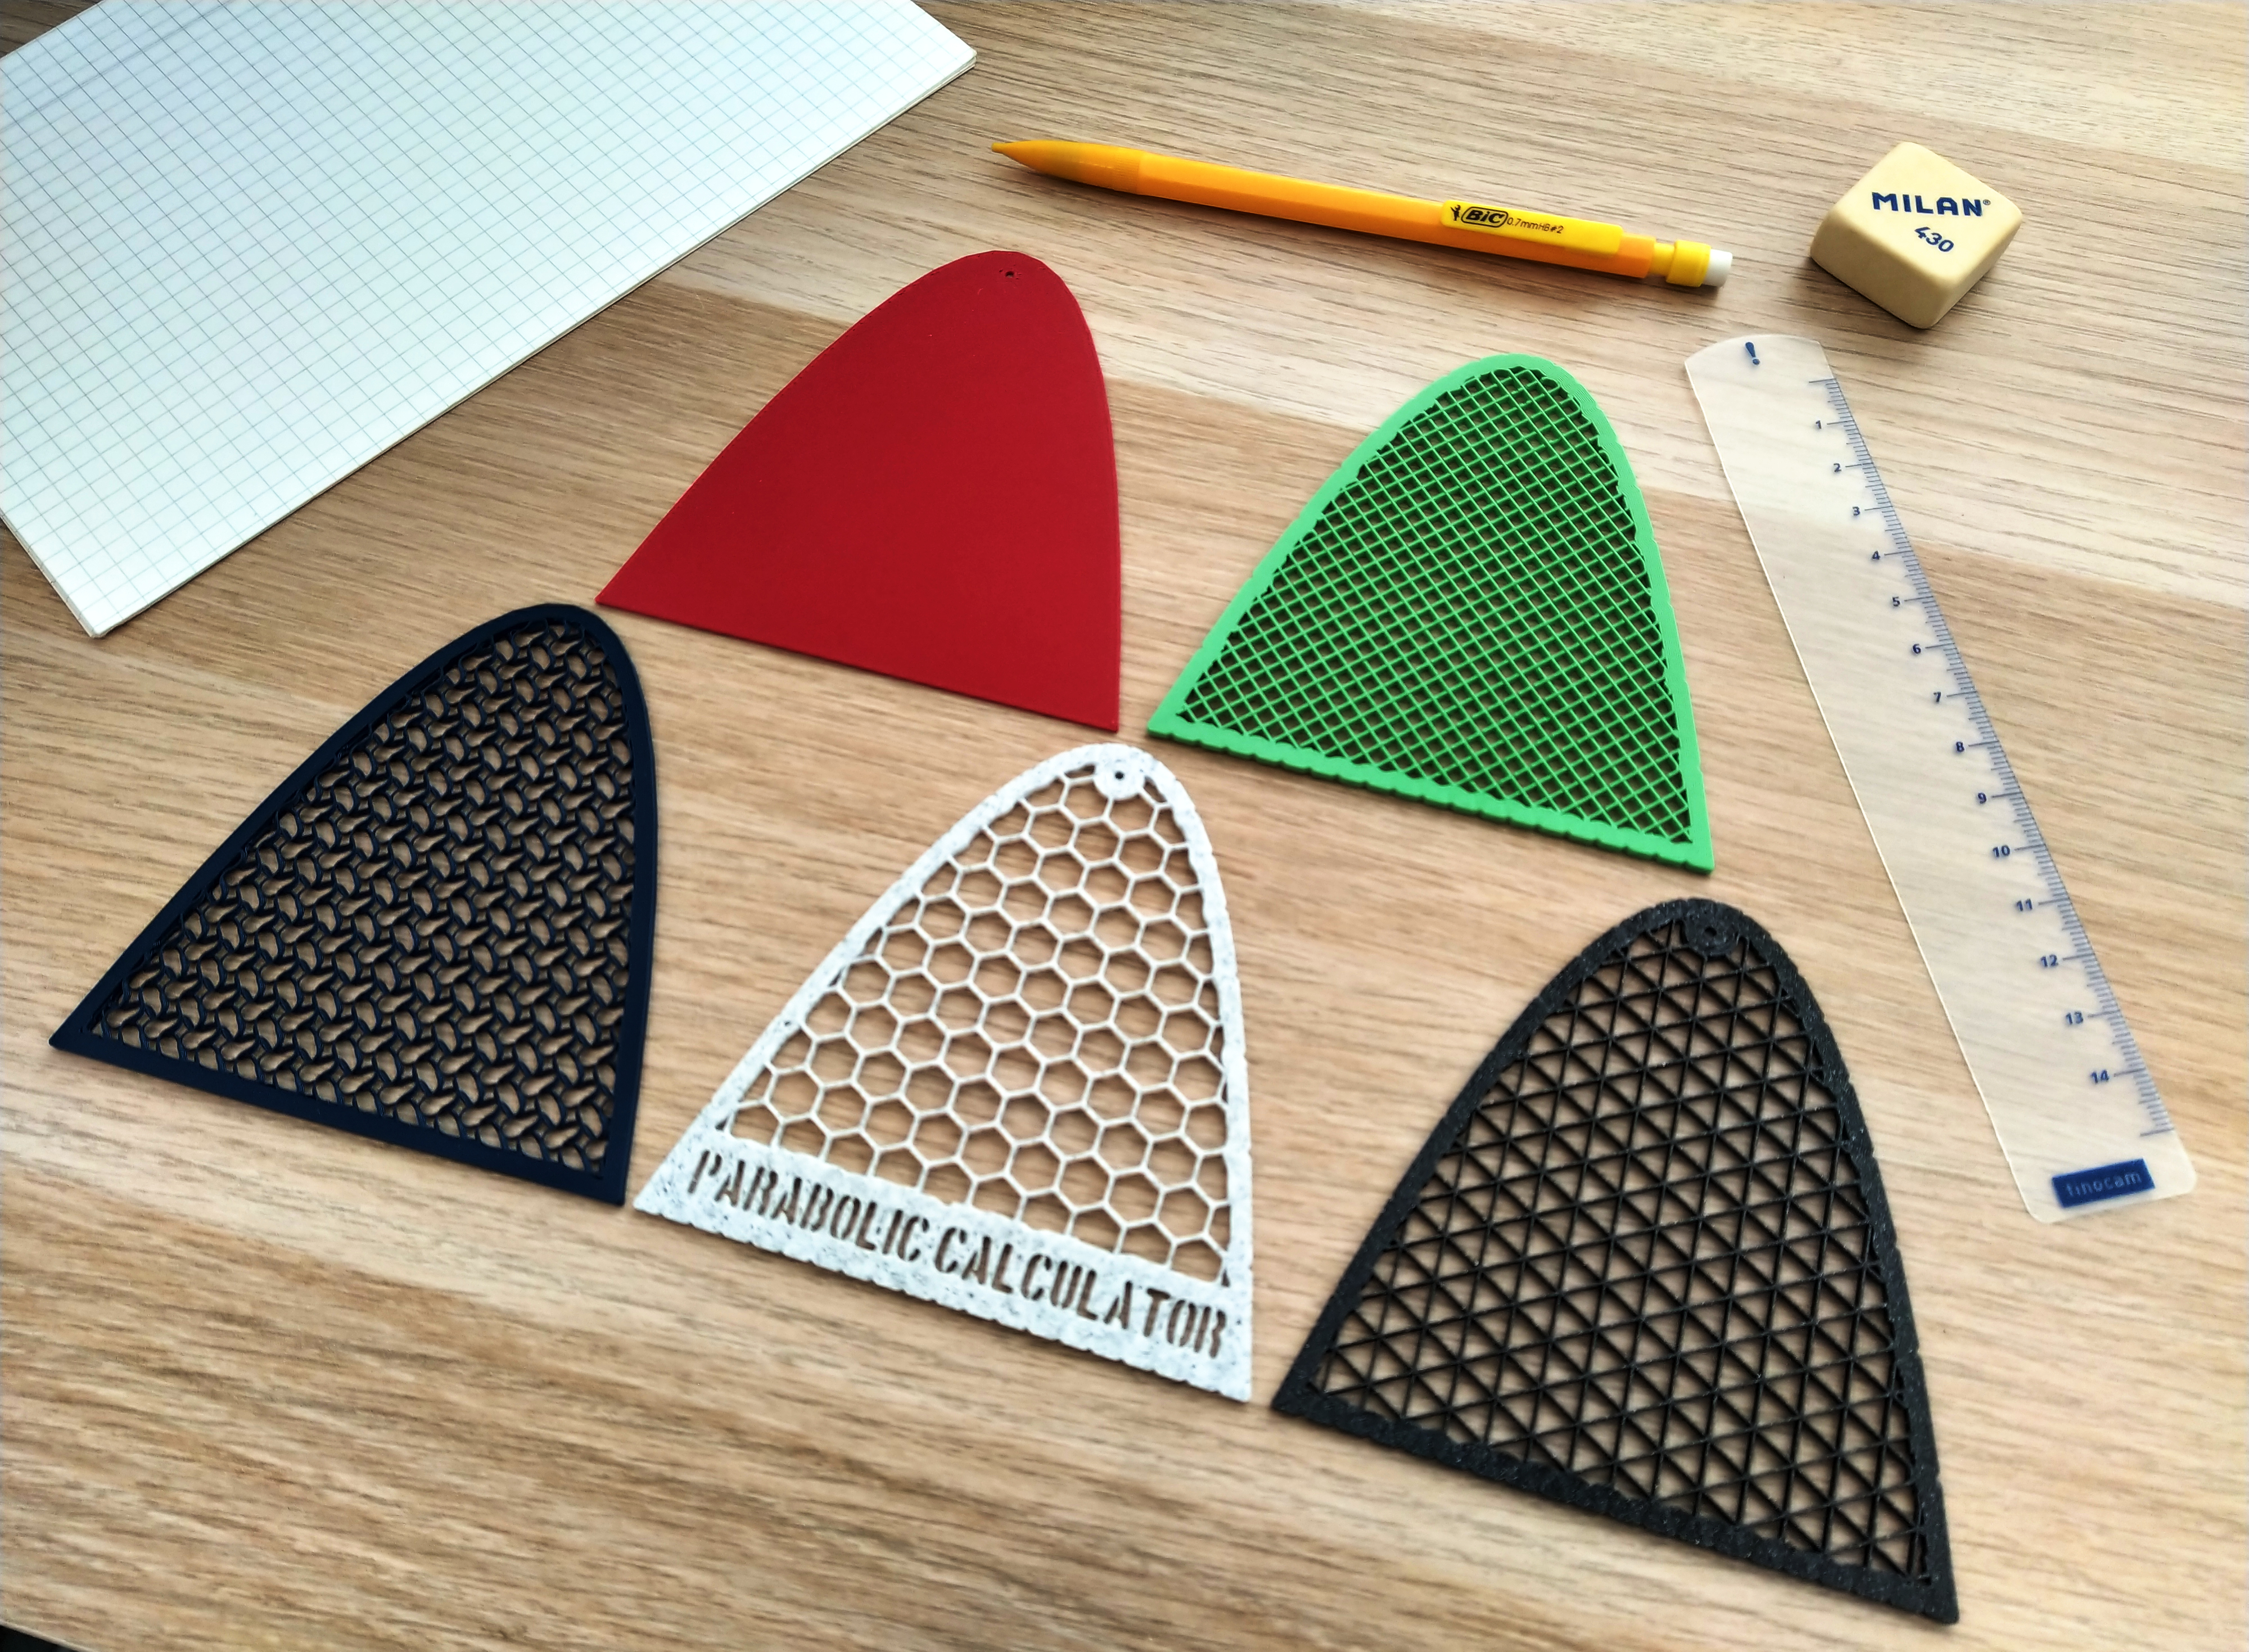
- Ticks-Focus-Text: The complete model with all the features (Marble Gray with hexagonal infill in the pictures).
- Ticks-Focus: The lightweight version of the complete model (Galaxy Black with triangular infill in the pictures).
- Ticks: If you don't need the focus, you can get a cleaner model (Matte Green with square infill in the pictures).
- Focus: If you use 5×5 mm square grid paper, you don't need the ticks (Matte Red 1 mm solid in the pictures).
- Plain: Minimalist version (Matte Navy with gyroid infill in the pictures).
Version 2
Version 2 now include a 1 mm precision ruler, making the extra ruler optional.
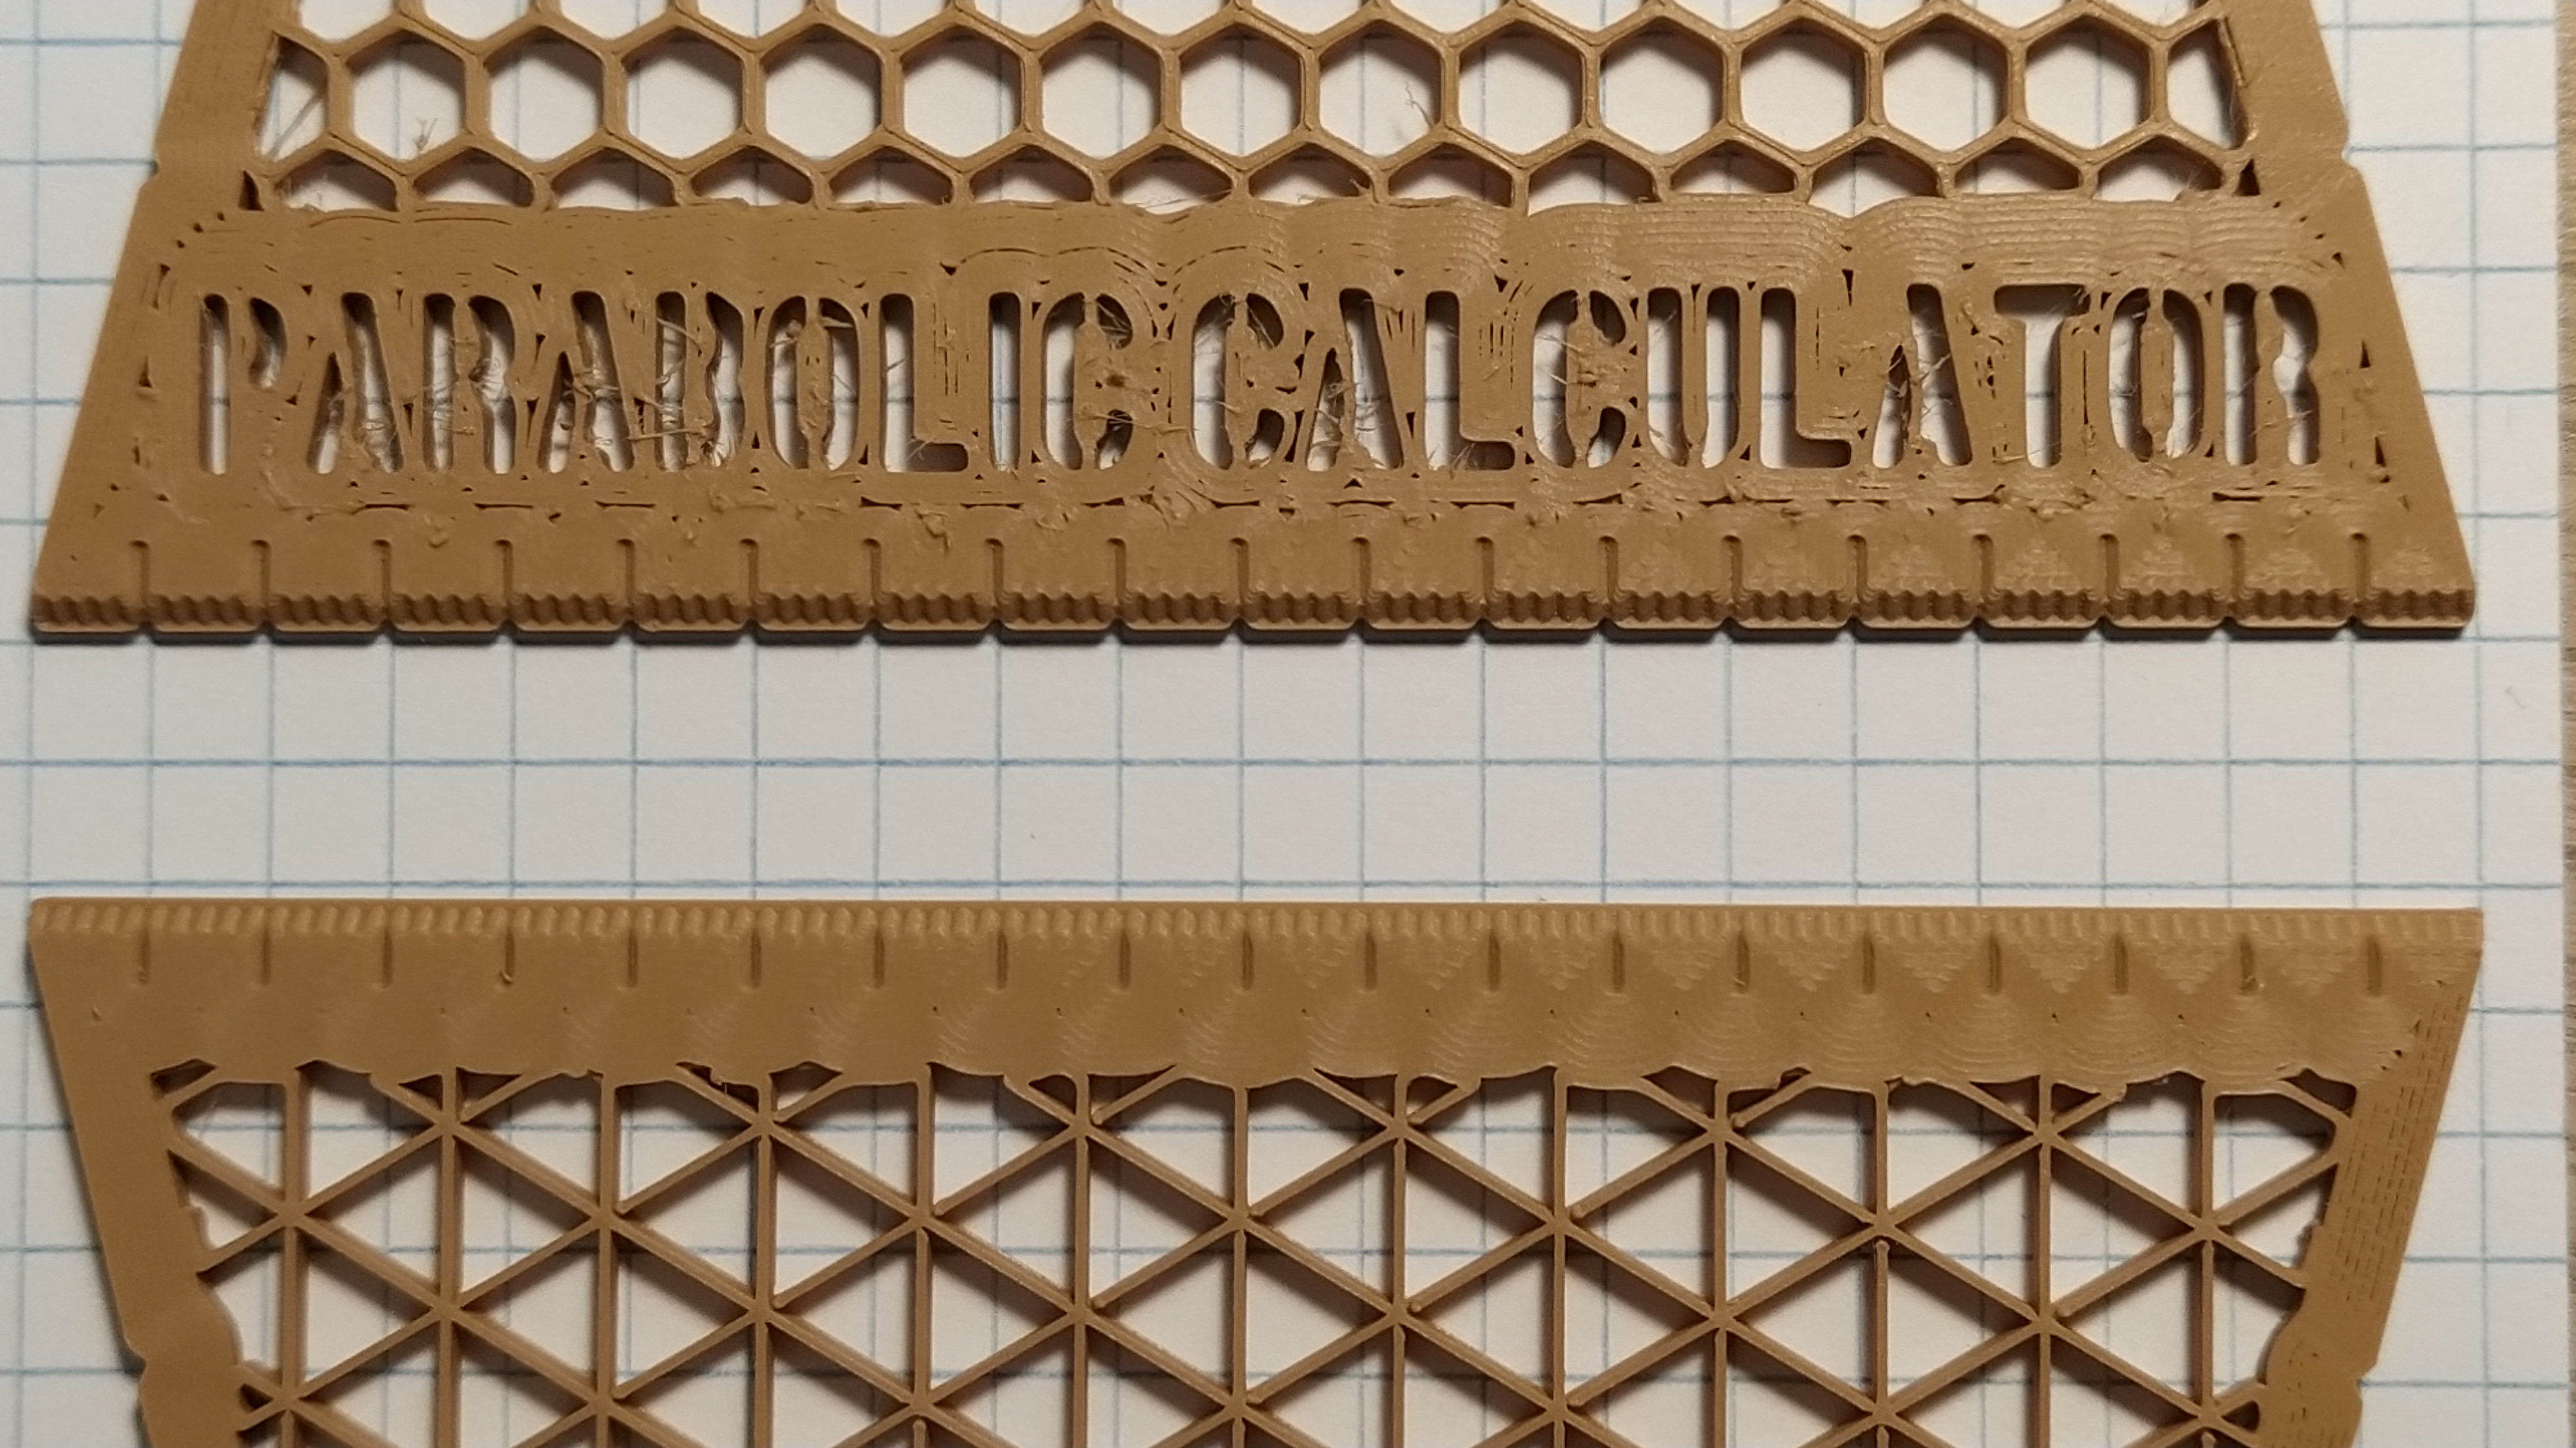
- Ticks-Focus-Text: The complete model with all the features + Ruler! (Brown with hexagonal infill in the pictures).
- Ticks-Focus-Text-Straight: The complete model with all the features + Ruler without indentations!
- Ticks-Focus: The lightweight version of the complete model + Ruler!
- Ticks-Focus-Straight: The lightweight version of the complete model + Ruler without indentations! (Brown with triangular infill in the pictures).
- Ticks: If you don't need the focus, you can get a cleaner model + Ruler!
- Ticks-Straight: If you don't need the focus, you can get a cleaner model + Ruler without indentations!
- Focus: If you use 5×5 mm square grid paper, you don't need the ticks + Ruler without indentations!
- Plain: Minimalist version + Ruler without indentations!
The standard ruler (top) and the straight ruler (bottom).
Recommended Print Settings:
- The model works well with a 0.2 mm layer height and a 0.4 mm nozzle, but you can use pretty much anything else without problem if you adjust the radius of the ruler markings accordingly. [UPDATE] For Version 2, I recommend a 0.1 mm layer height.
- I printed it in PLA, but you can use pretty much any material of your choice.
- I usually print this model with 0 top layers, 0 bottom layers, 8 perimeters and a nice infill pattern (hexagons, squares, triangles, etc.) to get the effect you can see in the pictures. Remember to play with the infill angle to get nicer results!