
Warmaster Magnetic Stands
Obliczymy ostateczną cenę na podstawie wybranego pliku. Sprawdzisz ją i zaakceptujesz przed płatnością.
Zapisane na tym urządzeniu.

Set of stands for Warmaster with slots for magnets, which are only 1,1mm tall.
- Ocena
- 0 / 5
- Polubienia
- 3
- Pobrania
- 64
- Wydruki
- 0
- Wyświetlenia
- 462
- Oceny
- 0
Aktualizacja u źródła:
Informacje o modelu
- Źródło
- Printables
- Kategoria
- Miniature Gaming Accessories
- Licencja
- Creative Commons — Attribution
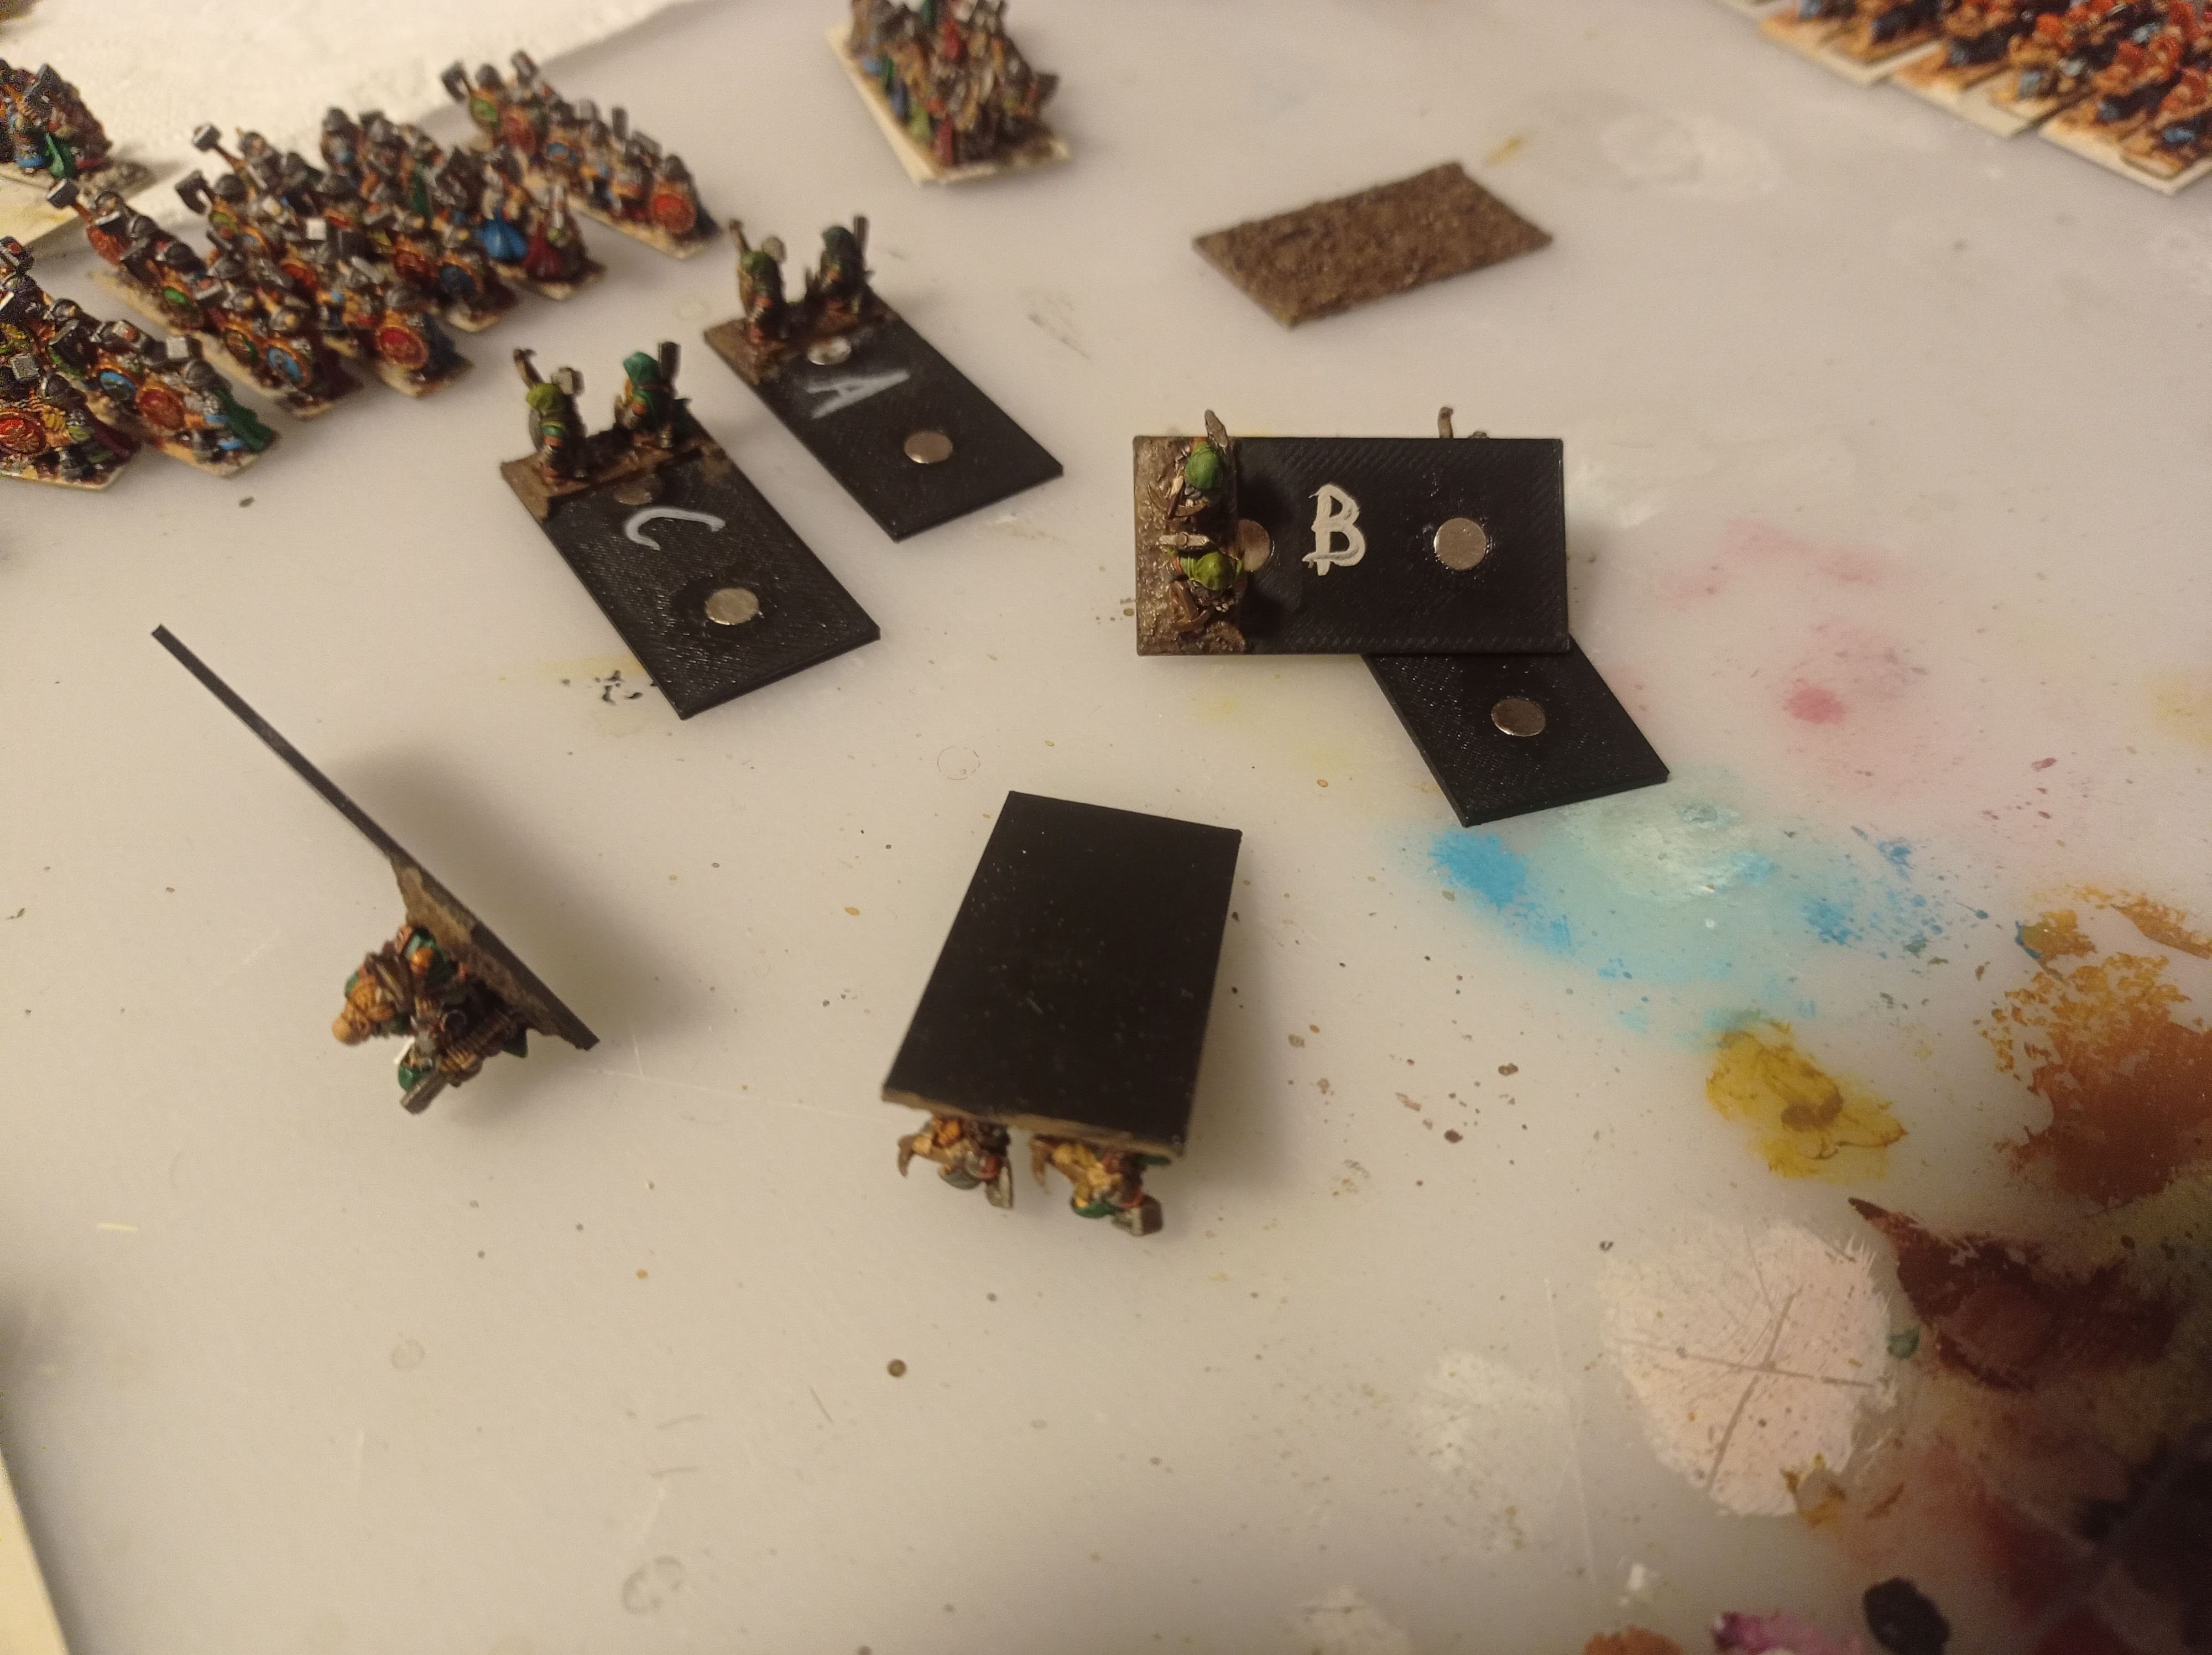
Set of stands for those who wants to magnet their Warmaster armies for easier transportation and keep low profile of all units. All stands are using Ø5mm round magnets, 1mm tall, which could be obtained for example here.
Tested on Prusa MK4 with 0,1 mm layer.
It is necessary to set 1st layer into 0,1 as well - default value is 0,2 for first layer in most configurations. Othervise you will get complete holes instead of slots.
Print it with holes up.
For assembly:
Put drop of superglue into both slots.
Carefully put 5x1 magnets into slots. If you are doing larger batch, you can put alredy glued (and dried!) stand bellow the stand you are currently working on. Underlying magnets will help you navigate magnets without need for precition, speeding up the process.
Remove excess superglue, paper towels works for me.
Let the superglue cure.
Smooth any possible glue leftovers with sandpaper.
Glue your miniatures into the side with magnets. This will ensure smooth bottom which will not rip your gamemats. It is also good idea to glue models at least partially over the magnet for higher durability.
Fill gaps by texturing paste.
FAQ
Q: Why is my slicer showing stands completely hollow, instead of slots?
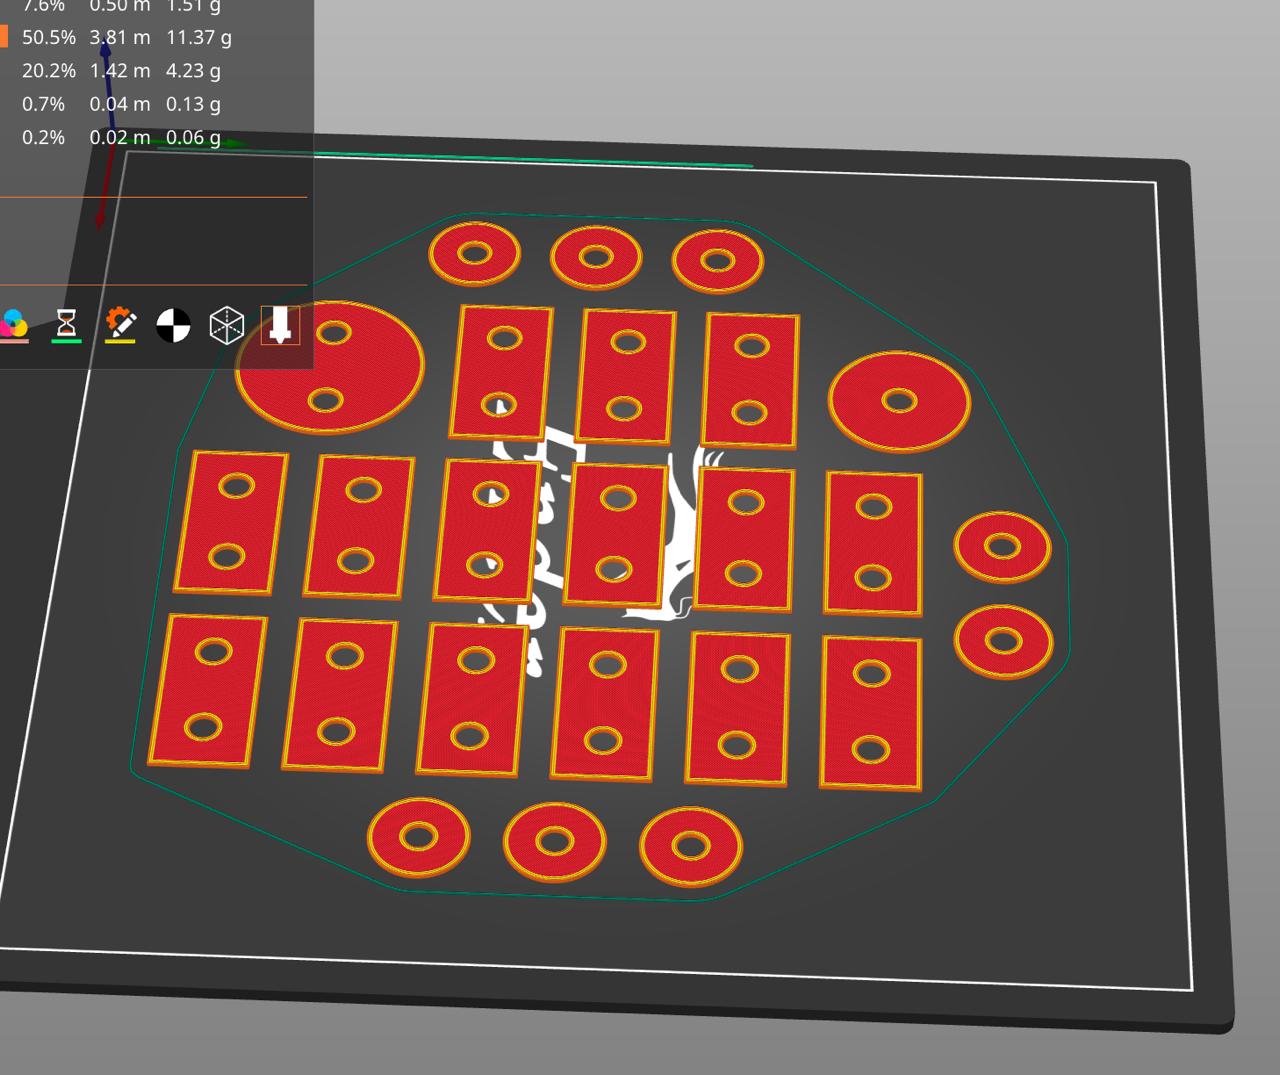
A: If you are unsure why you get complete holes instead of slots, then please check first layer settings. It is usually 0,2mm and it needs to be 0,1 mm to get sliced and printed correctly.