Sidecar Velorex 560 - PART No.6 - LAST ONE - lights, plexi and small parts
Obliczymy ostateczną cenę na podstawie wybranego pliku. Sprawdzisz ją i zaakceptujesz przed płatnością.
Zapisane na tym urządzeniu.

The last part of the sidecar
- Ocena
- 0 / 5
- Polubienia
- 26
- Pobrania
- 181
- Wydruki
- 0
- Wyświetlenia
- 827
- Oceny
- 0
Aktualizacja u źródła:
Informacje o modelu
- Źródło
- Printables
- Kategoria
- Vehicles
- Licencja
- Creative Commons — Attribution — Noncommercial — Share Alike
Hope the 5th part was fun for you :)
As usual the model part consist a big parts but the very small also so pay attention to the description and attached pictures. As usual be extremely careful during the assembly itself and work slowly and cautiously.
If you manage to damage or break some part despite being extra careful you should "weld" it with a soldering gun rather than gluing it with super glue.
For today I prepared to you all connection rods for connection of the sidecar frame to the motorcycle.
If you will need more pictures for better understanding, you can see here:
https://www.rajce.idnes.cz/jawarmaniak/album/jawa-tisk
at first we start with the lights

Printing instruction:
- light_body - 2 pcs, grey PLA, 100% infill, 0.15-0.2 layer.
- light_holder - 2 pcs, grey PLA, 100% infill, 0.15-0.2 layer.
- holding_ring - 2 pcs, chrome PLA, 100% infill, 0.15-0.2 layer.
- light_glass - 1 piece, clear red PLA, 100% infill, 0.15-0.2 layer.
- light_glass - 1 piece, clear PLA, 100% infill, 0.15-0.2 layer.

Assembly instruction:

- Glue the M1.6-7 screw into light_body.
- Insert light_glass and fix it on its place by holding_ring.

- Both light assemblies install into sidecar fender. Red one to the back side, white one on the front side.
- from inner side slide light_holder on 1.6 screw ant the light fix by M1.6 nut.
at second we can complete the rear reflecting glass
- Print reflecting glass from 8th part of bike completing Project JAWA-ČZ KÝVAČKA 250/353.02 - PART No.8 - Front mudguard + seat od autora jawarmaniak | Stáhněte si zdarma STL model | Printables.com
- Glue the reflecting glass to the bottom hole on rear side in the sidecar fender.

at third we can complete screw the sidecar fender on its place
Printing instruction:
- cone_1 - 1 piece, grey PLA, 100% infill, 0.15-0.2 layer.
- cone_2 - 1 piece, grey PLA, 100% infill, 0.15-0.2 layer.

Assembly instruction:
- Slide cone_1 on the fender holder (part of the Velorex frame).
- Slide fender assembly
- Slide cone_2. and insert the M2.5-5 screw
- On front side of the fender insert from inner side 2 pcs of M1.6-5 screws with nuts (nuts are not necessary to install . The fender remains easily hinged.
at fourth we can complete seat lock
Printing instruction:
- lock_1 - 1 piece, grey PLA, 100% infill, 0.15-0.2 layer.
- lock_2 - 1 piece, grey PLA, 100% infill, 0.15-0.2 layer.
- lock_holder - 1 piece, red PLA, 100% infill, 0.15-0.2 layer.
- lock_bar - 1 piece, grey PLA, 100% infill, 0.15-0.2 layer.
- lock_cover - 1 piece, grey PLA, 100% infill, 0.15-0.2 layer.
Assembly instruction:

- Glue a 3mm long piece of 1mm wire into lock_cover.
- Insert lock_1 into lock_2. The inner part must stay movable!
- Push lock cover wire into hole in lock_2. The cover should stay movable

- Insert the lock assembly into hole in the sidecar body.
- From inner side insert lock holder (the pin to the rear side) and fix it by glue
- Insert the lock_bar and install 1.2-3 screw for fix of this bar.
at fifth we can complete the plexi shield
Printing instruction:
- right_holder - 1 piece, grey PLA, 100% infill, 0.15-0.2 layer.
- left_holder - 1 piece, grey PLA, 100% infill, 0.15-0.2 layer.
- middle_holder - 1 piece, grey PLA, 100% infill, 0.15-0.2 layer.
- right_cover - 1 piece, red PLA, 100% infill, 0.15-0.2 layer.
- left_cover - 1 piece, red PLA, 100% infill, 0.15-0.2 layer.
- middle_cover - 1 piece, red PLA, 100% infill, 0.15-0.2 layer.

Assembly instruction:
- Glue M1.6 screws according picture below.

- Print the attached pdf in 100% scale in the paper and according it cut the plastic foil.
- Install holders on the sidecar body and insert plastic foil. According screws make holes in this foil an fix it by M1.6 nuts.
And.. that's all :)
Bill of material:
- 11x nut M1.6 (+2 optionally)
- 1x screw M1.2-3 mm
- 6x screw M1.6-5 mm
- 1x screw M1.6-6 mm
- 4x screw M1.6-7 mm
- 2x screw M1.6-8 mm
- 1x screw M2.5-5 mm
- wire ⌀1-3 mm
- plastic foil A4
- superglue
I hope you had fun during building and everything went smoothly.
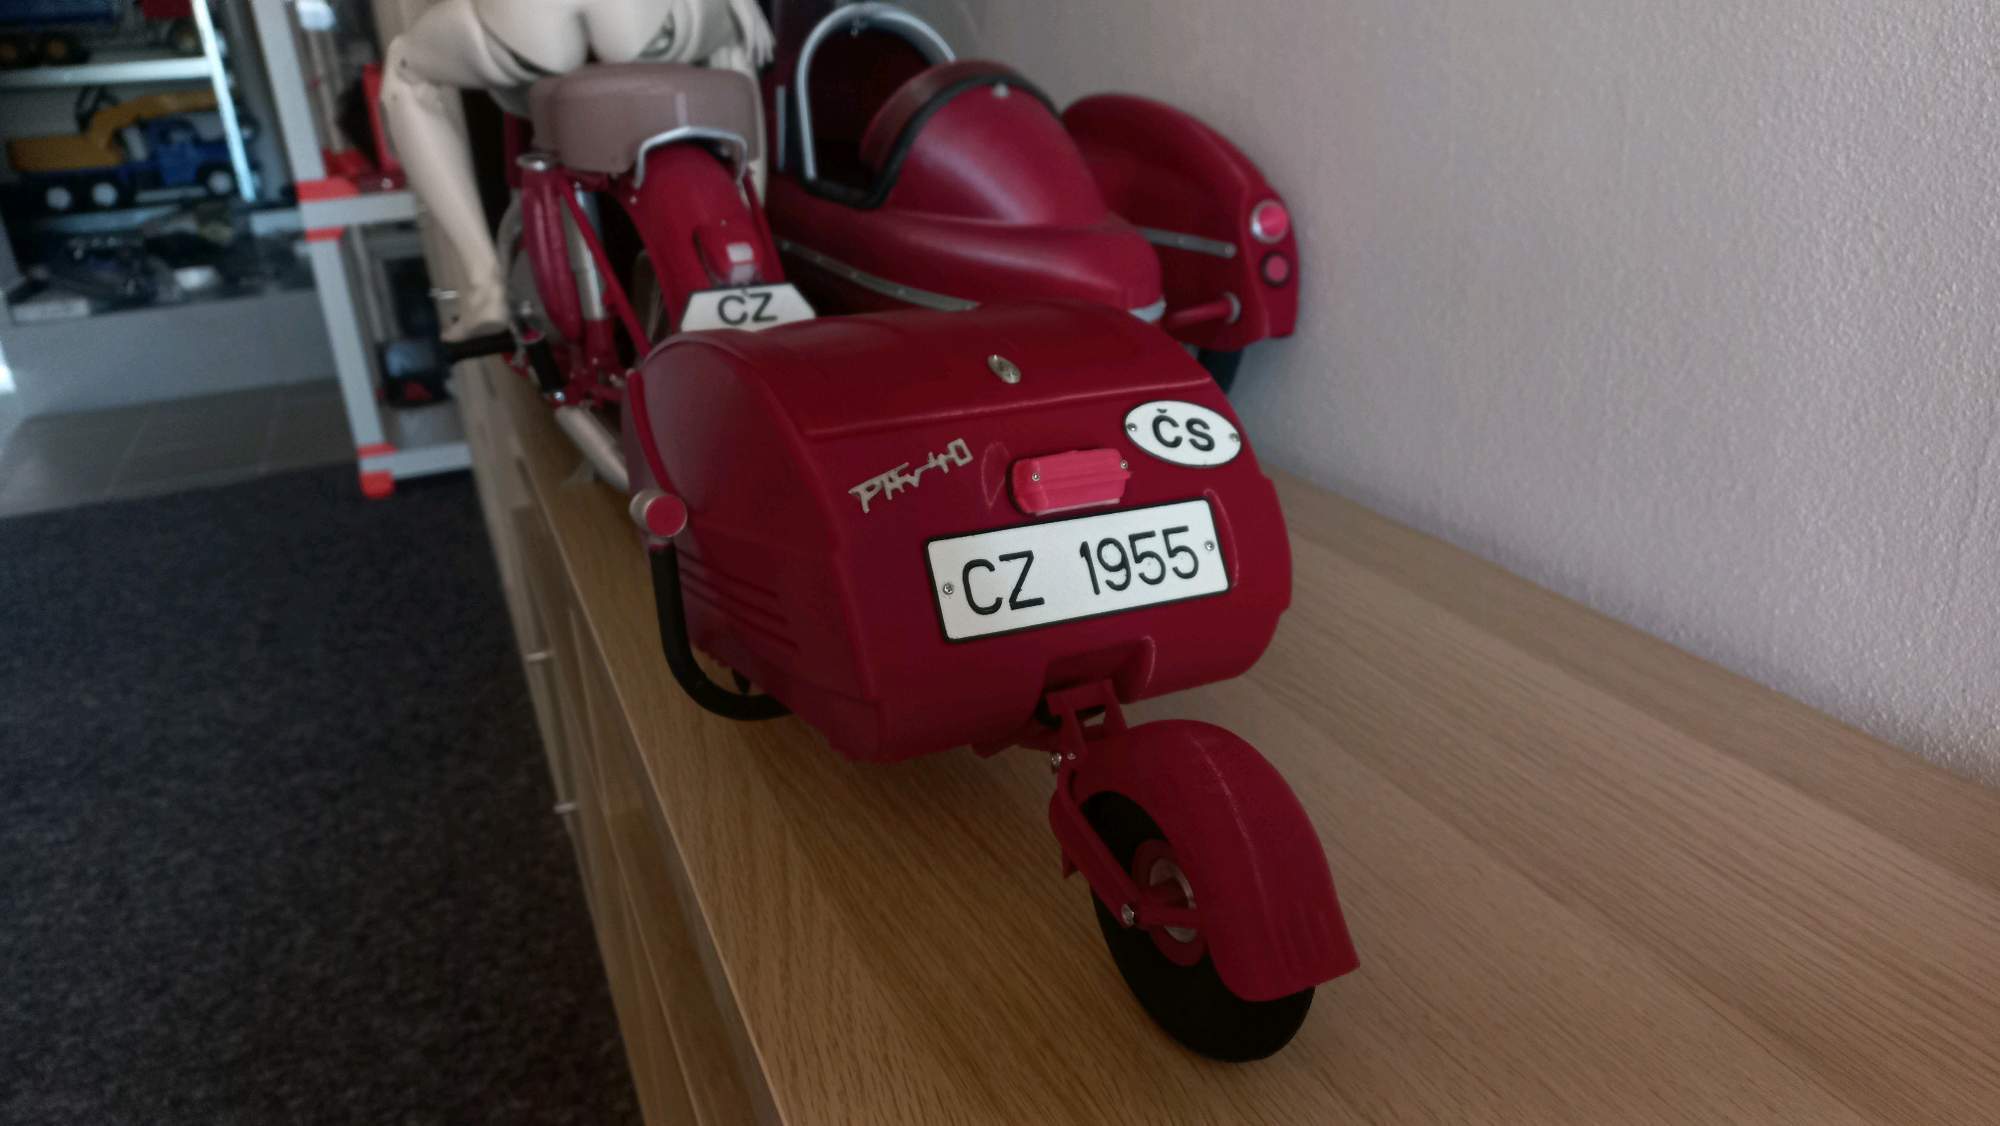
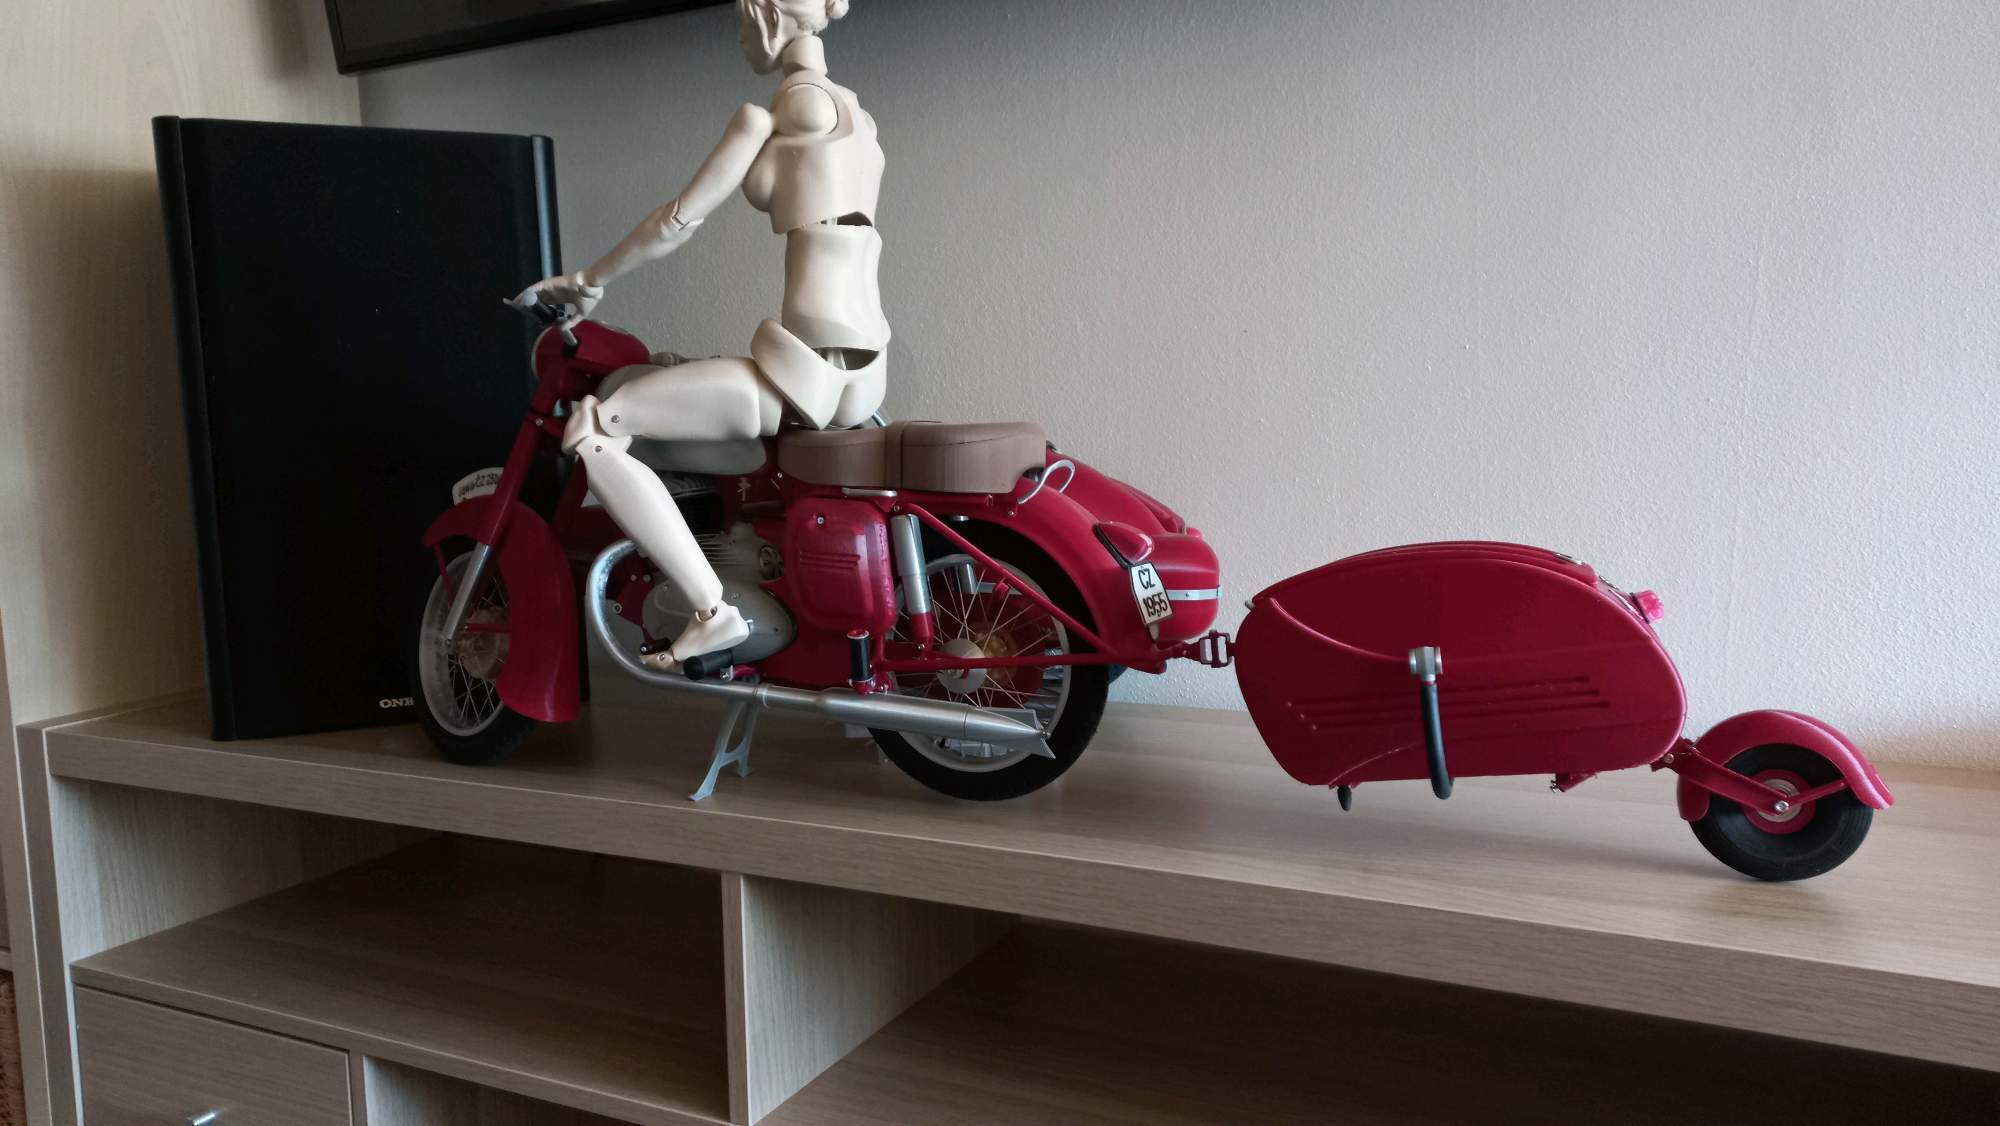
And.. what next? Well you can see on the pictures below. There are some pictures of the trailer PAV 40 which you can look forward to.. Actually it is in preparation for prototype print so if you wan to have the trailer you should stay watching my profile ;)