
Spacetime Tensegrity
Obliczymy ostateczną cenę na podstawie wybranego pliku. Sprawdzisz ją i zaakceptujesz przed płatnością.
Zapisane na tym urządzeniu.
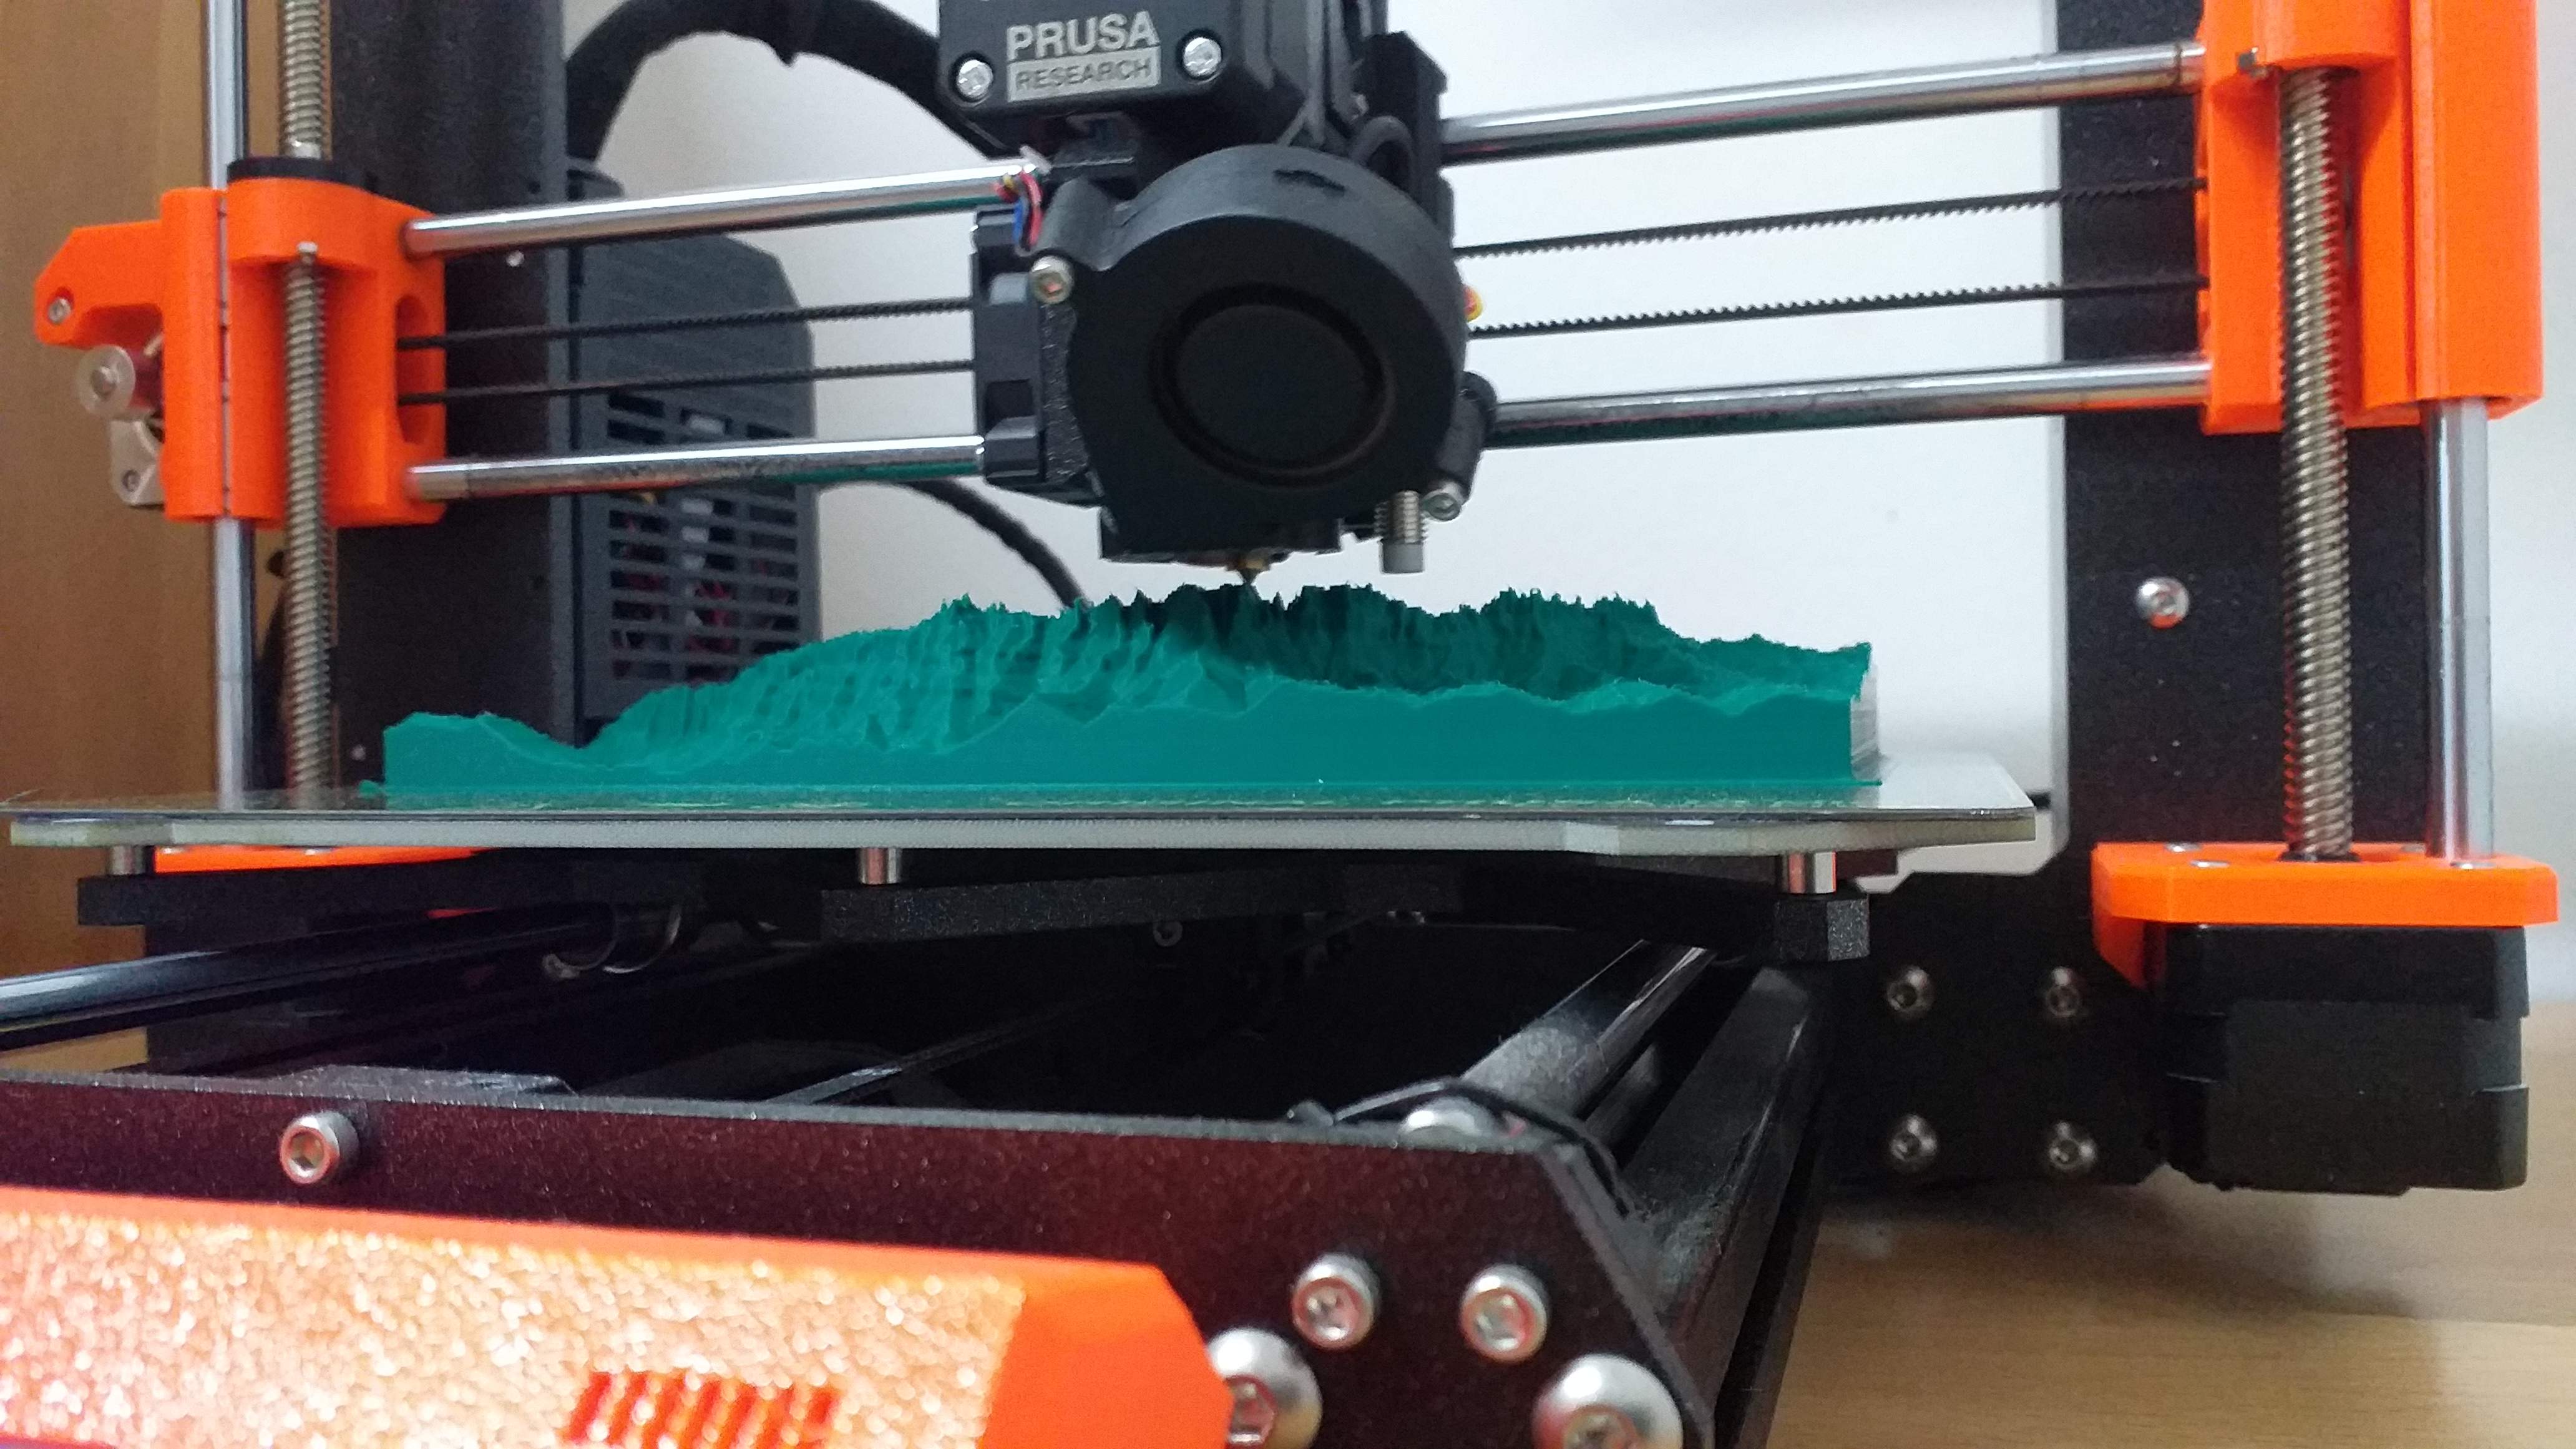
Tensegrity model using space-time curvature.
- Ocena
- 0 / 5
- Polubienia
- 26
- Pobrania
- 72
- Wydruki
- 0
- Wyświetlenia
- 673
- Oceny
- 0
Aktualizacja u źródła:
Informacje o modelu
- Źródło
- Printables
- Kategoria
- Physics & Astronomy
- Licencja
- Creative Commons — Attribution — Noncommercial
Tensegrity model using space-time curvature.
I consider it a new model even though I use a part derived from another model of mine: https://www.printables.com/es/model/519031-spacetime-curvature-curvatura-de-lespai-temps.
This curved surface may not be easy to print on. I leave the configuration 3mf files that I used to print with the Prusa MK3.5 (a great machine) and for those of you who consider printing on any other printer or slicer, I indicate the main settings that worked best for me:
curvatura.stl:
Layer heigth: 0.15
Perimeter: 2
Top/Bottom solid layers: 7
Infill: 15%
External perimeter speed ≤45 mm/s
esfera.stl:
Layer heigth: 0.15
Perimeter: 3
Support: YES
clip.stl:
Layer heigth: 0.2
Perimeter: 3
suports_x6.stl:
Layer heigth: 0.2
Perimeter: 4
Top/Bottom solid layers: 7
Support: NO
To assemble the Tensegrity, I recommend starting with the 4 outer threads. You will see that there is an optional piece (parabolic.stl), which is not essential to print, but as you can see in the photographs, it is very useful to assemble these 4 outer threads.


Finally, the central thread is assembled. Look at the detail in the photo for the assembly of the ball. The clip will allow you to vary the height of the ball to the position you like best.


You have two options for fixing the threads. Make a few turns and hold the thread inside the last turn or use M3x8 mm screws (x9), that screw into the hole in the impression. They must be threaded to the necessary distance so that they press the threads without cutting them.


On the underside of the surface you can make knots or use an adhesive.

In my model I used 0.8mm fishing line (Nylon).
A metallic-looking filament, like Prusa's PLA SILVER, is great for this model.
The pieces fit together and hold together under pressure. Depending on printing tolerances, you may need to use adhesive at some joints.