VW ID.3 USB cable management - Improved version
Obliczymy ostateczną cenę na podstawie wybranego pliku. Sprawdzisz ją i zaakceptujesz przed płatnością.
Zapisane na tym urządzeniu.
Improved USB cable bushing for ID.3 center console that snaps into place.
- Ocena
- 5 / 5
- Polubienia
- 35
- Pobrania
- 262
- Wydruki
- 1
- Wyświetlenia
- 1147
- Oceny
- 2
Aktualizacja u źródła:
Informacje o modelu
- Źródło
- Printables
- Kategoria
- Automotive
- Licencja
- Creative Commons — Attribution — Share Alike
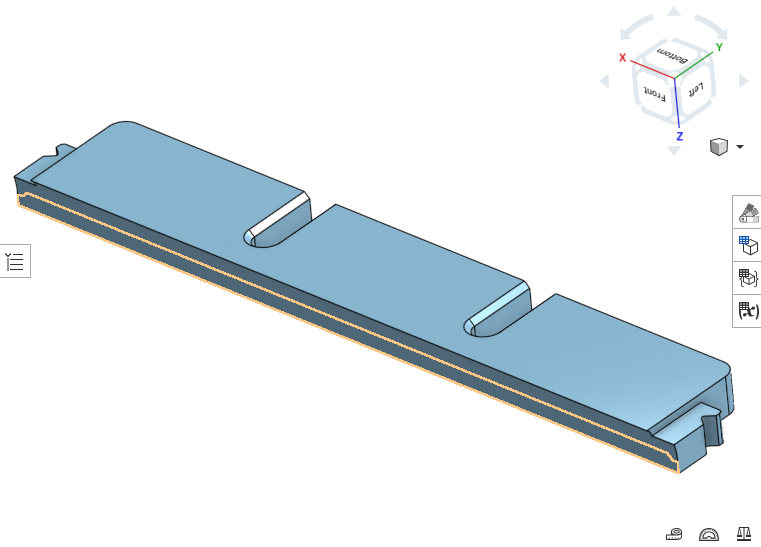
An over engineered cable guide for USB cables that snaps into place in multiple versions.
This allows for feeding USB cables out of the
Changelog
| Version | Description |
| initial | 06.08.2024 |
| v1.1 | 07.08.2024
|
How to print
Print settings
Use PETG or similar for heat resistance as this will be used in a vehicle that easily reaches up to 50 °C.
Do use supports for the upside down variant.
Print with 0.10 layer height for best results.
Use a black matte filament (I used a normal black filament which is a little bit too "shiny”). I will reprint this in a different filament and will update the images.
Standard vs. Upside down
The standard model will be print with the bottom part of the model (facing the bottom of the center console) on the print bed. This may look “strange” depending on your printer capabilities for beautiful top layer.
For that reason, I've added upside down versions with v1.1 - these will be printed with the driver facing side of the model on the print bed.
Here are images for comparison - choose to your liking:
Standard

Upside down

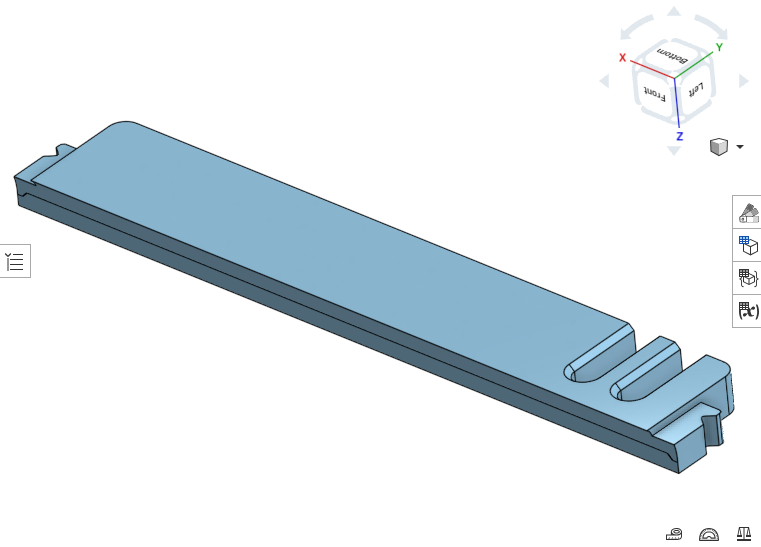
Right aligned holes
Holes (4.5 mm diameter) are aligned to the right. This is like the printed model you can see in images above.
Standard
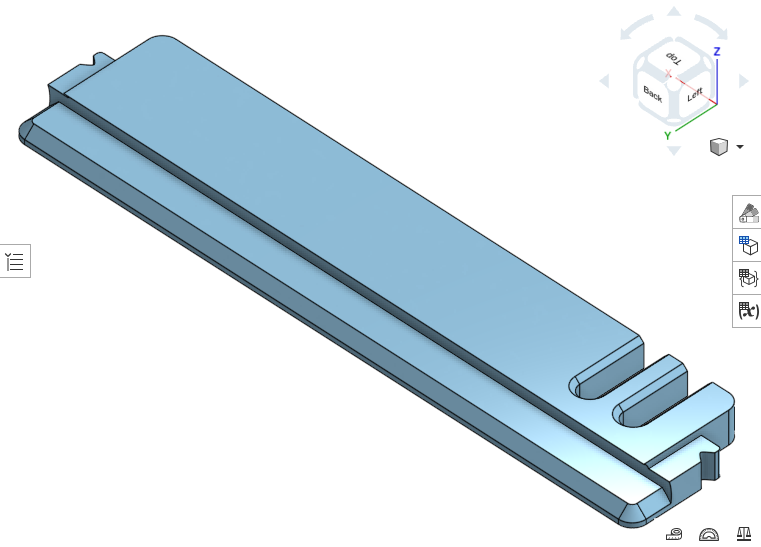
Upside down
Center aligned holes
Holes (4.5 mm diameter) are aligned to the center of the model.
Standard
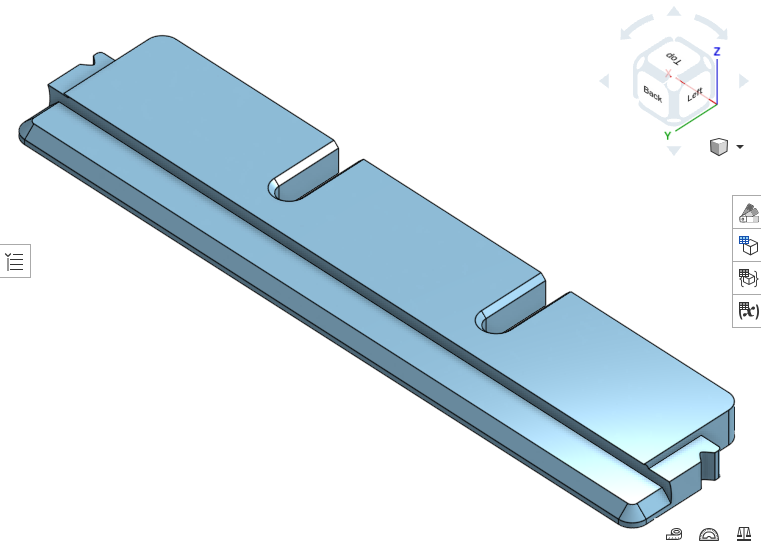
Upside down
Custom holes
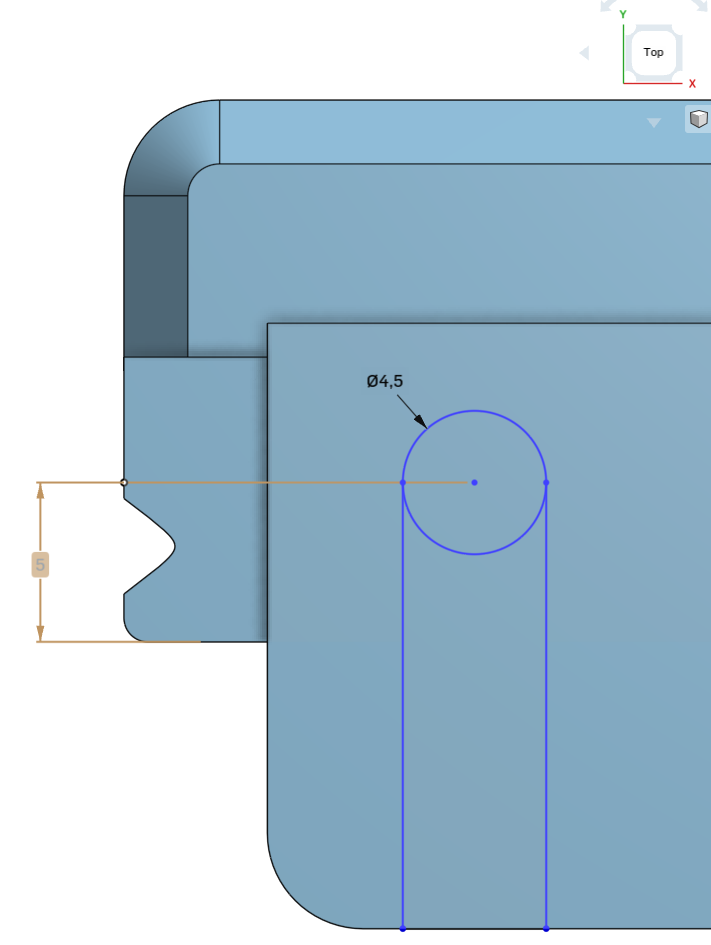
Not happy with the holes (too big, too small, wrong position)?
Just use the STEP file and modify to your liking.
When looking from the top, create the holes with some offset from the bottom the snap-mechanism as shown in the image. Use 5mm near the edge. Near the middle you can reduce this to roughly 3mm.
How to install
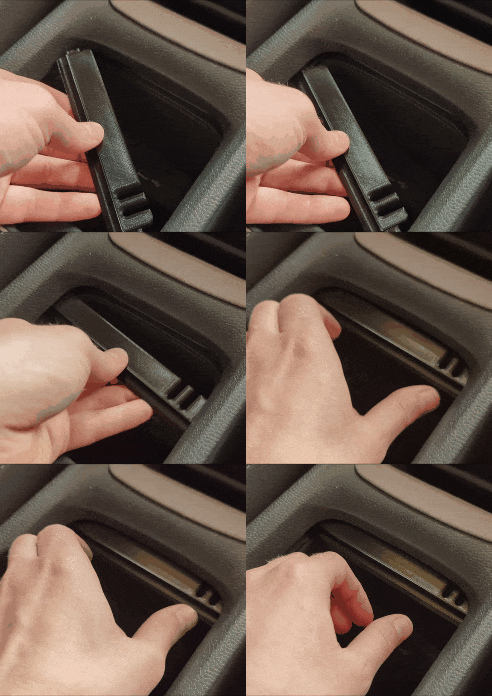
Follow as shown below. Make sure that the large flat surface is facing down for the Standard variant. Rotate by ~45° and slide into place. Then just press against the top.
The print should click into place. Of course, first add your cables in the holes before that :)