
.draw - Illuminated Robotic Whiteboard
Obliczymy ostateczną cenę na podstawie wybranego pliku. Sprawdzisz ją i zaakceptujesz przed płatnością.
Zapisane na tym urządzeniu.

The .draw is an LED edge-lit robotic whiteboard tailored around the components in the SparkFun XRP Robotics - DIY Kit.
- Ocena
- 0 / 5
- Polubienia
- 13
- Pobrania
- 19
- Wydruki
- 0
- Wyświetlenia
- 362
- Oceny
- 0
Aktualizacja u źródła:
Informacje o modelu
- Źródło
- Printables
- Kategoria
- RC & Robotics
- Licencja
- Creative Commons — Attribution — Noncommercial

Project Overview:
The .draw project showcases robotics, automation, and creative design through a custom-built, automated drawing and erasing whiteboard robot. This project leverages a combination of mostly 3D-printed components, and custom electronics from the SparkFun XRP DIY Kit.
Why This Project?
.draw is not just a functional robot; it’s a demonstration of how accessible technology can be used to automate and enhance creative processes. Whether you're an educator, artist, or tech enthusiast, .draw offers a platform for exploring the intersection of art, design, and robotics.
Key Features:
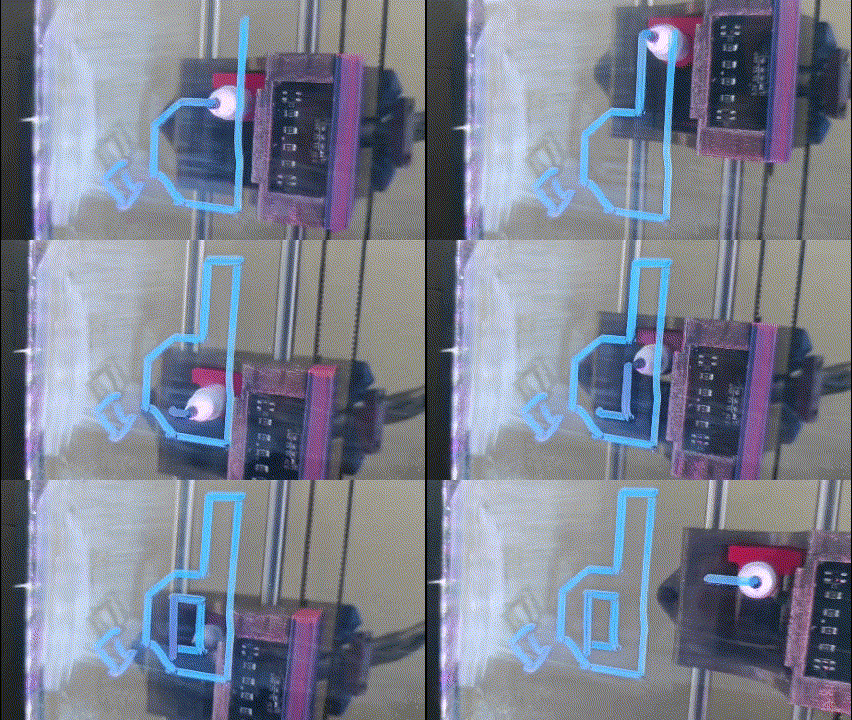
• Automated Drawing and Erasing: .draw has the ability to draw and erase designs on a whiteboard using 2-axis motor control and a marker/eraser system driven by a Servo.
• Drawing .SVG Designs: I've achieved this by using a Python script to convert an SVG path to JSON coordinate data, which is then saved onto the XRP board.
• Able to Calibrate and Home axes: Preliminary calibration of marker/eraser set angles and axes homing are both in the works - some sample MicroPython code will be added in a future project update.
• Ability for Dynamic Lighting: Integrated LED strip provide the numerous opportunities for ideas - change the color on a whim, or code it based on the .draw's status, with whatever you are doing, etc.
Parts needed for the Project/how to assemble:
Please read the detailed Assembly_Guide_.draw for more information on parts, wiring electronics, and a step-by-step guide on how to build this.
1. SparkFun Experiential Robotics Platform (XRP) - DIY Kit
- XRP Controller Board
- Custom Line Follower Board
- Servo (Sub-Micro Size)
- 2x Hobby Motor with Encoder
- 2x Flexible Qwiic Cable - Female Jumper
2. 8x10” Frame Glass (from any photo frame, only the glass is needed)
3. Linear Rail and Bearing Set
- 4x LM8UU linear ball bearings
- 2x 8mm diameter x 260mm length steel linear rails
- 2x 8mm diameter x 300mm length steel linear rails
4. GT2 Timing Belt
- 2 Meters length, 6mm height, 2mm pitch
5. WS2812B LED Strip
- 1 Meter length, 5050SMD LEDs, 100 LEDs per meter, DC5V powered
6. DC Barrel Jack Splitter
- 1x DC Female to Male Y Adapter (2.1mm x 5.5mm barrel jack)
7. 5V 10A Power Supply
- AC100-240V to DC 5V, 10A 50W, 5.5 x 2.5mm barrel jack connector
8. Female DC Connector Plug to Screw Terminal
- 2.1mm x 5.5mm barrel jack
9. Electronics Wire
- 18-24 AWG cable (lengthen servo, motors, and line follower cables)
10. Heat Shrink Tubing
- For insulating and protecting soldered/crimped cables
11. M3 Screw Assortment
- 10mm-35mm lengths with nuts
Future Updates:
I will be providing some sample code which covers some of the basics like marker/eraser calibration, axes homing, and draw functionality.
What filament did I use?
Frame: California Filament Black PETG
Base + other parts: IEMAI PETG Smoke Gray Transparent
Motor Mounts, covers, etc: REPRAPPER PLA Matte Red/Blue
Motor & Idler Pulleys, Marker Holders, etc: Ender PLA Red