
Magnetic midges net for VW California
Obliczymy ostateczną cenę na podstawie wybranego pliku. Sprawdzisz ją i zaakceptujesz przed płatnością.
Zapisane na tym urządzeniu.

A magnetic midges shield for the permanent vents of the roof tent of your VW California (T5/T6)
- Ocena
- 4 / 5
- Polubienia
- 16
- Pobrania
- 40
- Wydruki
- 1
- Wyświetlenia
- 990
- Oceny
- 1
Aktualizacja u źródła:
Informacje o modelu
- Źródło
- Printables
- Kategoria
- Automotive
- Licencja
- Creative Commons — Attribution — Noncommercial — Share Alike
Ah, the joys of camping in the great outdoors! If you're planning a trip to Scotland, Ireland, or even Norway, prepare yourself for a tiny terror that might just send you running for the hills: the mighty midges! These microscopic menaces, also known as nature's vampires, are the bane of every camper's existence.
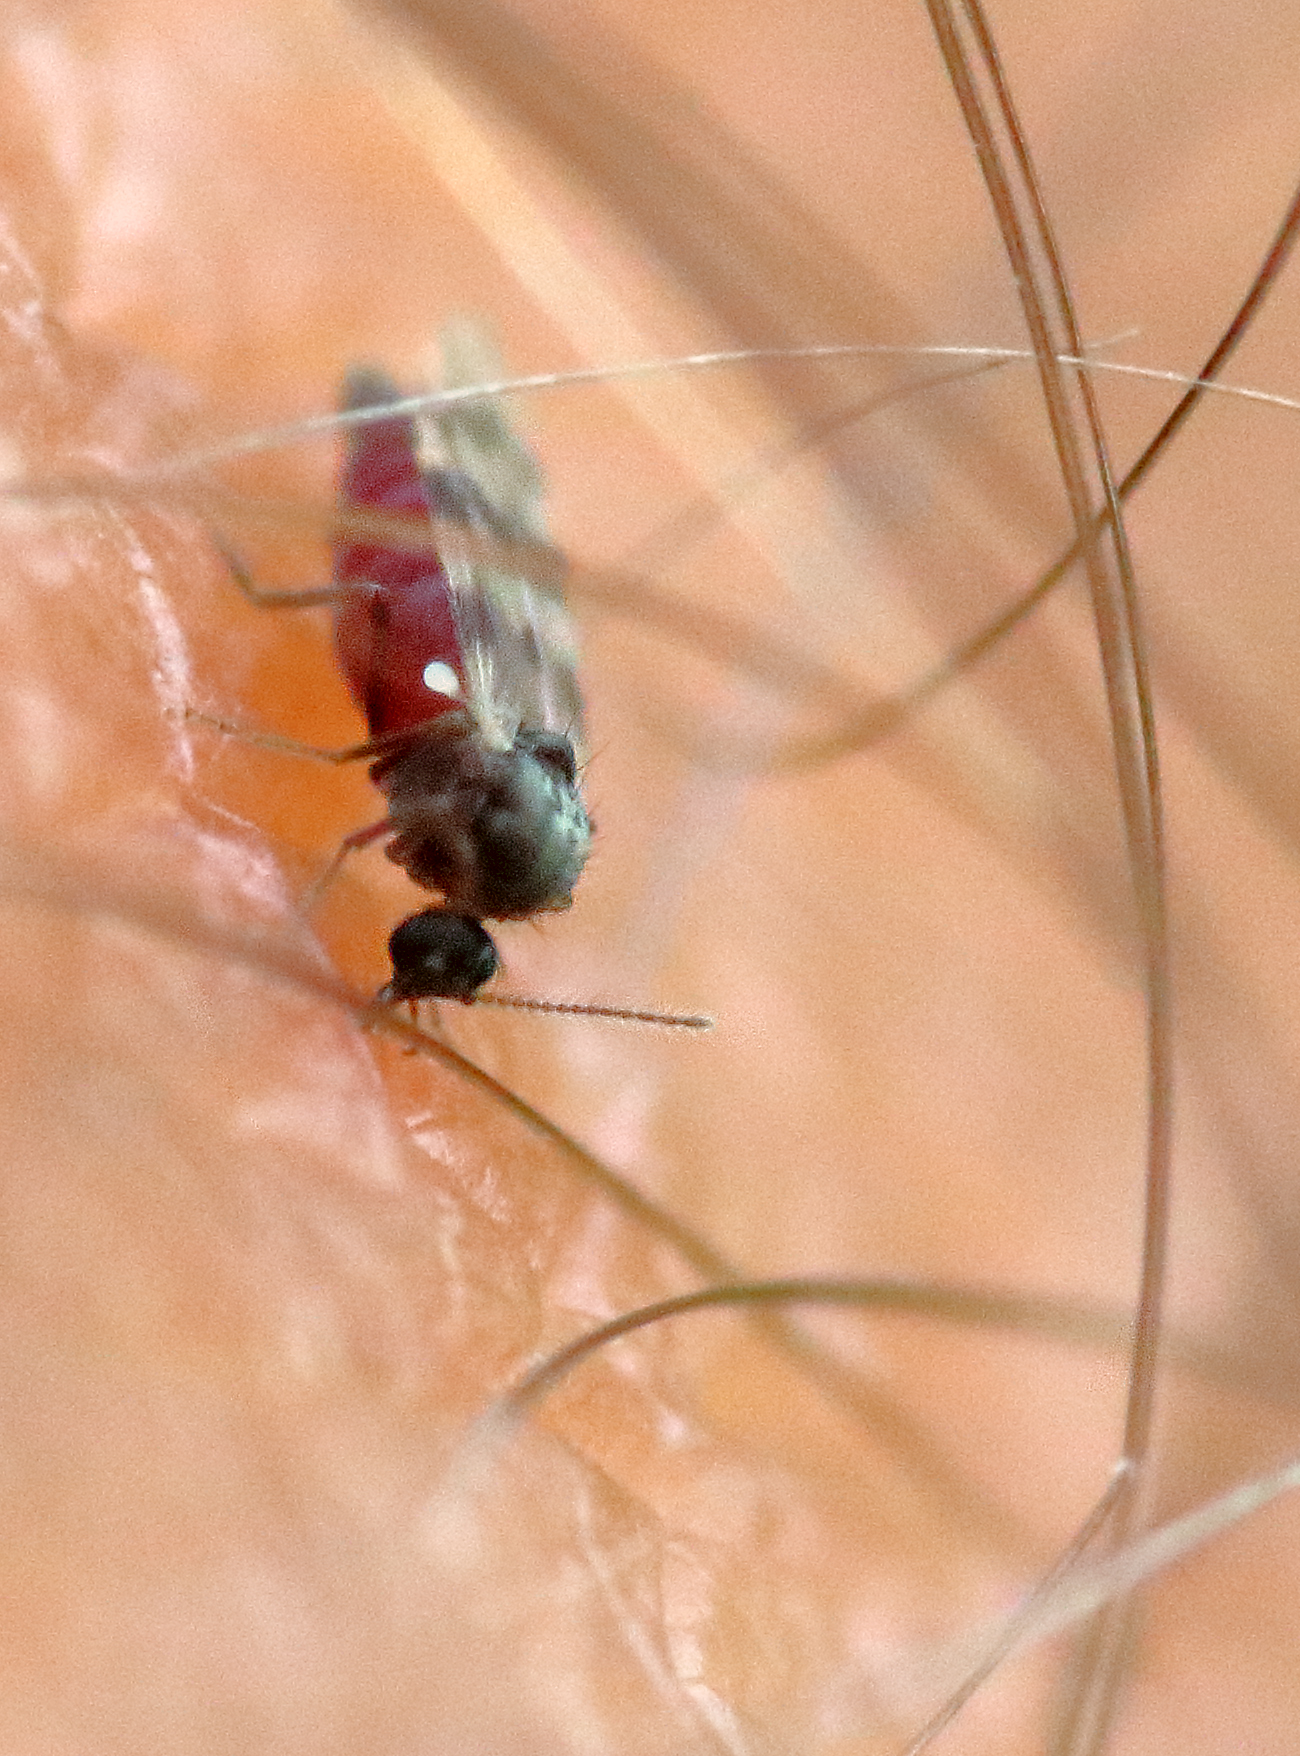
This is a midge! Just one, there is many more… – Credit: Dunpharlain, CC BY-SA 4.0, via Wikimedia Commons
Picture this: You're settling in for a peaceful night in your VW California's roof tent, only to find yourself under siege by a swarm of these bloodthirsty beasts. Most mosquito nets are about as useful as a chocolate teapot against these tiny terrors, as their mesh is often too large to keep out these pint-sized predators.
Fear not, intrepid camper! I present to you the ultimate weapon in the war against midges: a 3D-printable midges net frame! This ingenious contraption is designed to protect the two permanent vents in your VW California's roof tent that would otherwise serve as an all-you-can-eat buffet for our miniature nemeses.
While this model is tailor-made for the VW California's roof tent, feel free to adapt it to fit any tent vent. After all, midge misery loves company, so why not share the solution?
The Midge-Busting Marvel consists of two parts:
- Part A: The net-bearing champion
- Part B: The magnet-wielding sidekick
These dynamic duo parts work together to create an impenetrable fortress against the midges menace.
Bill of Materials (or "Things You'll Need to Become a Midge-Fighting Superhero"):
For a pair of midges net (two parts A and two parts B):
- 32 strong neodymium magnets (⌀ 8mm, 1mm thickness)
- A handful of thin (max 3-4mm), strong magnets (used to retain the net on the bed during printing)
- Special midge netting (pro tip: repurpose an Amazon head midge net)
- ~70g of PETG filament
Printing Instructions (or "How to Create Your Anti-Midge Shield"):
For Part A (The Net-Bearer):
Set layer height to 0.1 mm (this is obviously not to get a better print quality, but to have sufficient layers to cover the magnets while keeping a thin object)
Place one (MK3/MK4) or two (XL) copies in the center of the print bed
Program pauses on your slicer: before the second layer (for net placement) and before the magnet layer:

When the first pause occurs, stretch the net over the print using magnets like this:

At the second pause, place the ⌀ 8mm magnets into the holes. Make sure to keep the same magnetic direction for all magnets:
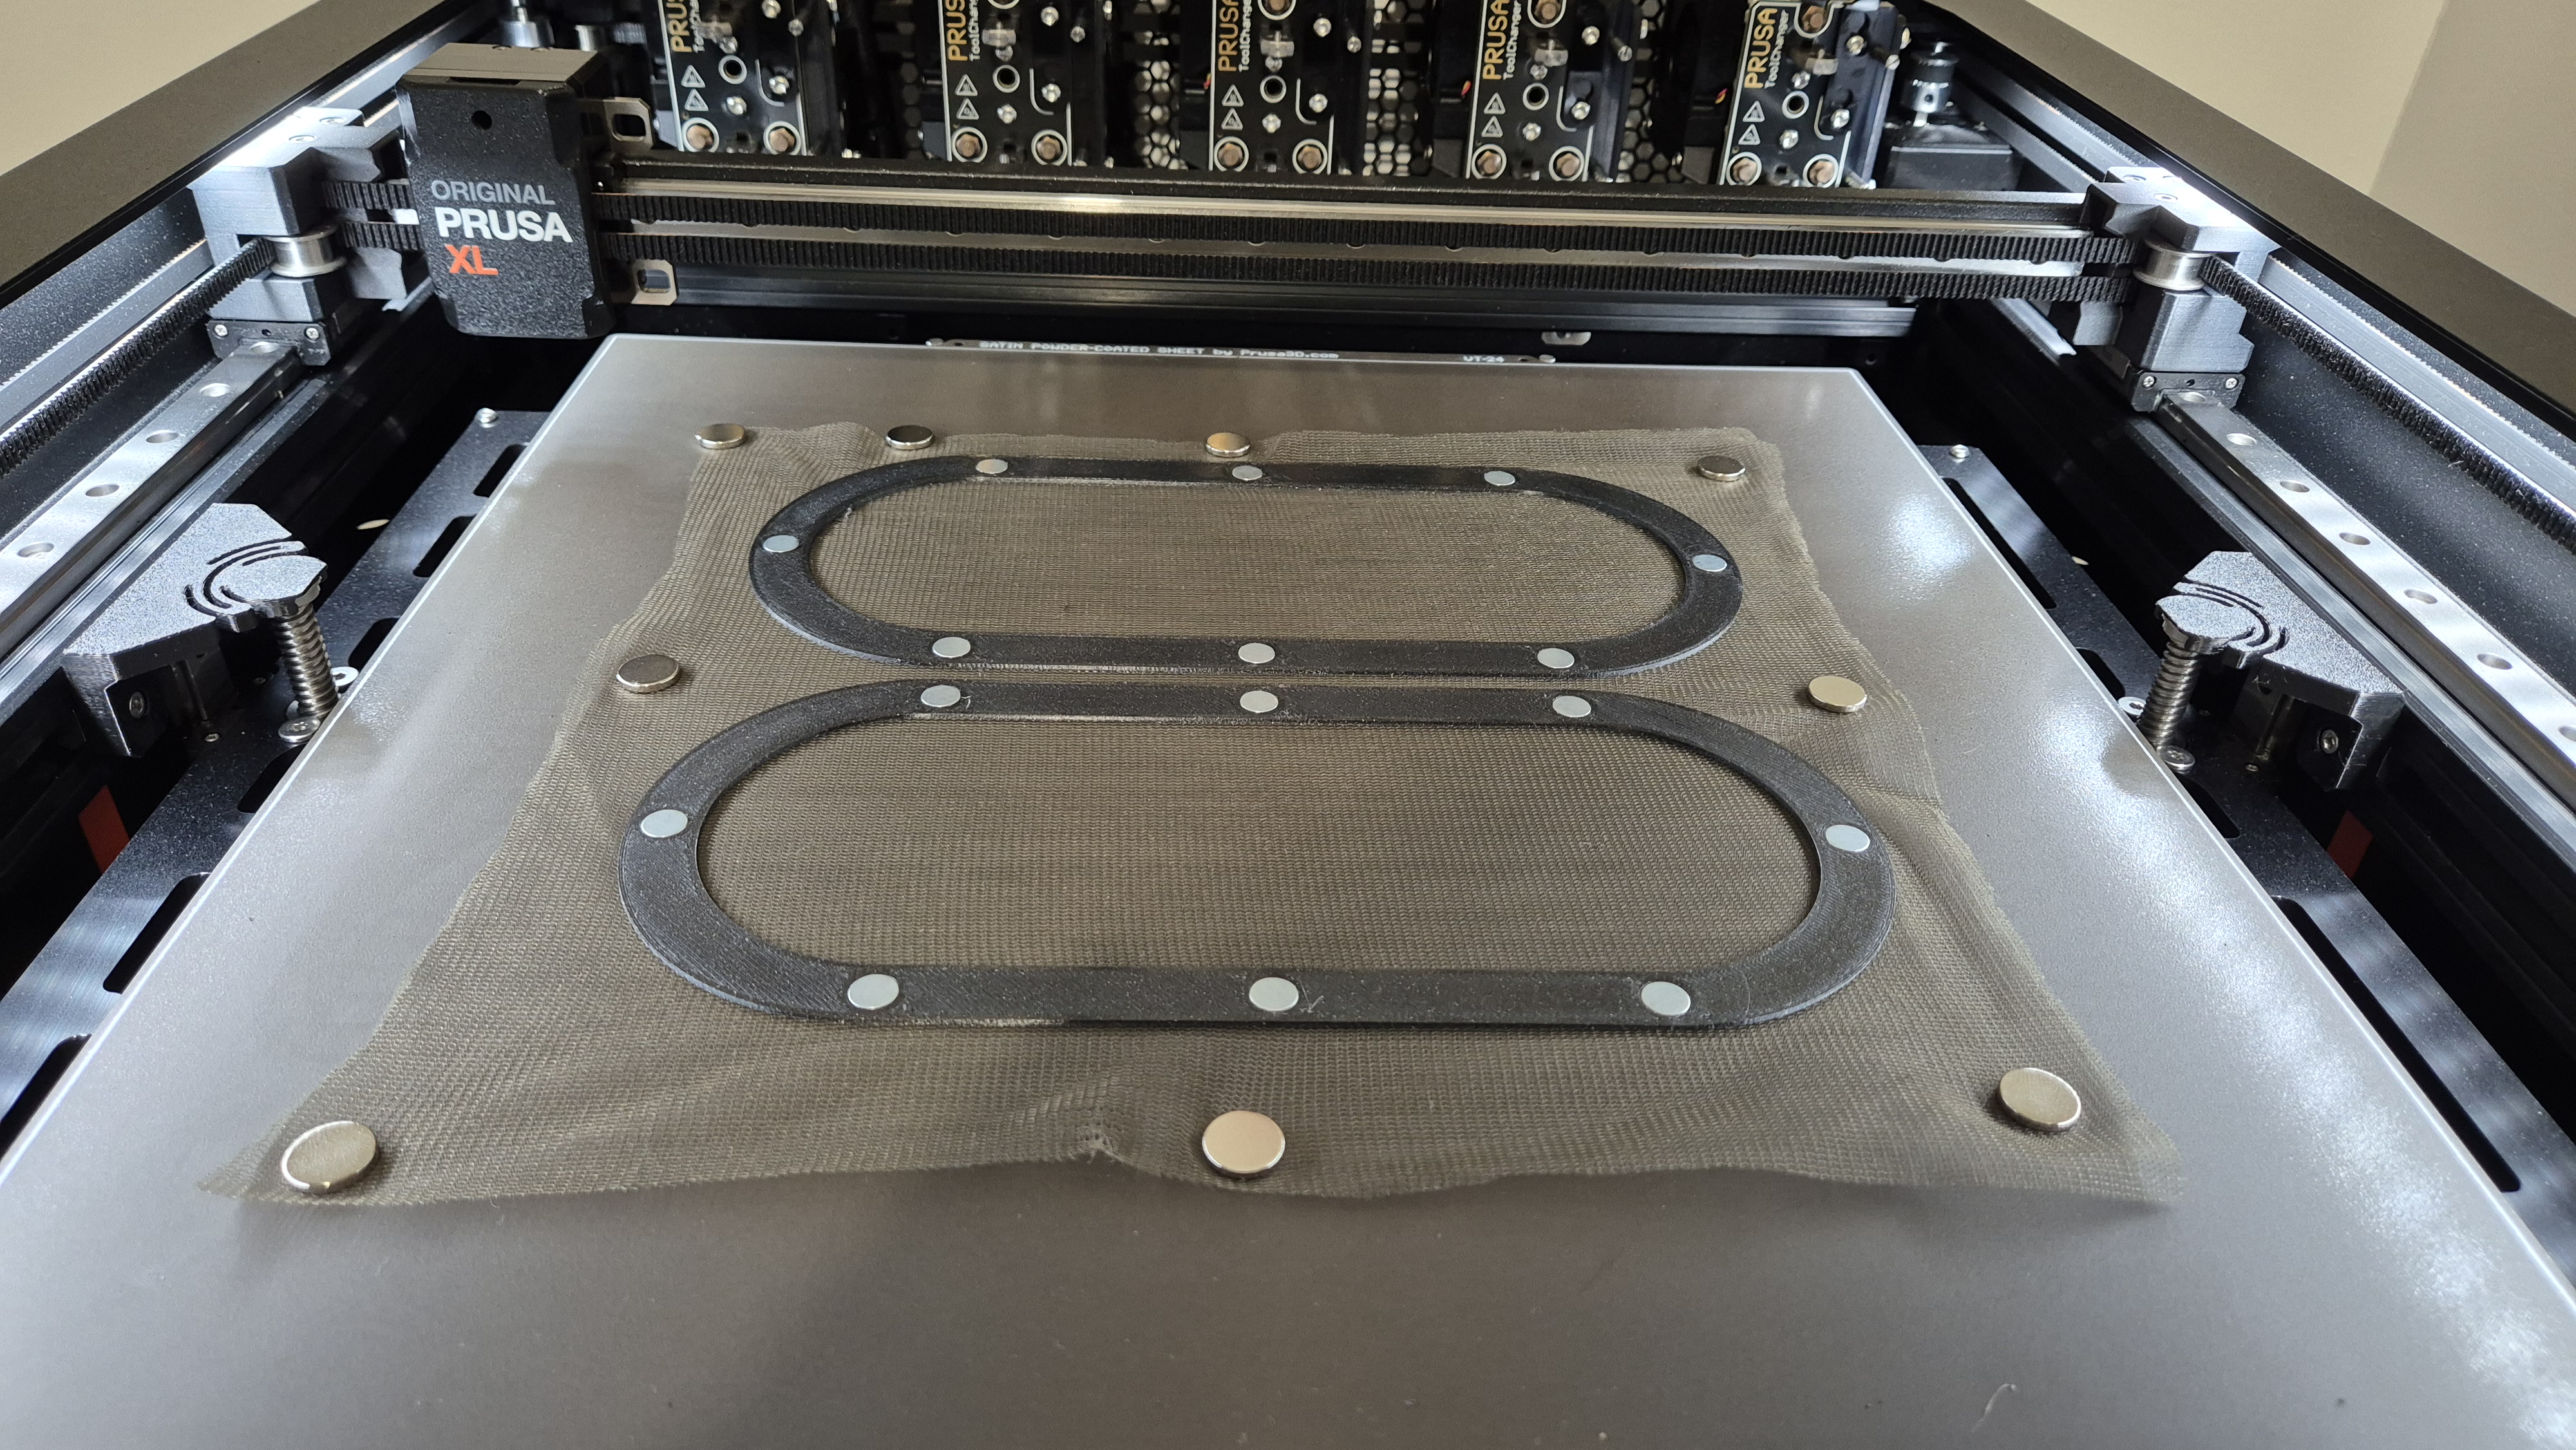
At the end of the print, remove the part from the print bed. Grab a sharp craft knife or box cutter and trim away the excess midge netting around the perimeter of the parts.

Warning: Magnet Mayhem Ahead!
- Keep magnets away from the print head (unless you want your printer to become a magnet collector)
- Use thin magnets (2-3mm max)
- Keep the net away from moving parts (eg: Z-axis)
For Part B (The Magnet Master):
Follow the same steps as Part A, minus the net-placing pause. Easy peasy!
Installation (or "The Final Battle")
Enlist a friend for easier installation, or go solo with some adhesive if you're feeling brave. Install Part A (the net part) inside the van, as it's less likely to be stolen by midge-sympathizing thieves.

With this magnificent midge-repelling marvel, you'll be the envy of every camper in the land. Sweet dreams and bite-free nights await you, brave adventurer!