
Prusa MK4/MK3.9 accelerometer cable cover
Obliczymy ostateczną cenę na podstawie wybranego pliku. Sprawdzisz ją i zaakceptujesz przed płatnością.
Zapisane na tym urządzeniu.

Improved heatbed cable holder (heatbed cable cover for xBuddy box) with additional space for accelerometer cable.
- Ocena
- 0 / 5
- Polubienia
- 10
- Pobrania
- 37
- Wydruki
- 0
- Wyświetlenia
- 424
- Oceny
- 0
Aktualizacja u źródła:
Informacje o modelu
- Źródło
- Printables
- Kategoria
- Prusa Parts & Upgrades
- Licencja
- GNU General Public License v2.0
I have created this model for my MK4 to be able to pass the cable for accelerometer out of the xBuddy box. With this cover I don't need to have the xBuddy box open and can have the accelerometer always connected without the need to open/close the box.
Should be usable also with MK3.9, but I don't have these and so it is not tested.
Don't use with the MK3.5 as you need to disconnect print fan before connecting the accelerometer - so permanent connection of accelerometer is not possible.
For use with this original accelerometer set:
https://www.prusa3d.com/product/accelerometer-set/
Recommended use with Accelerometer Holder
I recommend using my another model Accelerometer Holder
https://www.printables.com/model/997612-prusa-mk4smk39s-accelerometer-holder
for creating safe place, where Accelerometer can rest, when not in use.
No use for S models
This model has no use, if you have the new MK4/S or MK3.9/S where the Wi-Fi board features connector for the accelerometer kit and (after installation) you can connect/disconnect accelerometer on the fly without the need to open/close the box.
Installation
Open the xBuddy box (remove the big cover):
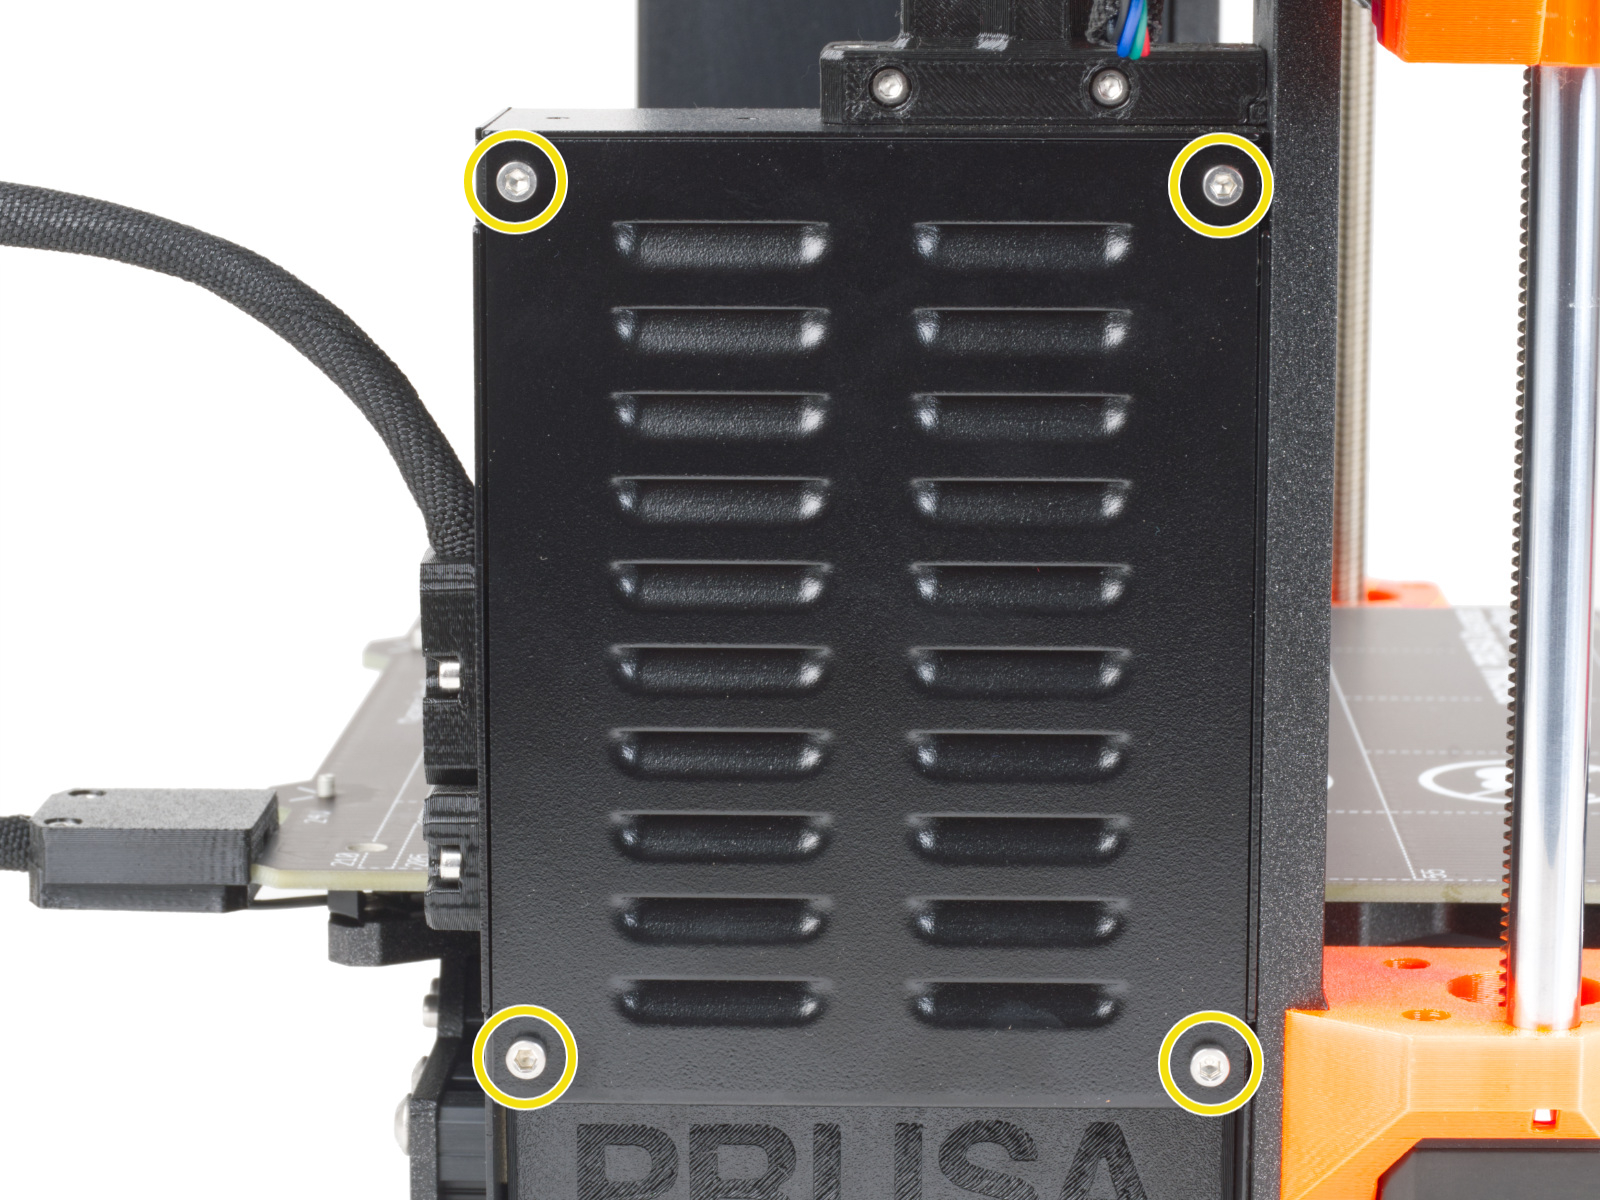
Remove the previous cover for heatbed cables: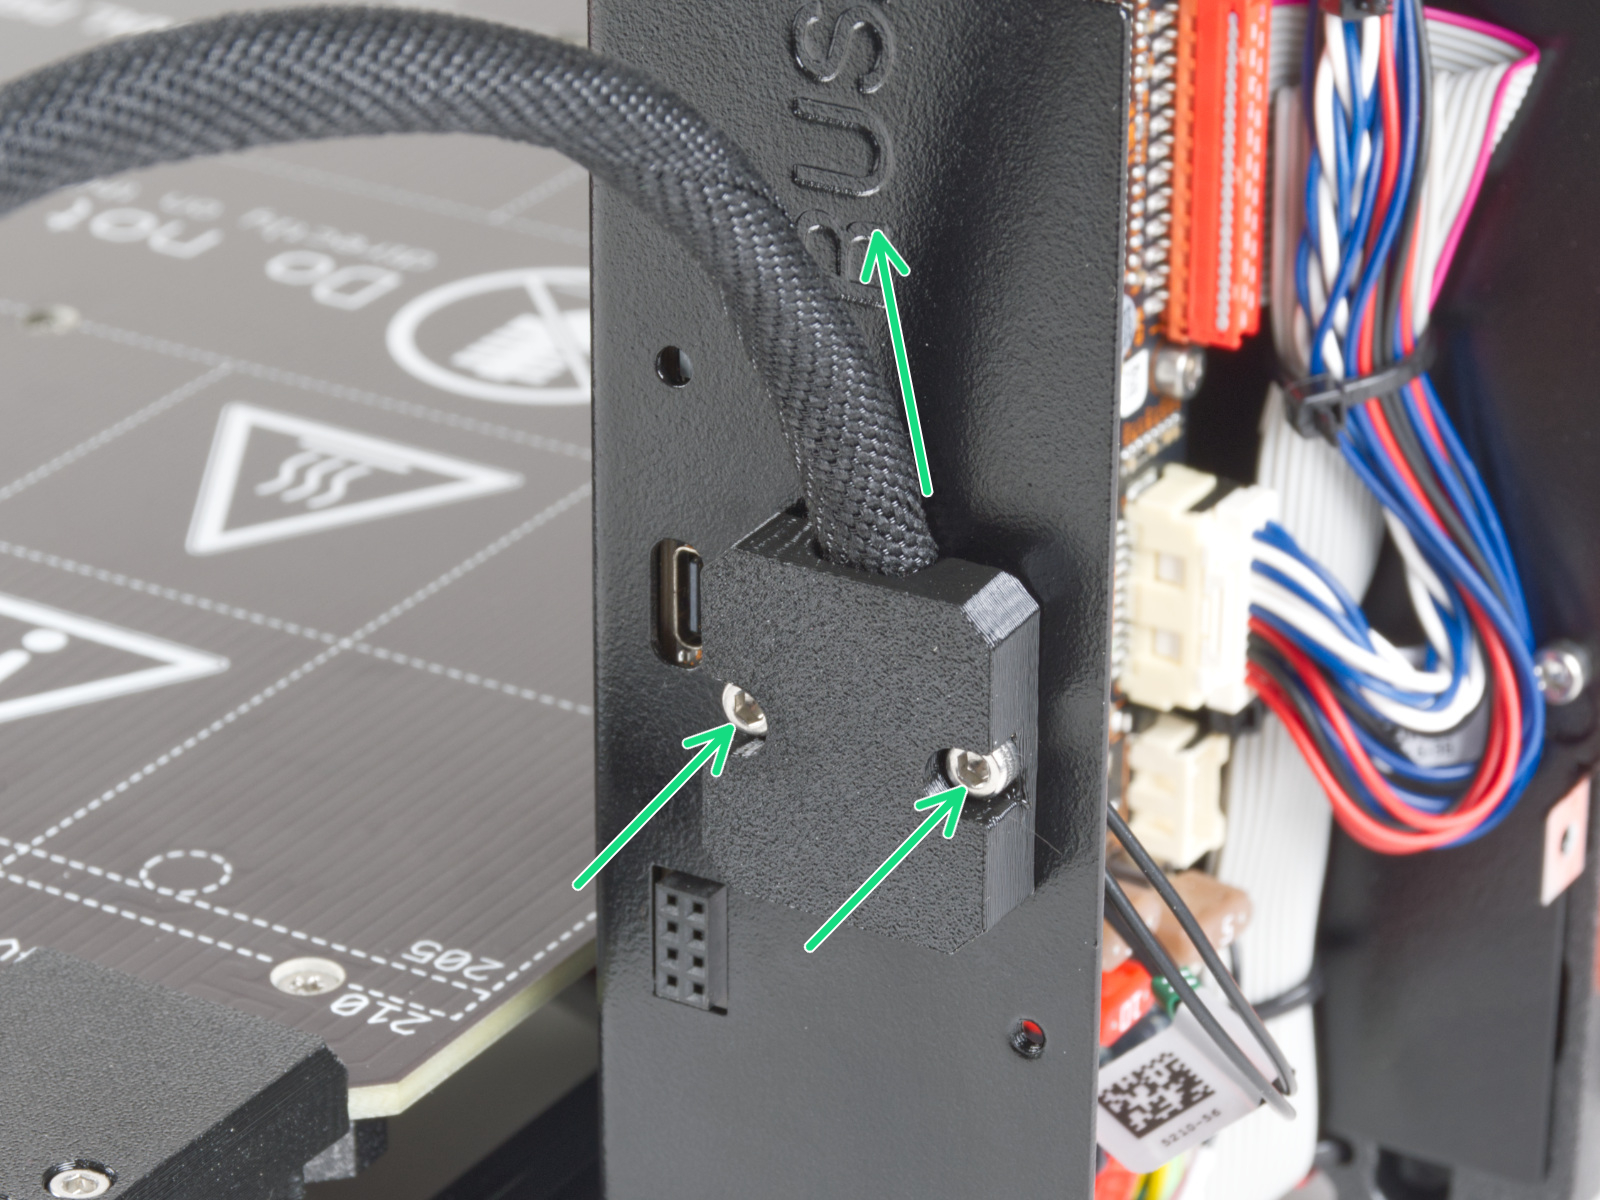
Take the long cable from accelerometer set (the short one is for the S models).
Lead the cable through the hole for heatbed cable from the outside.
This is possible to do without disconnecting the heatbed cables (but you might need to play a little with the cables and the filament string.
And connect it to the corresponding connector on your xBuddy.
Put the accelerometer cable to the left bottom corner of the hole (when looking from the outside).
Lastly put the cover on, keeping the accelerometer cable in the dedicated space in the cover