P
PrintablesElphwrkz

CNC Cam Clamp
A printed version of Marius Hornberger's cam clamps for 3/4" posts. I use aluminum tubing for the posts.
- Pobrania
- 412
- Polubienia
- 77
- Ocena
- 0
Liczymy pasujące modele…
A printed version of Marius Hornberger's cam clamps for 3/4" posts. I use aluminum tubing for the posts.
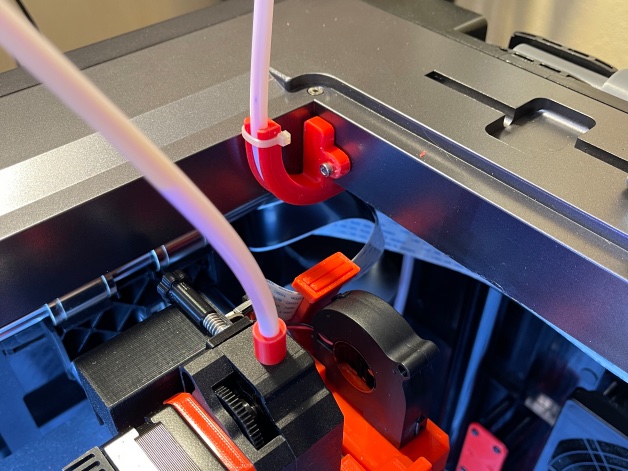
SUMMARY This internal filament guide set works with X-Max and probably the X-Plus. It replaces the simple OEM vertical guide with a 4mm ID X 6mm OD PTFE tube that runs from the spool to the extruder. There are four parts: Upper Guide,…
This CNC wedge clamp pivots around the base bolt to allow for side or angled side pressure. I printed it with Polycarbonate reinforced with Carbon Fiber. Any strong filament should work.
DESIGN INSPIRATION The Qidi X-CF Pro printer comes with a dry box for hydroscopic filaments such as Nylon. Unfortunately the dry box mounting system provided by Qidi requires at least 350mm of additional space behind the printer. The…
Updated June 2022 This carriage fits the Qidi X-Max (X-Plus) where the bearings are 29mm L, 19mm O.D., 10mm I.D. The stock Qidi X-Max carriage it is a pain in the you know what to switch between the low temp to the high temp extruders.…
Update 2023/2/6: Beefier left gantry to reduce the possibility of the rail twisting. Requires a 425mm long MGN12 rail. Update 2022/12/26: Improved Y-Axis Limit Switch Mount. Update 2022/12/11: Minor tweaks to improve printability such as…
Note: For the X-Max (X-Plus), the same reduction of lead screw induced wobble can be accomplished by removing the bearing at the top of the lead screw And using the stock couples. This applies for 75% of the max print height. For prints…
SUMMARY UPDATED Dec 2022: Added a 70mm Version for those using spools with 72mm center holes. UPDATED March 2022: Added a Z-Seam groove. (Many thanks to Kevin Pereira) This is a bit of a Rube Goldberg solution (…
The formula is essentially the same, i.e., average wall thickness divided by specified wall thickness, then convert to percentage to adjust flow accordingly.
UPDATE 15 Jan 2023: More robust frame and other improvements. This carriage and extruder setup weighs 40% less and slides much more smoothly with increased movement accuracy on the linear rail than the stock Qidi extruder/carriage. The…
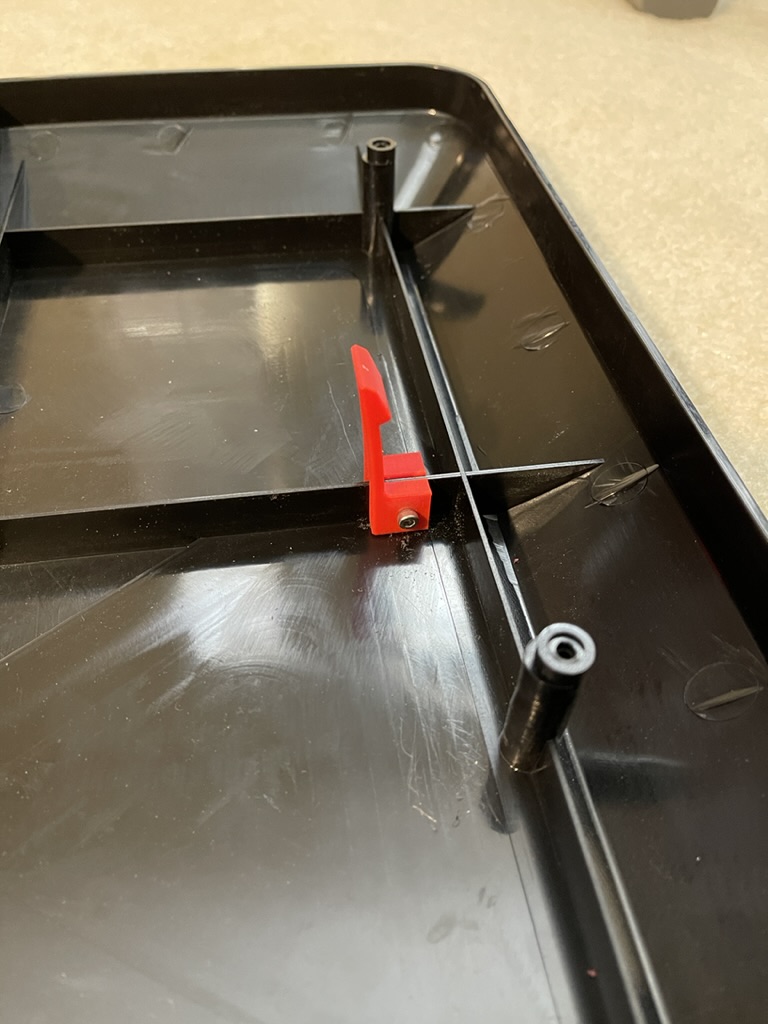
There are gaps in the front and back of the X-Max where screws and other small items love to go down and get trapped by the base. These shields will divert dropped items away from the gaps. I printed them with some junk Matte PLA from…
Extruder Calibration Calibrating the extruder on printers using Chitu boards (and clones) such as the X-Max. Adapted from Facebook Post provided by Zoltan Gal-Bancsi This guide follows the same logical steps as in many E-Step Calibration…
A dust shoe for the Millright Mega-V CNC machines that stays at fixed height with relation to the build surface. Most dust shoes are fixed to the router or spindle body such that the dust shoe rises and falls with the Z-axis motion. This…
QIDI X-CF Pro Dial Gauge Holder that inserts just like an extruder to hold a dial gauge (indicator) for precise bed leveling. Any stiff filament will work. There are two versions. The first is not adjustable and should fit the vast…
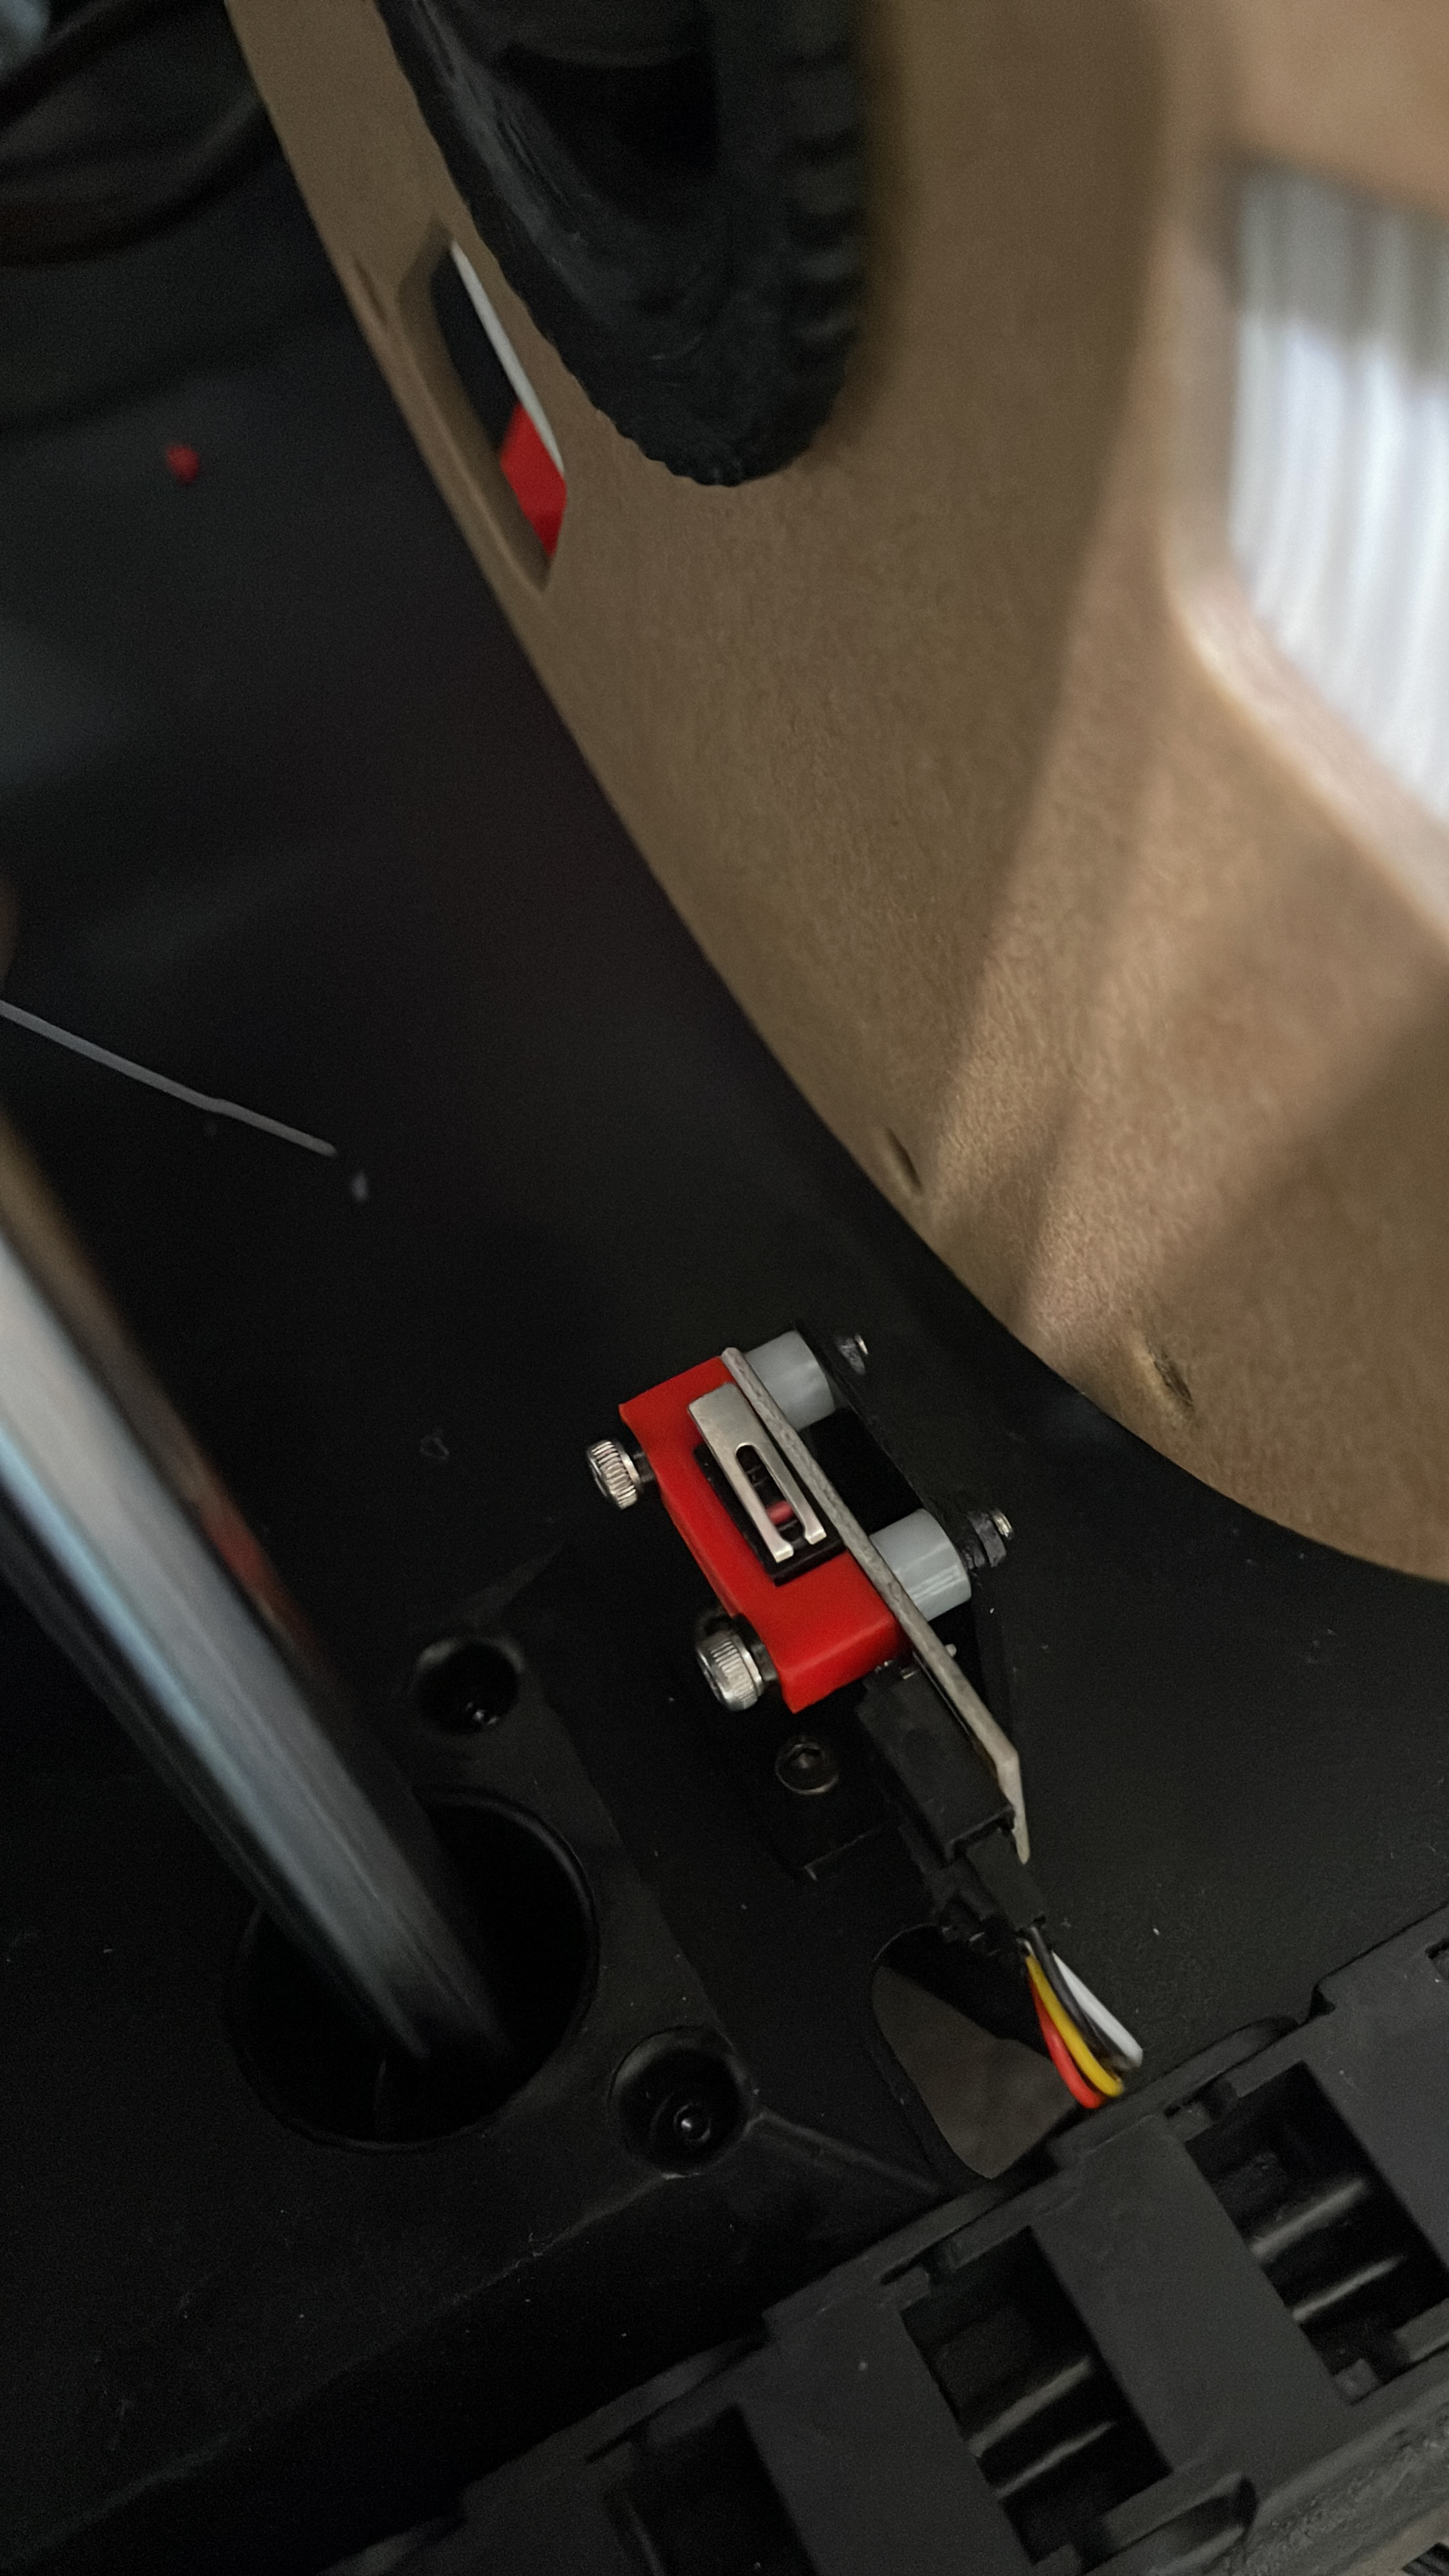
These Z-Axis limit switch mounts allow for minor height adjustment and allow for inverting the steel bed support. The height adjustment is facilitated with an M3 screw that lifts the upright away from the base. Another M3 screw and nut…
UPDATED 15 Jan 2023: Beefier frame Description This SherpaMicro extruder and carriage setup weighs 50% less than the stock Qidi extruder/carriage resulting in better print quality. The associated linear rail gantry files can be found…
Qidi X-Max (X-Pro) ribbon cables are easy to replace when using these clips to manage the cable. These clips may work on other Qidi printers as well. There are three kinds of clips: Upper back frame rail Side corner frame rail Bottom side…
Carbon Fiber Gantry Rods and other mods result in quieter/smoother operation and allow for higher print speeds. Definitely not an upgrade for the faint of heart but the weight reduction is amazing. I am amazed how quiet the printer is…
On my Qidi X-Max Gen 3 (see below for my interpretation of X-Max generations), the Z-Axis linear rods are 1mm wider apart at the base as compared to the Z-Plate at the top. The correct spacing should be 180mm. That extra 1mm causes a lot…
Qidi printer enclosures can lose heat via the opening for the chamber fan. This snap-on cover covers the opening. Print with any stiff filament.
On Qidi printers, the Z-Axis limit switches are held in place on the PCB with the electrical connection tabs which are flexible. This is not good because flexibility equates to variance which in this case can result in first layer…
This adapter allows for installing these POM lead screw nuts on Qidi X-Max (X-Plus) https://a.co/d/cWaeQFW
Frames There are three frames to choose from. The Low Profile Spool Hanger relies on the back of the printer for support and with the Qidi Spool Holder in the down position. It only works with the Spool. Both the top mounted Spool and Dry…
Note The process of reverse engineering the Icarus gave me a great appreciation for the effort Hume must have gone through to design it. There are so many dependencies and constraints. I have done my best to make this remix compatible…
Raspberry Pi Zero 2 W Case with a Gimbaled Camera with Mount for X-Max (X-Plus) This compact open case for the Raspberry Pi Zero includes a gimbaled camera mount. The case allows for mounting to a support of your own, but a support…
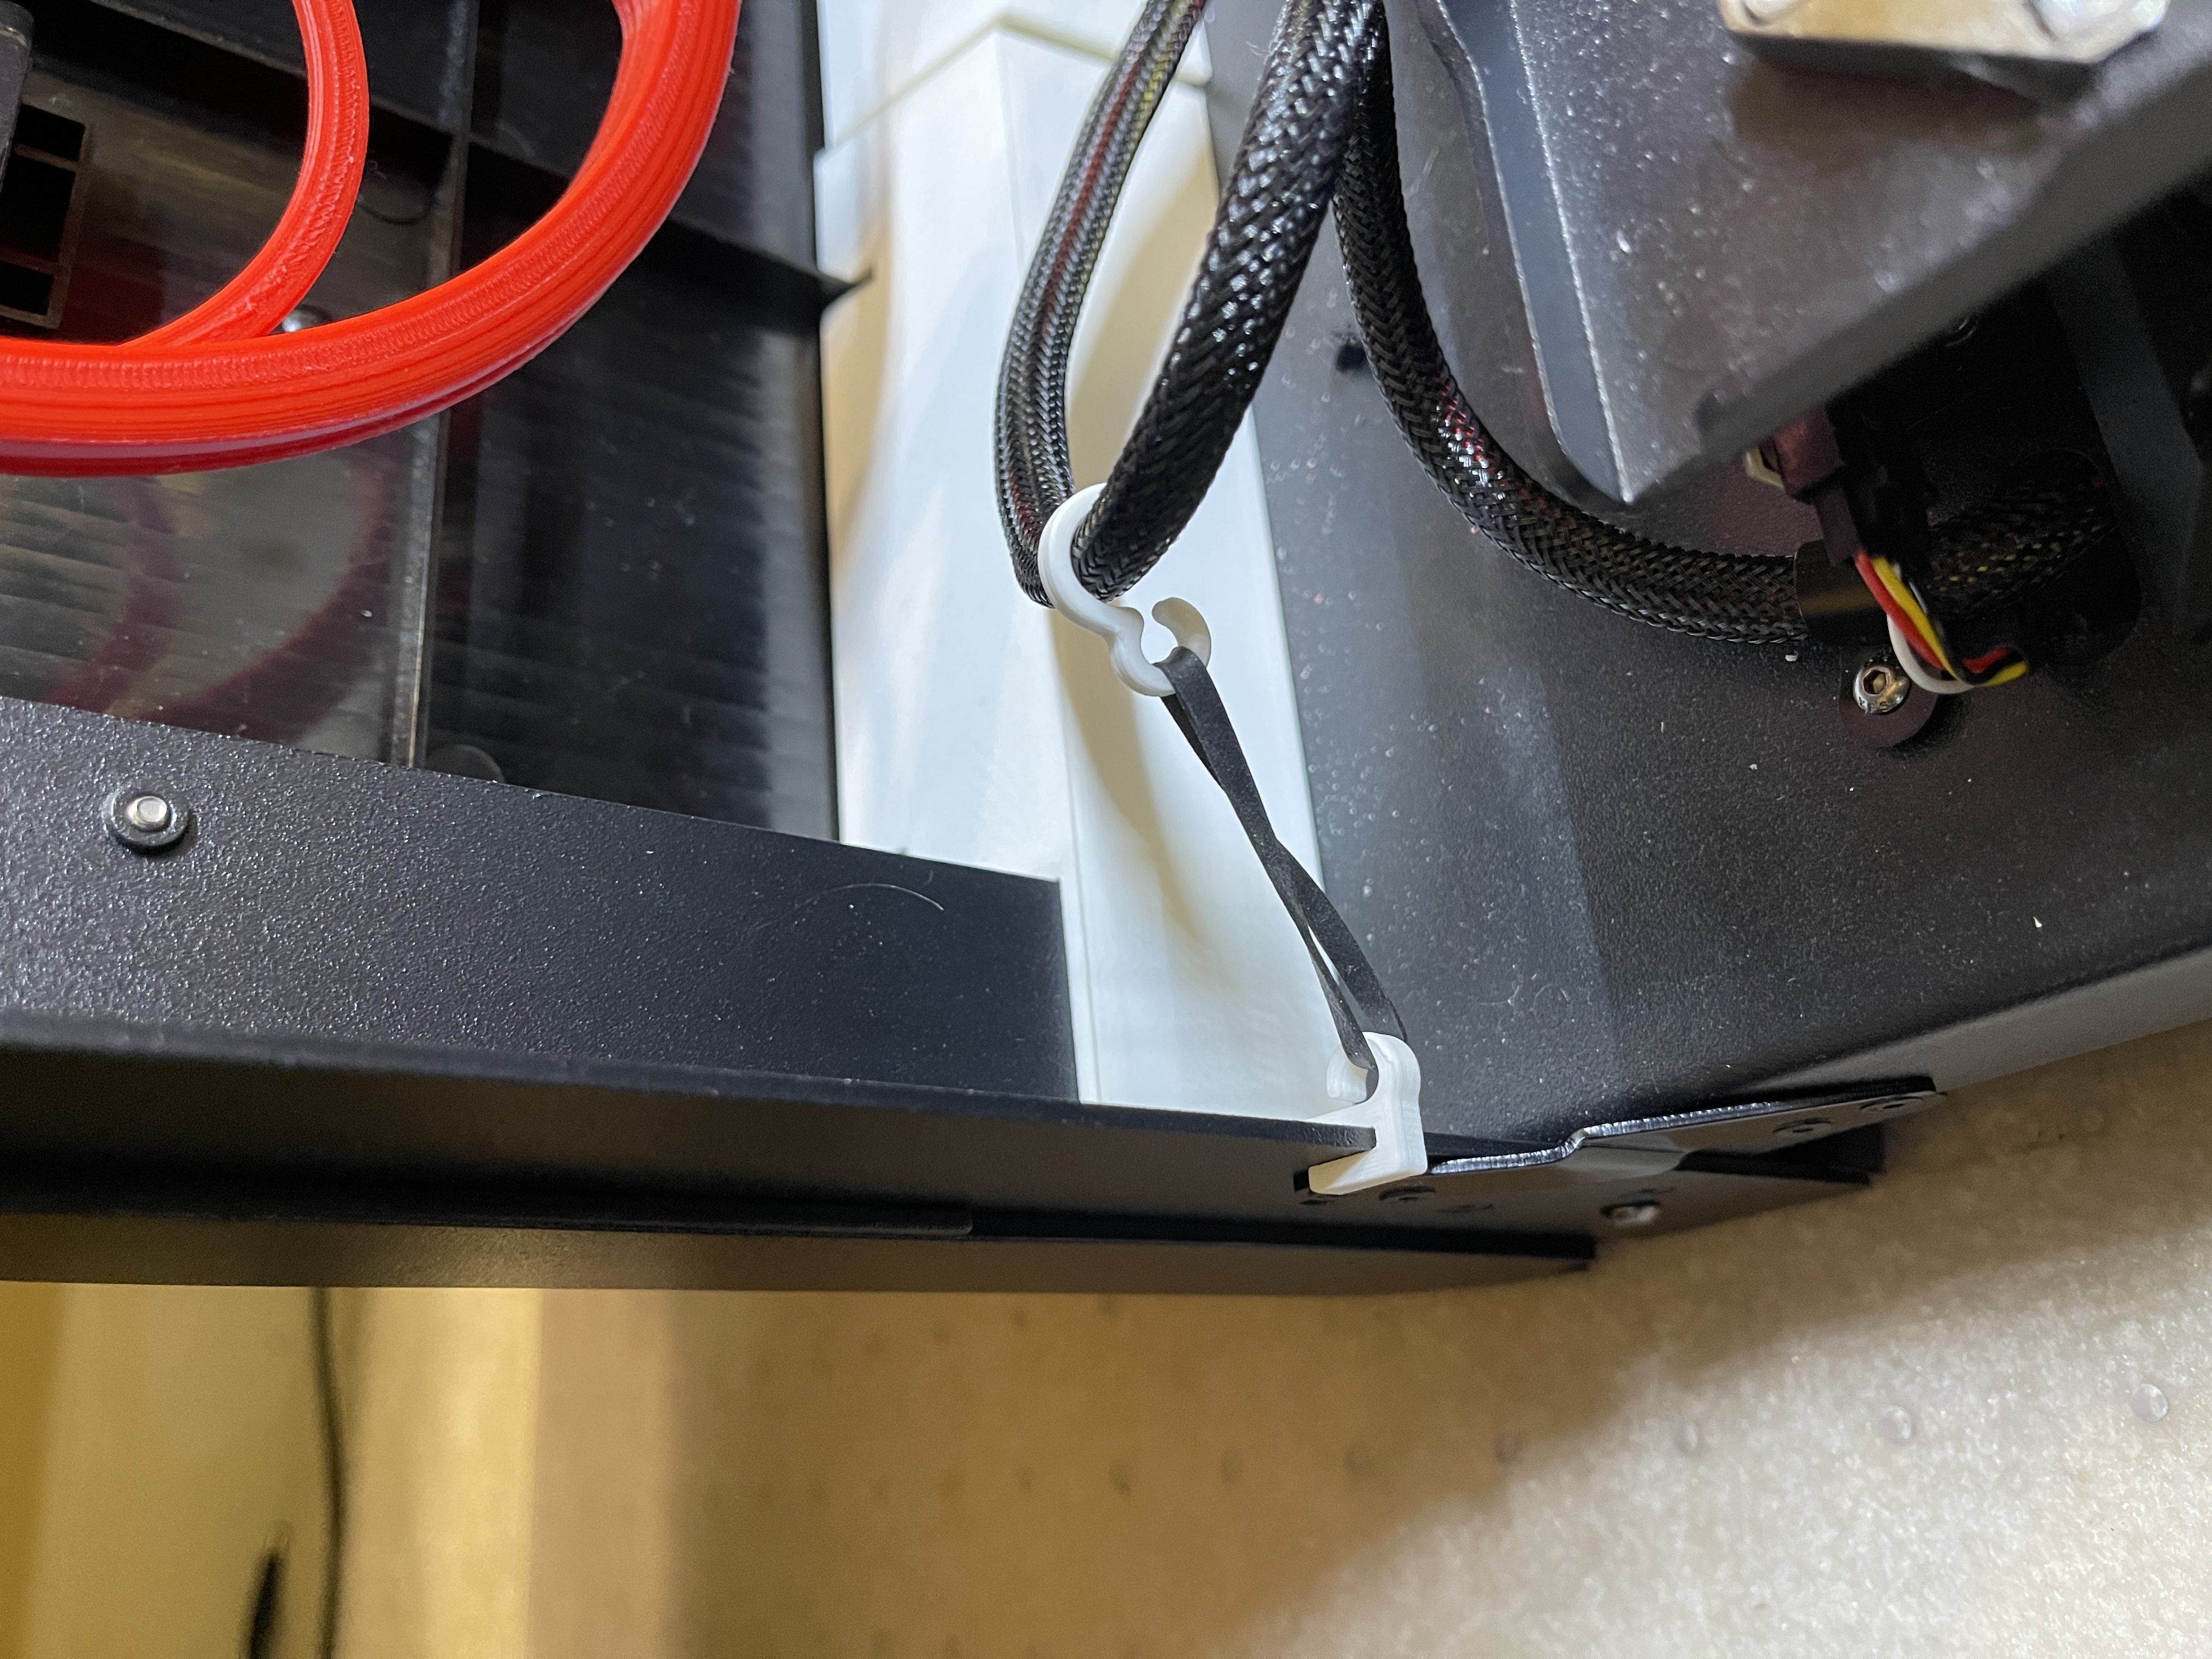
The X-Max (X-Plus) heated bed cable can get stuck between the Z-Axis limit switch and the bed leveling the bed. This small print gently pulls the cable away from the limit switch to minimize the likelihood. It hooks on the back left frame…
This dial indicator mount places the tip in the same location as the nozzle. The included end-stop allows for both Normal and Fast Leveling routines. The associated Linear Rail Conversion is located here:…
It is often convenient to remove the sides. These clips make it easy. The sides are held on by six screws on the outside along the front and back edges, and one screw on the inside near the handle. IMPORTANT: DO NOT try to lift the…
I remixed some of the ancillary parts. The shortened BMG handle was still too tall and ran into the side of my printer so I made one that is a bit shorter. I also found that the idle gear was just rubbing so expanded that area. My wiring…
To wszystkie aktualnie dostępne wyniki.