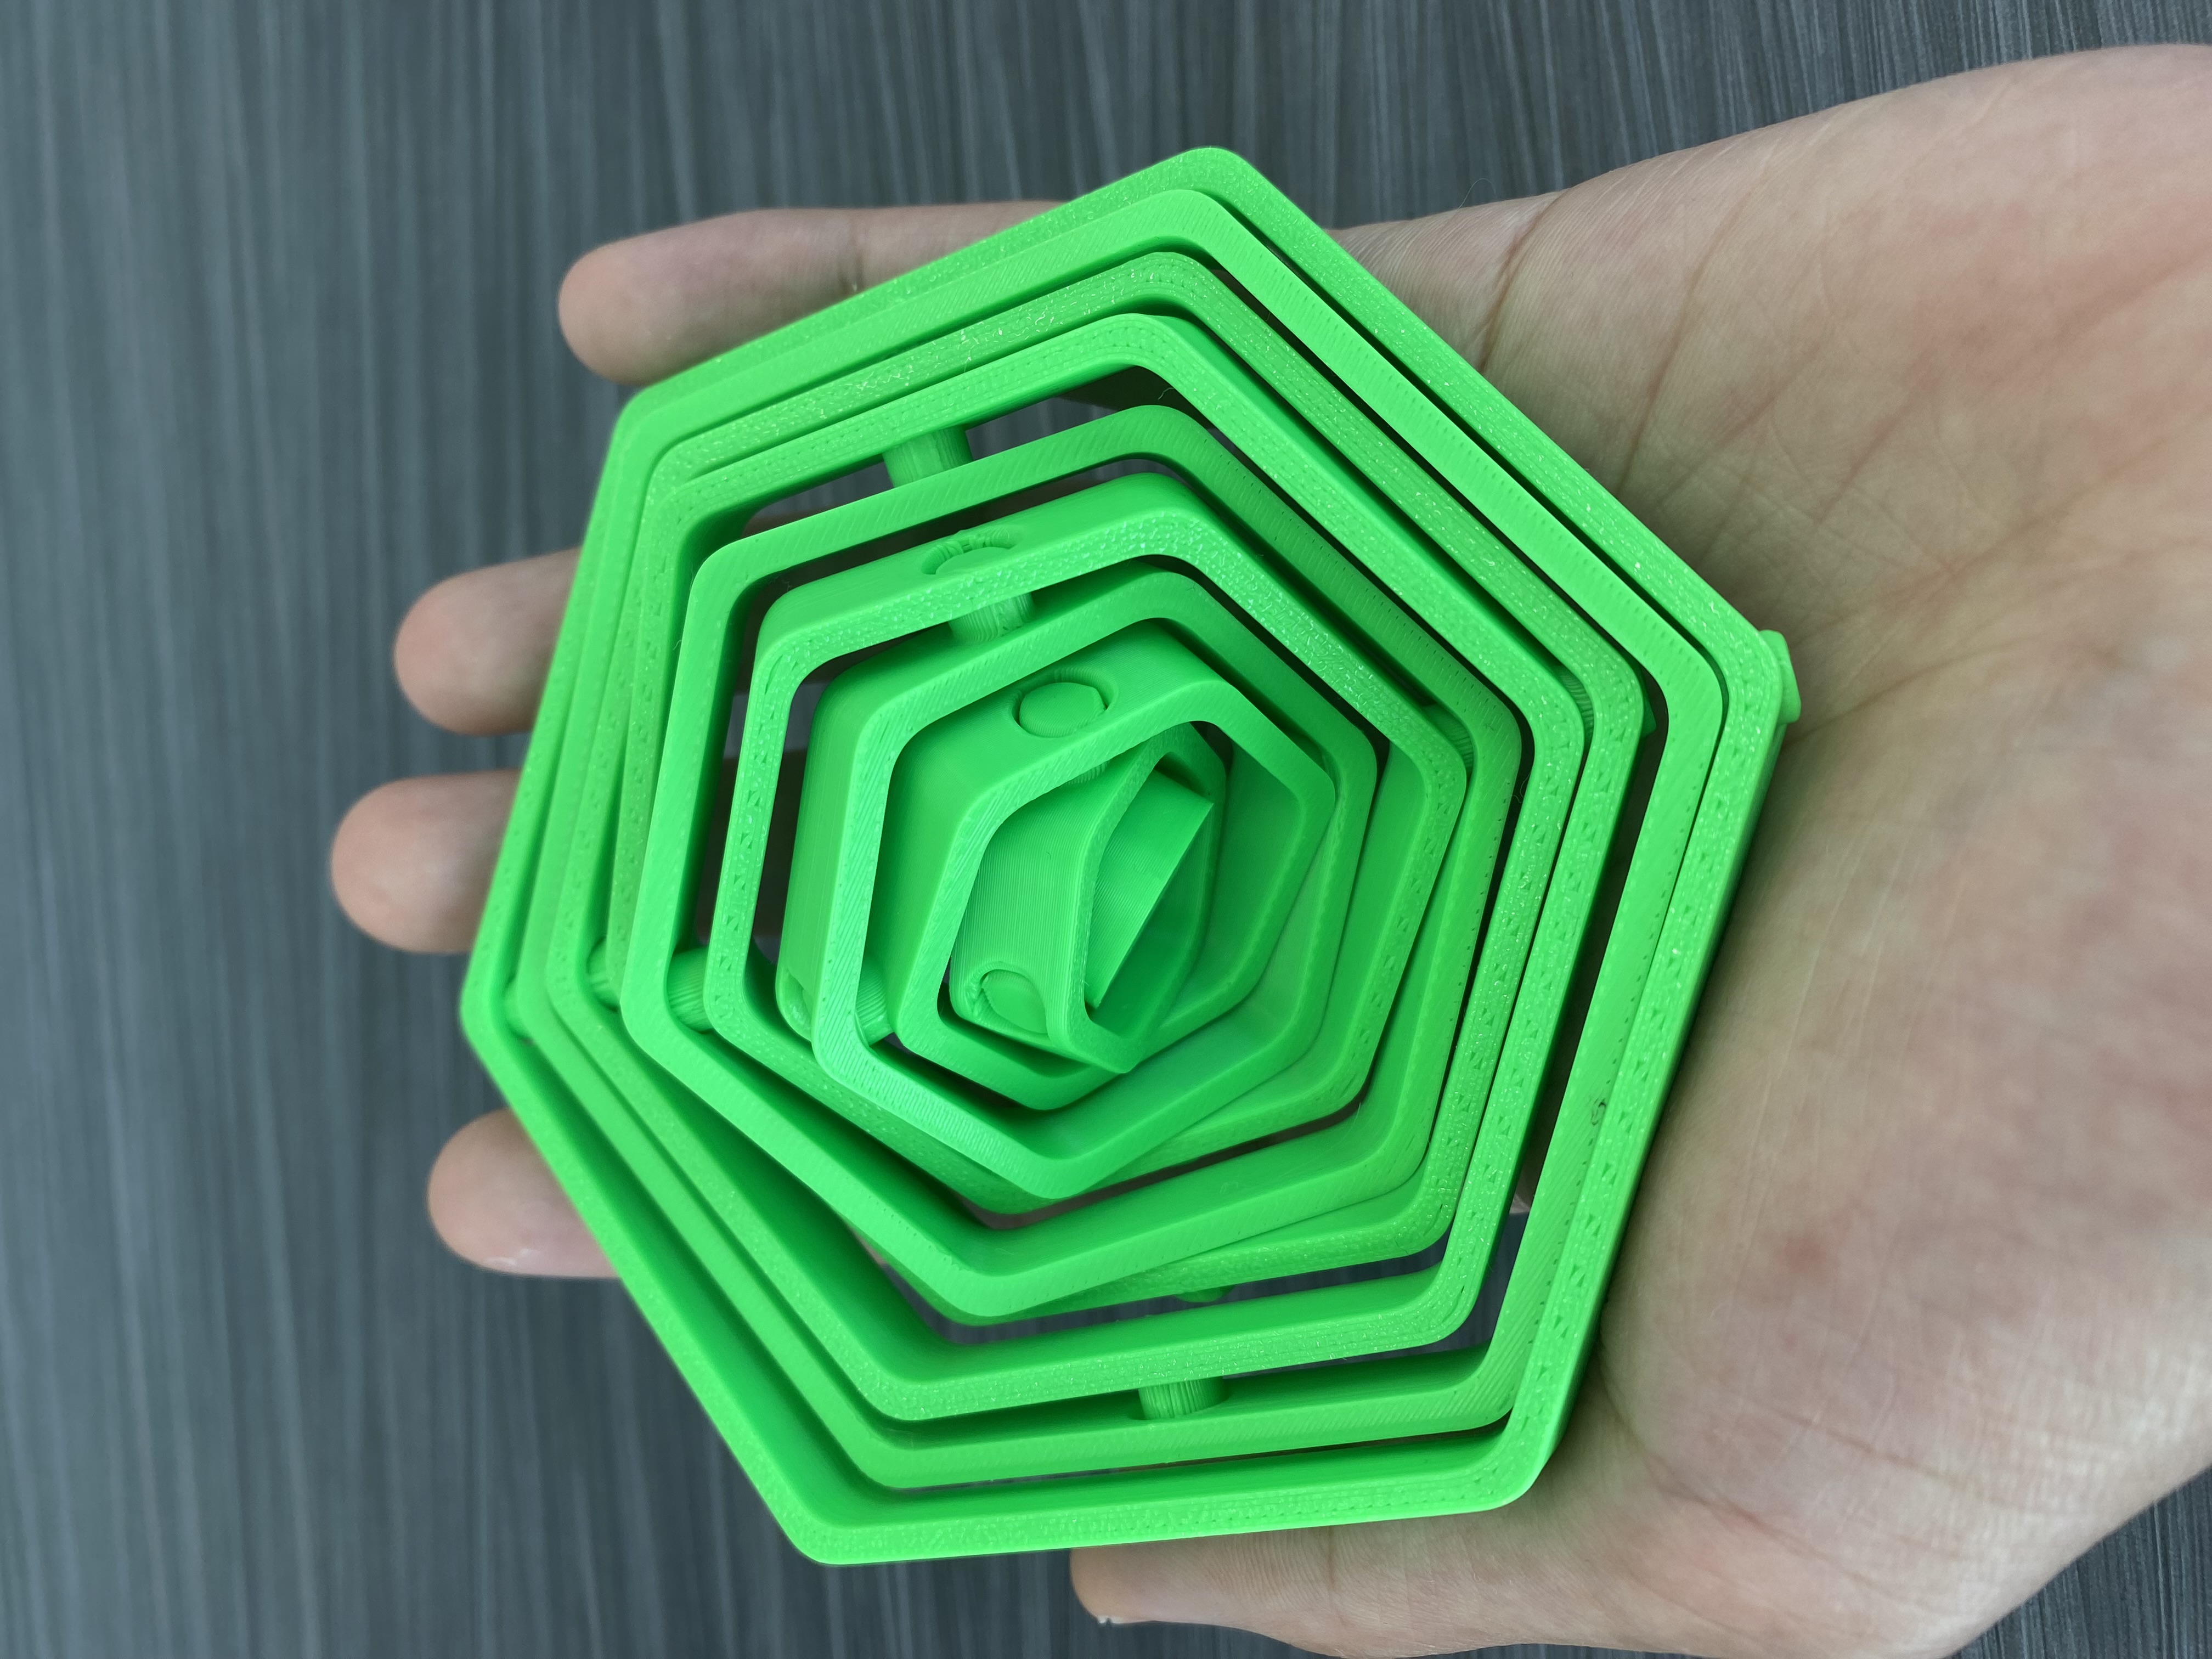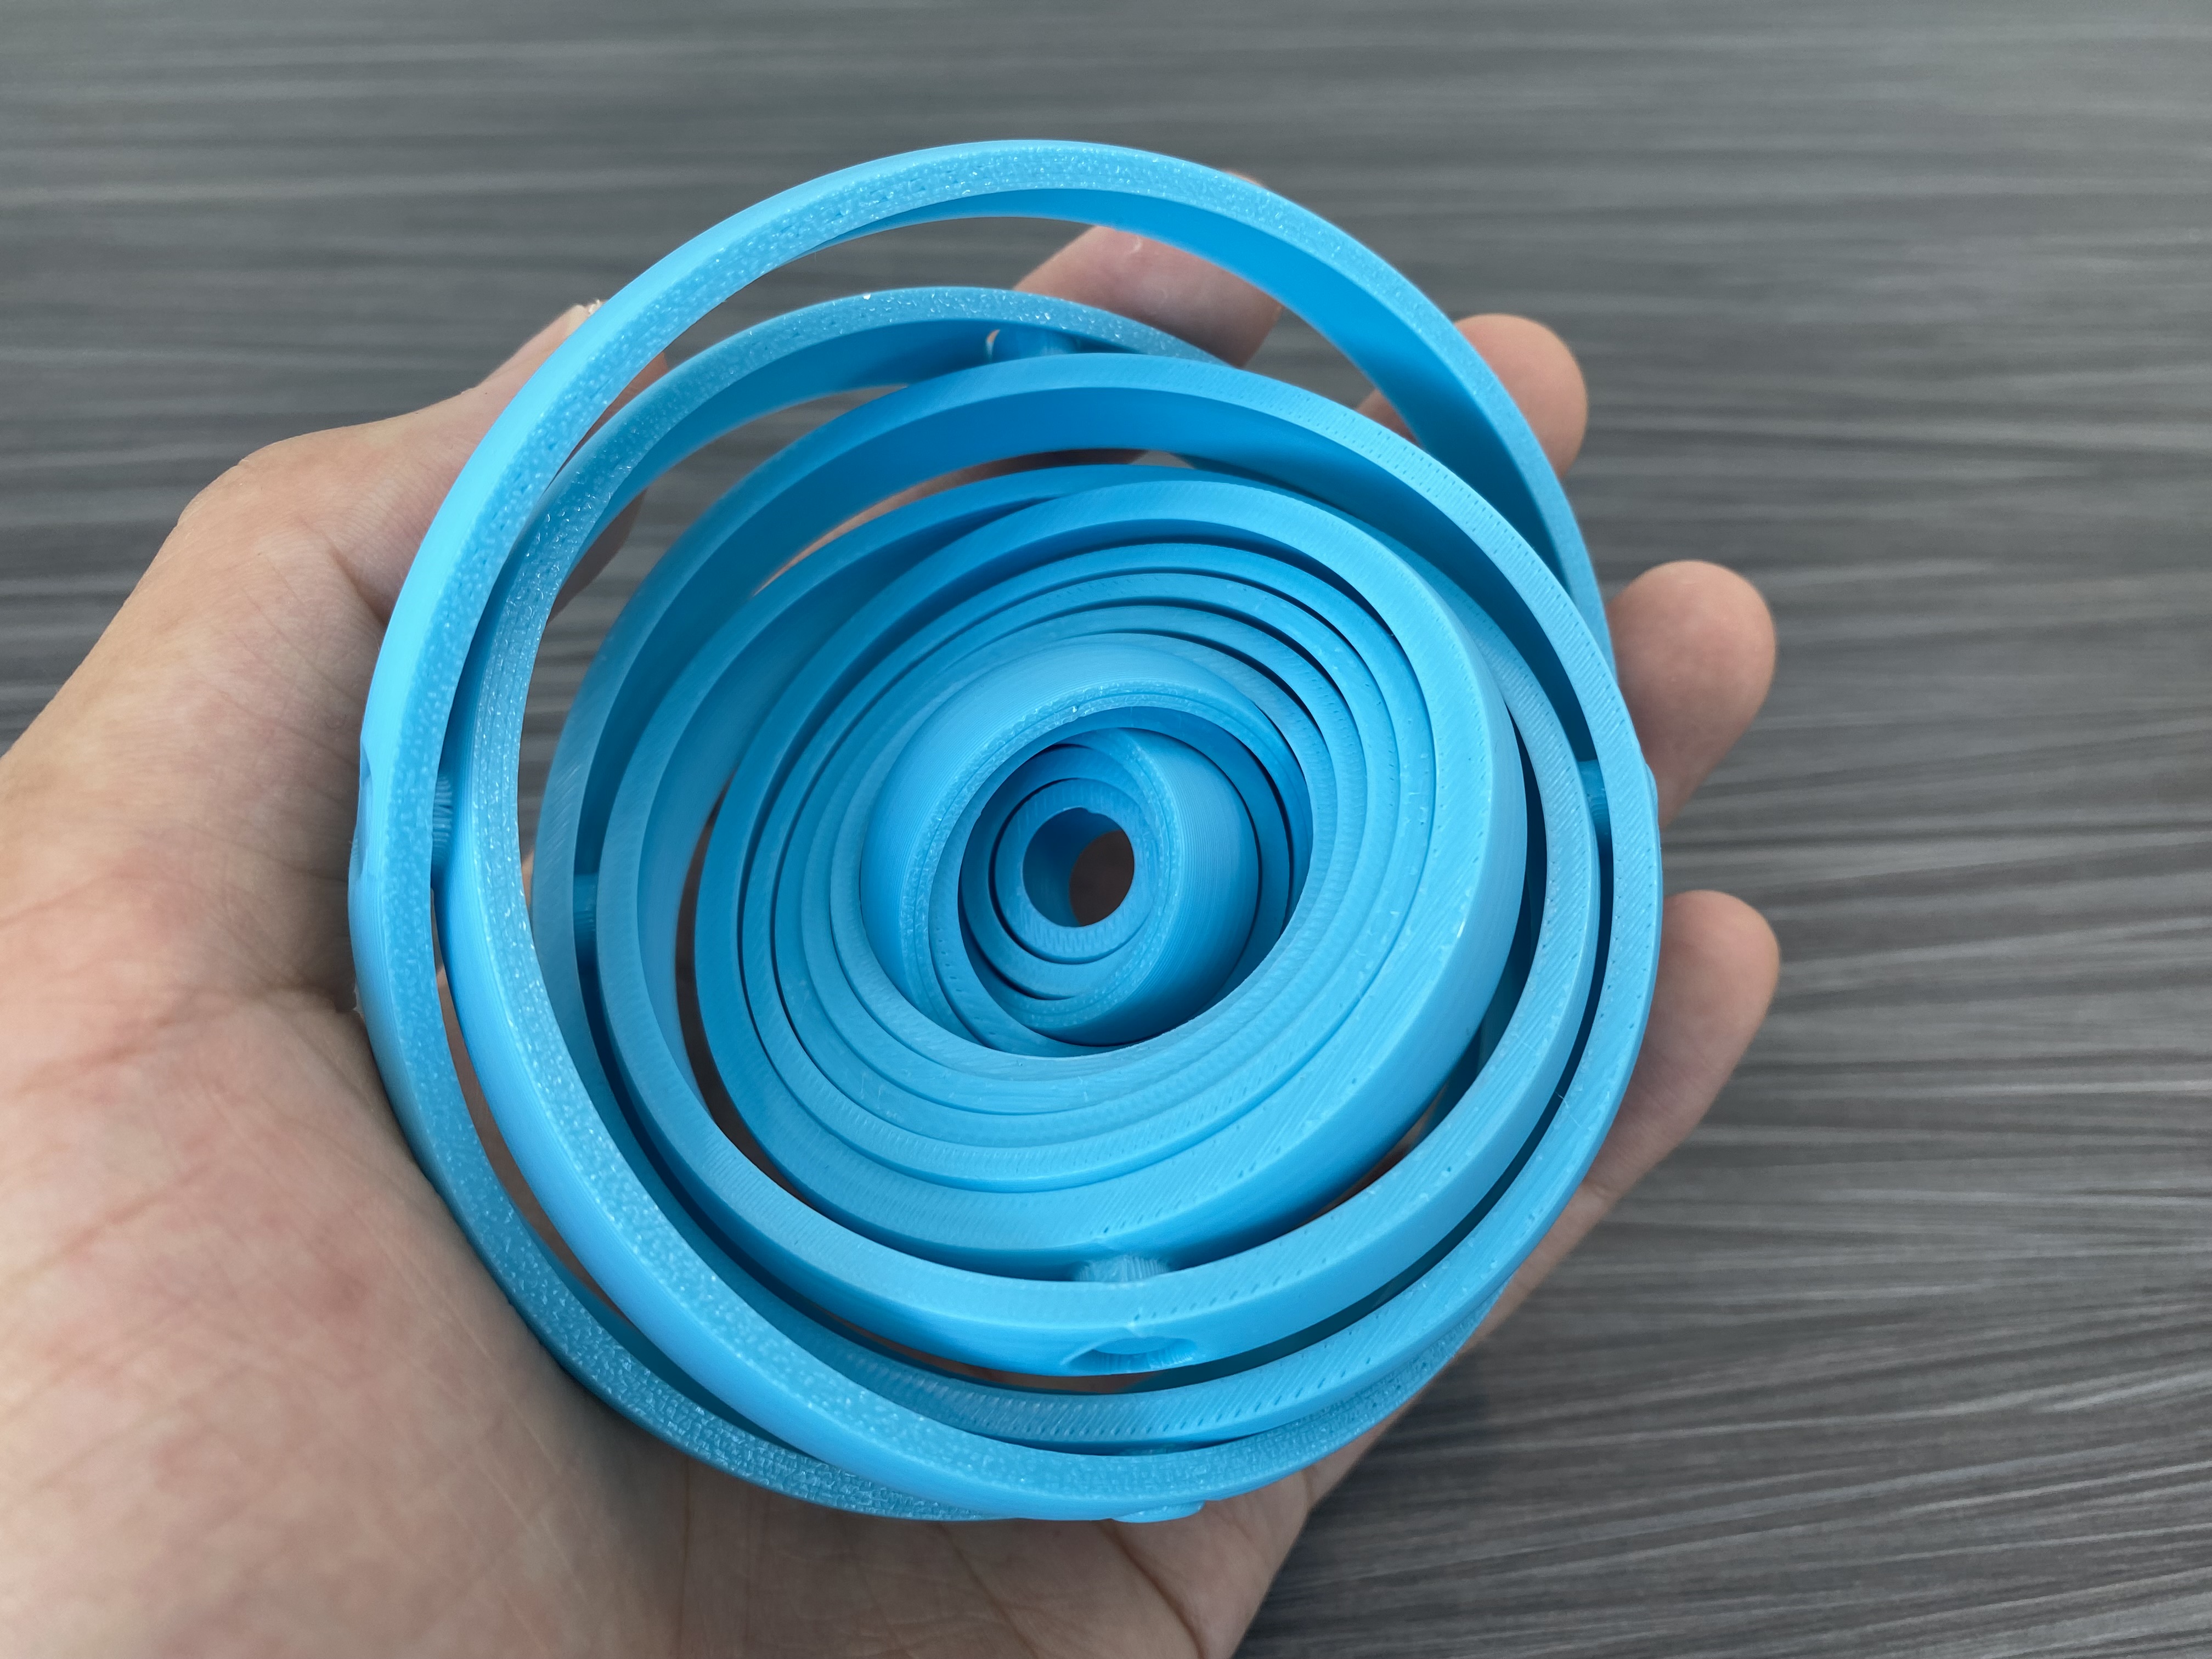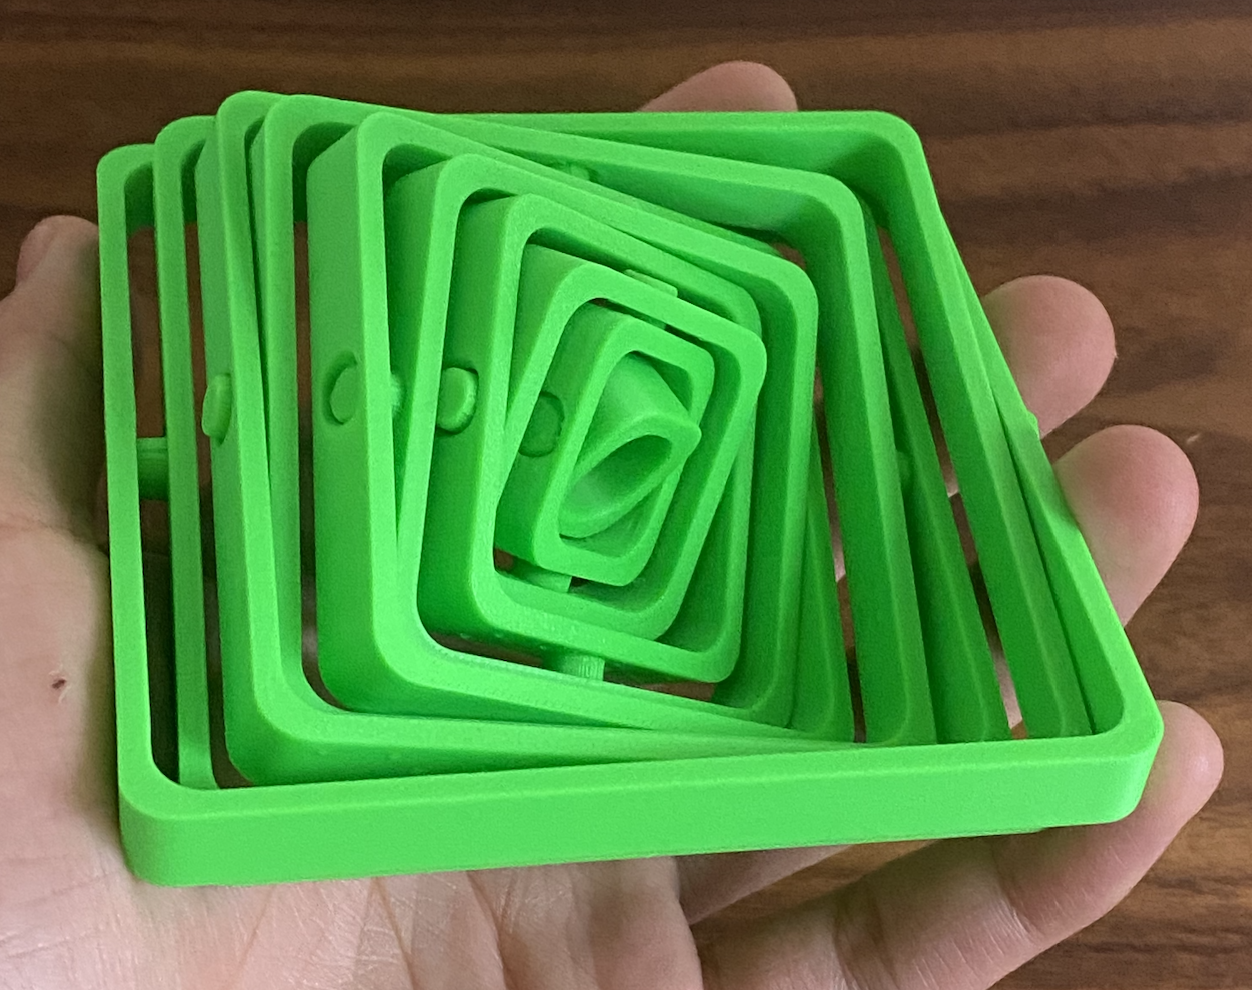
Print in Place SQUARE Gyroscope Fidget
A simple but fun Gyroscope Fidget. It is Print in Place and should work after breaking the rings free. Rinse it slightly with water for smoother movement.
- Pobrania
- 1317
- Polubienia
- 166
- Ocena
- 4
Liczymy pasujące modele…
A simple but fun Gyroscope Fidget. It is Print in Place and should work after breaking the rings free. Rinse it slightly with water for smoother movement.
Two Versions: Normal, round screw Flat, 2 sides are flat making it easier to hold No support needed, just print and play with them, If its not smooth at first, run it under some water until it spins freely.
Post-Printing After print, to loosen moving parts, you can use needle-nose pliers or another tool to break them free. After all parts can move, rinse under water to make everything move smoothly! Assembly Use the 3 way joints to connect…
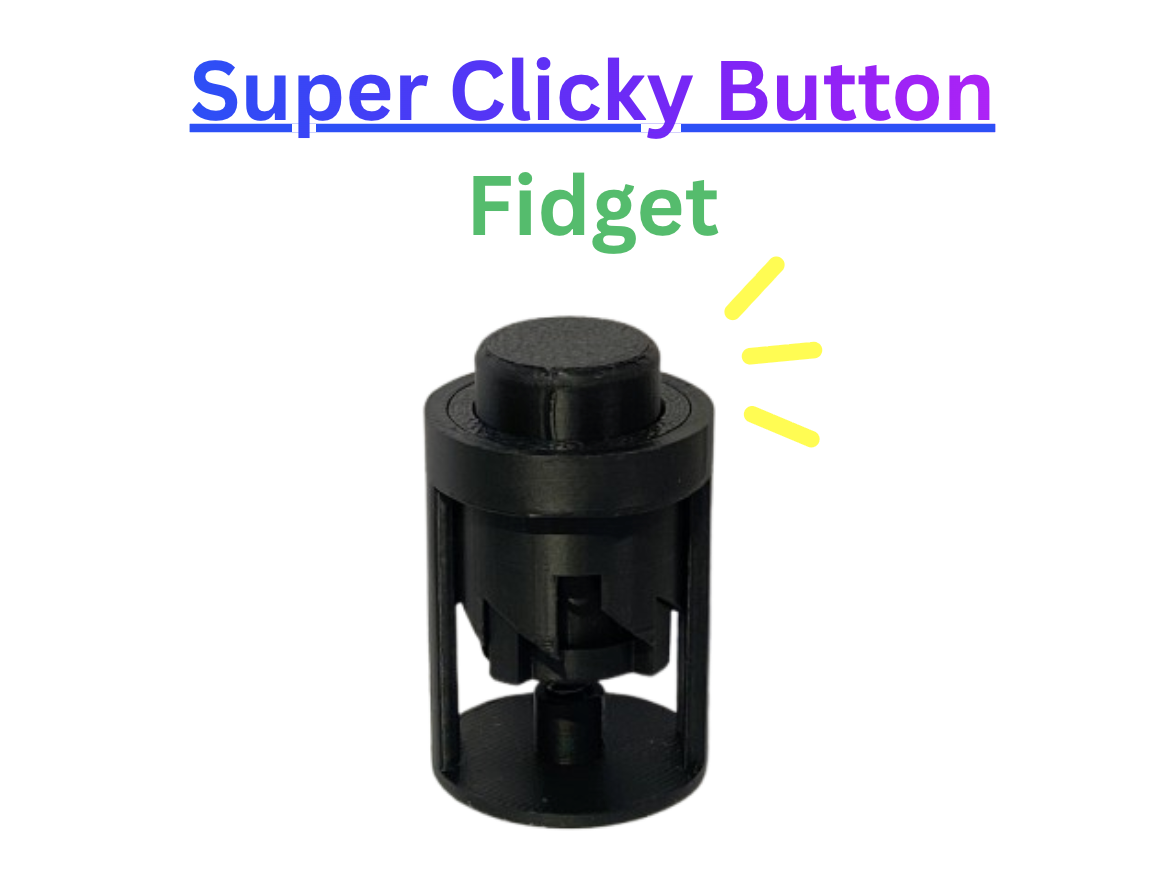
A clicky button that uses the mechanism of a clicker pen! Assembly In total, you will need the 4 printed parts and any standard pen spring. Slide the button into the sharply edged part. While holding it upside down, place the piece with 4…
Simply print and snap layers apart after printing 2 versions: Normal and mini For best results, use 0.1mm XY Hole Compensation
Post-Printing After print, to loosen moving parts, you can use needle-nose pliers or another tool to break them free. After all parts can move, rinse under water to make everything move smoothly! Assembly Use the 3 way joints to connect…
Tiny little fidget to bring with you!
Printing Make sure the first layer of gears adhere nicely to the build plate, to make sure the gears will mesh and spin smoothly. Assembly For the 2 gear version, simply print the file, mesh the gears first and then slide them onto the…
A simple print in place Hex fidget, that makes mesmerizing shapes when fidgeted with!
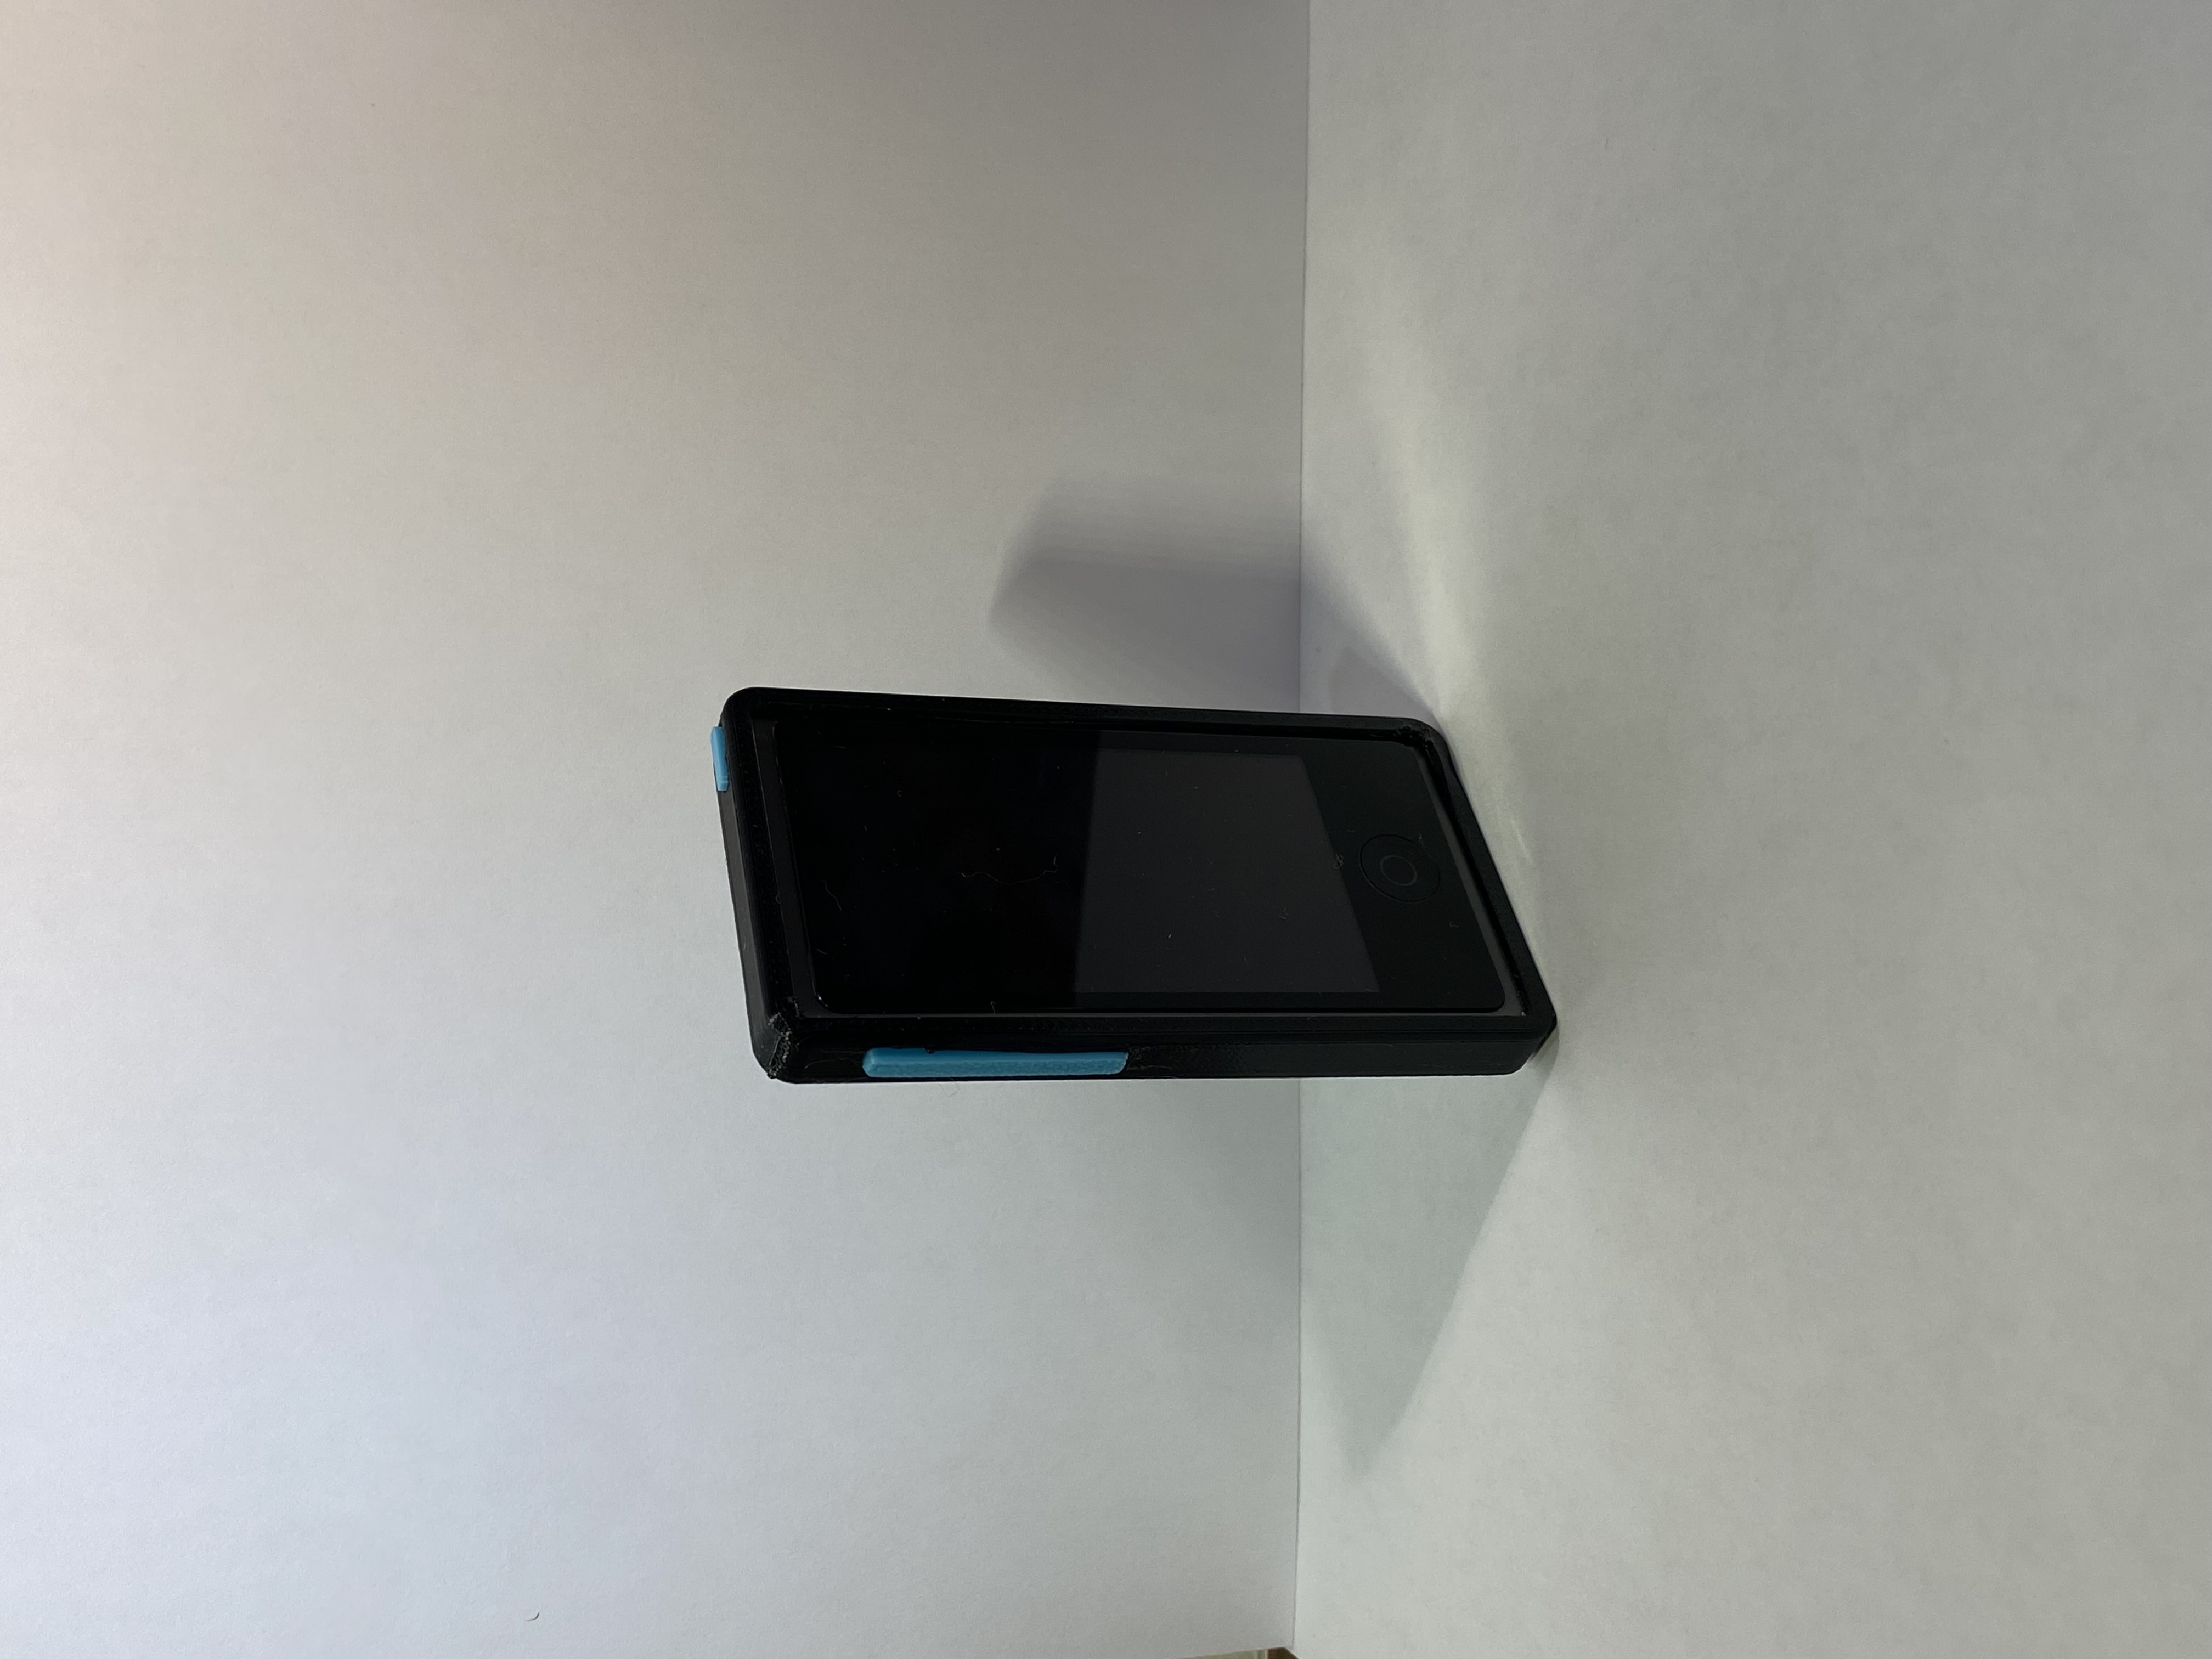
A handy little case to customize the style of and protect your IPod nano 7th Gen! Print one CASE, and one of each button, VOLUME and POWER. Printing Use slicer to add color/designs to the back of the case. The case should be printed in…
I couldn't find one online so I made one myself! Printing Print the 3 pieces, shouldn't need supports if your printer can do decent bridges. Assembly Feed a USBC cable through the hole, make sure the pixel buds can charge and then use the…
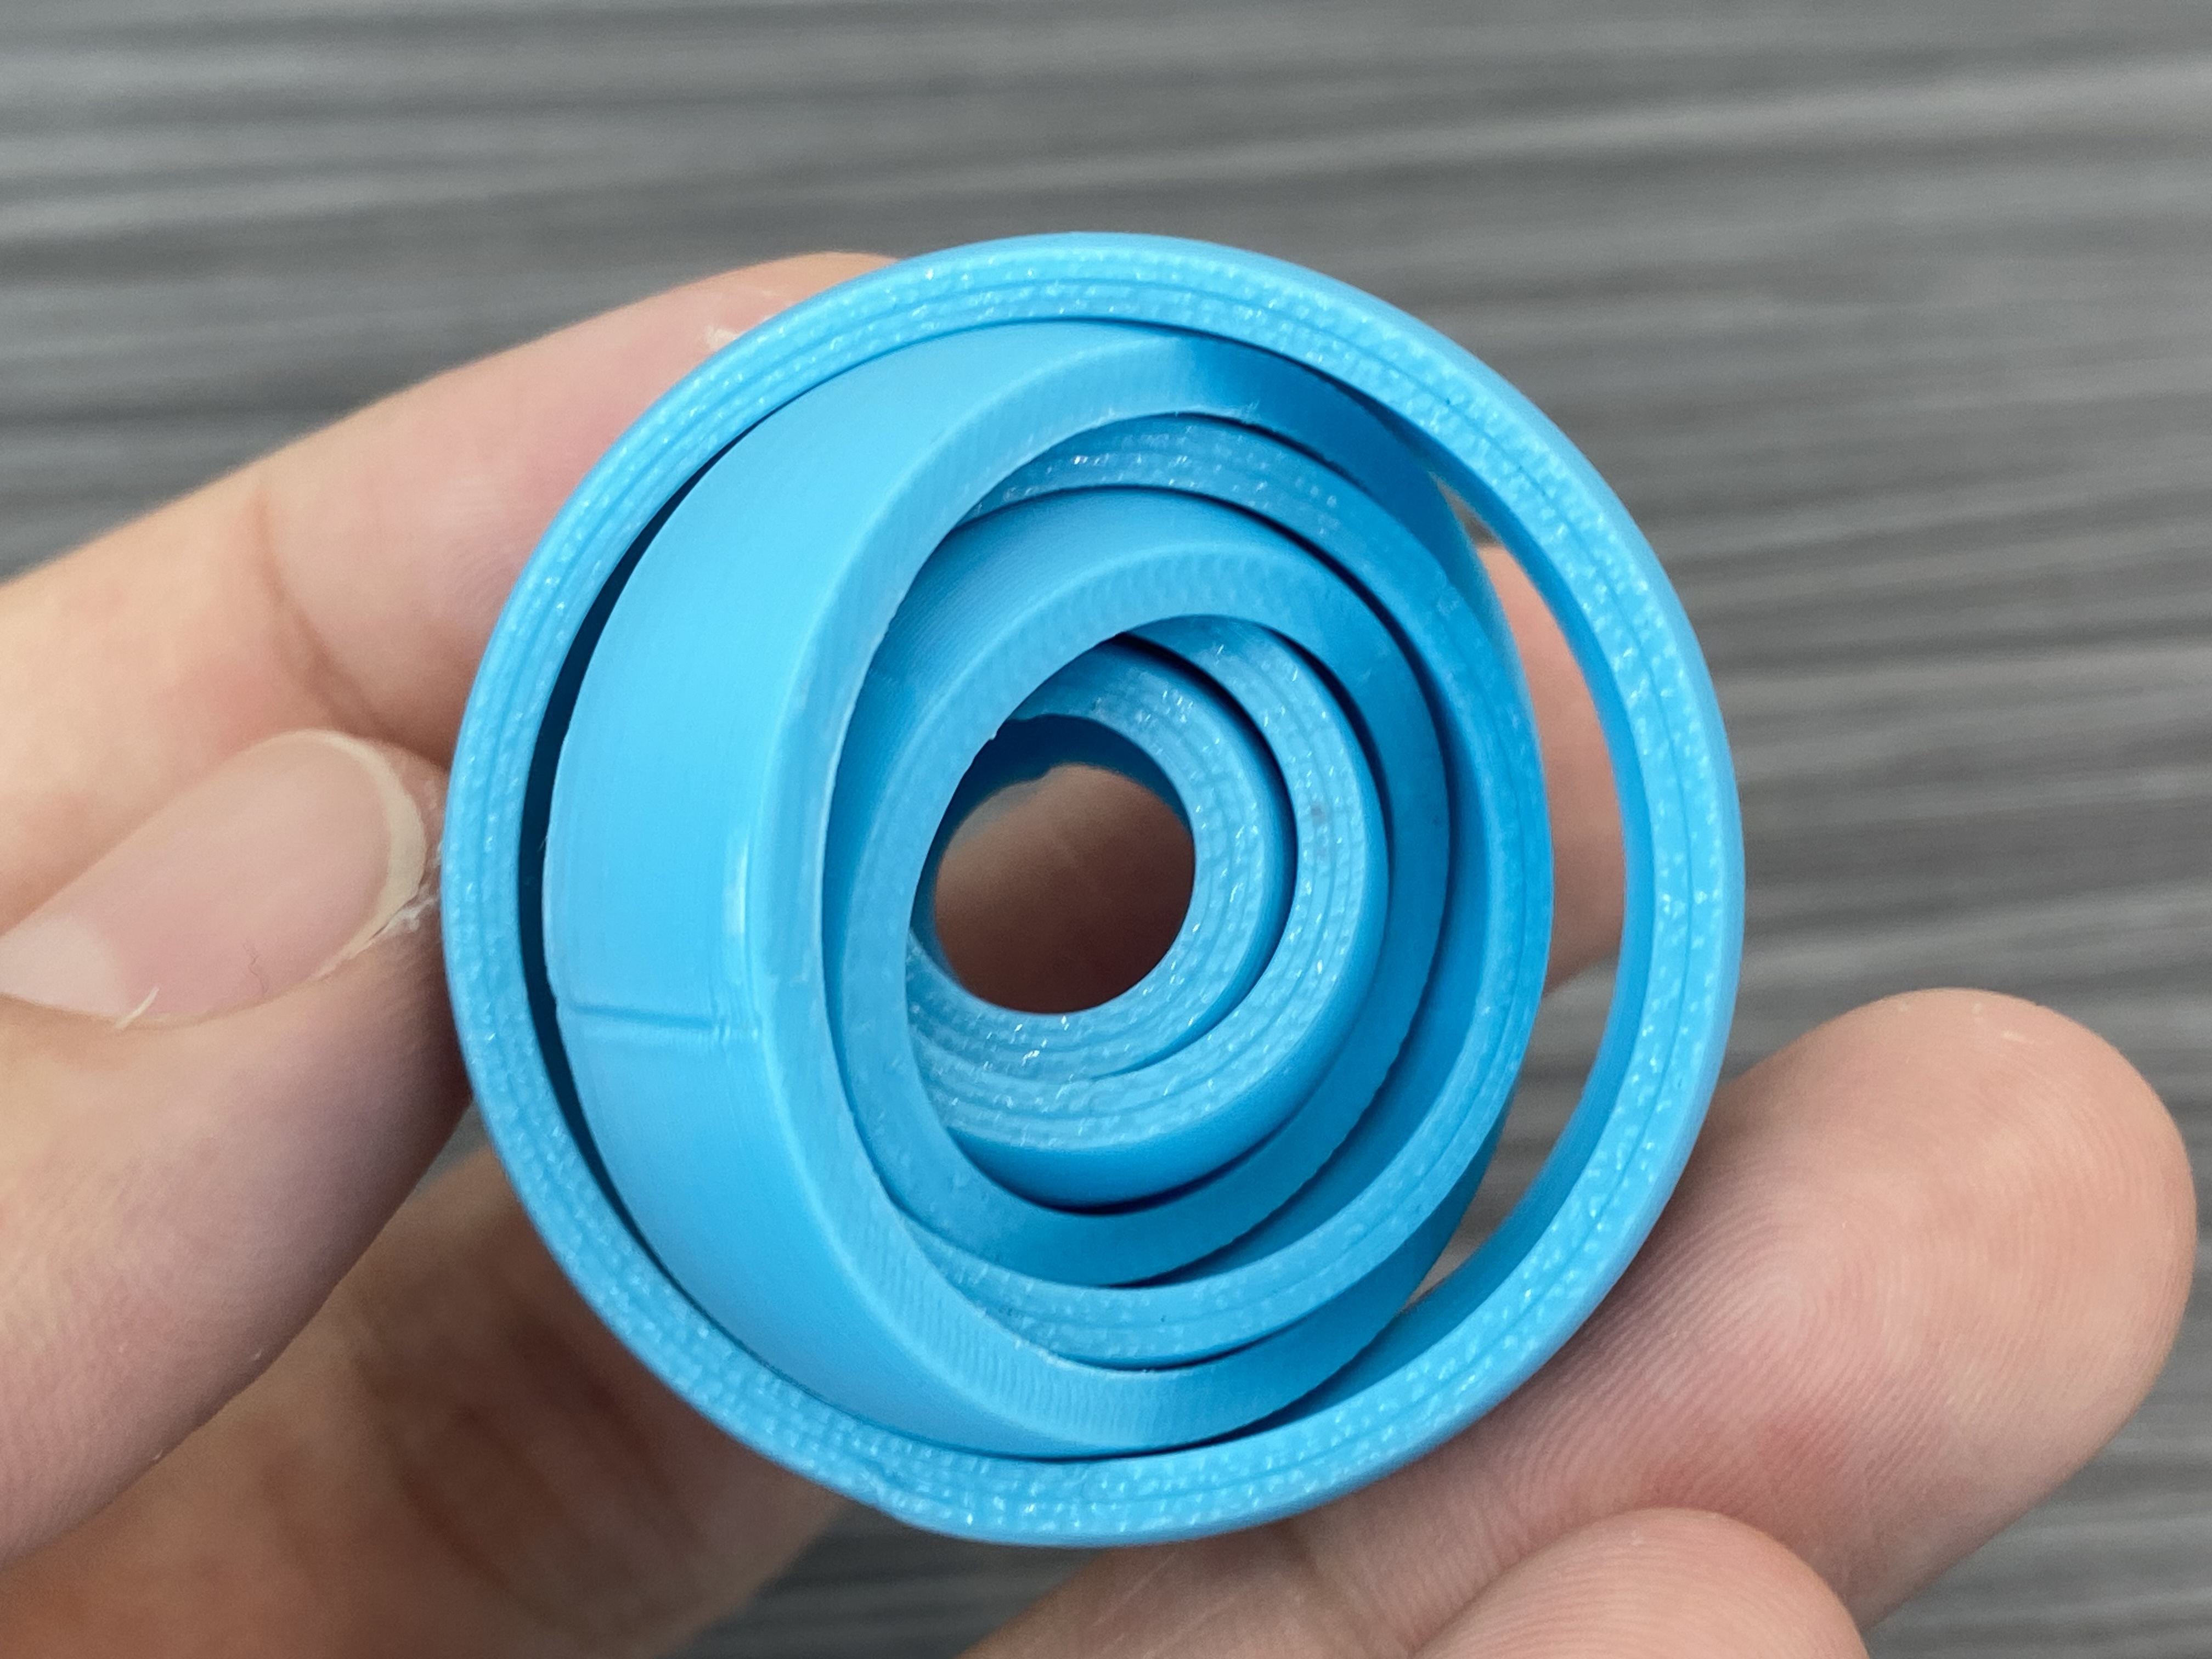
2 types of gyroscope fidgets in one, the outer rings can only move and rotate around their axis, while the inner rings can move more freely in any direction!
Simply print and snap layers apart after printing For best results, use 0.1mm XY Hole Compensation If you like this, support me!
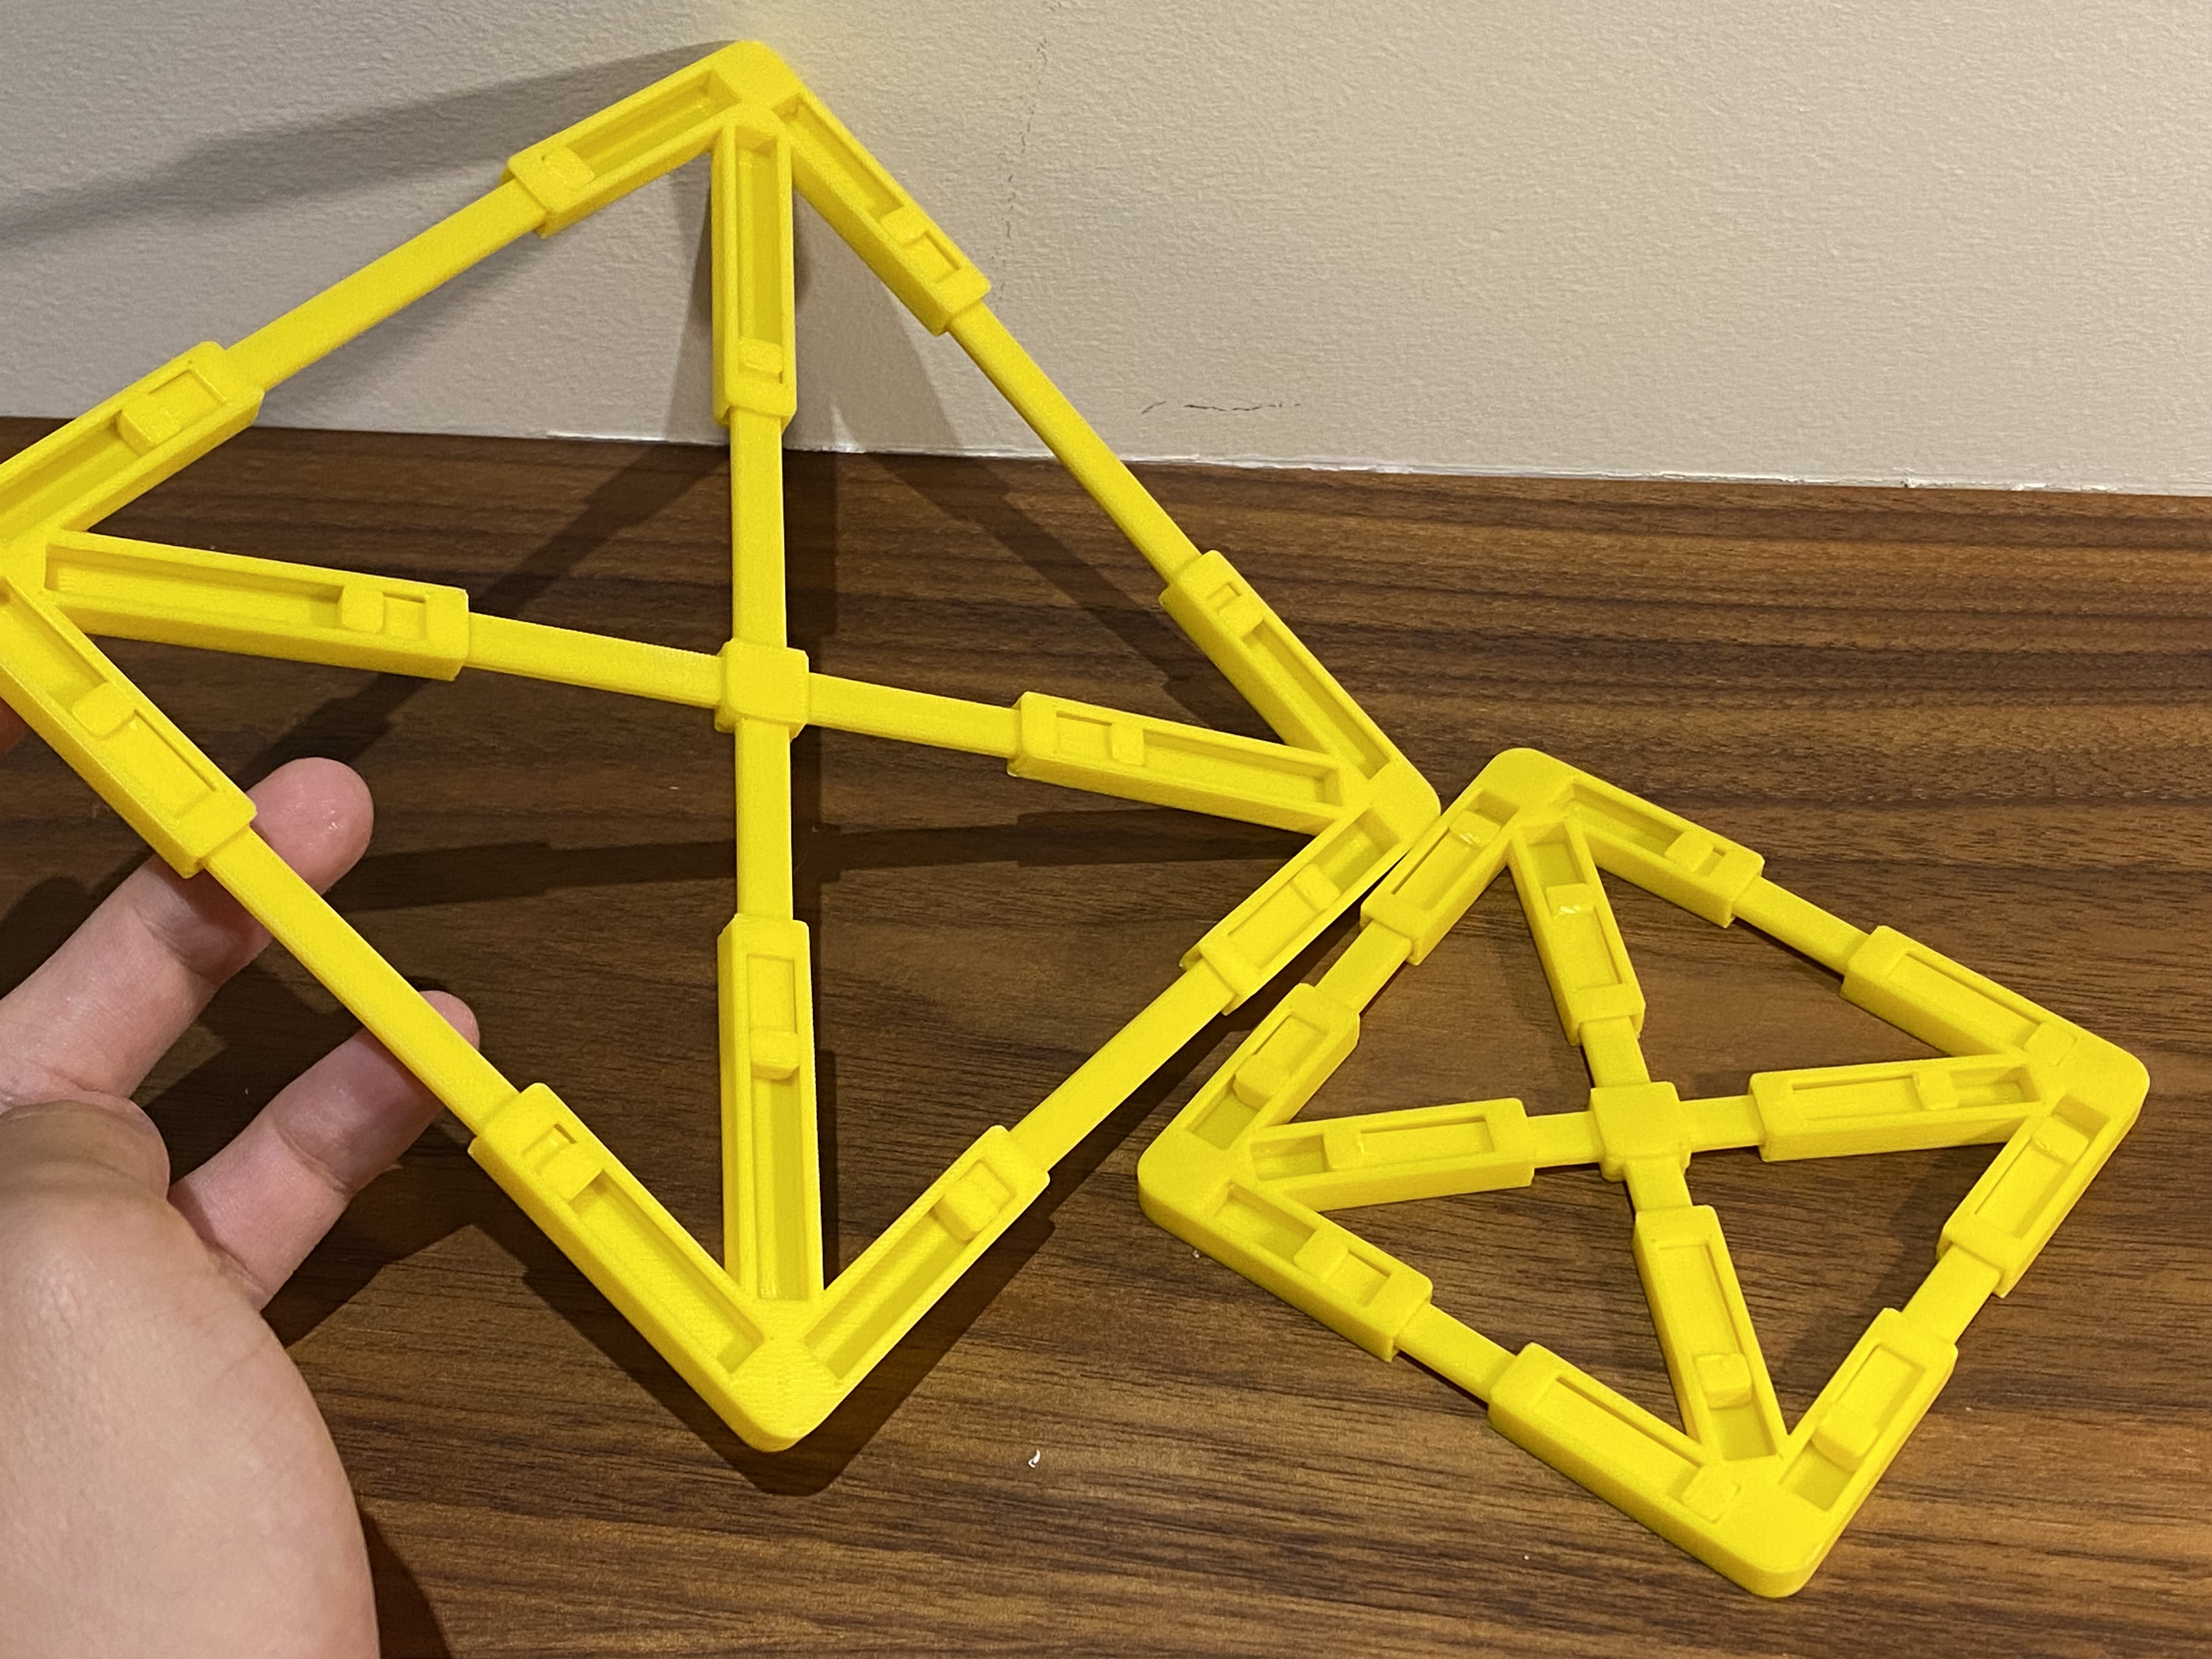
Print All in one or 5 Long Pieces, 1 big square and 4 small squares Try to get the yellow large square out the bottom slot Watch the video!
A simple frame that keeps standard size grocery bags open without the sides collapsing and folding in constantly. Perfect to use as a easy trash or recycling bin somewhere around your house. To assemble, simply slide the 2 connector…
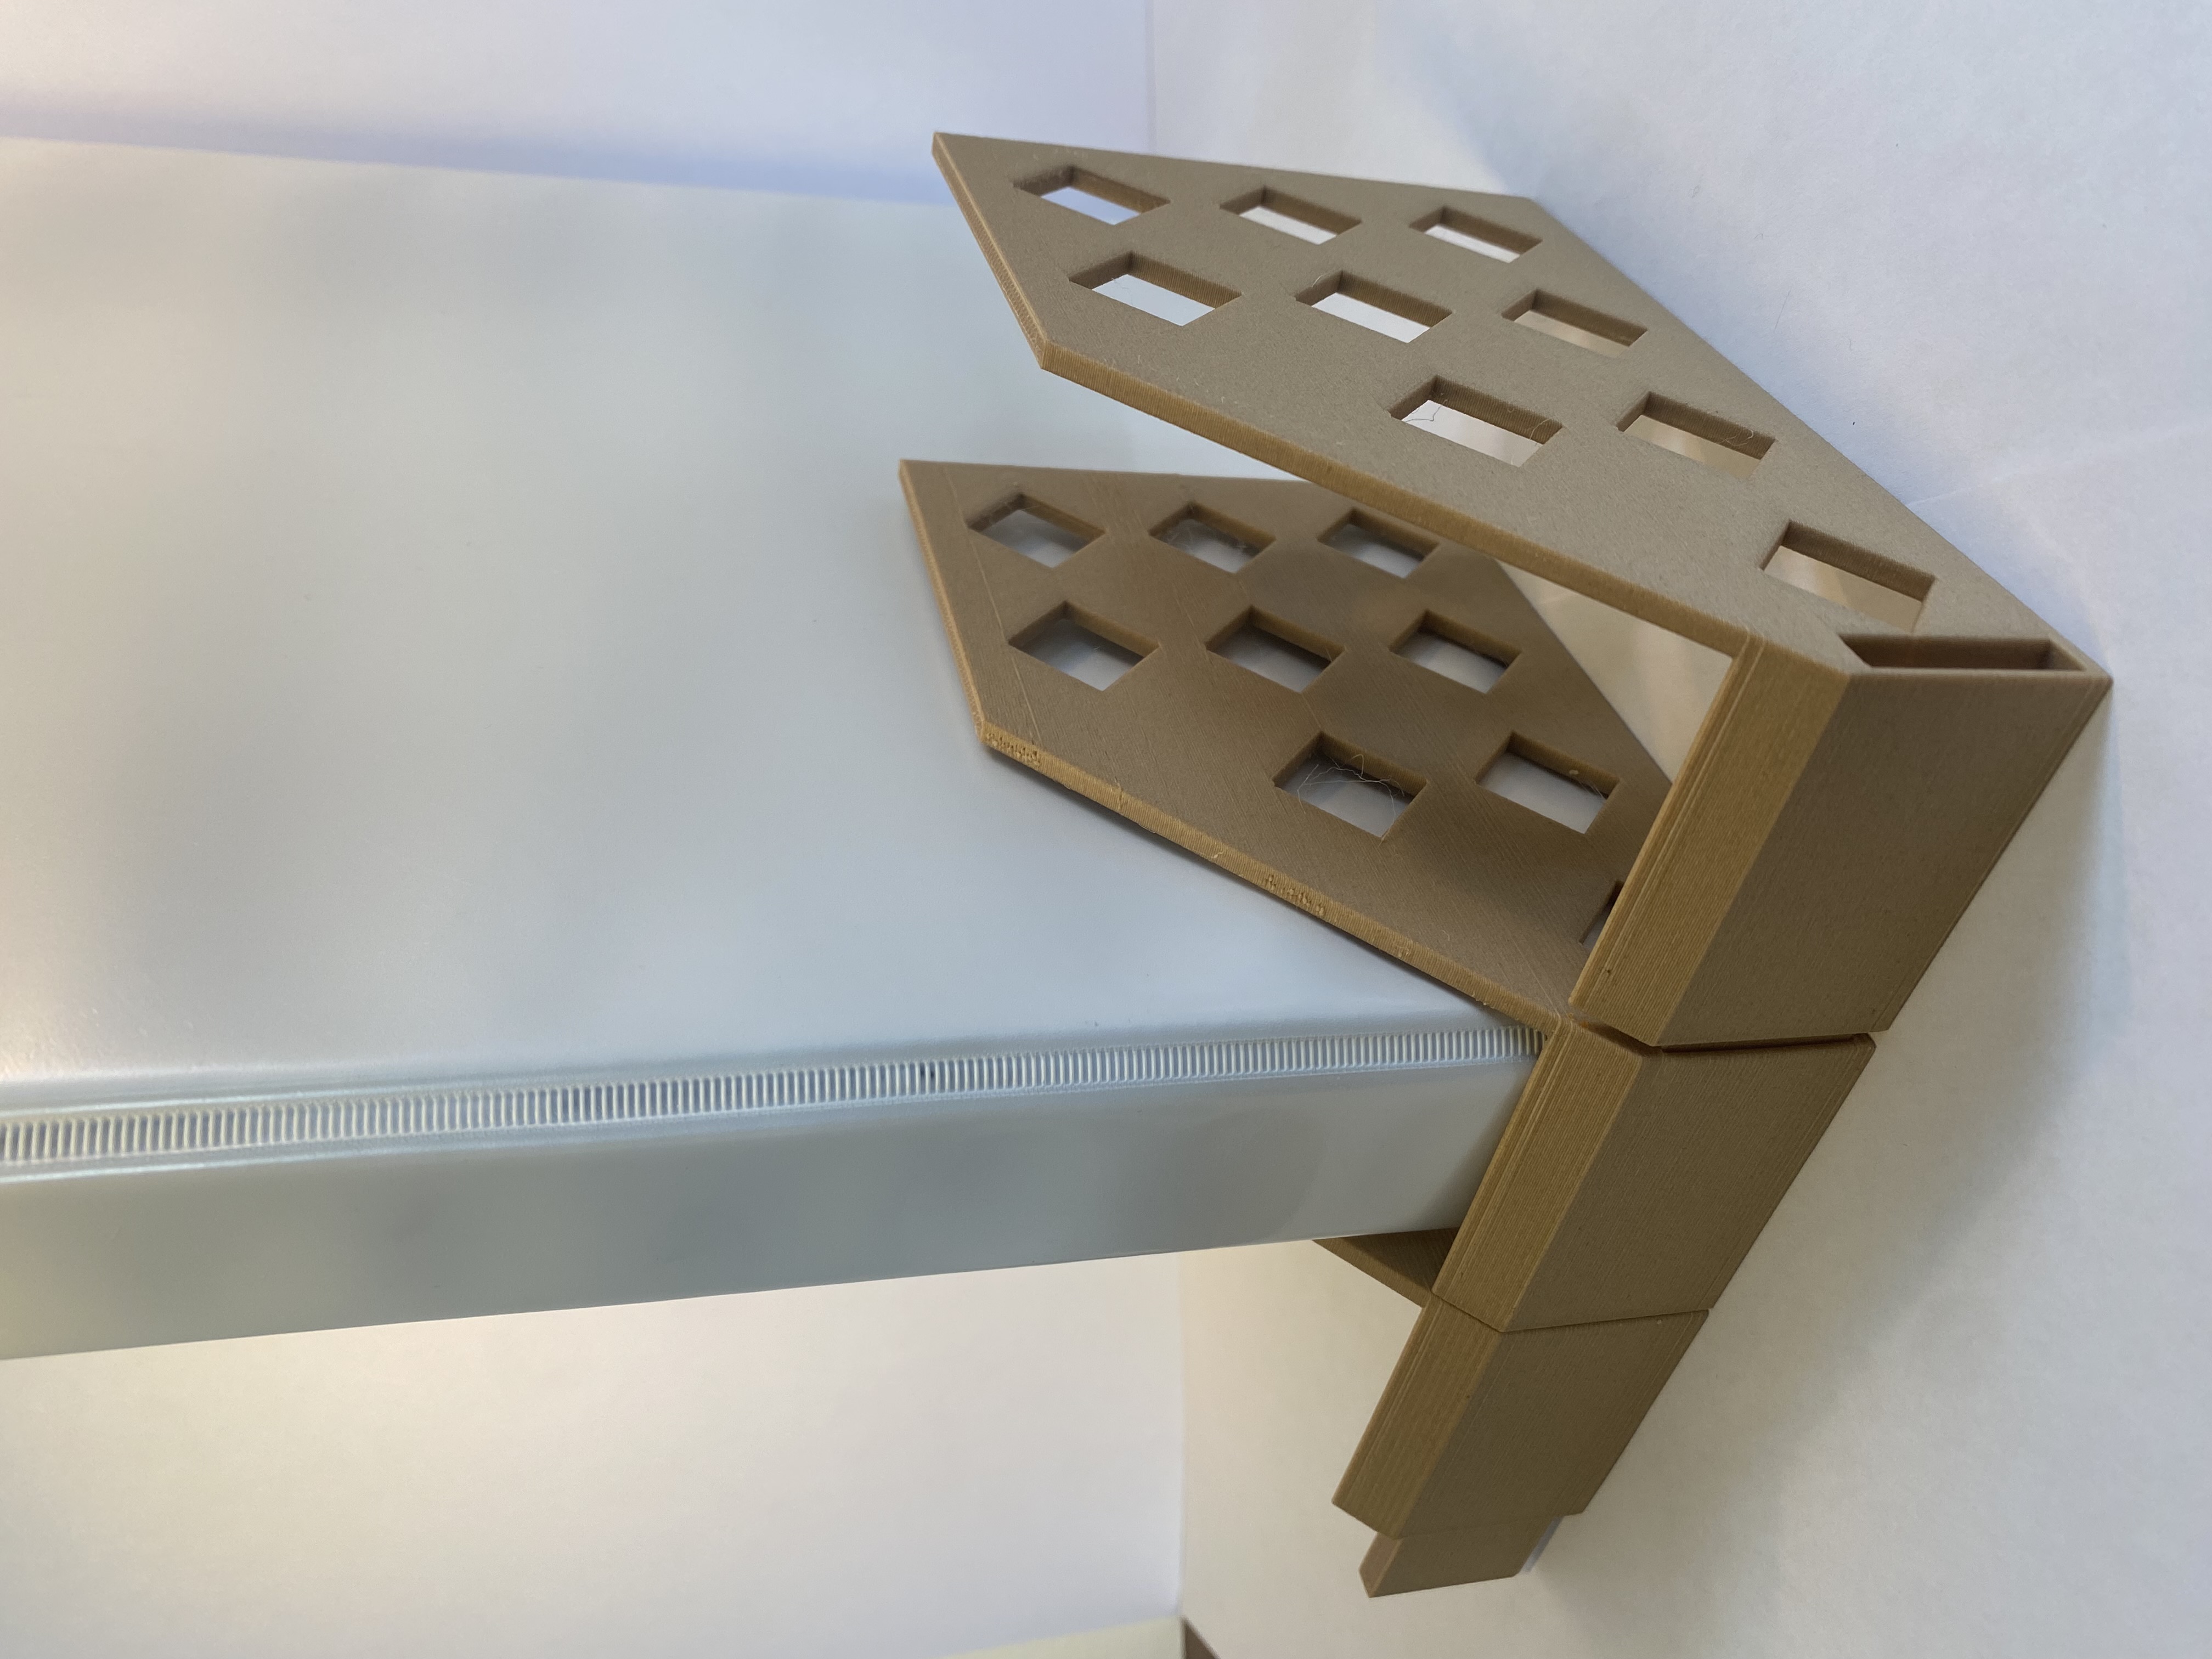
These modules allow you to build a custom binder organization setup Printing There are currently 3 different modules: Base - First module to print, everything builds off of it Connector Left/Right- Connects to the side of the base to add…
After print, to loosen moving parts, you can use needle-nose pliers or another tool to break them free. After all parts can move, rinse under water to make everything move smoothly!
Simply print and snap layers apart after printing For best results, use 0.1mm XY Hole Compensation If you like this, support me!
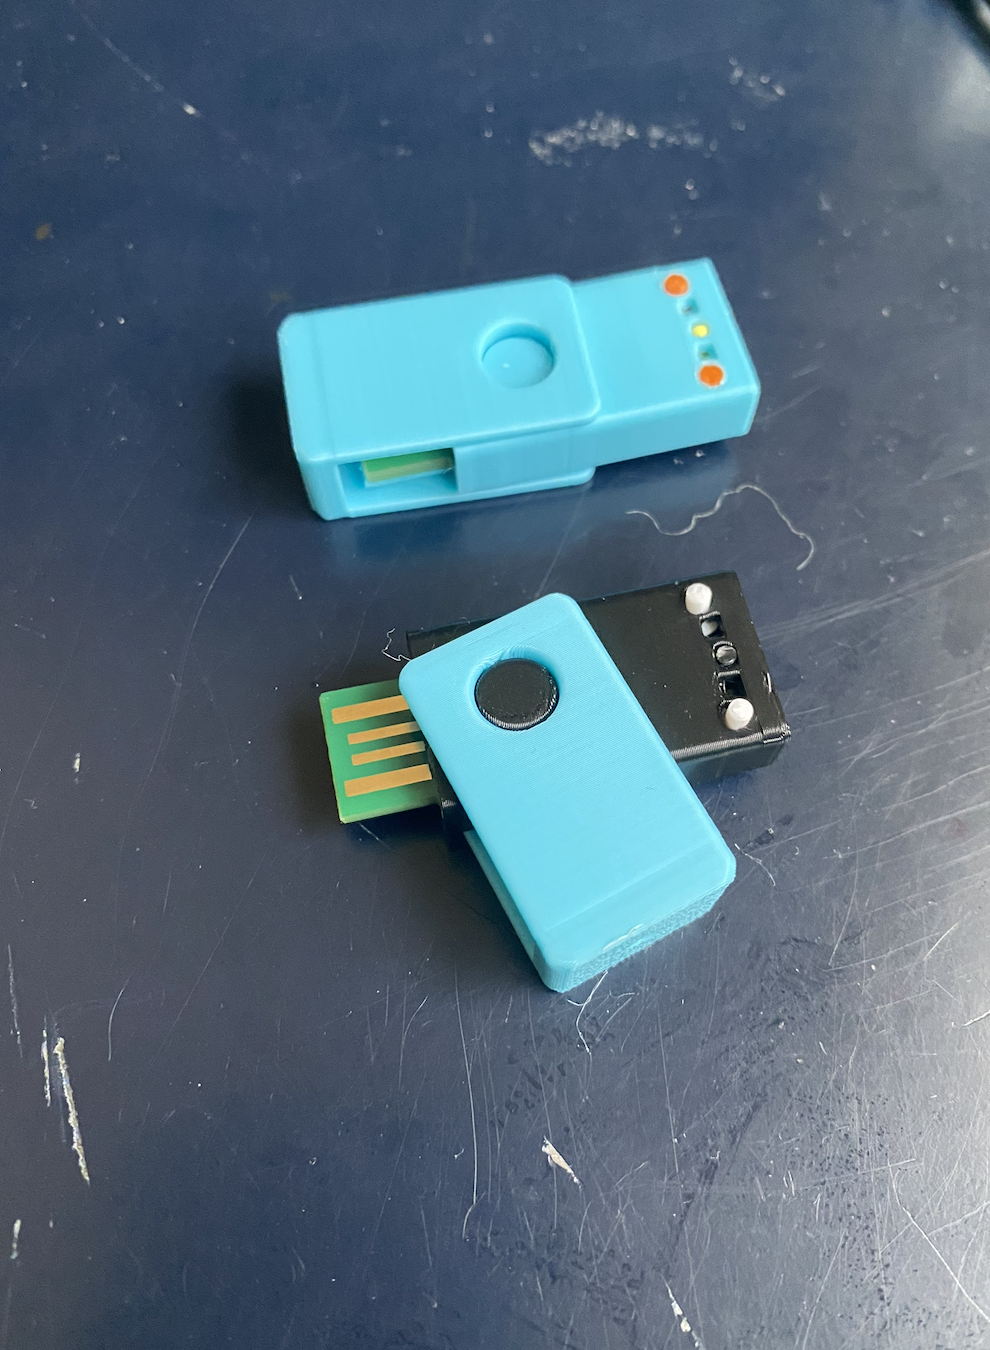
Print: btn x2 case x1 cap x1 or just print the case_together file Supports aren't really needed, print everything standing up vertically To assembly: First insert the 2 buttons through the case, you may have to cut of a bit of the edges…
After print, to loosen moving parts, you can use needle-nose pliers or another tool to break them free. After all parts can move, rinse under water to make everything move smoothly! Post Printing: https://www.youtube.com/watch?v=3Ce20exFUxU
Simply print and snap layers apart after printing For best results, use 0.1mm XY Hole Compensation If you like this, support me!
To wszystkie aktualnie dostępne wyniki.