P
Printableseveve05

Ratcheting Capo (stronger)
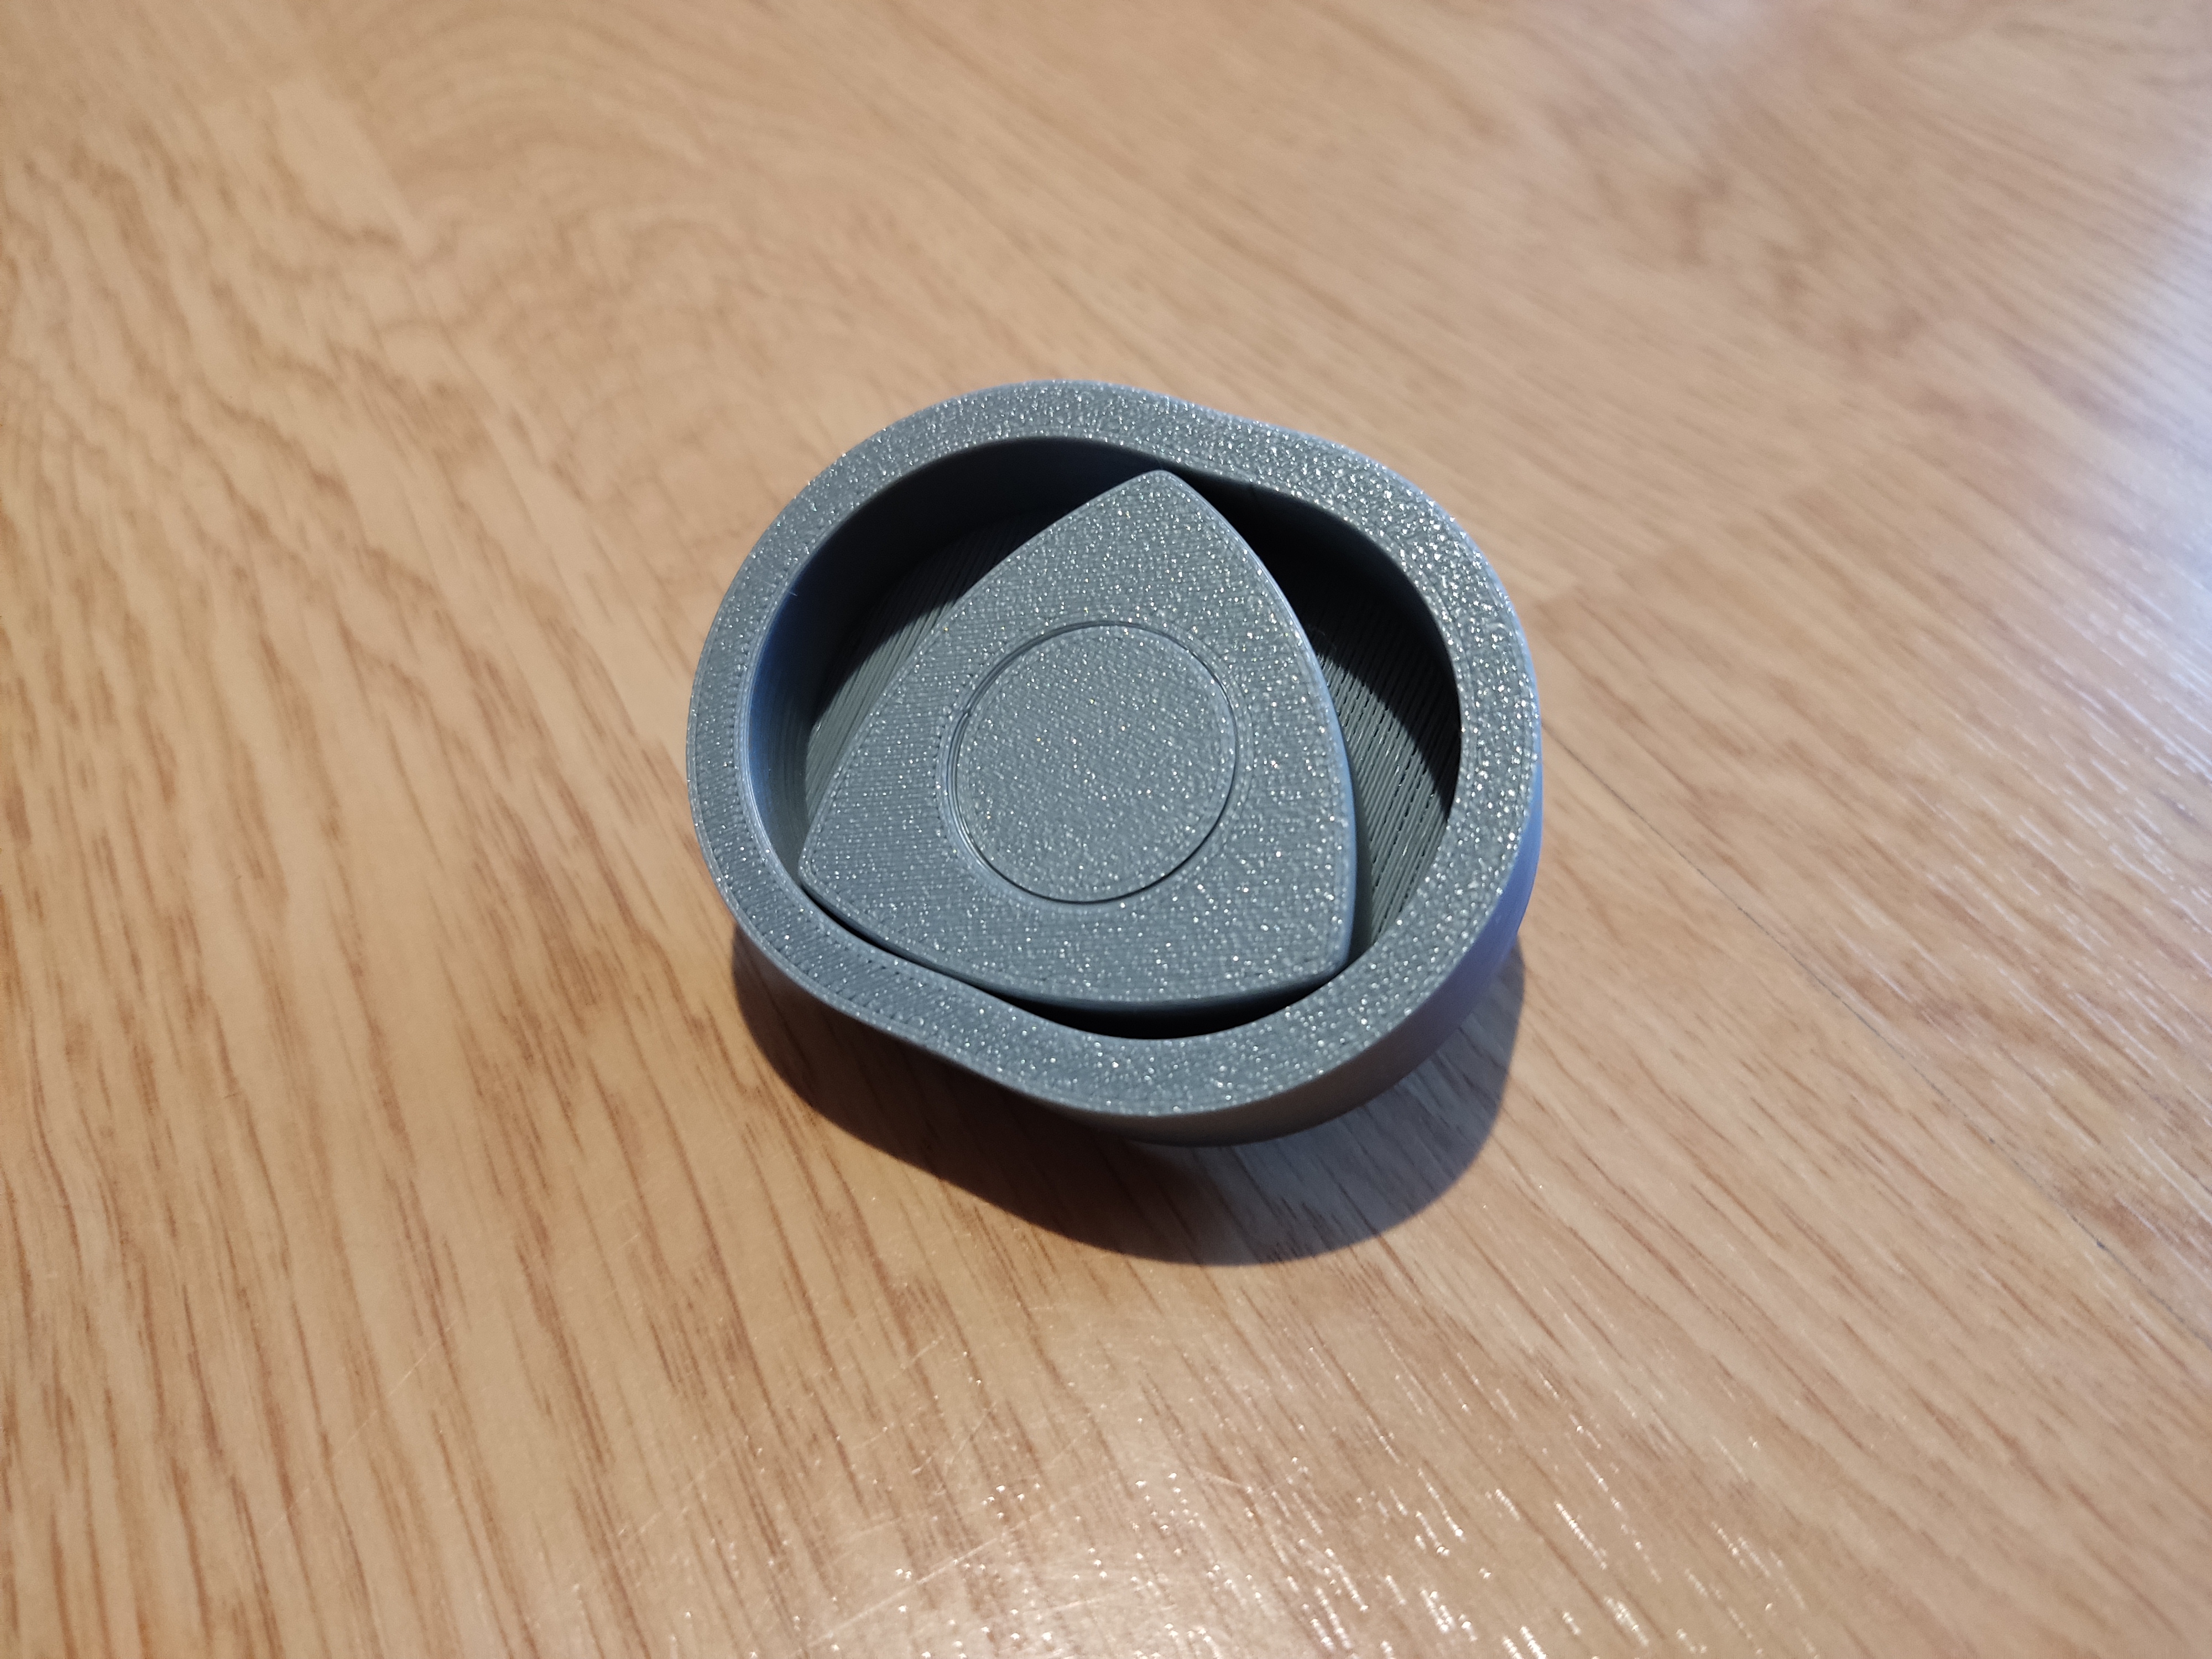
Print without supports After printing you have to break-loose the hinge. Optionally you can add a softer material (electrical tape/heat shrink) to the arm and body.
- Pobrania
- 941
- Polubienia
- 53
- Ocena
- 5
Liczymy pasujące modele…
Print without supports After printing you have to break-loose the hinge. Optionally you can add a softer material (electrical tape/heat shrink) to the arm and body.
This model can show both a radial engine (rotating crankshaft with a stationary body) and a rotary engine (stationary crankshaft with a rotating body).
Print at 0.2 mm layer height.
Print with 0.1mm layer height to make it easier. If you have stringing problems it's going to look messy. Good luck
Only tested with PET-G, PLA might not be flexible enough. Hole for a 6mm Allen wrench. Raised model has two small sections raised 0.6mm above the rest of the model. Print in different colour for best results. This harmonic drive consists…
Parts: base handle stone x 3 pin x 3 Assembly: put pins in stones put stones into their tracks put handle on pins check if everything moves freely connect handle with pins, you can use glue, I used a soldering iron set to 120 ° C (for…
Printing: (red parts - C-TECH premium line PETG, black parts - Sunlu neat winding PLA) everything printed with 2 perimeters 10% lines (rectalinear) infill spring and ratchet should be printed with PETG propeller use HIPS or ABS if you…
Print settings: 0.4 mm width @ 0.2 mm layer height for the top and body an ( outer) brim is recommended you need to add custom supports if you are using piggy bank models without pre-made supports Versions: storage box doesn't have a slot…
If you added a gear to the body you would create a differential. (I only realised that when my dad told me) Parts: body bottom gear top gear cage x3 inner shaft outer shaft pin x3 side gear x3 The way I designed the parts to be connected…
GCODE ONLY FOR MATERIAL AND PRINT TIME ESTIMATE The original idea was a toy to get a child into pc building, but in my opinion, the result also makes for a great decoration. For a better look, I recommend to print with multiple colours.…
Assembly: red pins are bits of filament, bend the ends to secure them in place (PETG is ideal as other filaments tend to snap) the knob just loosely sits on its shaft, glue it if it bothers you
To wszystkie aktualnie dostępne wyniki.