
Inverter End Cover
We calculate the final price from your selected file. You review and accept it before payment.
Saved on this device.
End covers for a LED inverter, Provides Protection for otherwise bare terminals, has plastic knockouts in base.
- Rating
- 0 / 5
- Likes
- 1
- Downloads
- 9
- Makes
- 0
- Views
- 62
- Reviews
- 0
Updated at source:
Model information
- Source
- Printables
- Category
- Electronics
- License
- Creative Commons — Attribution — Noncommercial — NoDerivatives
Summary
Above the workbench under the overhead shelves I had some runs of LED ribbon tape that provided great lighting, the problem was the unsupported wiring (could be snagged and pulled out) with several plug-packs required for running all the LEDs, which means no spare Power outlets.
Print Settings
- Rafts: No
- Supports: Yes
- Infill: 20%
- Notes: The Inverter End Cover was the only file that needed supports
Post-Printing
Requirements
4G x 12mm countersunk wood-screws
The top panel was designed to be held down to the End Covers with these fasteners.
in mind. The End Covers also have provision with two countersunk holes to hold them down.
This could be the listed screw, or this could be replaced with a 3mm diameter or similar countersunk bolt.

Under the End cover
Under the end cover are three potential access ways for wiring, you only need to clear plastic from the path you want to use. The other access-ways can remain blocked to preserve the appearance.

What I Used the End Covers for
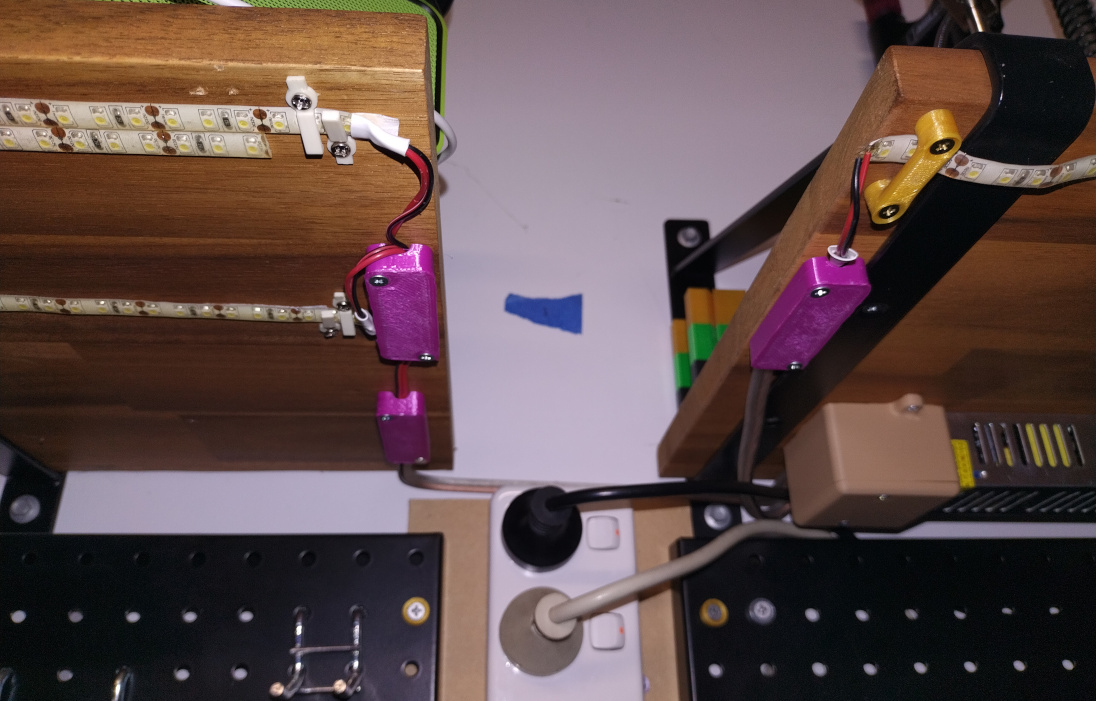
There was the messy bit of wiring under the shelves, above the workbench. There was one power-pack used to power some led strip lights. With wires left dangling and the risk of wires being pulled out, and a weak plug-pack so the wiring needed to be rearranging from time to time (the was only 2 amps in the plug-pack but 6+ amps to fully light up the strips) It was limiting to only work on one side or the other of the workbench.

Preparing the Inverter
On the workbench were you can comfortably prepare the inverter, connect necessary wires and switches, etc.
shown connected:
Spade Connectors and Crimp
Hookup Wire
Electrical Flex with Molded Power Plug (chopped from broken equipment)
Switch for 22mm hole
110-220 to 12V Inverter

Fitting inverter and covers
The Inverter is screwed back to the where-ever it is to be located. the end covers are separately screwed in place.
Finish up
I made some tiny junction boxes (available as 1004587-tiny-junction-box )
to cover over the connections of the hook-up wire to the leads on the LED strips. This left tidy wiring with little opportunity of wires being caught.