
truck kit no.4
We calculate the final price from your selected file. You review and accept it before payment.
Estimated printing price per file
€0.63 – €0.77 net (excluding VAT)
For file: truck_white_0.2mm_PLA_MINI_48m.gcode
This is an estimate for one file. You’ll confirm the exact price before ordering.
File and estimate settings
File used for this estimate
Average indicative estimate: €0.70 excluding VAT (range midpoint).
- Weight reported by the author
- 7 g
- Print time reported by the author
- 47.4 min
- Source material
- PLA
- Estimate material
- PLA
- Estimate printer
- Bambu Lab P1S - 0.4 nozzle
- Estimate process
- 0.20mm Standard
Indicative estimate for the selected file only, based on the author’s weight and print time. File variants are not added together. The final price is calculated after file analysis.
Saved on this device.
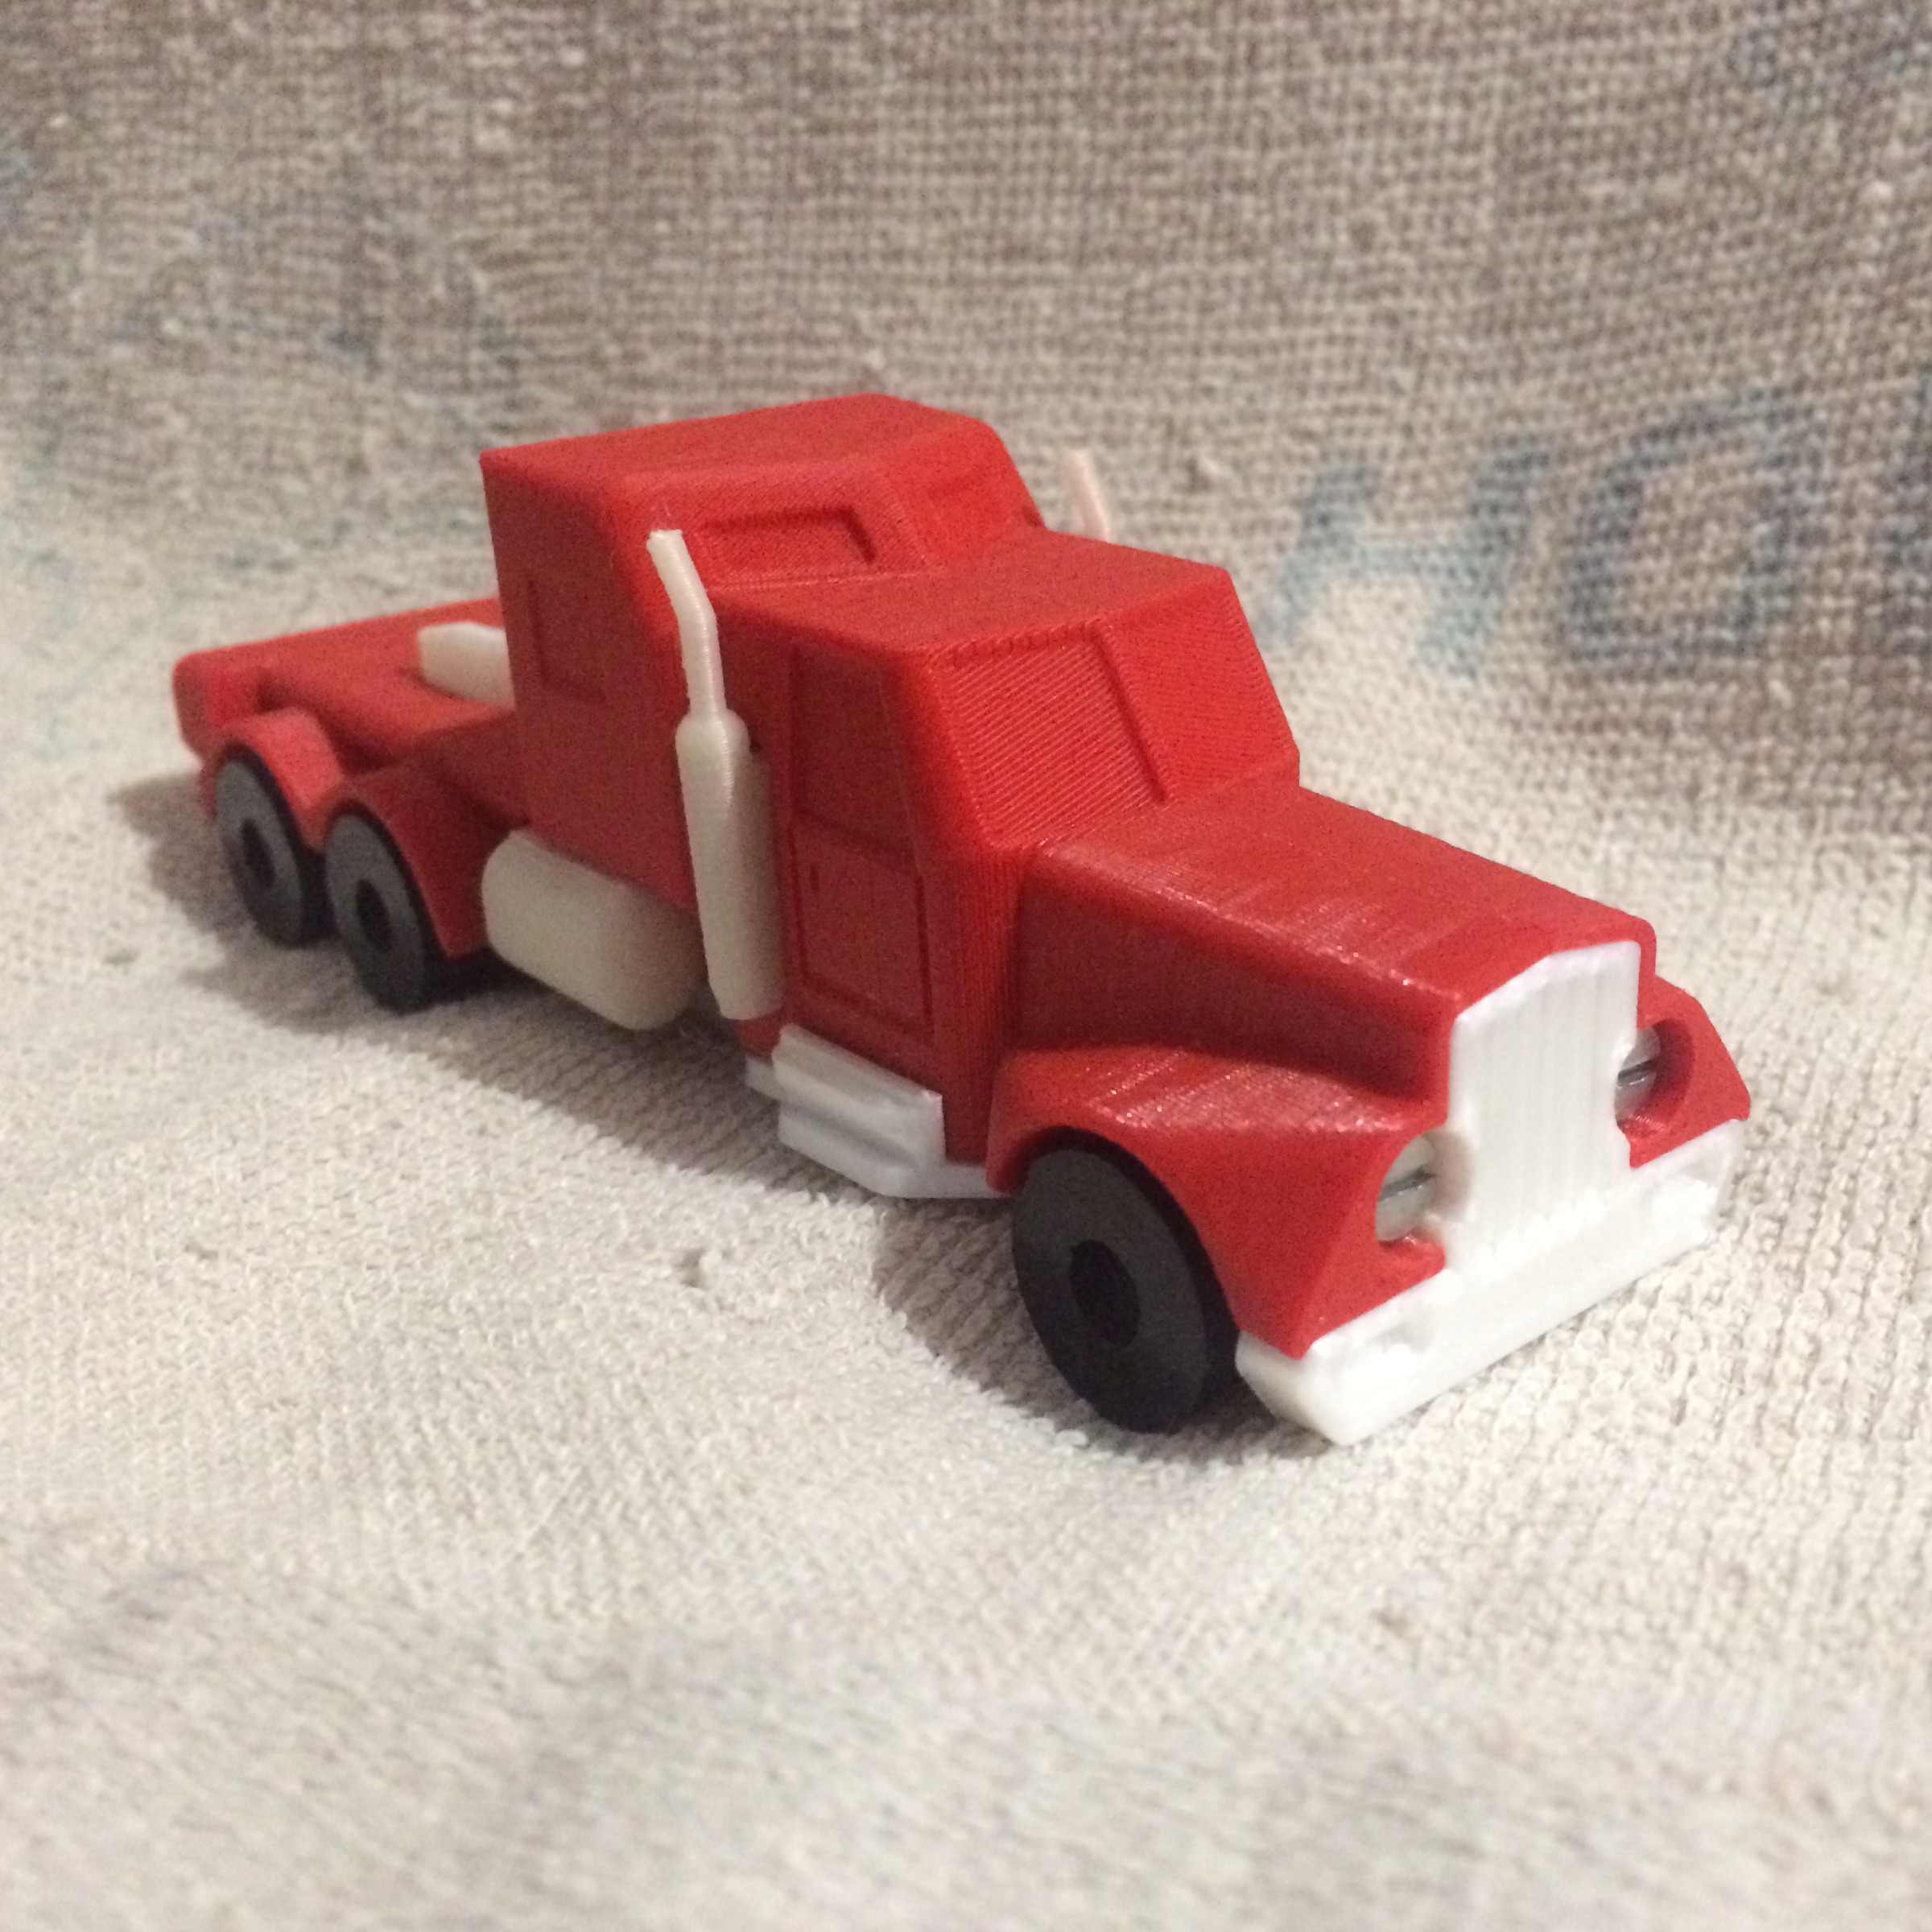
Easy to print truck kit. - Snadno tisknutelná stavebnice kamionu.
- Rating
- 5 / 5
- Likes
- 44
- Downloads
- 128
- Makes
- 2
- Views
- 1,092
- Reviews
- 2
Updated at source:
Model information
- Source
- Printables
- Category
- Building Toys
- License
- Creative Commons — Attribution
[EN]
Easy to print truck kit.
Truck kit designed for easy printing without supports. To assemble, all you need besides the printed parts is a piece of filament and two M3 screws (4-10 mm long) or screws of the appropriate size. The individual parts can be printed individually or in pre-made assemblies according to colour.
Procedure:
- After printing, check the individual parts and clean them if necessary.
- In the first step, insert the tanks into the prepared groove in the support frame,
- Insert the support frame into the hole in the cab and secure with two long pins.
- Secure the tanks with a piece of filament threaded through the hole in the cab through the frame.
- Next, insert the exhausts with their ends pointing backwards and again secure with pieces of filament.
- Next, we insert the platform for the trailer connection into the rear.
- Now thread the rear section onto the support frame and secure with the remaining short pin.
- Next, put the wheels in place.
- Flip the pins under the cab with the step piece.
- Insert the chassis into the slot in the rear bumper and knock it in.
- Secure the chassis by sliding the front mask into place.
- Finally, secure everything by screwing the screws into place for the headlights.
The correct position of the parts corresponds to the stored stl. The ideal layer height is 0.2mm.
[CZ]
Snadno tisknutelná stavebnice kamionu.
Stavebnice kamiónu navržená pro snadný tisk bez podpor. Pro sestavení stačí kromě tištěných dílů pouze kousek filamentu a dva šroubky M3 (délky 4-10 mm) nebo vruty odpovídající velikosti. Jednotlivé dílky lze tisknou buďto samostatně nebo po před připravených sestavách dle barvy .
Postup:
- Jednotlivé dílky po vytištění zkontrolujeme a případně začistíme.
- V prvním kroku vložíme nádrže do připravené drážky v nosném rámu,
- Nosný rám zasuneme do otvoru v kabině a zajistíme dvěma dlouhými čepy.
- Nádrže zajistíme kouskem filamentu prostrčeným otvorem v kabině přes rám.
- Dále vložíme výfuky tak aby jejich konce směřovaly dozadu a opět zajistíme kousky filamentu.
- Dále si do zadní části vložíme platformu pro připojení návěsu.
- Nyní navlékneme zadní část na nosný rám a zajistíme zbývajícím krátkým čepem.
- Dále vložíme kola na svá místa.
- Čepy pod kabinou překlopíme dílem schůdků.
- Podvozek vložíme do drážky v zadním nárazníku a zaklopíme.
- Podvozek uchytíme zasunutím přední masky na své místo.
- Nakonec vše zajistíme zašroubováním šroubků na místo světlometů.
Správné postavení dílů odpovídá uloženým stl. Ideální výška vrstvy je 0.2mm.