Raspberry Pi 3 Wall Mount Case
We calculate the final price from your selected file. You review and accept it before payment.
Saved on this device.

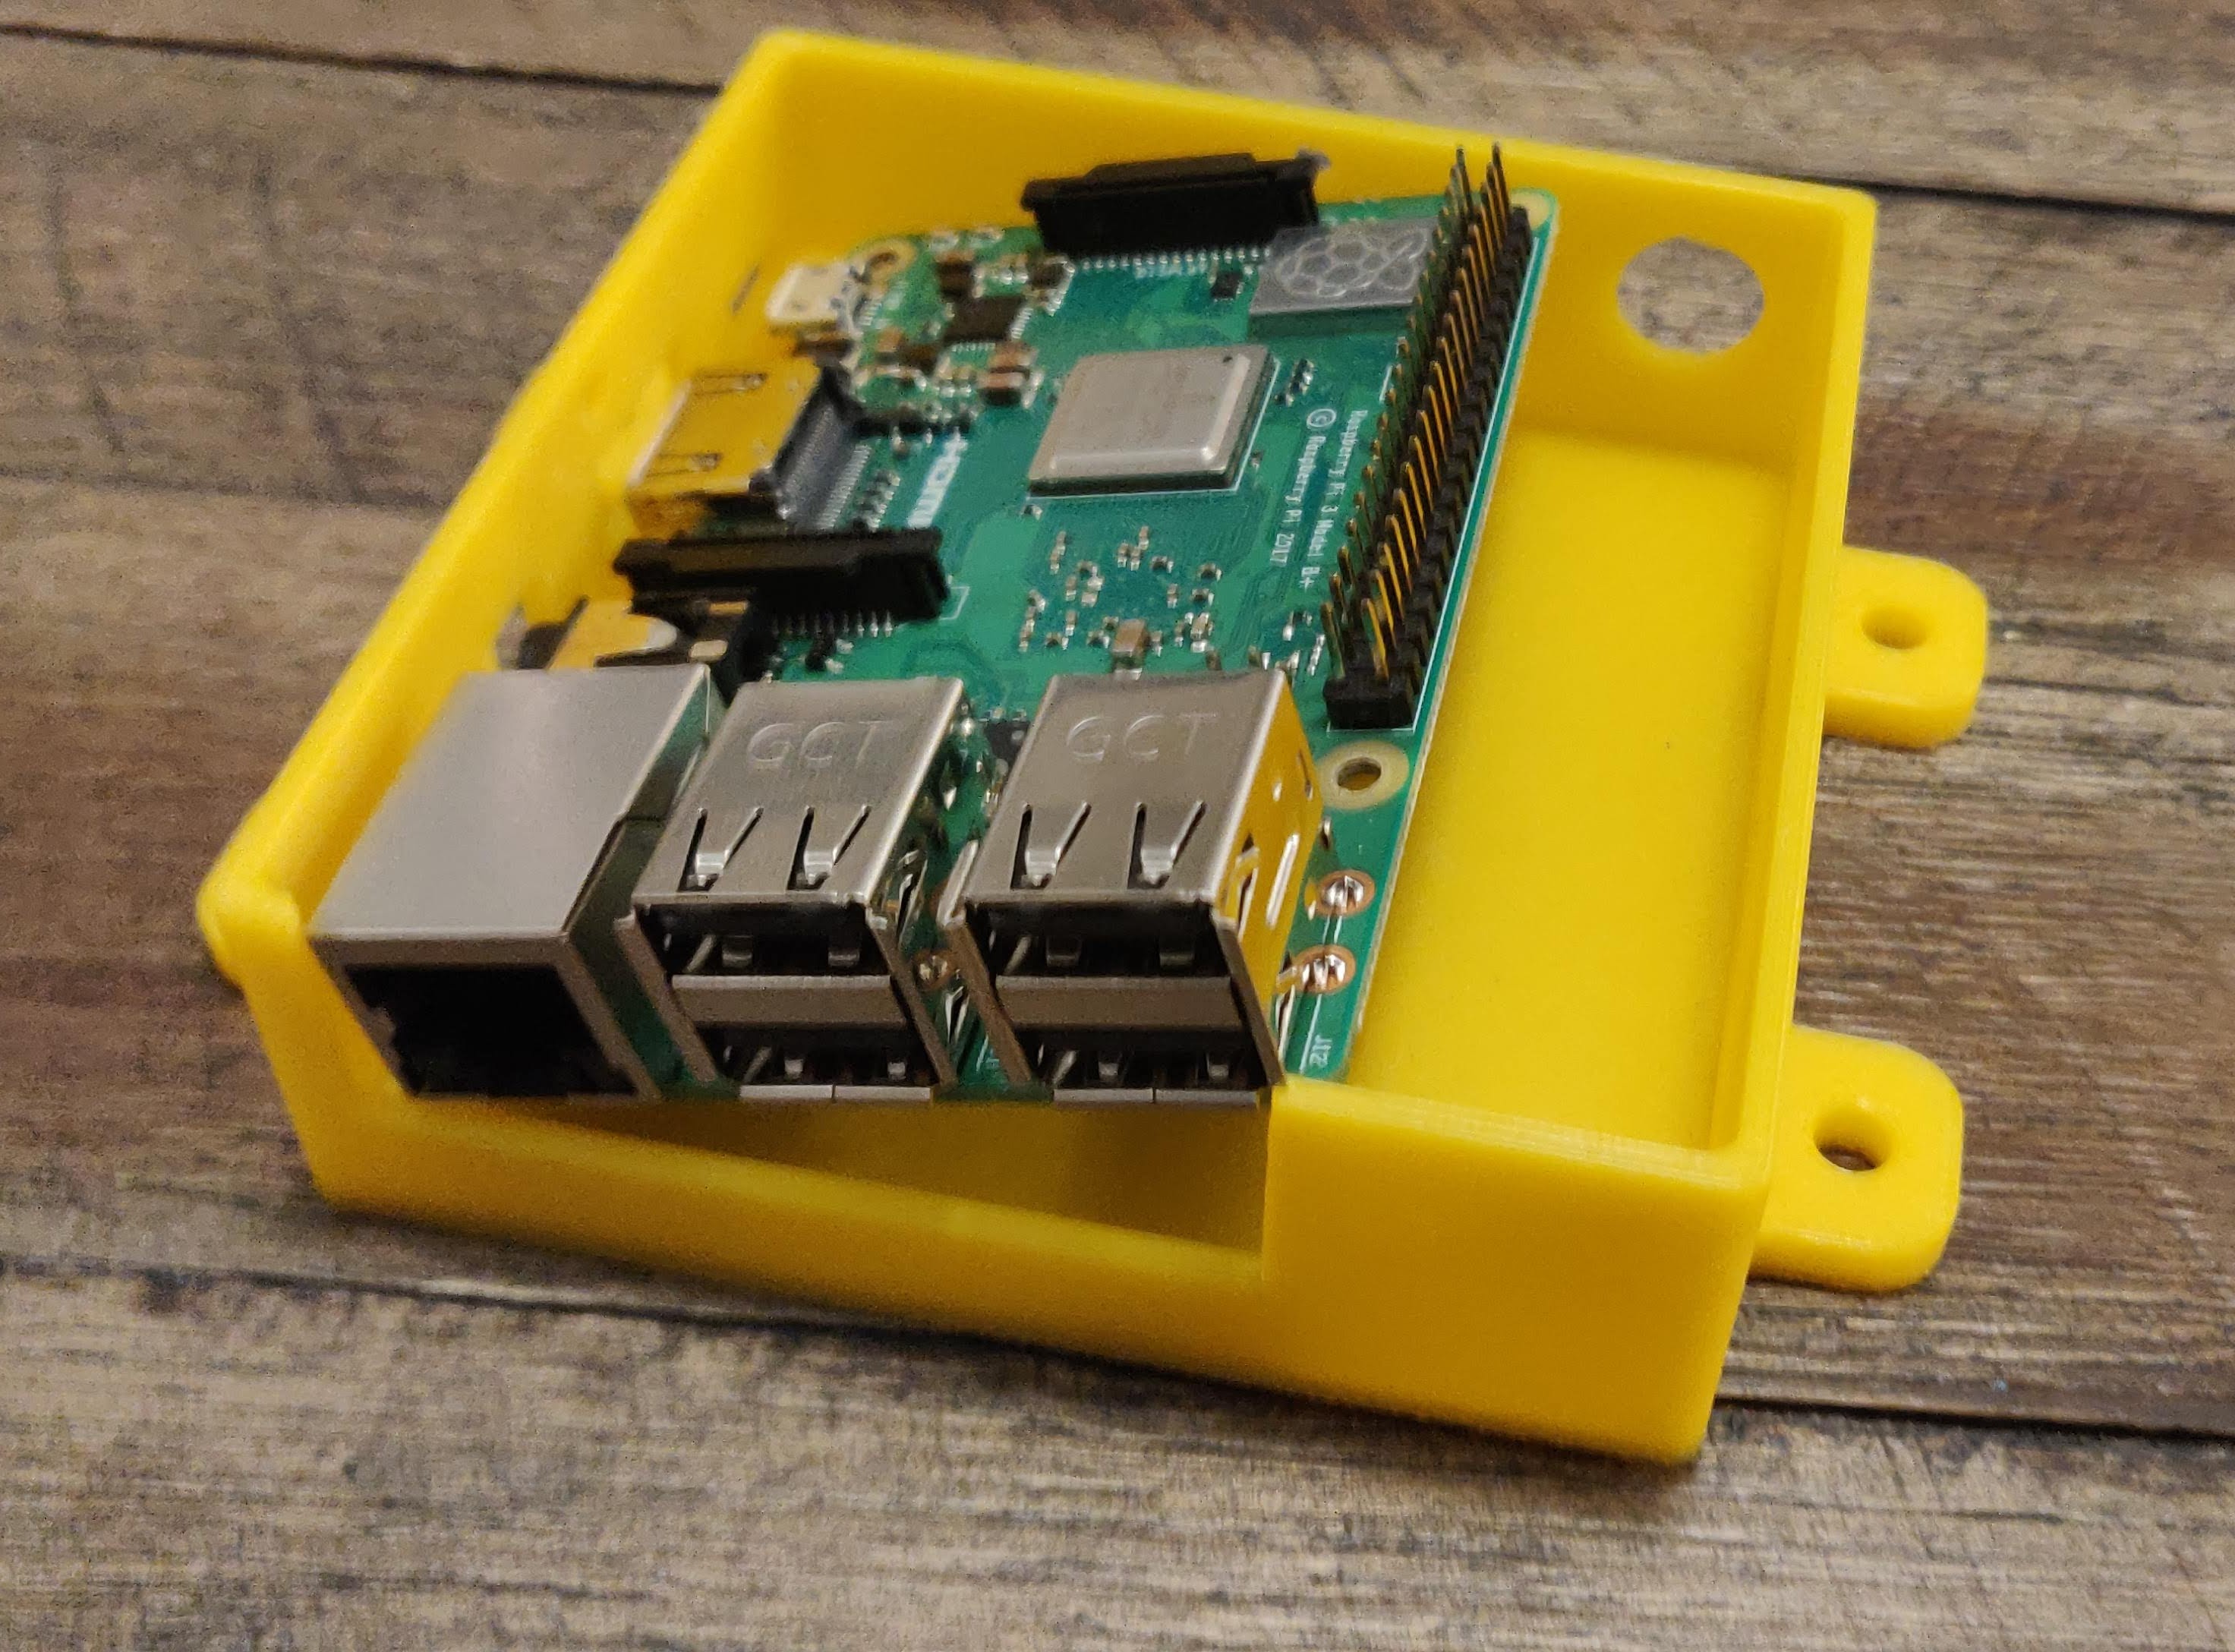
Wall mountable case for the Raspberry Pi 3(B/B+).
- Rating
- 5 / 5
- Likes
- 51
- Downloads
- 727
- Makes
- 12
- Views
- 4,340
- Reviews
- 9
Updated at source:
Model information
- Source
- Printables
- Category
- Electronics
- License
- Creative Commons — Attribution
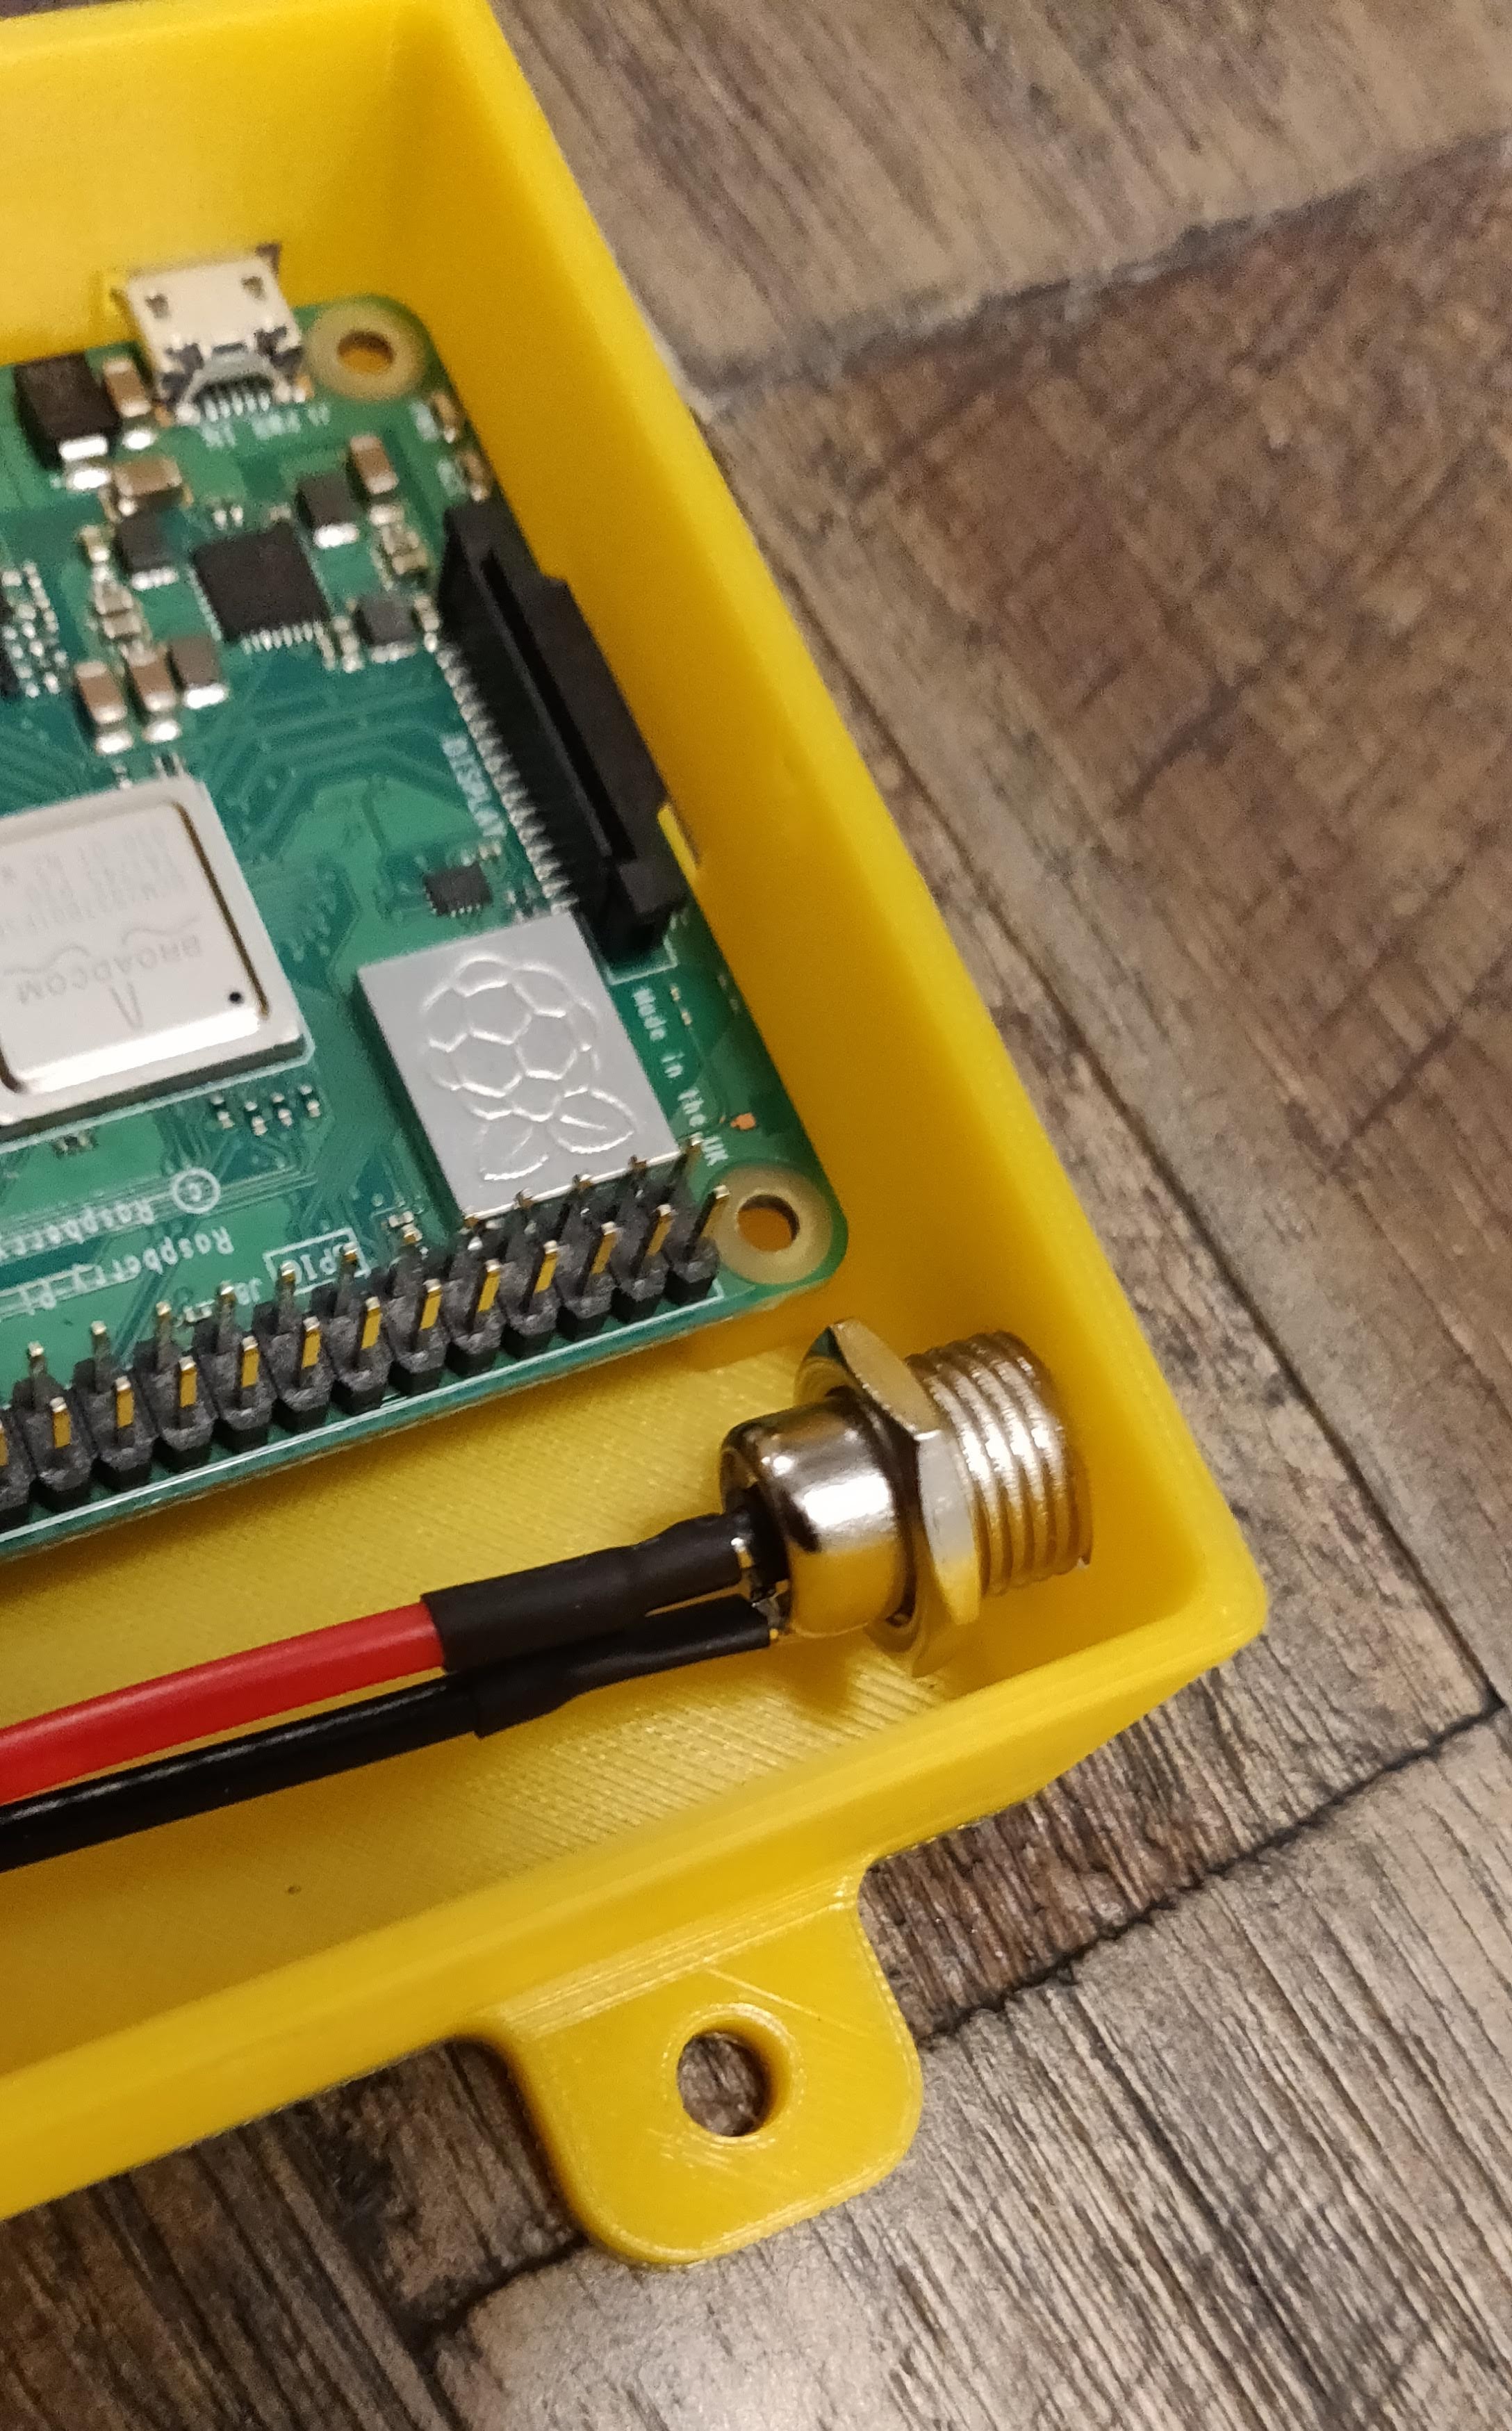
Wall mountable case for the Raspberry Pi 3(B/B+). I wanted something I could mount in my enclosures and have power soldered directly to the GPIO pins.
Update: 05/09/22
- Added v2 to the case models to increase the spacing of the MicroSD card slot.
Parts:
3 x M3 Nuts
3 x M3 8mm Bolts (Lid)
4 x M3 6mm Bolts (Case)
1 x 2.1 MM 5A DC Power Jack Socket Threaded Female Mount Connector (https://amzn.to/2FXTKHy) - Optional with Case choice.
Models:
Case with Power Option in the rear of the case.
1 x 1-RPi3_Case_v2.stl
1 x 1-RPi3_Case_Lid_v1.stl
Case with power option in the front of the case.
1 x 2-RPi3_Case_PowerFront_v2.stl
1 x 2-RPi3_Case_PowerFront_Lid_v1.stl
A smaller version of the case, no power option.
1 x 3-RPi3_Case_Small_v2.stl
1 x 3-RPi3_Case_Small_Lid_v1.stl
Print instructions
Rafts: No
Supports: No
Resolution: 0.2
Infill: 20
Filament: Inland PLA Orange/Yellow
Notes:
Print Settings:
Prusa Slic3r - Generic PLA
Post-Printing
- Insert the RPi into the case at an angle to align
- DC Power Jack Socket & tighten into the case.
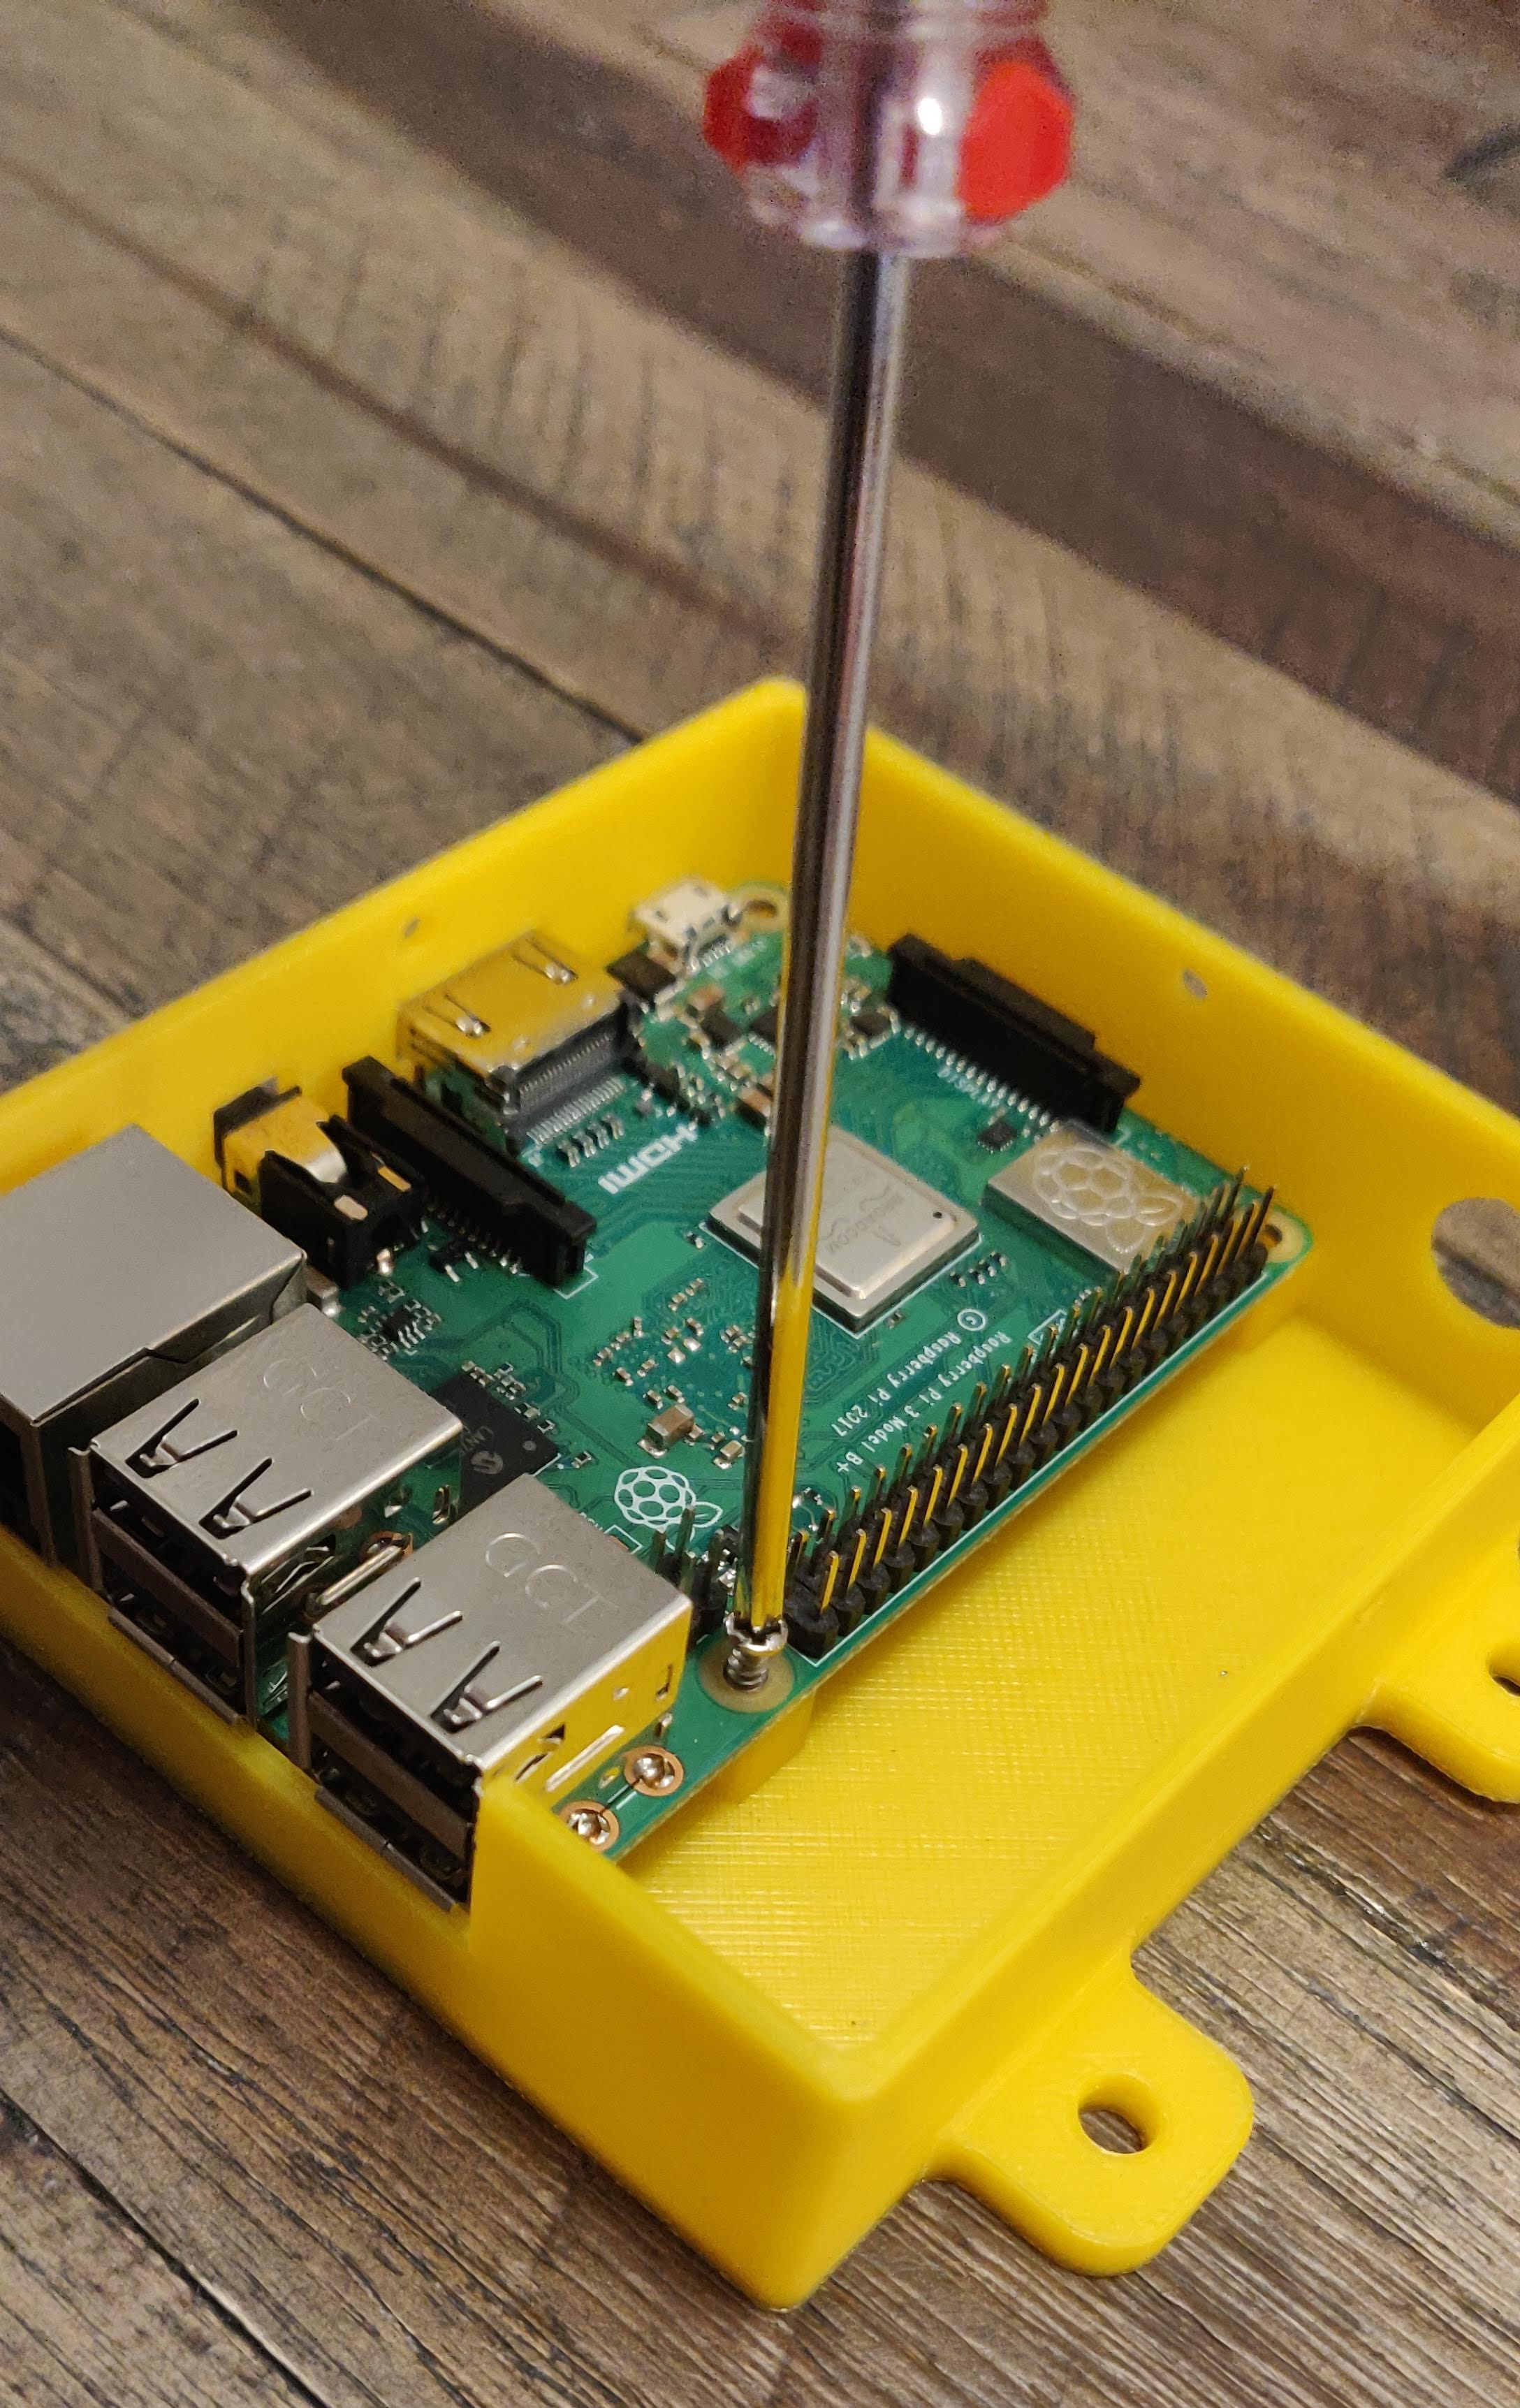
- Use M3 6mm bolts to secure RPi to the case.
- Solder DC Jack wires to the correct GPIO pins for power.
- Insert M3 nuts in the case lid, and press to fit. (Optional: Add a drop of super glue to secure)
- Install the case lid and insert the 8mm bolts/screws