Raspberry Pi 3 Wall Mount Case
Obliczymy ostateczną cenę na podstawie wybranego pliku. Sprawdzisz ją i zaakceptujesz przed płatnością.
Zapisane na tym urządzeniu.

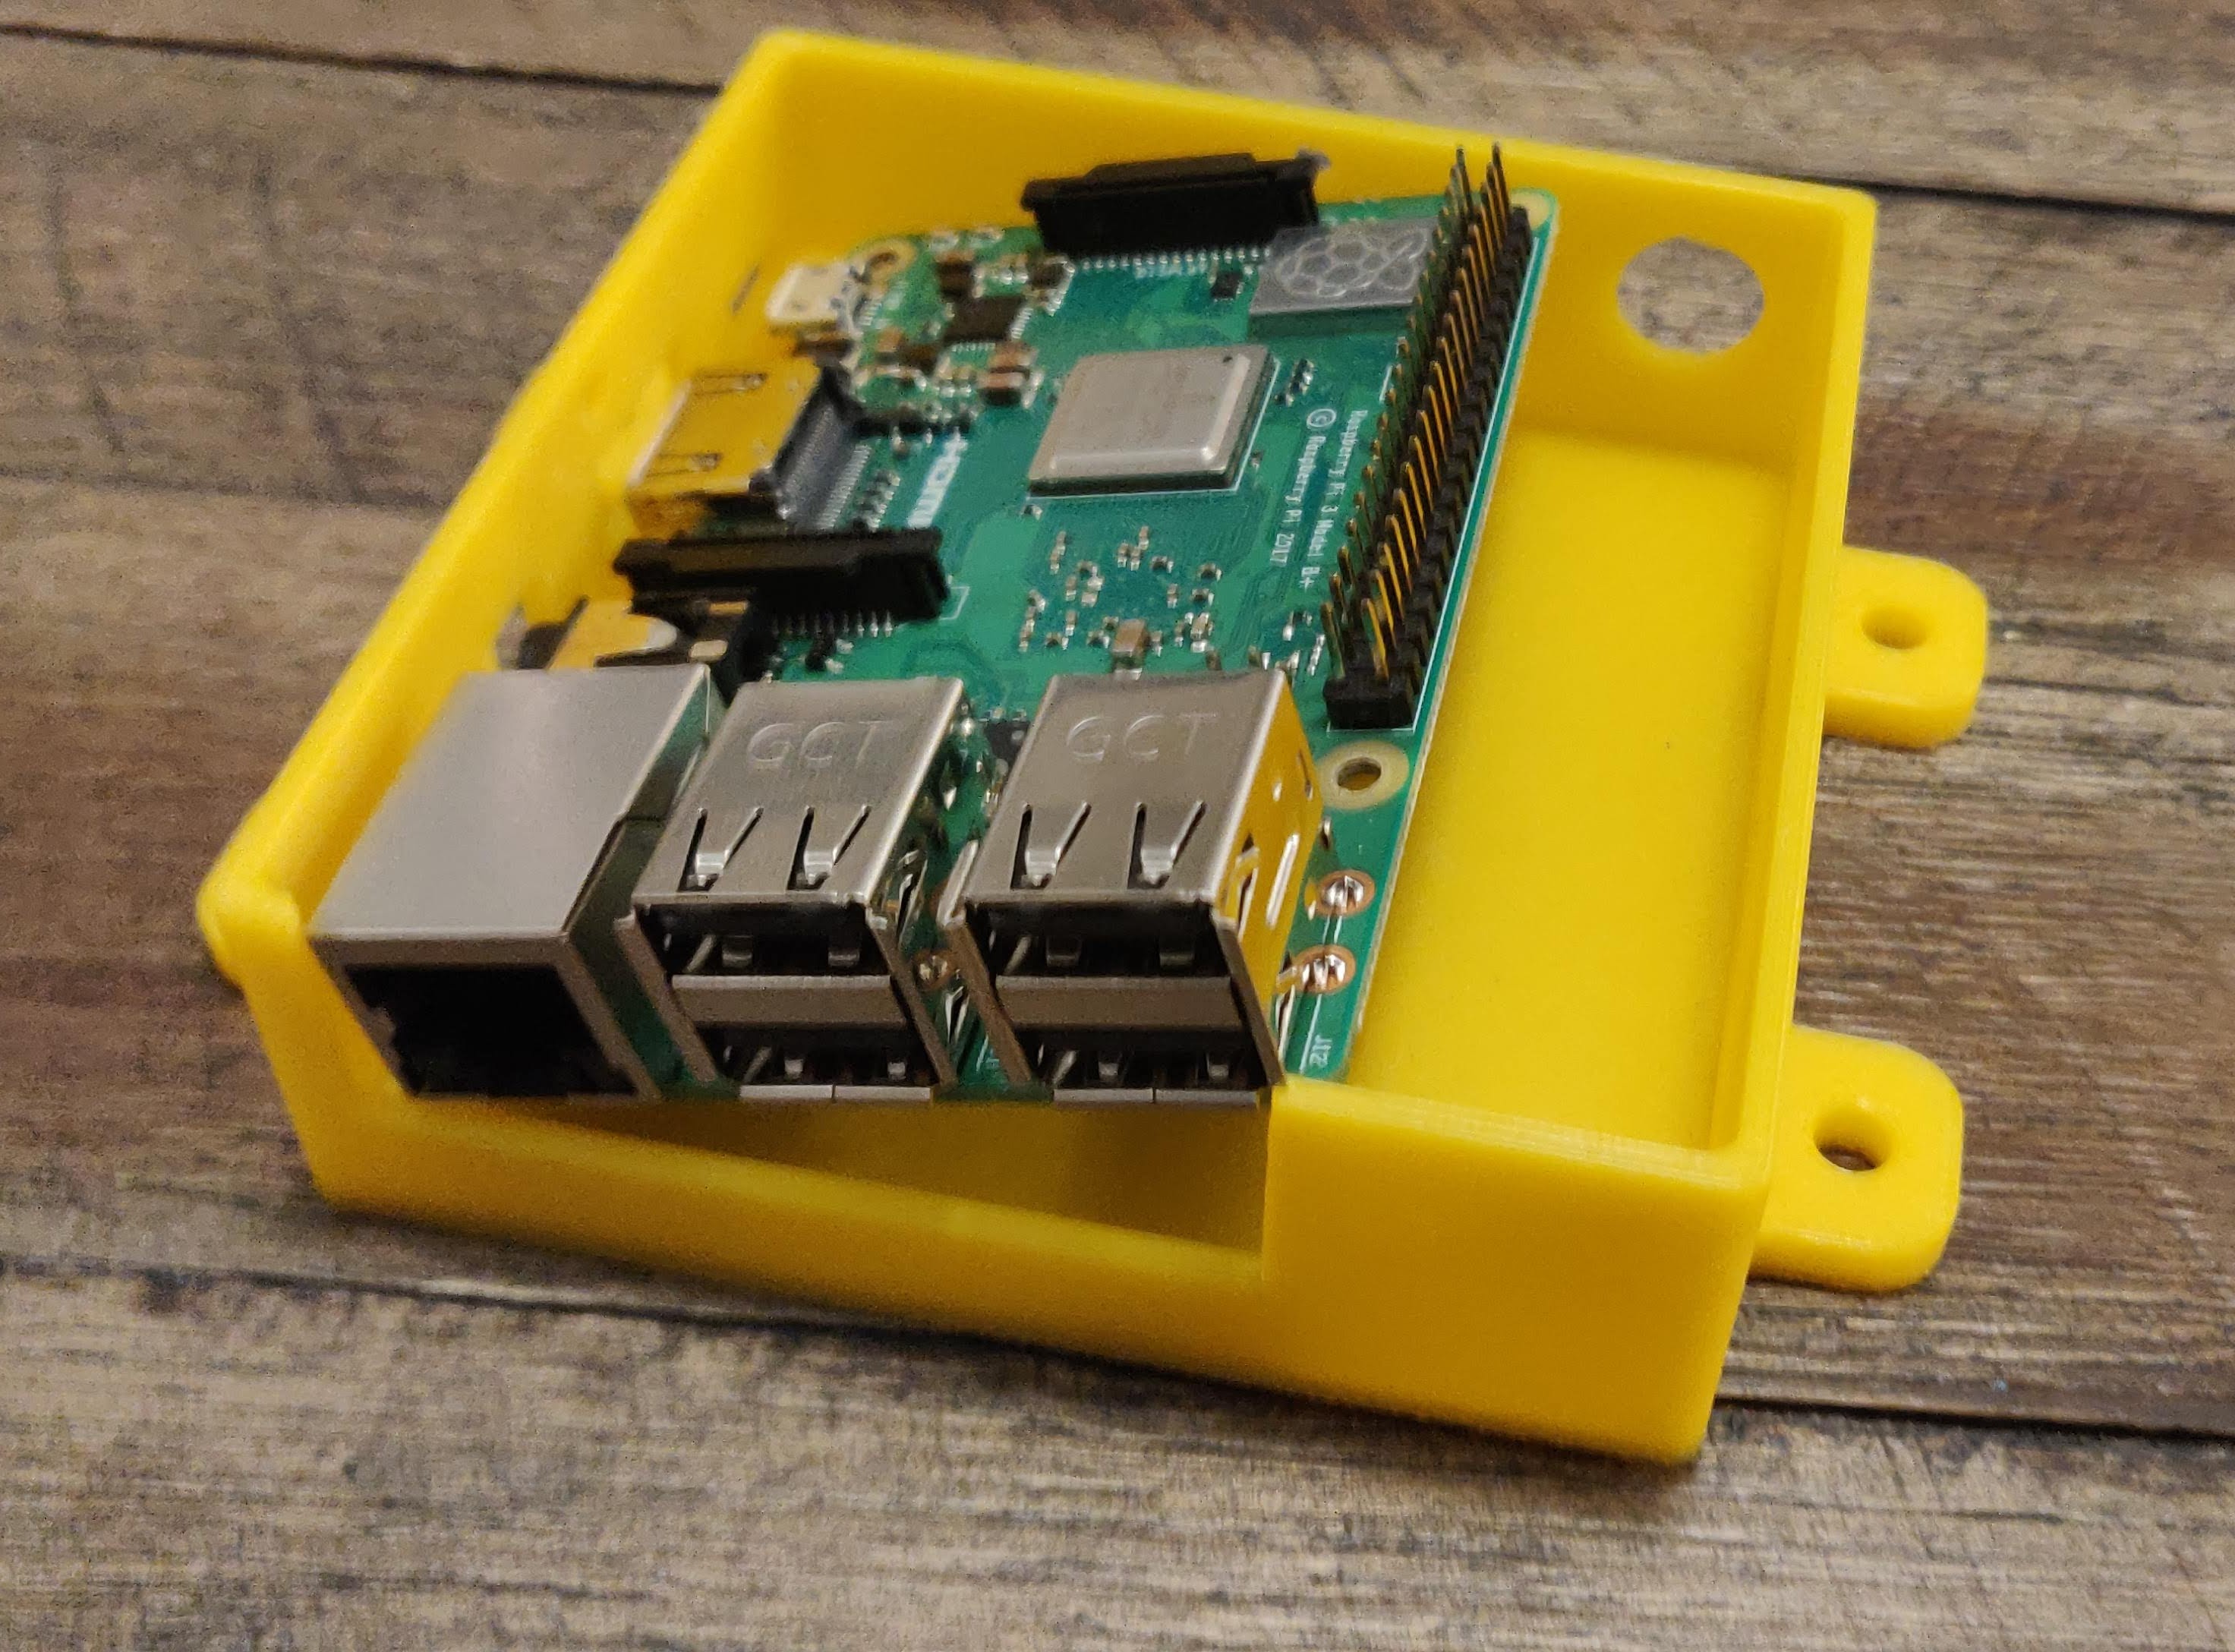
Wall mountable case for the Raspberry Pi 3(B/B+).
- Ocena
- 5 / 5
- Polubienia
- 51
- Pobrania
- 727
- Wydruki
- 12
- Wyświetlenia
- 4340
- Oceny
- 9
Aktualizacja u źródła:
Informacje o modelu
- Źródło
- Printables
- Kategoria
- Electronics
- Licencja
- Creative Commons — Attribution
Wall mountable case for the Raspberry Pi 3(B/B+). I wanted something I could mount in my enclosures and have power soldered directly to the GPIO pins.
Update: 05/09/22
- Added v2 to the case models to increase the spacing of the MicroSD card slot.
Parts:
3 x M3 Nuts
3 x M3 8mm Bolts (Lid)
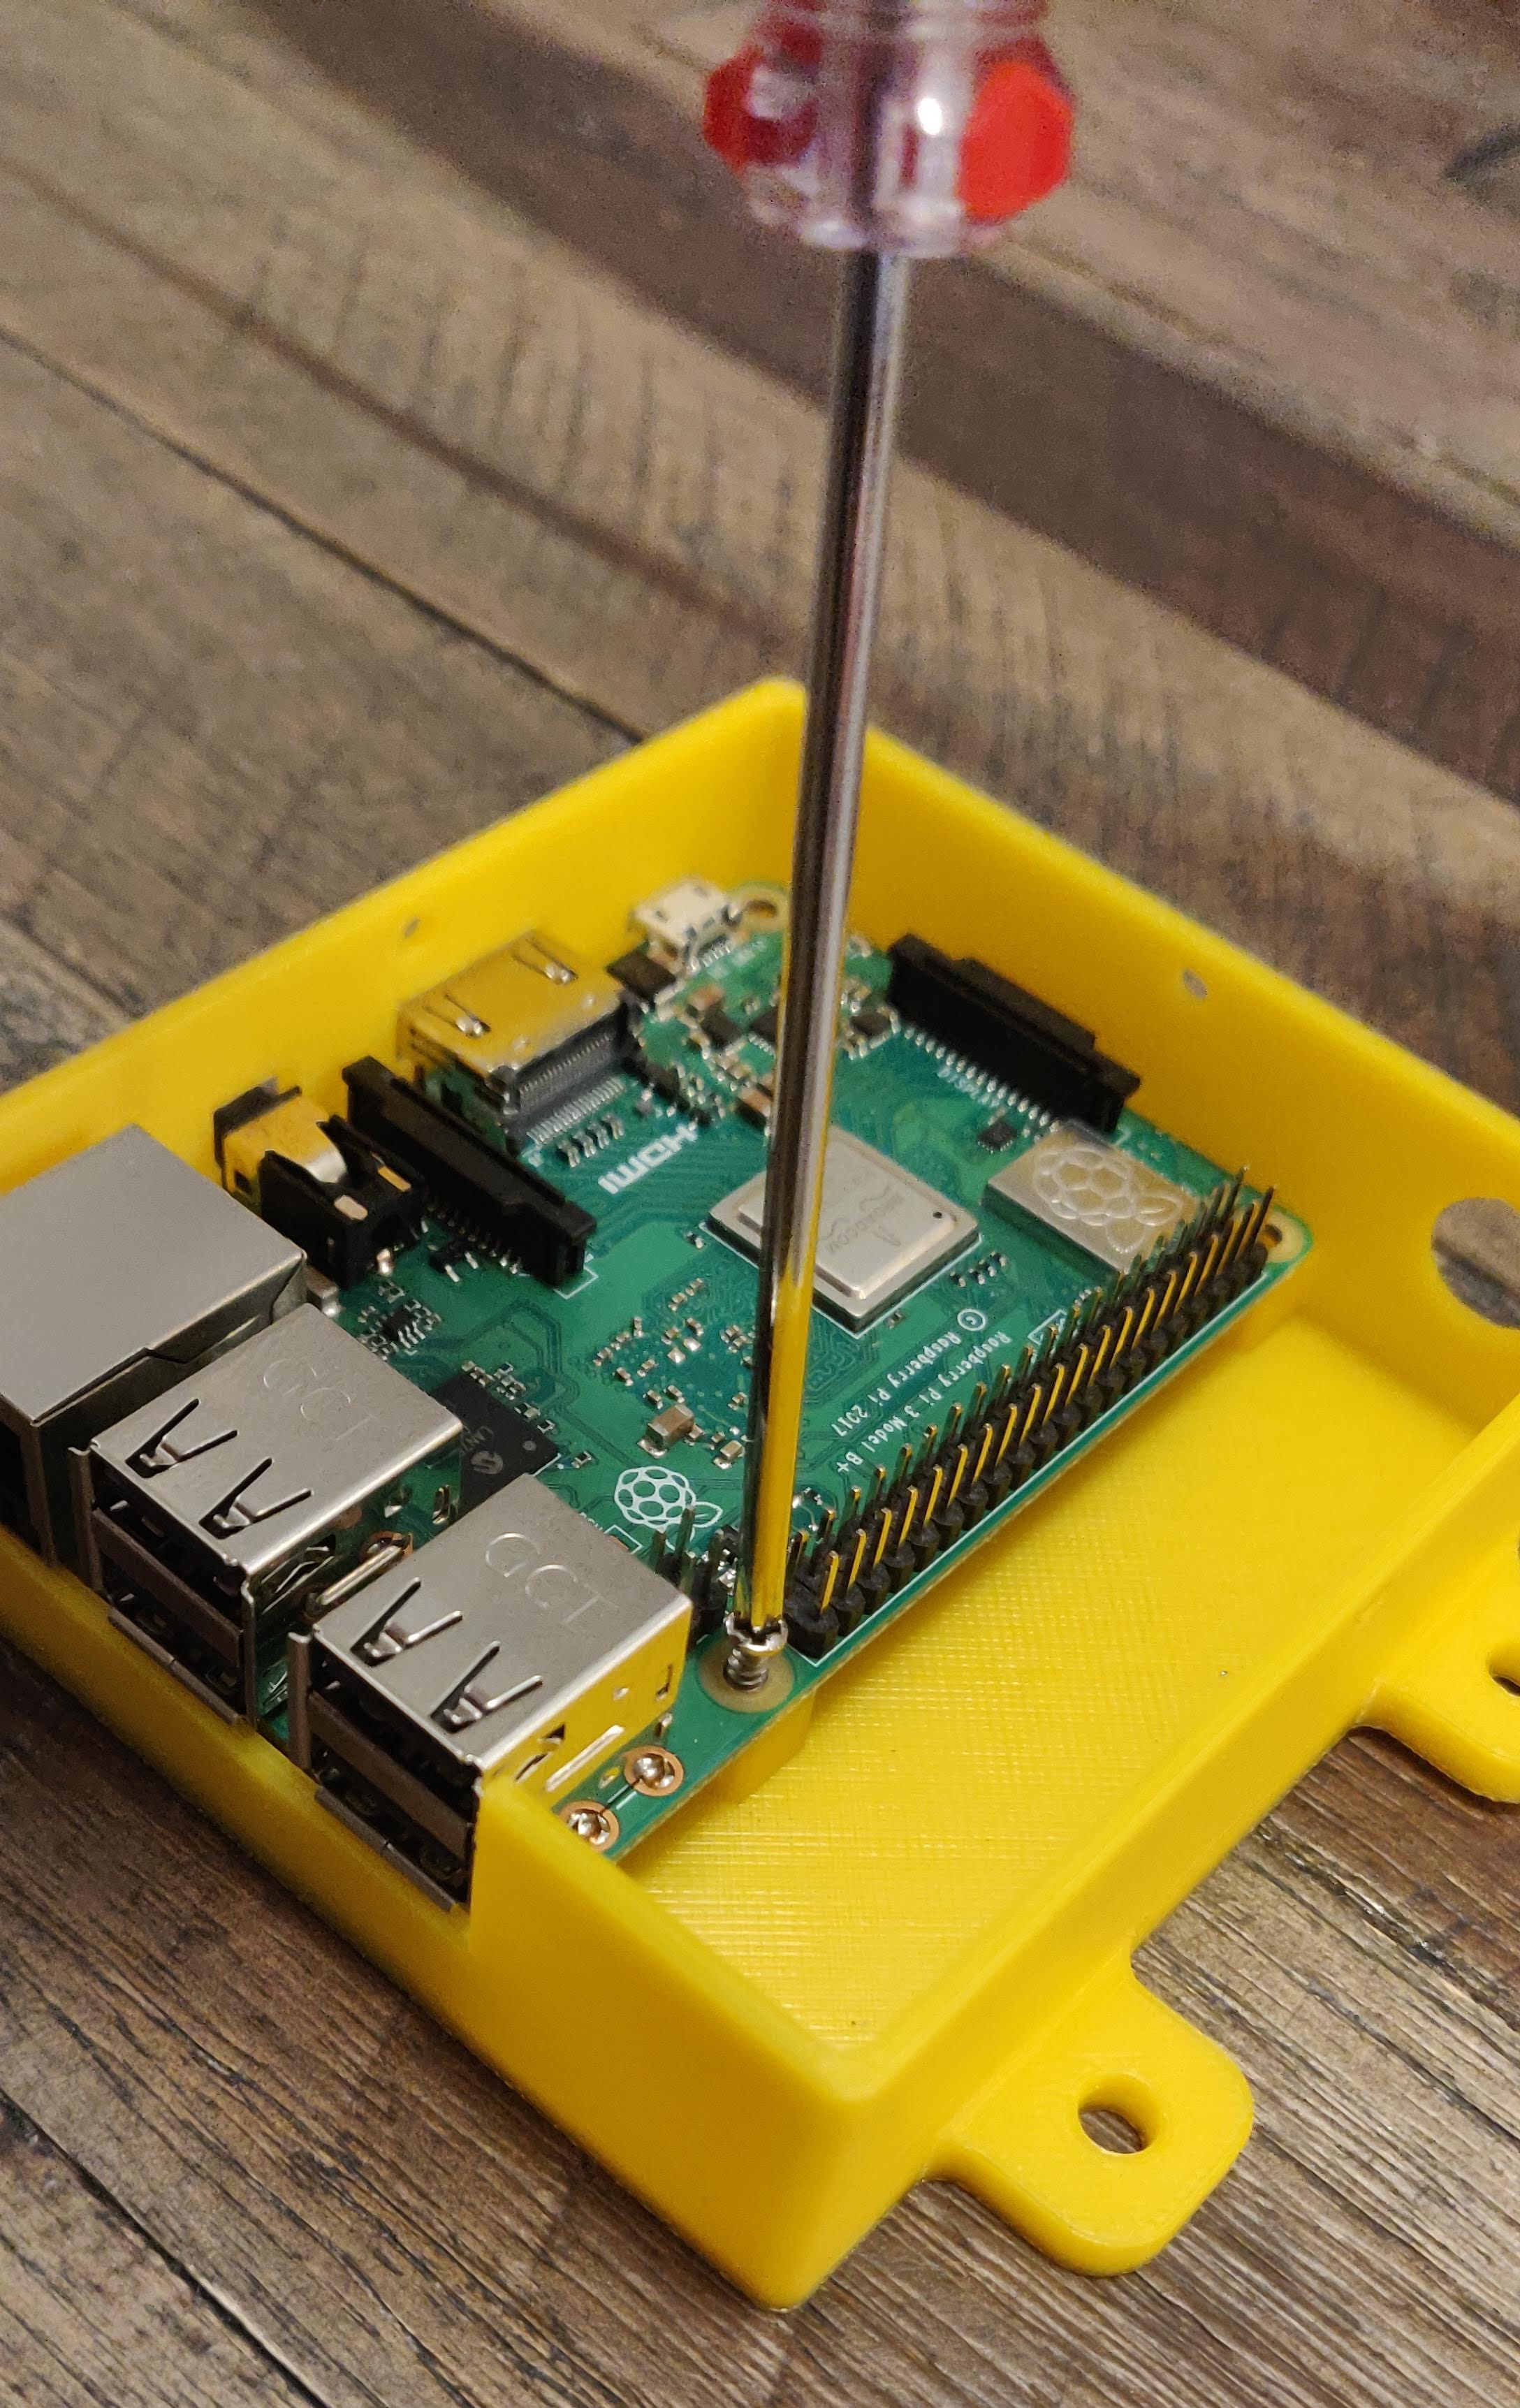
4 x M3 6mm Bolts (Case)
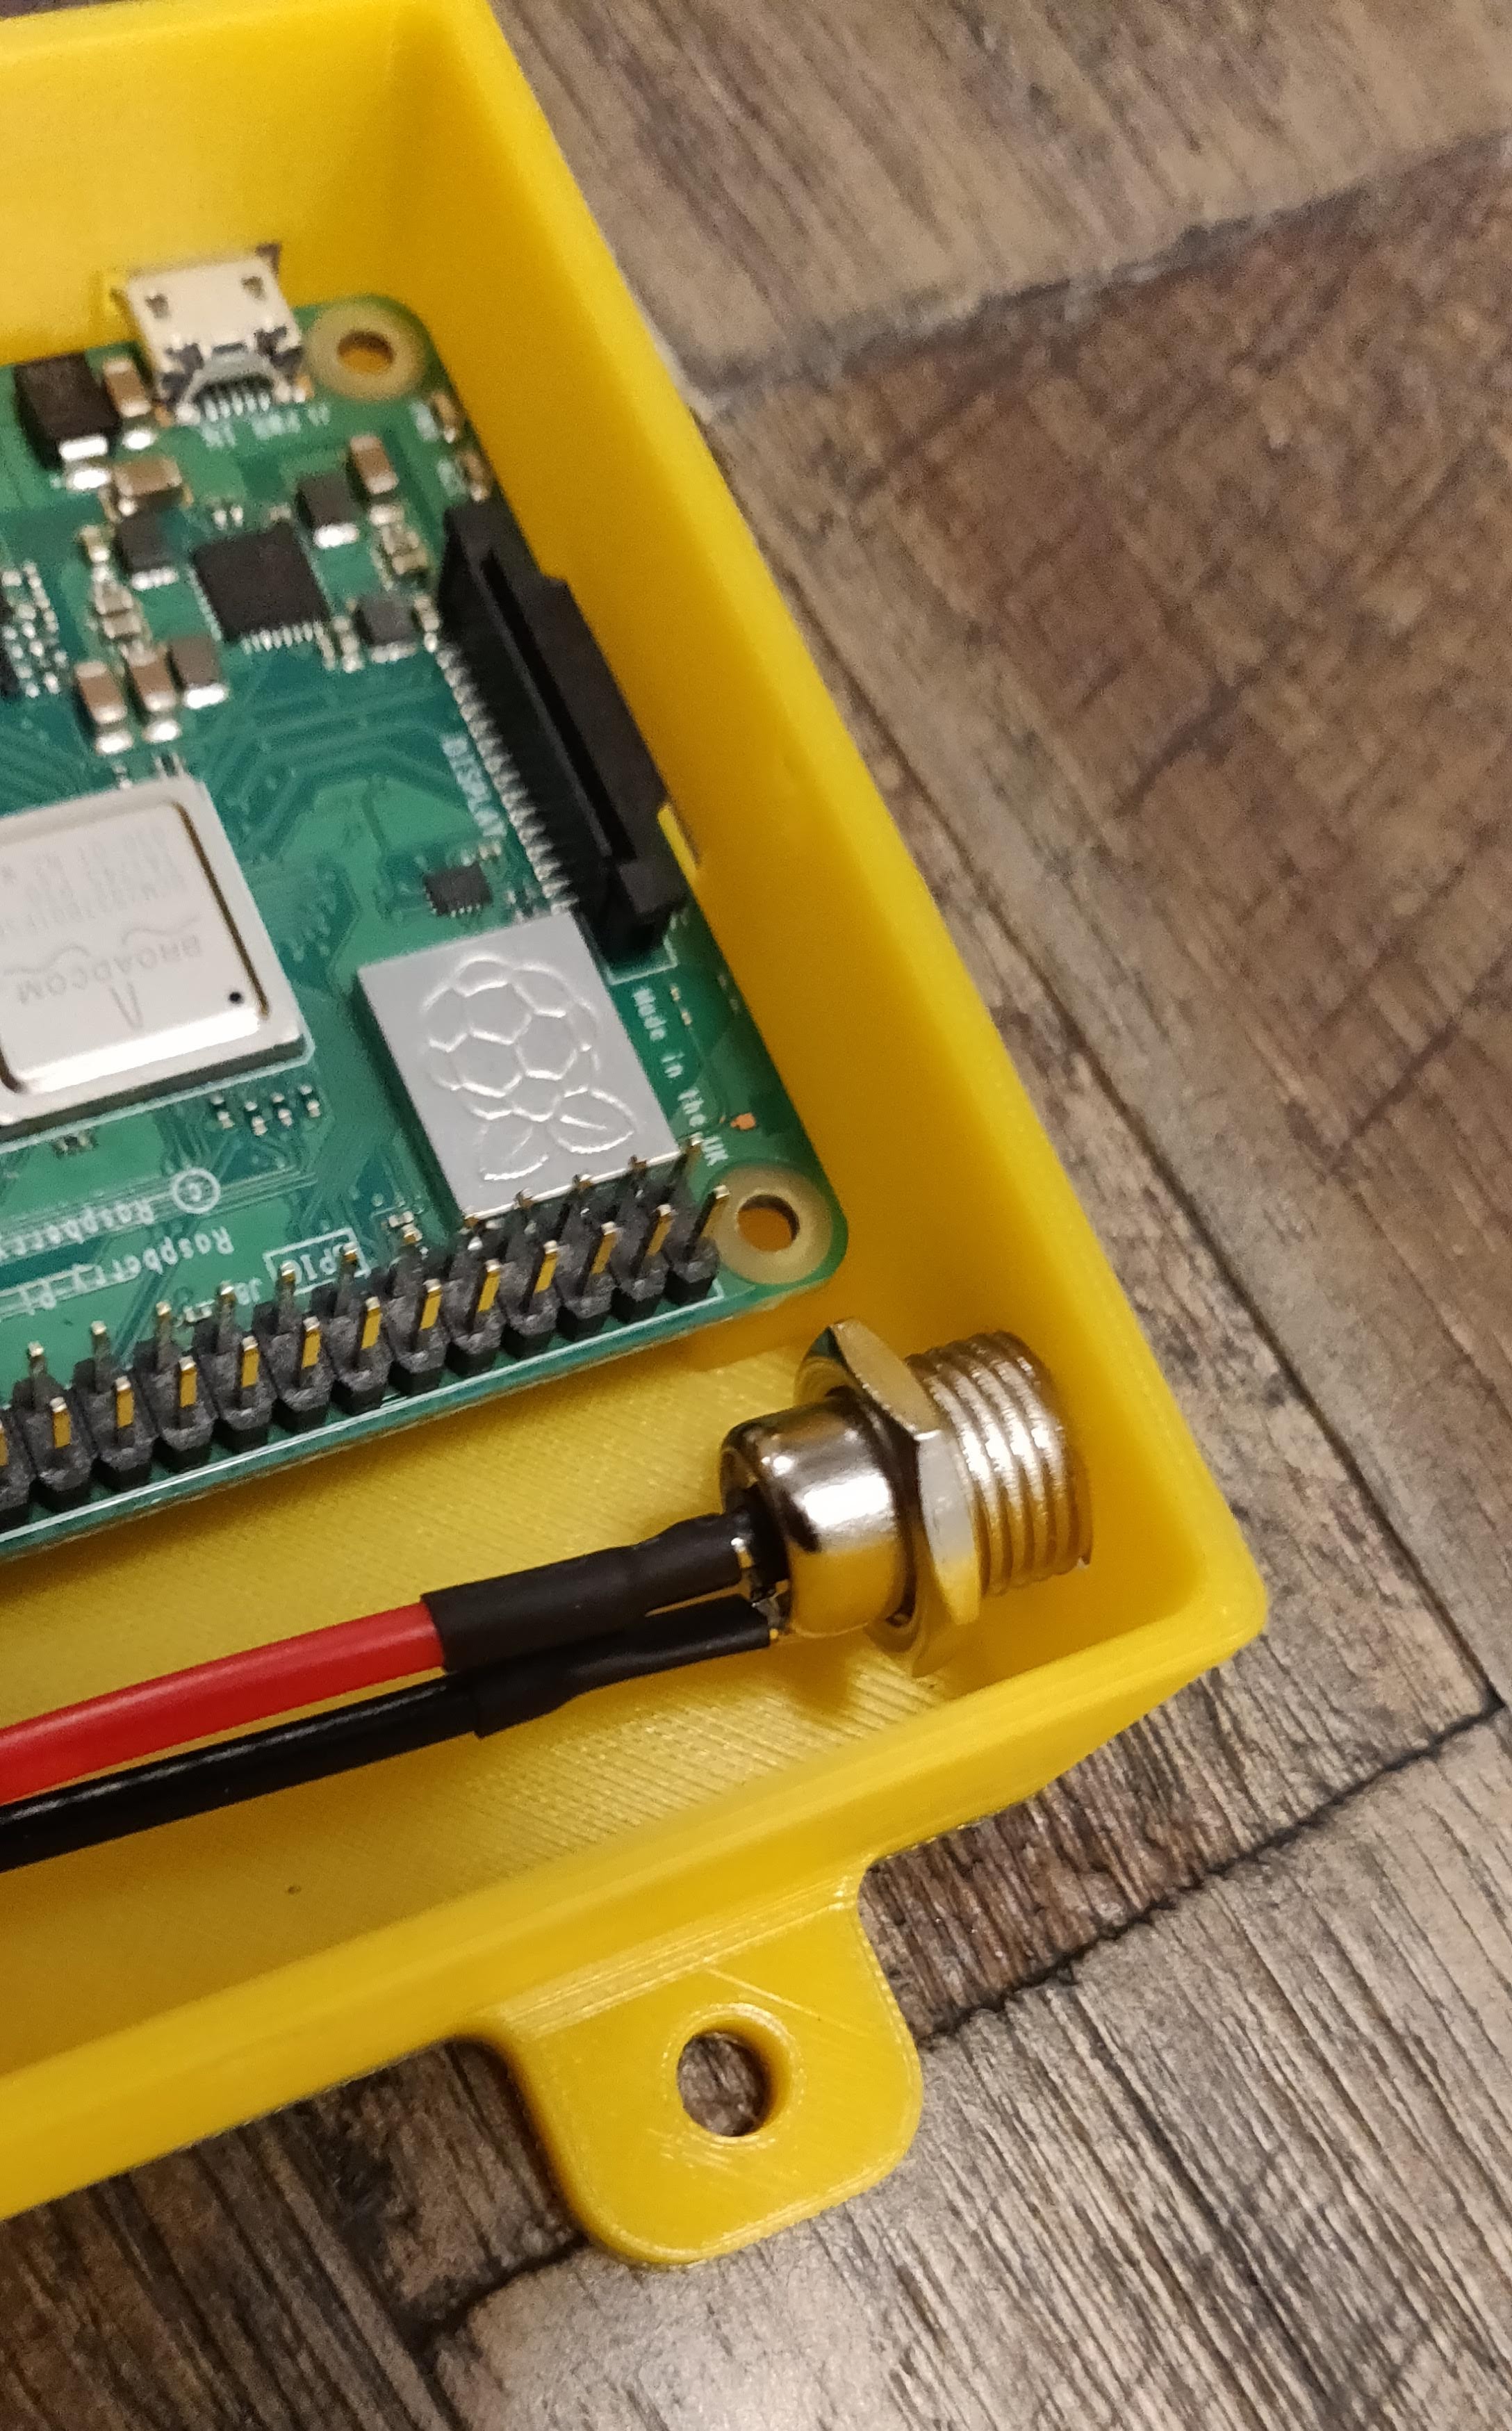
1 x 2.1 MM 5A DC Power Jack Socket Threaded Female Mount Connector (https://amzn.to/2FXTKHy) - Optional with Case choice.
Models:
Case with Power Option in the rear of the case.
1 x 1-RPi3_Case_v2.stl
1 x 1-RPi3_Case_Lid_v1.stl
Case with power option in the front of the case.
1 x 2-RPi3_Case_PowerFront_v2.stl
1 x 2-RPi3_Case_PowerFront_Lid_v1.stl
A smaller version of the case, no power option.
1 x 3-RPi3_Case_Small_v2.stl
1 x 3-RPi3_Case_Small_Lid_v1.stl
Print instructions
Rafts: No
Supports: No
Resolution: 0.2
Infill: 20
Filament: Inland PLA Orange/Yellow
Notes:
Print Settings:
Prusa Slic3r - Generic PLA
Post-Printing
- Insert the RPi into the case at an angle to align
- DC Power Jack Socket & tighten into the case.
- Use M3 6mm bolts to secure RPi to the case.
- Solder DC Jack wires to the correct GPIO pins for power.
- Insert M3 nuts in the case lid, and press to fit. (Optional: Add a drop of super glue to secure)
- Install the case lid and insert the 8mm bolts/screws