
Rubber Band-Powered Car (winds up with drill) CAN GO 35ft+!
We calculate the final price from your selected file. You review and accept it before payment.
Saved on this device.

A great project for beginners that only requires 3D printed parts, a coat hanger, a rubber band and basic tools.
- Rating
- 0 / 5
- Likes
- 26
- Downloads
- 272
- Makes
- 0
- Views
- 1,772
- Reviews
- 0
Updated at source:
Model information
- Source
- Printables
- Category
- Vehicles
- License
- Standard Digital File License
This rubber band-powered car is easy to build and even easier to use. It is an original design which features a 5:1 beveled gear ratio, a print in place bearing, a locking mechanism and is wound up by a powered drill!
Notes: .gcode and .3mf files for all parts are included. Some parts require supports by the nature of their shape. All parts were printed using prusament PLA.
Part Files Included:
- Frame
- Front Lock
- Drive Gear
- Pinion Gear
- Bearing
- 2x Front Wheel
- 2x Rear Wheel
For assembly, you will need:
- Metal wire coat hanger with a 3/32" (0.24cm) diameter
- Hot Glue
- Cutting tool
- Rubber Band
Assembly Instructions:
- Print all parts and carefully remove any supports.
- Carefully cut two straight pieces from the coat hanger measuring around 2.7" (6.9cm) and 3.9" (9.9cm). These will be the front and rear axles for the car.

- Ensure axles have smooth rotational movement inside the holes in the frame.
- Place a small amount of hot glue over the center hole in one of the smaller wheels. Insert the smaller rod and press firmly to secure.

- Insert the axle into the side holes on the narrow (front) half of the frame.

- Place a small amount of hot glue in the center hole of the other small wheel, and press it onto the other side of the front axle. Be sure that hot glue does not get between the axle and the frame, or the wheel and the frame. That frictional force could cause the car to stop prematurely.
- Insert the front lock onto the frame. It will be easier to place a rubber band there later if the hook is facing upwards.

- Rotate the rear of the car towards yourself. Snap the bearing into the circular cutout in the most rear crossmember. No glue is needed to secure the outer ring of the bearing – just ensure the inner piece spins freely.

- Insert the drive gear through the inner ring of the bearing so that the hook points towards the hook located on the front lock.
- Place a rubber band around each hook. It is important to have this tension on the drive gear to ensure proper spacing on subsequent steps.

- Slide the pinion gear onto the rear axle part of the way, like pictured. The exact spacing is not important yet.

- Slide the longer side through the hole on the right-rear side of the frame first. Then slide the shorter end of the axle through the other side.

- Now, glue each of the rear wheels onto the axle using the same method as you did for the front wheels. Be sure there is no glue between the wheels and the frame. Give them a spin to make sure nothing gets stuck.
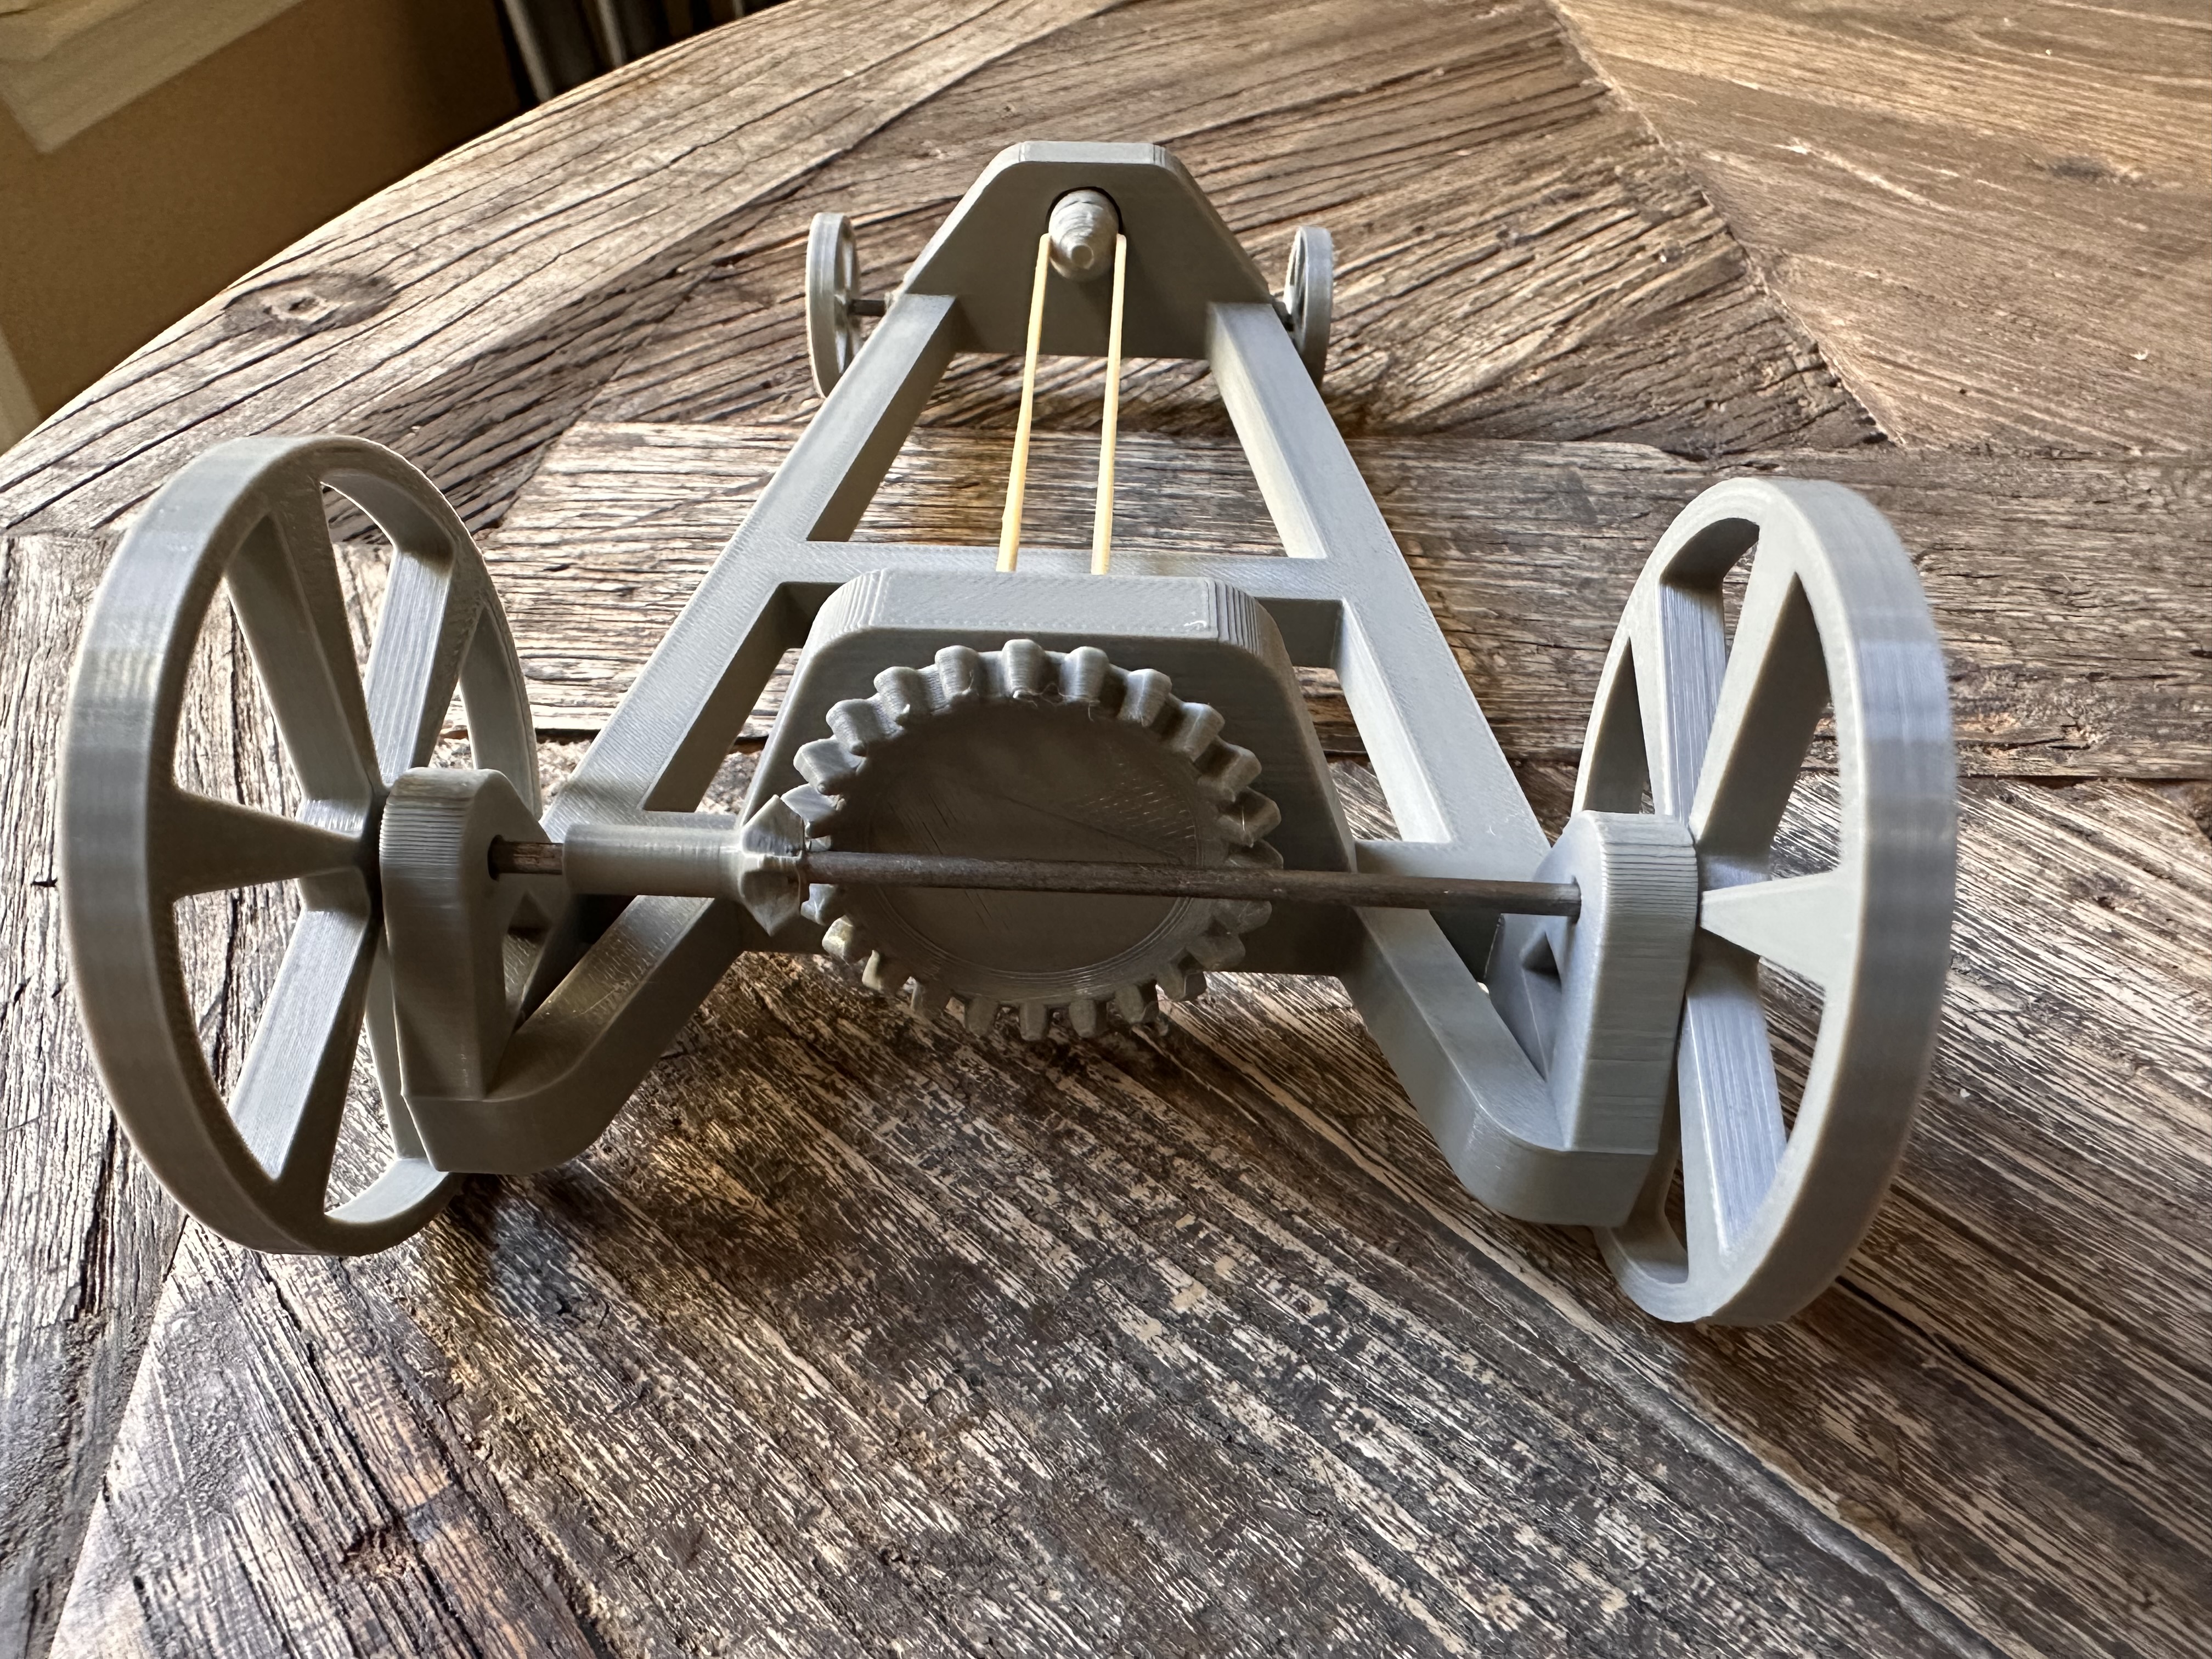
- Now, adjust the distance of the pinion gear along the rear axle to make it mesh well with the drive gear. This may take many tries, but there is a ‘sweet spot’ where the drive gear can easily spin both wheels from the torque of a twisted rubber band. Try spinning the drive gear from the hook side to see how it turns the wheels from there.
- If all looks good, then you have successfully completed the assembly! If the pinion gear spins around the axle, you can always use some hot glue to secure it in place.

Winding with a drill:
Since you've already cut up a perfectly good coat hanger, take the remains and cut off the hook and the twisted material beneath it in one piece, as pictured below.
With a hammer, maybe a vice, some pliers and a little bit of patience, try to bend this hook so the tip is perpendicular to the axis of rotation when inside the drill.

As it turns out, the twisted part of the coat hanger makes for a decent grip inside the drill chuck. This will allow you to easily install and remove it from almost any drill.

While holding the drive gear stationary, insert the tip of the hook into the front lock and pull back slightly to release. Wind the front lock clockwise to go forward. When the rubber band is wound enough, place it on the ground and release the drive gear!
