
Case for USB-RS485 adapter.
We calculate the final price from your selected file. You review and accept it before payment.
Saved on this device.

Enclosure for USB-RS485 adapter, several versions.
- Rating
- 0 / 5
- Likes
- 2
- Downloads
- 40
- Makes
- 0
- Views
- 269
- Reviews
- 0
Updated at source:
Model information
- Source
- Printables
- Category
- Electronics
- License
- Creative Commons — Attribution — Noncommercial — Share Alike
Summary
Enclosure for USB-RS485 adapter, several versions, available with window for access to RX-TX jumpers.
RX-TX jumpers, e.g. may be required to connect a logic analyzer.
Models in STL, STEP, SolidWorks 2020 format.
BOM
- Self-tapping screws: ST2.2x6.5-FZN - 2 pieces (DIN7049)
- Two pieces of clear plastic, about 12mm long, used as a light guide.
Print Settings
Details "Main_Case", "Cover_for_Main_Case", "Cover_for_Window".
- Plastic: PLA, PETG, ABS.
- Layer thickness: 0.12mm, the text on the body looks clearer.
- Perimeters: 3 is enough.
- Filling: 20% triangles, cube, gyroid, whatever.
For part "Cover_for_Window" include a border on the outside and inside.
If you need a case without a window, you do not need to print the “Cover_for_Window” part.
The orientation is shown in the image.

Orientation models in slicer.
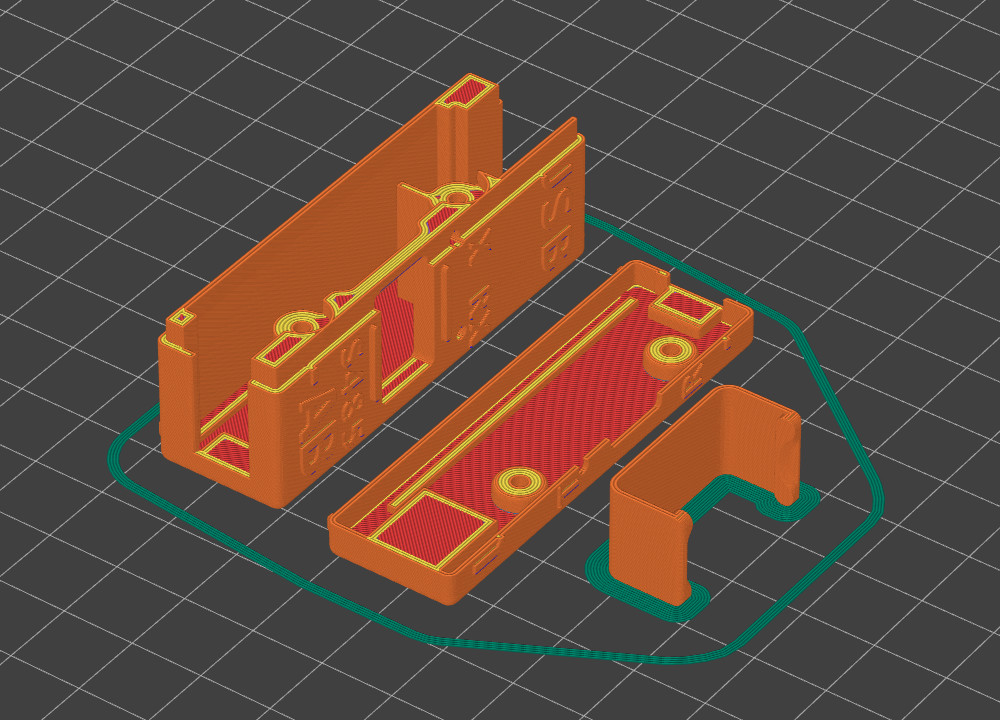
For part "Cover_for_Window" include a border on the outside and inside.
Assembly
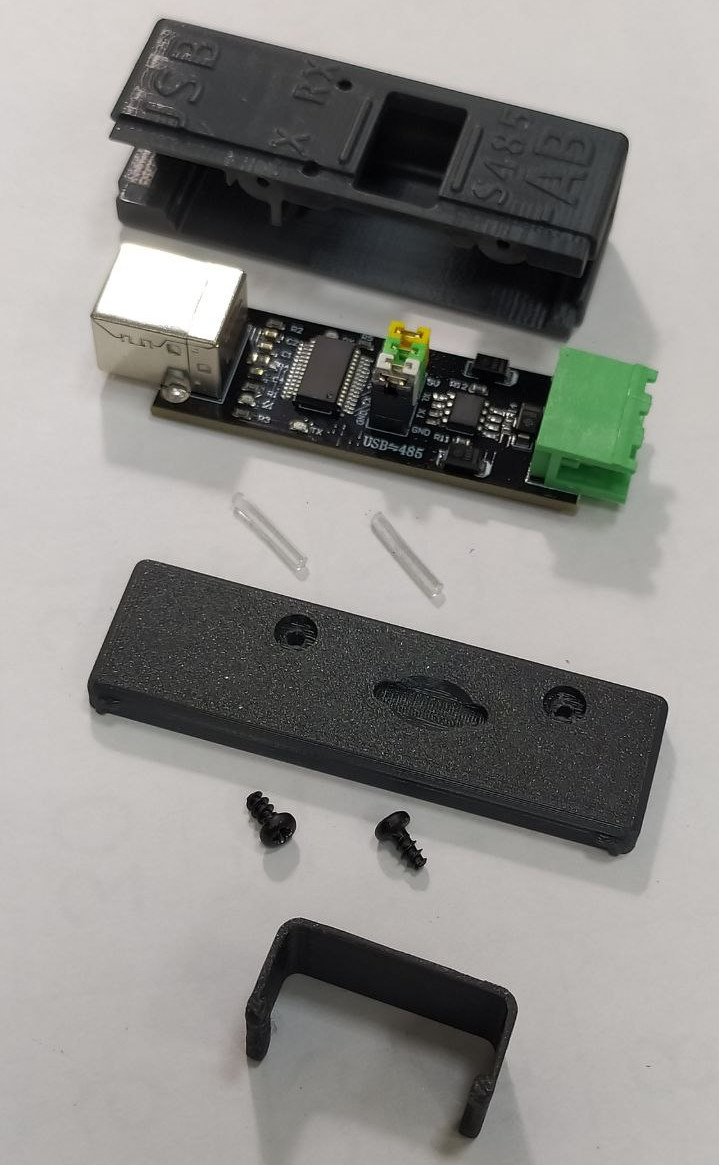
Everything you need for assembly is in the picture.
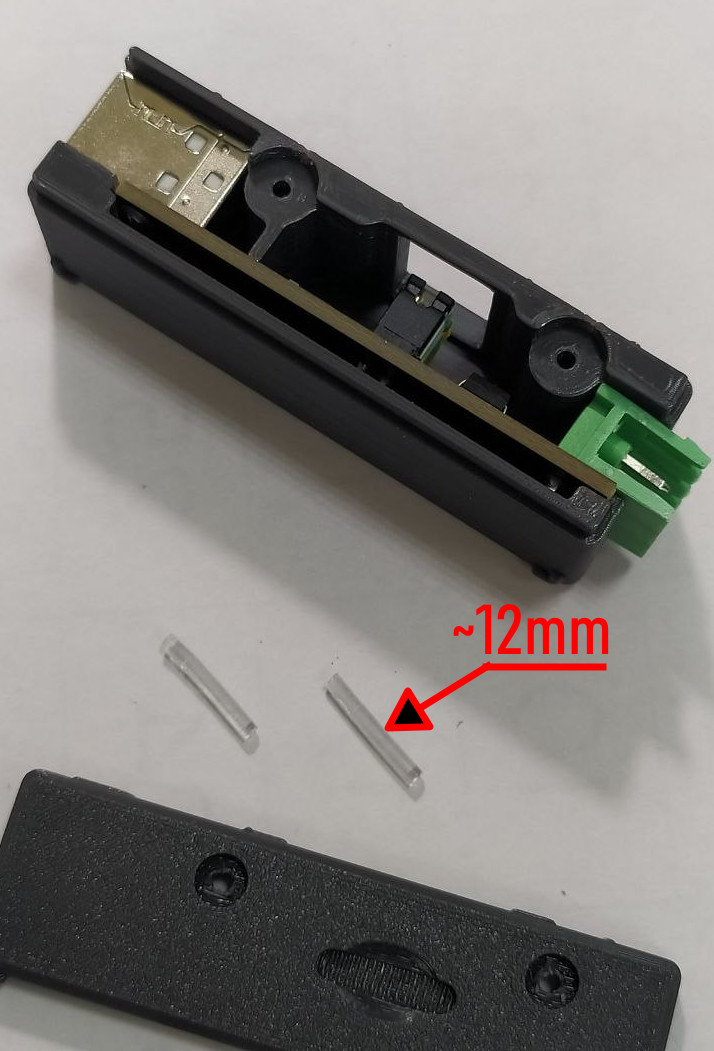
Prepare two pieces of transparent filament, about 12mm long.
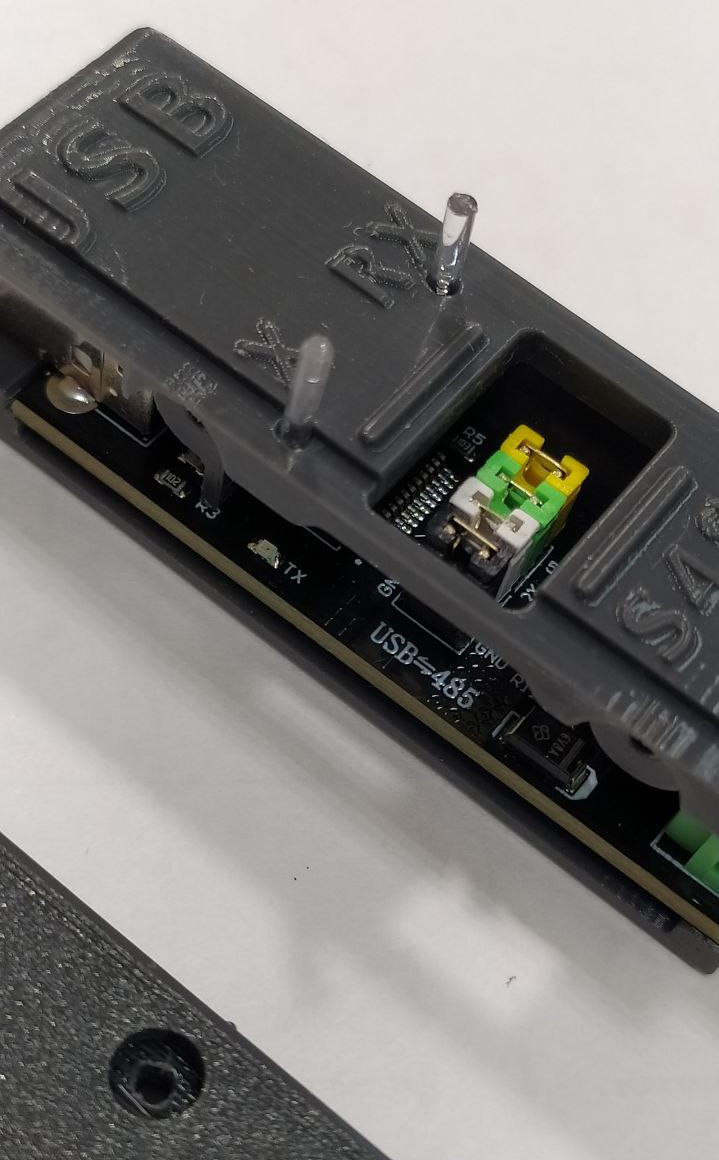
Insert the sections into the holes.
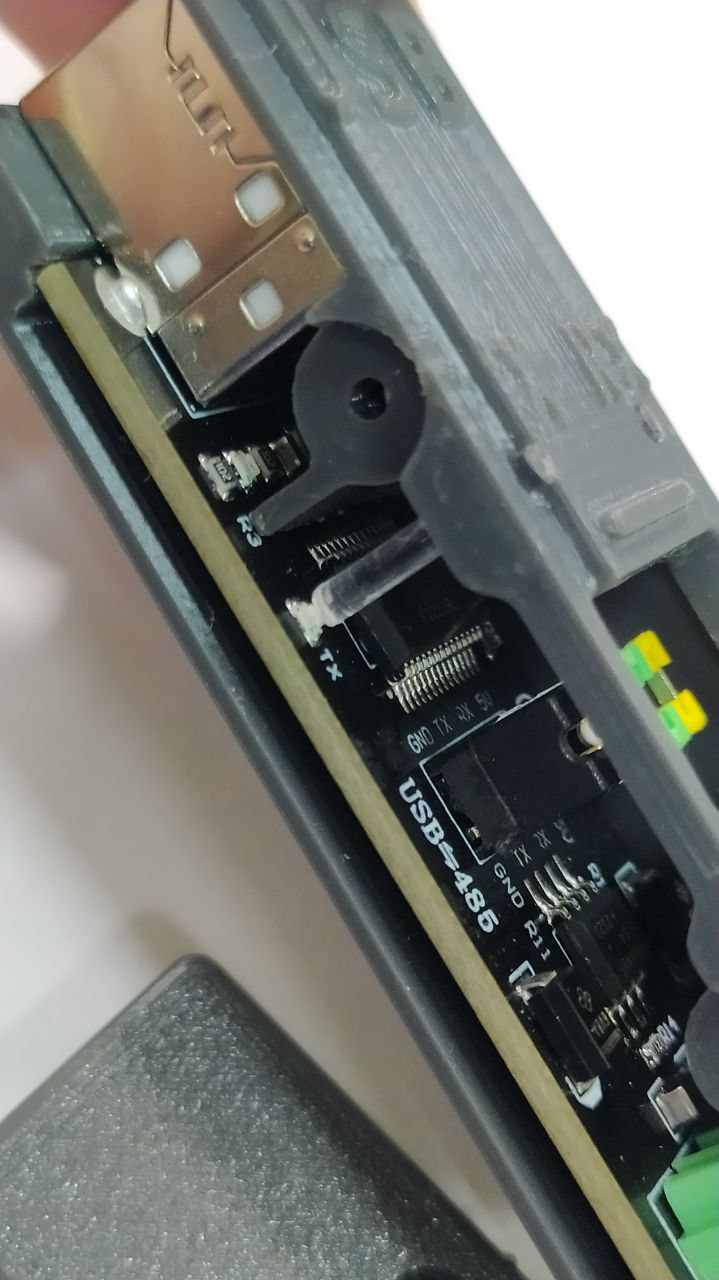
Push filament to LED.
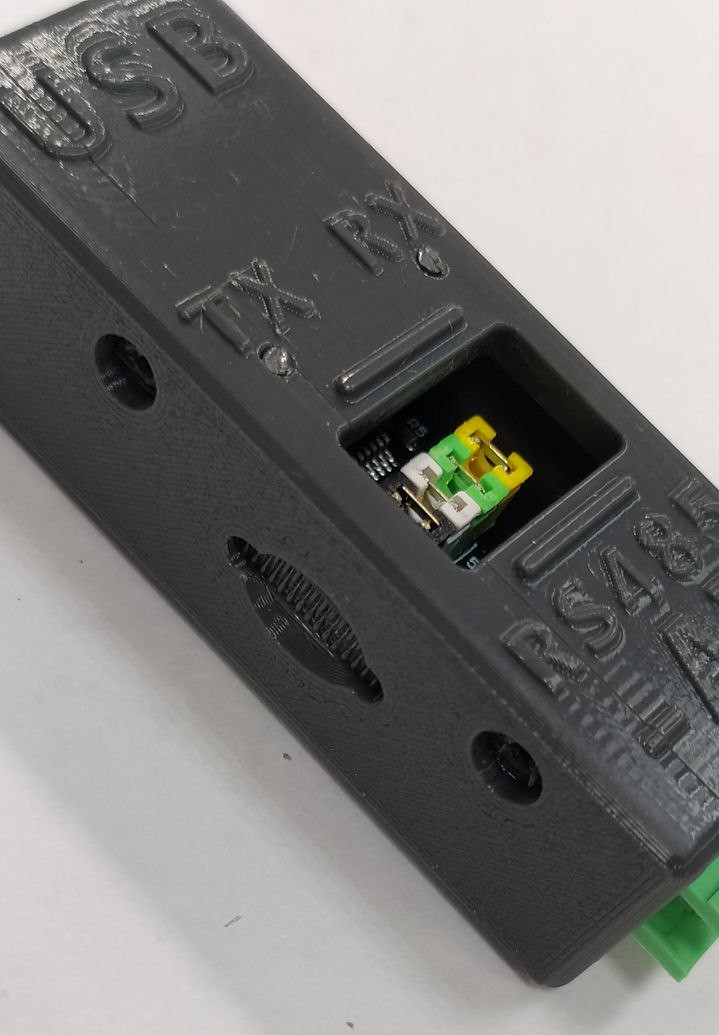
Install the cover.
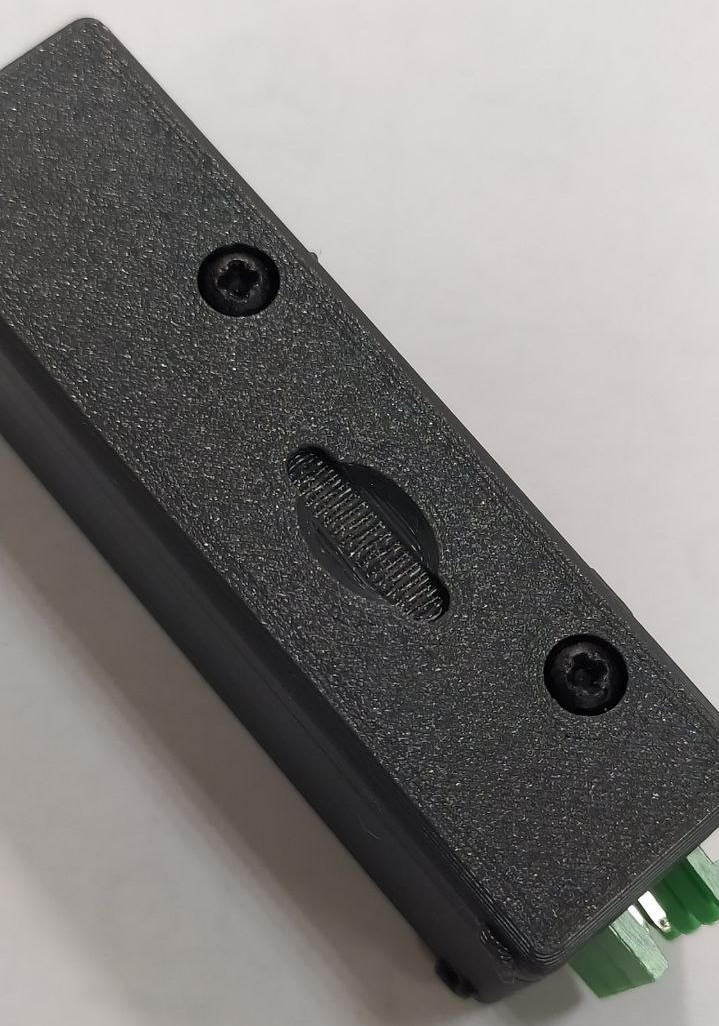
Install the self-tapping screws.
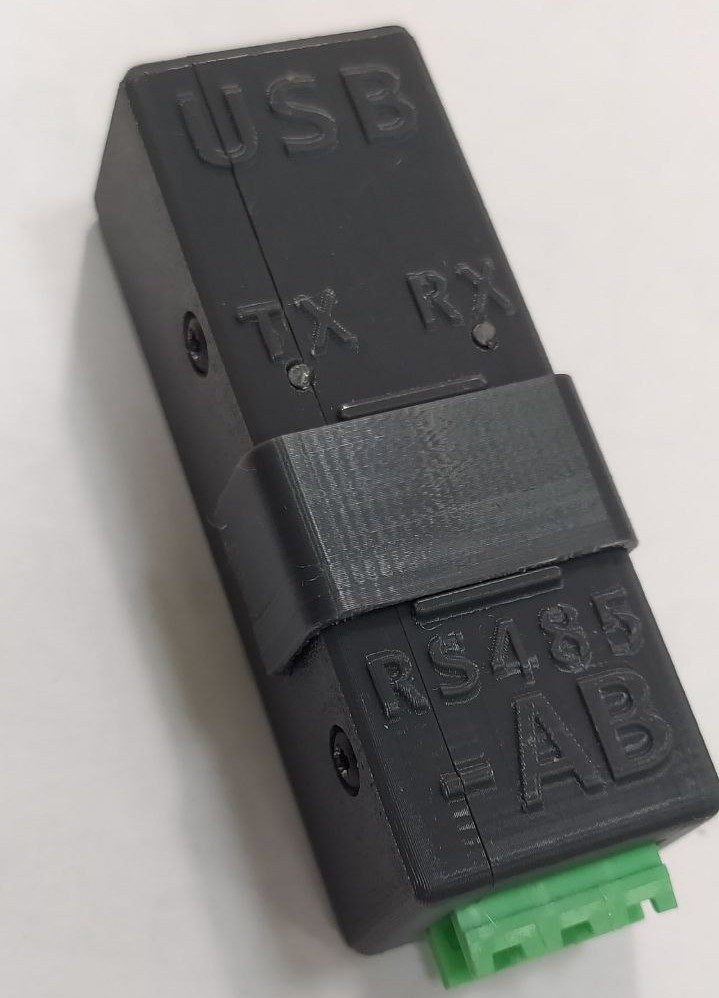
Add a cover for the window (if needed), assembly is complete.
Additional information.
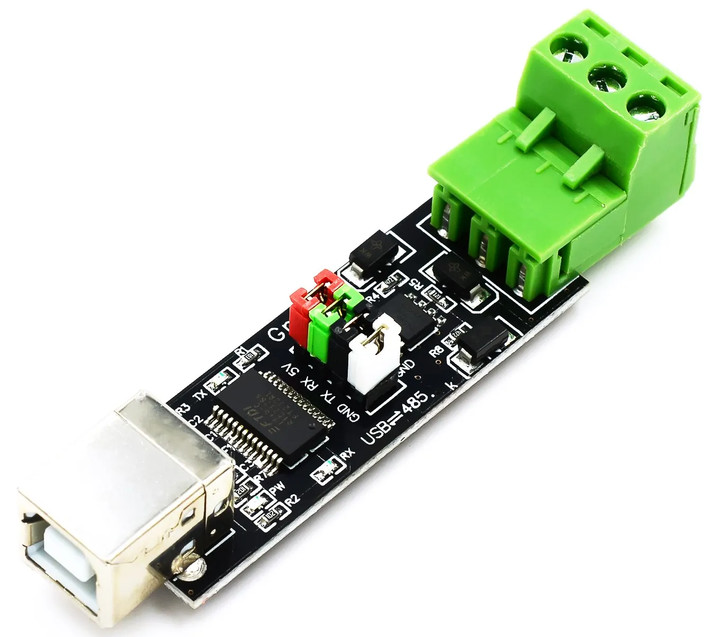
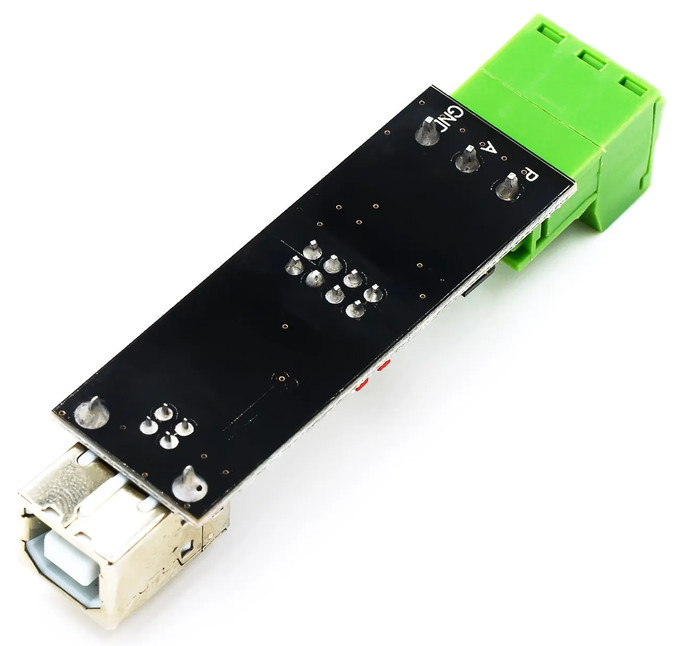
An adapter like this fits into the case.
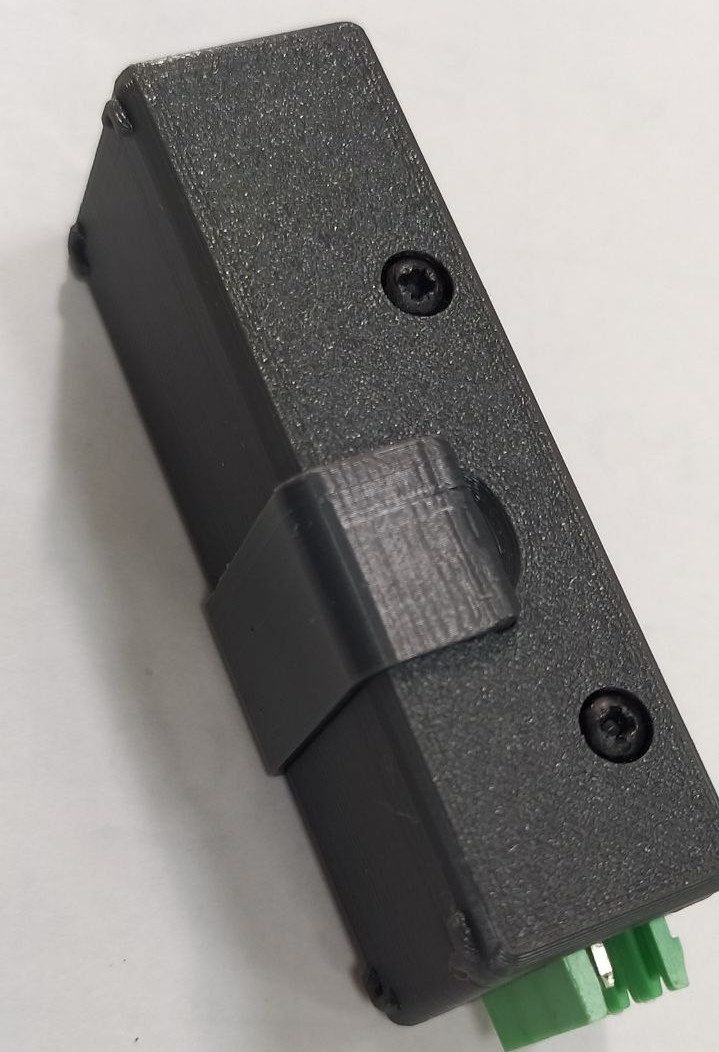
To avoid losing the window cover, attach to the back of the case.