
1 / 8
Budddy3D camera for prusa XL enclosure
Order a print of this model
We calculate the final price from your selected file. You review and accept it before payment.
Saved on this device.
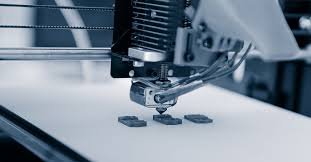
A new housing for the buddy3D camera made to fit inside of the prusa XL enclosure
- Rating
- 4.667 / 5
- Likes
- 27
- Downloads
- 57
- Makes
- 1
- Views
- 484
- Reviews
- 3
Updated at source:
Model information
- Source
- Printables
- Category
- Prusa Parts & Upgrades
- License
- Creative Commons — Attribution — Noncommercial — Share Alike
A housing to perfectly fit the internals of the buddy3d camera into the prusa xl with an enclosure. The camera is mounted using magnets.
Recommended material: PETG

Recommended orientation see picture →
There is some assembly required in the following steps:
- Dismantle the buddy3D camera. To make disassembly easier you can disconnect the motor cables and the power cable between the USB C PCB and the main board. Do not disconnect any of the other wires!
- Glue the four magnets into the first printed part. (Magnet size can be a maximum of 10x3 mm)
- Assemble the camera internals into the second printed part as shown in the picture. The screws taken out of the buddy camera can be reused in the new housing.


- Mount the two printed parts together with a single M3*16 bolt and M3 nut.
- The camera is now ready for installation.
- Use a two meter USB C cable to reach the back of the printer and use the tie wrap holes to mount the cable along the sides
Now your setup is complete. Enjoy!
Updates:
Added extra holes to clear obstructions from the enclosure