
MK4S TPU Profile - Quest for the 3DBenchy with TPU
We calculate the final price from your selected file. You review and accept it before payment.
Saved on this device.
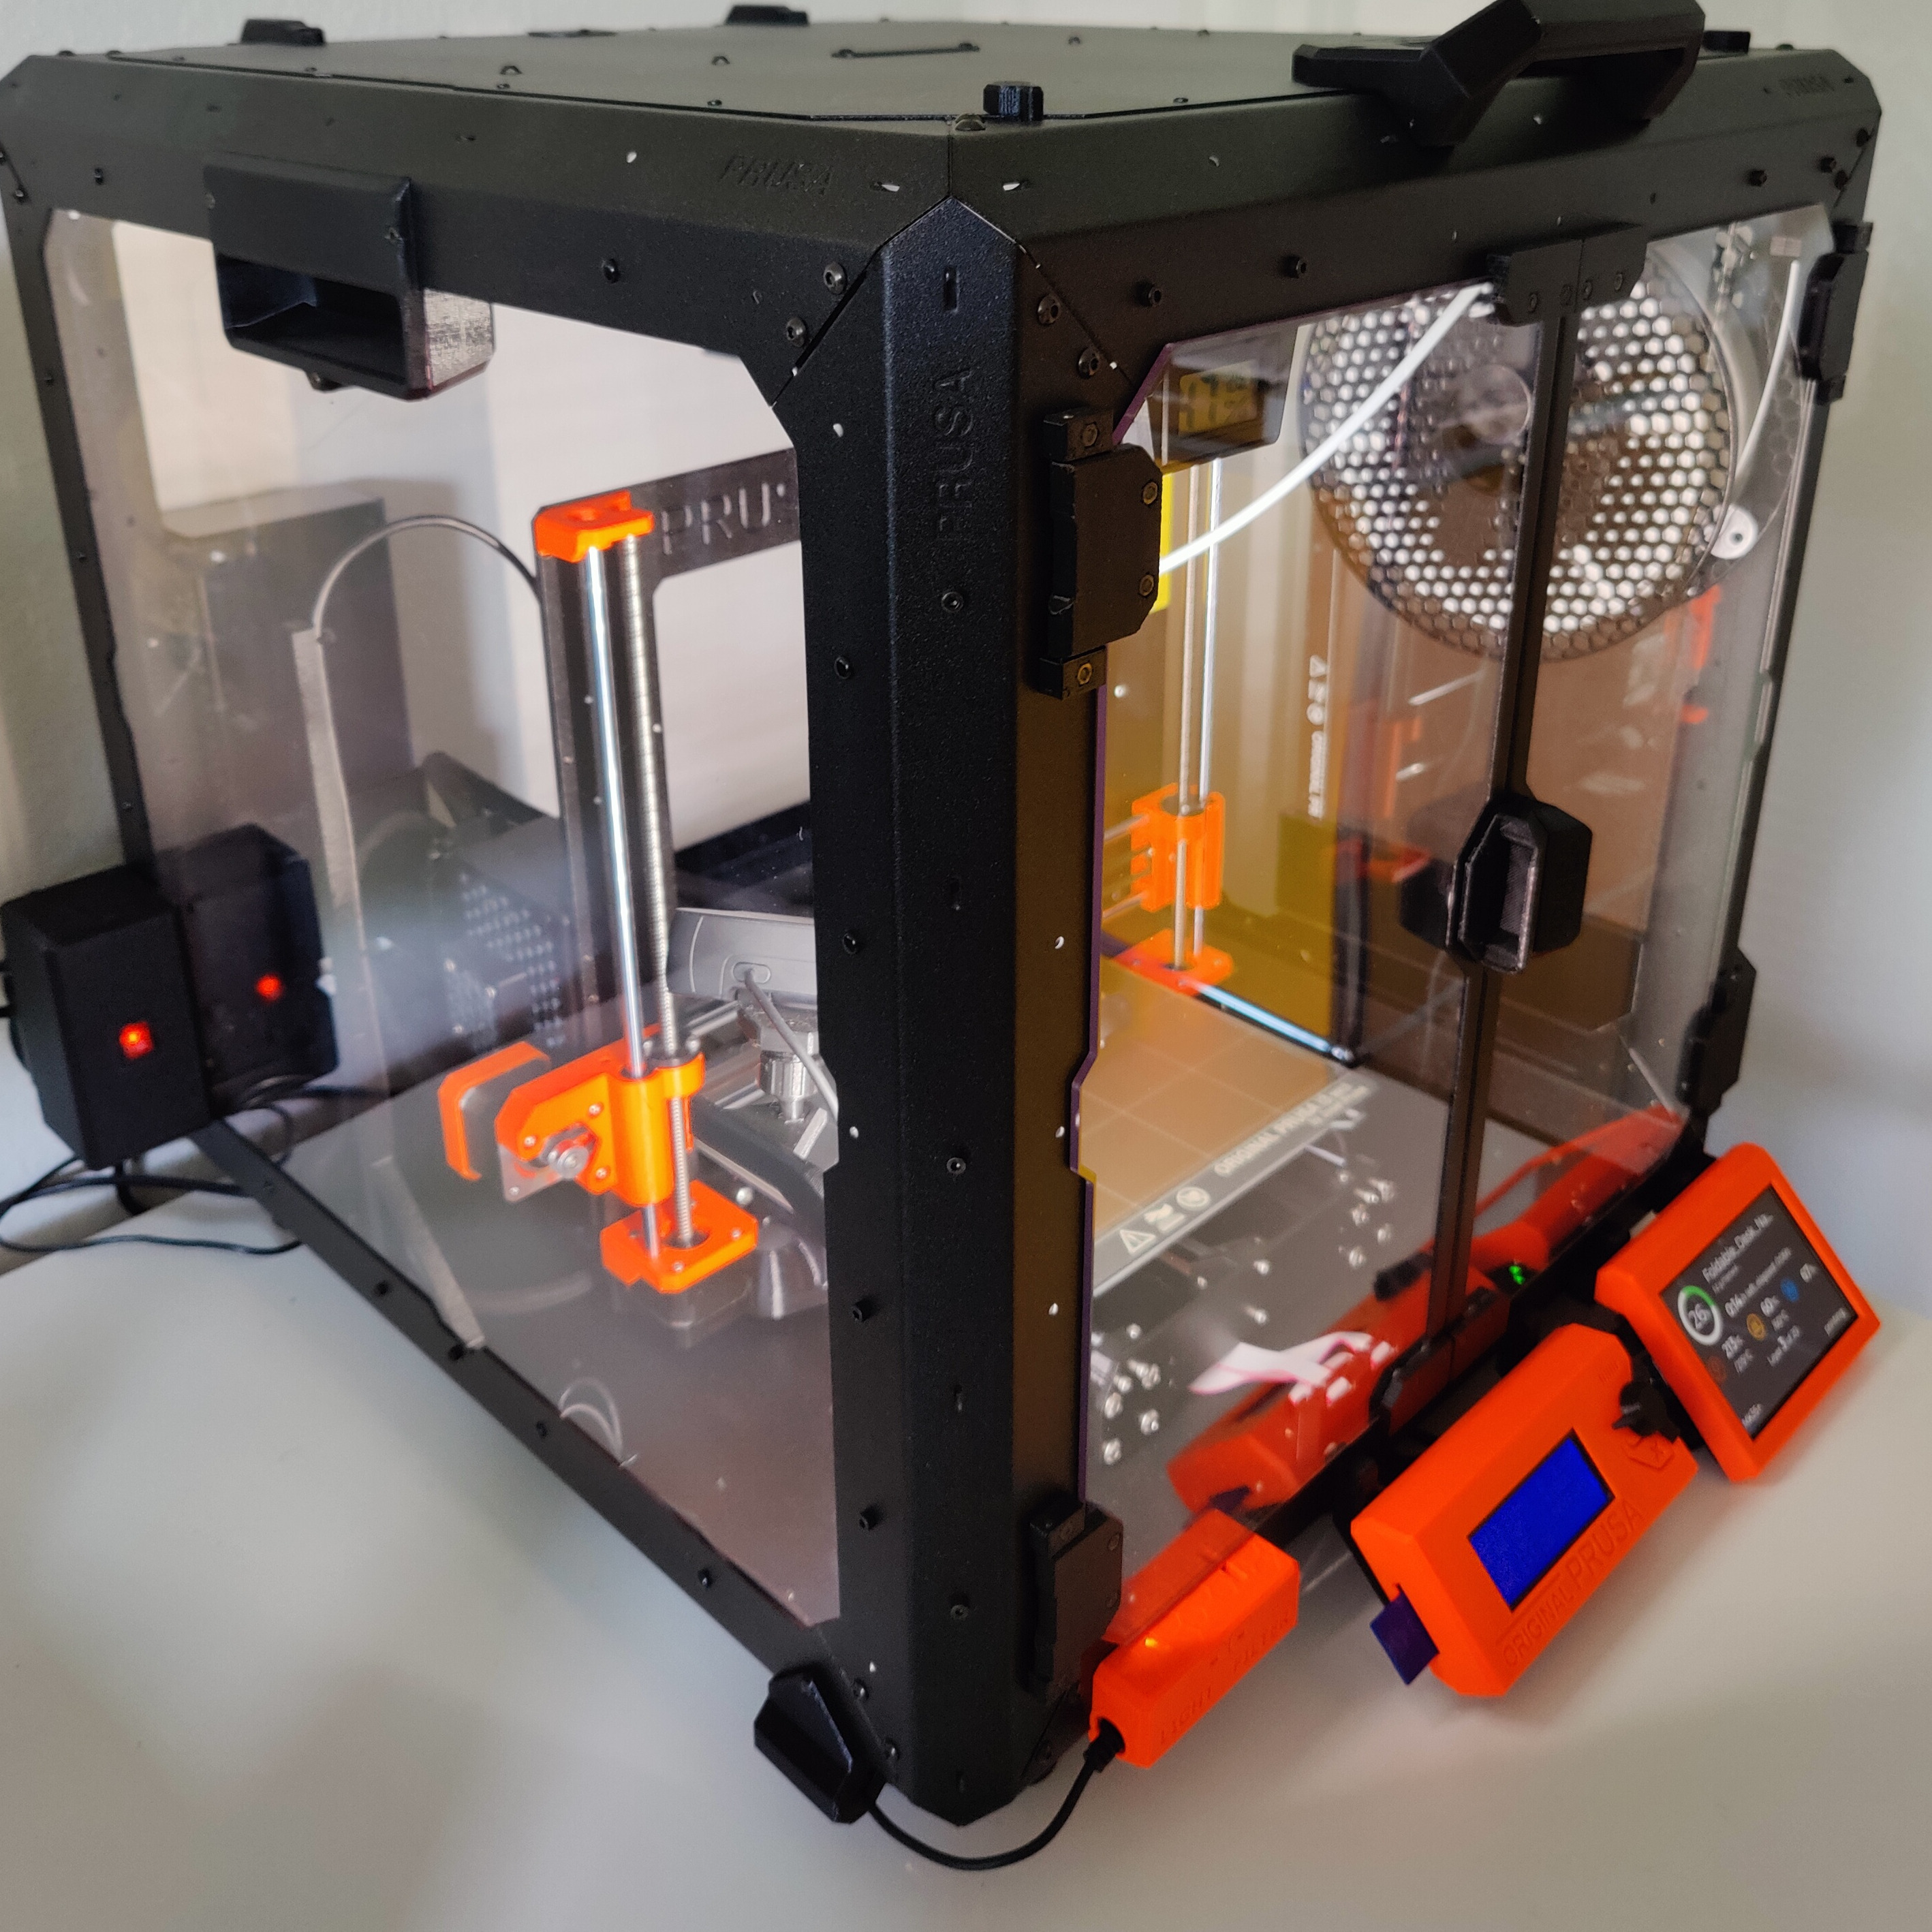
A quest where you can learn a lot about Eryone TPU 95A, but also about TPU from other manufacturers.
- Rating
- 5 / 5
- Likes
- 33
- Downloads
- 262
- Makes
- 0
- Views
- 1,290
- Reviews
- 1
Updated at source:
Model information
- Source
- Printables
- Category
- Test Models
- License
- GNU Lesser General Public License
3DBenchy is a 3D model that has been specially developed for testing and benchmarking 3D printers. However, 3DBenchy is also suitable for testing material settings. In this case, TPU, especially Eryone TPU 95A, which was purchased at a reasonable price from Amazon.
Now to the quest for the optimal Eryone TPU 95A settings. (If you are not interested in the quest or you are not using Eryone TPU, skip to part 8 at the end of this description.)
Part 1: Are there suitable filament settings already in the slicer?
Unfortunately, no specific settings are offered for Eryone TPU 95A in PrusaSlicer. With the settings offered for FLEX materials in the PrusaSlicer, e.g. Generic FLEX, AmazonBasics TPU, no reasonable printing results can be achieved. The printing temperatures in all these settings are 20 to 35 degrees Celsius too high for the Eryone TPU 95A. However, too high a temperature leads to stringing, as the material flows out of the nozzle in an uncontrolled manner. According to the manufacturer's specifications, Eryone TPU 95A has a rather low processing temperature (200 to 210 degrees Celsius) compared to other TPUs. The manufacturer offers a specification for TPU 95A, which was a good starting point for the further filament settings.
Part 2: Nozzle temperature is important, but additional settings are needed!
In addition to the temperature, the retraction length is a significant aspect in the successful TPU printing. Here, the 0.8 mm from the Eryone specification is not a good recommendation. There is still too much stringing. After a little trial and error, 2.5 mm is a suitable setting. The recommended retraction speed of 40 mm/s from the specification is okay, but this was then increased to 50 mm/s. These settings should be made under Filament Overrides in the filament settings, as otherwise they can only be made in the printer configuration, and you should not change anything there if possible.
Part 3: Hot bed? No, but higher extrusion is necessary.
The bed temperature was set to 35 degrees Celsius. Some tests were also carried out at 45 degrees, but at last no differences in the printing behavior could be determined. The bed adhesion should be enforced with a release agent such as a glue stick anyway. And while we're on the subject of bed adhesion. What it also absolutely needs is an extrusion multiplier of 1.08 to 1.1. This was initially set at 1, but you quickly realize that this is far too low for the first layer. TPU hardly expands when heated, which is also an advantage of TPU, as it then hardly contracts, there is virtually no warping.
Part 4: Slow down, speed is the enemy of TPU!
With TPU, slowing down is a clear must. As the Eryone specifications state, you should set the print speed to 15 to 30 mm/s. Again, PrusaSlicer does not offer any print settings that include such low speeds. MK4S doesn't even have a “Quality” setting anymore by default, but even that would still be too fast (btw, you can manually create an MK4S “Quality” setting by transferring the one for MK4 to a MK4S setting). Too high a print speed also leads to stringing in the end. This means that you have to create your own settings. The print profile that Floria Greco created for the Bambu Lab X1 created gave a good insight into what you have to set in the PrusaSlicer (the 3MF of him has to be opened with OrcaSlicer or Bambu Studio, to see all the settings he made). The speed settings in PrusaSlicer are made quickly. Simply set everything that has to do with print speed to 30 mm/s (everything under “speed for print moves” and “dynamic overhang Speed”).
Part 5: To cool or not to cool, but if so, how much?
Cooling was the most enduring challenge. Unfortunately, Eryone does not provide any information on this in the specifications. You can find many opinions on the Internet. Opinions range from 0% fan to 100% print fan. However, everyone agrees on the bridge and overhangs, where it should ideally always be 100%. So there was a lot of trial and error. Many 3DBenchies were sent on the journey of around 1h 30m. Some with a fixed 0% fan, some with fixed 20%, 50% and even 100%. But in the end, none of these fixed settings were perfect, sometimes the bow was deformed (0%), sometimes a corner (50%), and even the chimney was bent (20%). The deformed bow also had another reason, more on that in part 6. This means that a dynamic setting is required for an optimal 3DBenchy with TPU. Auto-cooling was activated, and the fan was set to min. 20% and max. 50%, which gave the best results in the end.
Part 6: Nothing is as it “seams”!
But even with auto-cooling, there was still a deformed bow. No matter how strong or weak the fan was set. So it couldn't be due to the cooling. Thanks to the PrusaSlicer, you can check the different features of the print. In the end, the problem was the seam position setting! With the “Aligned” position, the seam was placed exactly in the front center of the bow. This meant that the hot nozzle always touched down and up at this point, which caused the TPU in the overhang to heat up and deform. The deformation in the rear corner appeared with the “Rear” seam position. With the “Nearest” position or a manual seam at the center back, however, the deformations were gone.

Seam position “Aligned”

20% fan and seam position “Rear”

Finally… dynamic fan speeds, travel, and seam position “Nearest”
Part 7: Was the quest worth it?
A definite yes! Eryone TPU 95A is a great material that can be printed really well with the right settings. One important requirement is that it must be dry because, unfortunately, it absorbs a lot of moisture if it is stored incorrectly. TPU must therefore always be well dried. In some cases, drying for 24 hours at 65 degrees Celsius is recommended in order to print well. It is best to always print with the spool in a drying box. Apart from moisture, ghosting can also occur with very high models if the model yields too much in height, TPU is flexible. In this case, it is advisable not to print too thin-walled and tall models with TPU.
Part 8: Do you have to set all this yourself?
No! The described and created Eryone material and print settings can be found under the “Other Files” as INI. They can be directly copied into your PrusaSlicer setting folders (on Windows C:\Users\%username%\AppData\Roaming\PrusaSlicer\print and C:\Users\%username%\AppData\Roaming\PrusaSlicer\filament) or you can use the 3MF file to import the setting from there (File --> Import --> Import Config from Project).
Part 9: Can this also be used for other TPUs?
For TPU from other manufacturers, only the temperature recommended by the manufacturer needs to be set. All other settings can be adopted.
The End