
Model of Marcel Duchamp's In Advance of the Broken Arm by williamCromar
We calculate the final price from your selected file. You review and accept it before payment.
Saved on this device.
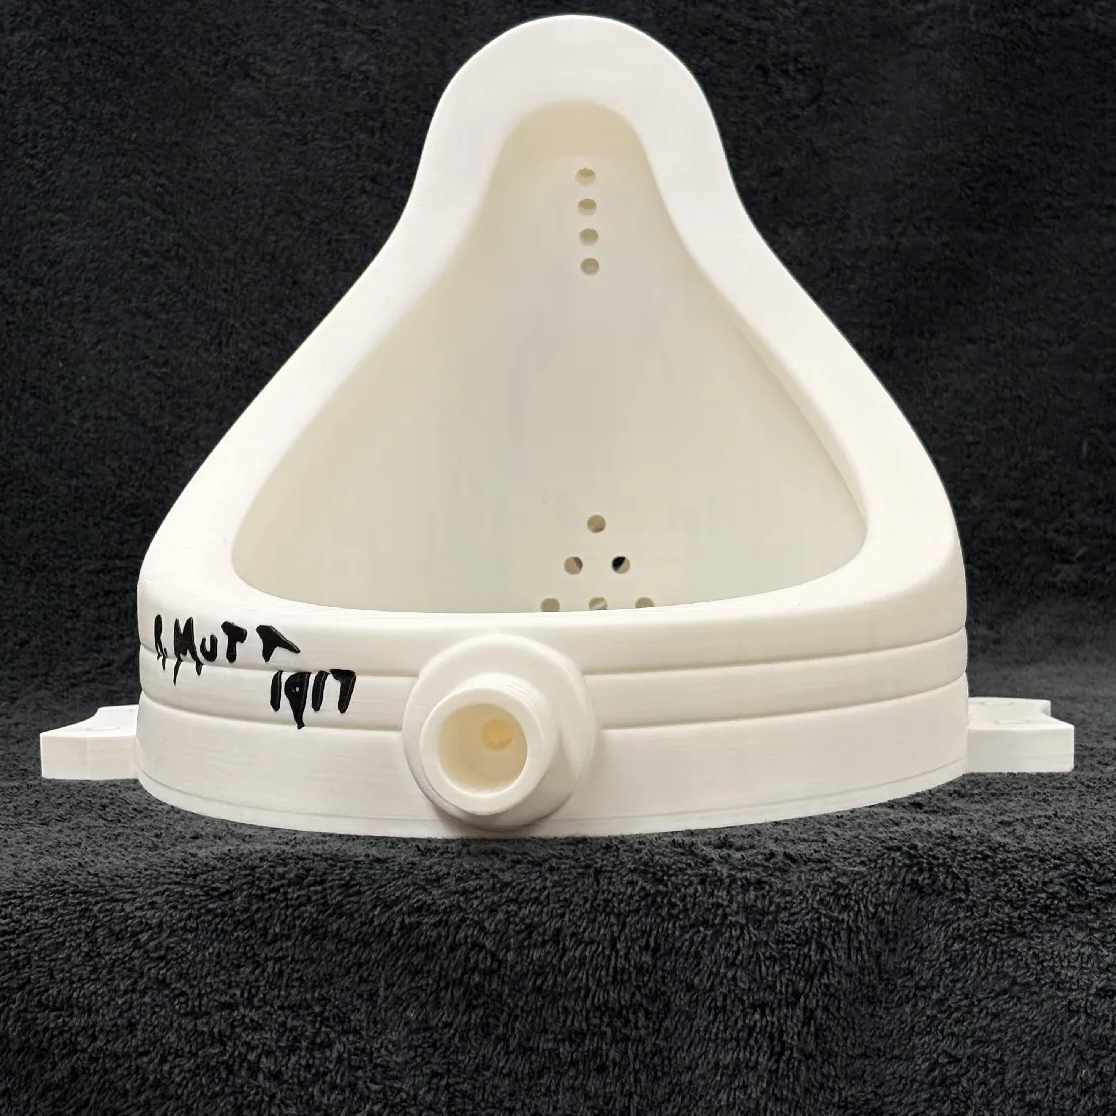
Part of Prêt à Faire, an independent transformative performance supported by Penn State Abington. CC BY-NC-SA 4.0.
- Rating
- 0 / 5
- Likes
- 2
- Downloads
- 11
- Makes
- 0
- Views
- 52
- Reviews
- 0
Updated at source:
Model information
- Source
- Printables
- Category
- Sculptures
- License
- Creative Commons — Attribution — Noncommercial — Share Alike
This open-access reference model is one in the collection Prêt à Faire: Printable Readymade Models. To explore the full-scale deluxe editions or the untextured multi-body files operating under a separate commercial license framework as part of this broader marketplace critique, view the premium tiers associated with this project:
1 | Concept & Provenance
This asset is an independent, transformative performance by williamCromar exploring distributed culture through the lens of public-domain source geometry. The historical referent—the 1915 In Advance of the Broken Arm (also known as Prelude to a Broken Arm)—consisted of a standard mass-produced snow shovel designated as a Readymade sculpture.
To support an instructional research initiative funded by a faculty grant from Penn State Abington, I modeled this geometry from the ground up using public historical data. Because the original 1915 shovel was lost, subsequent mid-century museum duplicates feature visible variations, including rounded blade profiles and fluctuating shaft lengths. This digital study cross-references the public dimensional layouts documented by historical variants, including the 1964 Arturo Schwarz configuration, rather than copying any proprietary museum data.
Explore the historical research context of this study at:
Historical reference parameters analyzed:
 Yale University |  Moderna Museet, Stockholm, |  MoMA |
The historical visual motifs analyzed here have been famously referenced or appropriated by contemporary practitioners, including Joseph Kosuth, Michael Schippling, and a collaboration between Astria Suparak and Frank Olive.
 Joseph Kosuth, One and Three Shovels [Ety.-Hist.], 1965 |  Astria Suparak and Frank Olive, In Advance of Snow, 2007 |  Michael Schippling, Prélude d'un Balconnet Cassé, 2014 |
2 | Printing Notes
As a work of Post-Appropriation, this model is an independent digital manifestation optimized specifically for FDM fabrication, structural durability, and scale variance. The geometry deliberately adapts historical visual motifs into a printable medium, celebrating the physical deviations required by the additive manufacturing process as part of the artwork's transformative expression.
Print the components in the exact quantities listed at the end of each file name (if no number is present, print 1). The files are drawn at full historical size and can be scaled down in your slicer. The reference model is optimized to print at roughly 50% scale on a large-format bed like the Prusa XL, as shown in the photos. Scaling below 50% is not recommended, as the perimeter walls require specific thickness thresholds to maintain structural stability.
To resolve the wood grain surface representation on the shaft and handle, this version incorporates a clean texture map generated via the open-source BumpMesh utility by CNC Kitchen. Universal STEP files are provided for all smooth mechanical components; due to the high polygon counts of algorithmic displacement mapping, the wood-grain textured parts are provided strictly as high-resolution meshes.
General Recommendations
Use the supplied 3MF files with preconfigured orientations and settings.
These settings were validated on a well-tuned Prusa XL using dehydrated filament.
STL and STEP files are provided for users who wish to experiment.
If creating your own build plates, print extra bolts and nuts.
My general settings:
Print Settings: 0.15mm Structural for a smooth perimeter finish
Filament: PLA with appropriate profiles for the abovementioned materials
Printer: Prusa XL (for a 50% scale model) or MK4/MK3 (for 10%)
Supports: Paint-on as appropriate
Infill: 15%
Brim: On the handle only
Advanced settings:
Layers and perimeters: All defaults
Infill: Gyroid fill pattern, Aligned Rectangular top and bottom fill pattern
Support material: Organic style
File Formats
[Model_Name].3mf/.stl→ Best for quick printing. Pre-meshed at a high resolution, these files will slice exactly as they appear in the smooth website preview.[Model_Name].step→ Best for remixing and maximum quality. These files contain precise CAD data. Note: Ignore the blocky look in the online browser viewer; it will download and slice with perfectly smooth mathematical curves inside your slicer.
Material Recommendations
For filament, consider the following:
Prusament Galaxy Silver PLA or Polymaker Panchroma Metallic Silver PLA for all steel parts
Hatchbox Copper PLA or Amoybaby Silk Red Copper PLA for the blade end
SUNLU Wood Fiber PLA or Amolen Wood Bamboo PLA for the shaft and handle
Amolen Silk Aged Brass PLA for the plaque
Printing Statistics
Stats for a full-scale print:
Total material used: ~220 grams silver, ~40 grams copper, ~47 grams wood
Total time: ~18 hours, 45 minutes
Total number of build plates: 2 (1 multi-material for blade and handle bracket, 1 for wood)
3 | Assembly Notes
Follow these general guidelines:
The 3MF file shows the optimal orientation to print each piece.
It is necessary to incorporate a brim and/or supports on select pieces. At minimum, we recommend paint-on organic supports for the blade, and a brim for the “wood” handle and bolts. You can add custom brims and supports in the slicer as needed if plating your own.
Using Organic supports produces beautiful results with no support scarring at all on the blade.
Start by gluing the blade parts together.
Glue the shaft parts together.
Glue the shaft into the blade slot, and glue the bolt and nut pieces in place.
Assemble the handle onto the shaft:
Glue bolts into the two lower holes on the handle bracket, and glue a handle bolt into the top hole. Repeat for the nuts on the second bracket. Use tape to secure and set aside until cured.
Glue one bracket onto one side of the shaft. Clamp or tape until cured.
Slip the washer onto the bolt, and apply a small amount of glue to the bolt.
Slip the handle onto the bolt, making sure it stays aligned while the glue sets. Hold it in place with tape if needed.
Slip the second washer onto the other handle bolt.
Apply glue to the bolt ends.
Attach the second bracket to the shaft while simultaneously threading the handle onto the handle nut. Tape or clamp until cured.
Finish by gluing the brass plaque and nuts in place.
Adhesives
Use PLA solvent (e.g., Gloop, Weld-On 16) or fresh gel CA
Clamp or compress until fully cured
Tools
Clamps, removable tape
Small brushes, trays for gluing
Needle or paper clip (for gluing small spaces)
#11 craft knife
Needle-nose pliers, tweezers
Safety
Standard PPE: Nitrile gloves, eye protection
Ventilation when using solvents
Remember, you are assuming all risk when using these materials and files, so stay safe!
4 | Presentation Notes
A core tenet of the Readymade concept is spatial displacement—positioning an everyday object so its original function becomes obsolete. Historical records show Duchamp suspended the original shovel from his studio ceiling so that it hung vertically in mid-air. You can use a hook or monofilament line to suspend this fabricated manifestation in a similar manner. Because this work has been scaled and optimized specifically for layer-by-layer 3D printing, it functions purely as a digital art-historical reference, completely free from the constraints of physical utility. It is evidently NOT a shovel, no matter how one looks at it. One might argue that we may display it however we wish, since we are not constrained by potential functionality.
5 | Change Log
28 JUL 2026: Added photographic documentation of the fully assembled final print.
15 JUL 2026: Added a reference link to the premium tier workspace for displacement texture experiments and updated text formatting.
28 JUN 2026: Major file optimization updates:
Remodeled the underlying geometry to achieve a more precise structural interpretation of historical visual parameters, derived from the premium full-scale manifestation.
Integrated a new wood grain texturing workflow using BumpMesh by CNC Kitchen.
Updated render images and text.
Updated all technical documentation and data preview listings (placing STL files first to bypass browser rendering constraints on universal STEP data).
23 NOV 2025: Revised project documentation for layout clarity and consistent formatting across the Prêt à Faire collection.
16 NOV 2025: Uploaded photos of a completed multi-material reference fabrication at 50% scale.
1 NOV 2025: Tweaked the internal mechanical tolerances of the handle interface to ensure a clean press-fit with the main shaft.
4 OCT 2025: Fabricated initial structural prototypes at 25% scale using test filament to validate component fits. All parts aligned smoothly with basic bonding adhesives, maintaining structural stability.
Disclaimer
Prêt à Faire is an autonomous artistic project, scholarly reference work, and institutional critique by williamCromar, supported by a faculty grant from Penn State Abington with fabrication assistance from the Abington MakerSpace. This project is entirely independent and maintains no formal affiliation, endorsement, or sponsorship with Association Marcel Duchamp, the Estate of Marcel Duchamp, ARS, ADAGP, or any curating museum. When referencing or sharing this work, users must maintain a clear distinction in authorship and nomenclature from the historical referent. Cite this asset as: Model of Marcel Duchamp’s [Object Name] by williamCromar. Basic models are available under a CC BY-NC-SA 4.0 license; premium tiers operate under a separate commercial framework. For full conceptual and legal text, visit https://sites.psu.edu/pretafaire/disclaimer-and-licensing/