
CORE One / CORE One L Z-Motor Mount with Heat Set Inserts
We calculate the final price from your selected file. You review and accept it before payment.
Saved on this device.

Improved Z-motor mount for Prusa CORE One with heat set inserts for reliable, strip-proof mounting to base plate.
- Rating
- 5 / 5
- Likes
- 181
- Downloads
- 6,752
- Makes
- 22
- Views
- 13,313
- Reviews
- 21
Updated at source:
Model information
- Source
- Printables
- Category
- Prusa Parts & Upgrades
- License
- GNU General Public License v2.0
This is a remix of the Z-motor mount for the Prusa CORE One 🥰. The key improvement is the addition of heat set threaded inserts in place of the original design that required the M3 bolts to thread directly into the printed plastic.
Key Features:
Heat Set Inserts: Eliminates the risk of stripping threads when mounting to the base plate
Reliable Installation: Risk-free initial mounting process
Maintenance-Friendly: Easy and safe remounting during printer maintenance
Enhanced Durability: Heat set inserts provide stronger, more reliable connections than plastic threads
Drop-in Replacement: Compatible with existing CORE One assembly process
New versions of the kits ship with injection molded Z-Motor mounts that come without a separate clear spacer part. You can still use this model, just print the optional spacer part that is in the files section. |
Assembly
 | 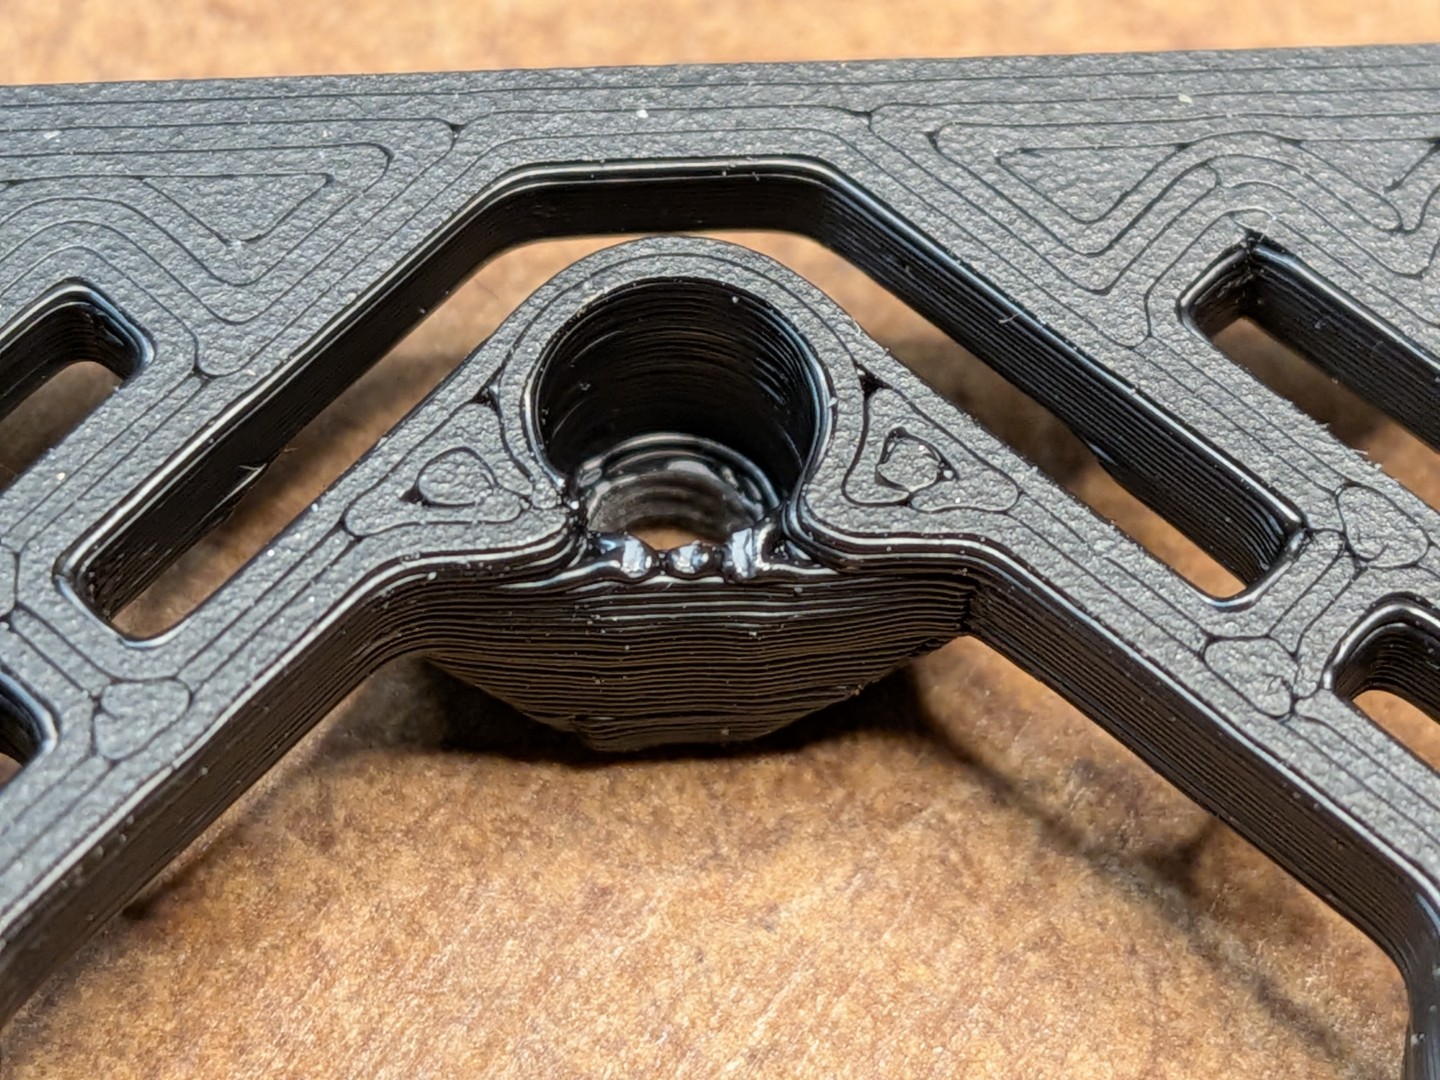 |  |  |  |

The heat-setting insert sits 0.8 mm below the base surface. This ensures a safe distance from the stepper motors at all times. Therefore, make sure it is fully seated before proceeding. |
Post Processing
Remove all support material and inspect the print quality
Gently sand the top surface using sandpaper on a flat surface to ensure the mount sits perfectly flat against the base plate when doing the final assembly
Install the heat set inserts , ensuring they are completely seated (refer to included images)
 |  |  |  |  |
Threading Preparation:
The M3 screw hole is intentionally slightly undersized to create a secure thread that prevents loosening over time. To achieve the perfect fit:
Insert an M3 x 8mm screw from the underside, threading it all the way through
This creates a perfectly aligned thread in the plastic that matches the heat set insert
Remove the screw and mount the motor to the mount
Final Assembly:
When mounting the unit to the base plate, ensure the M3 screw aligns with the thread created in the plastic
For added security, consider using blue thread locker (Loctite) if desired
Note: The undersized hole design provides mechanical thread locking, but the fit will of course depend on your printer/filament settings. For added security, consider using blue thread locker (Loctite).
Print Settings
Filament: PC (… and one 25g sample of Prusament PC Blend is all you need for the 3 mounts)
Layer Height: 0.2
Extrusion Width: 0.4
Perimeters: 4
Top / Bottom Layers: 5
Infill: 60 %
Support: Recommended (see instructions below)

To eliminate any risk of imperfections in the heat set insert areas, it is recommended to use supports for the overhang areas (highlighted in red). |
CAD
This model has been completely reverse-engineered from the original Prusa design, allowing for full customization and modification. Complete CAD data is provided in the download section, including both .STEP and native Fusion format.
BOM
12 x M3x5x4 Heat Set Insert (Voron Spec)