PolyDryer Annealing Mod – Soften, Dry & Anneal Your Prints
We calculate the final price from your selected file. You review and accept it before payment.
Saved on this device.

Anneal, soften & reshape prints while also drying silica gel efficiently
- Rating
- 5 / 5
- Likes
- 46
- Downloads
- 90
- Makes
- 1
- Views
- 1,338
- Reviews
- 1
Updated at source:
Model information
- Source
- Printables
- Category
- Accessories
- License
- Creative Commons — Attribution — Noncommercial — Share Alike
PolyDryer Annealing Mod – Soften, Dry & Anneal Your Prints
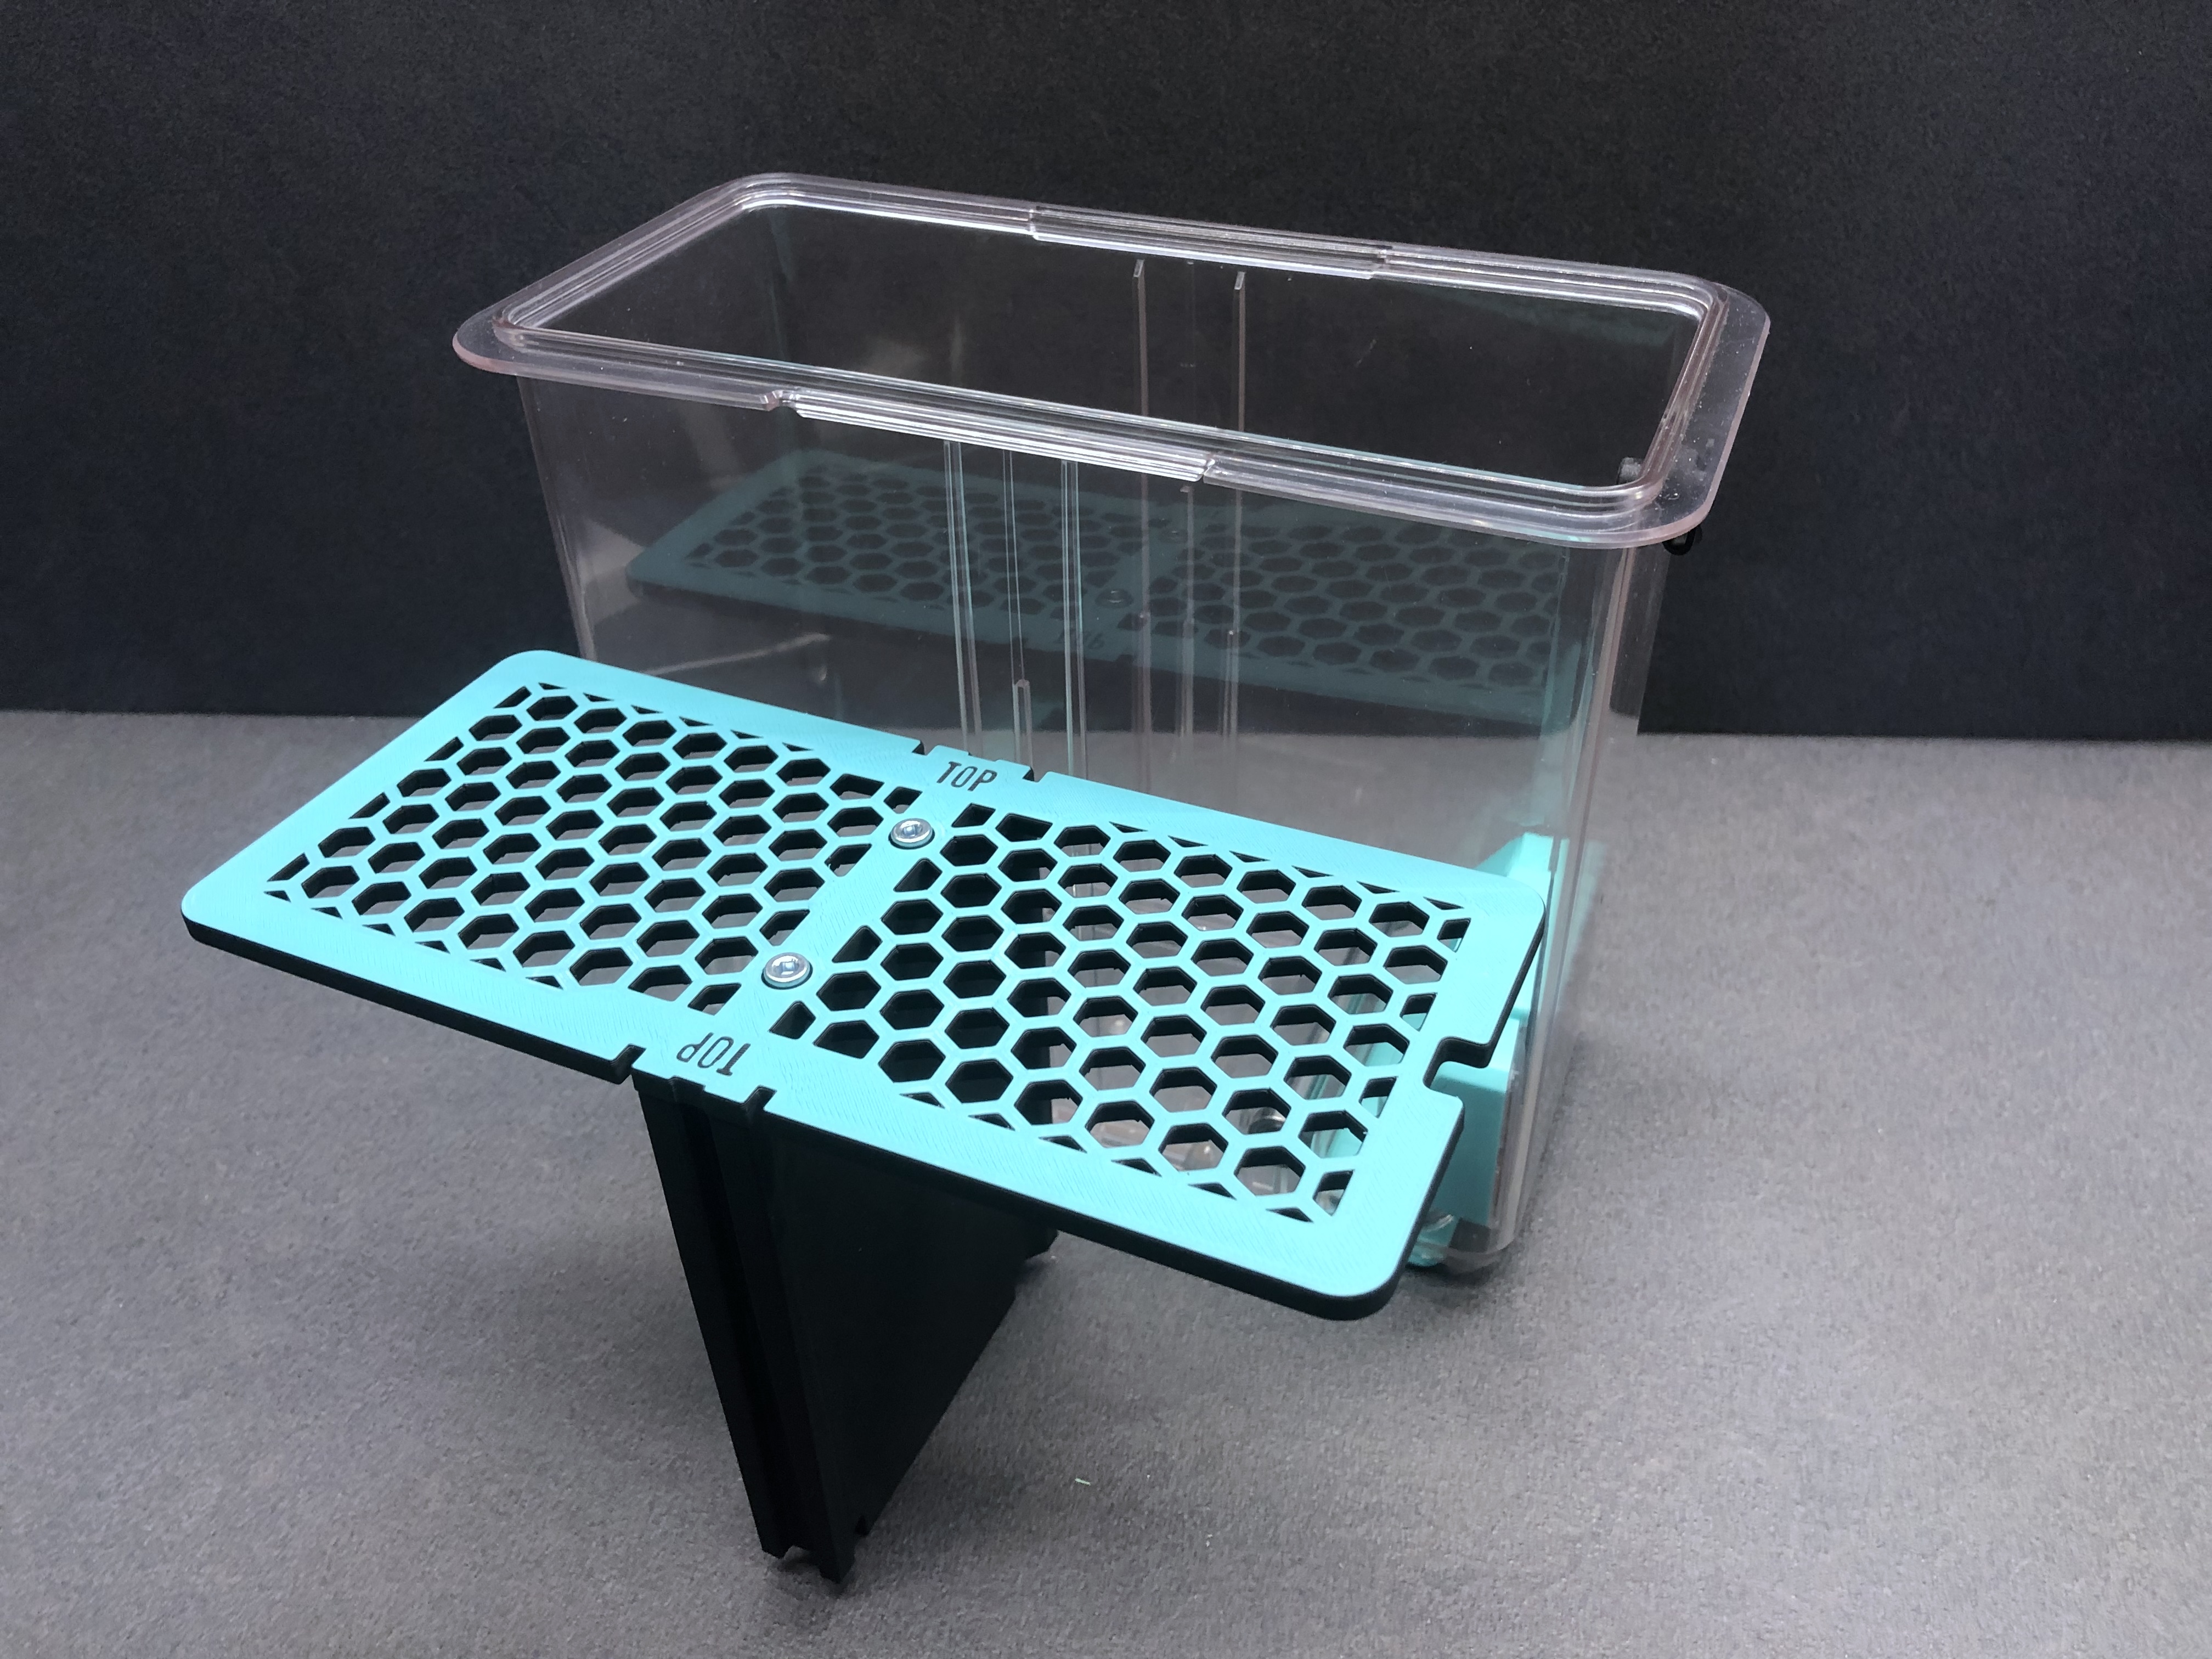
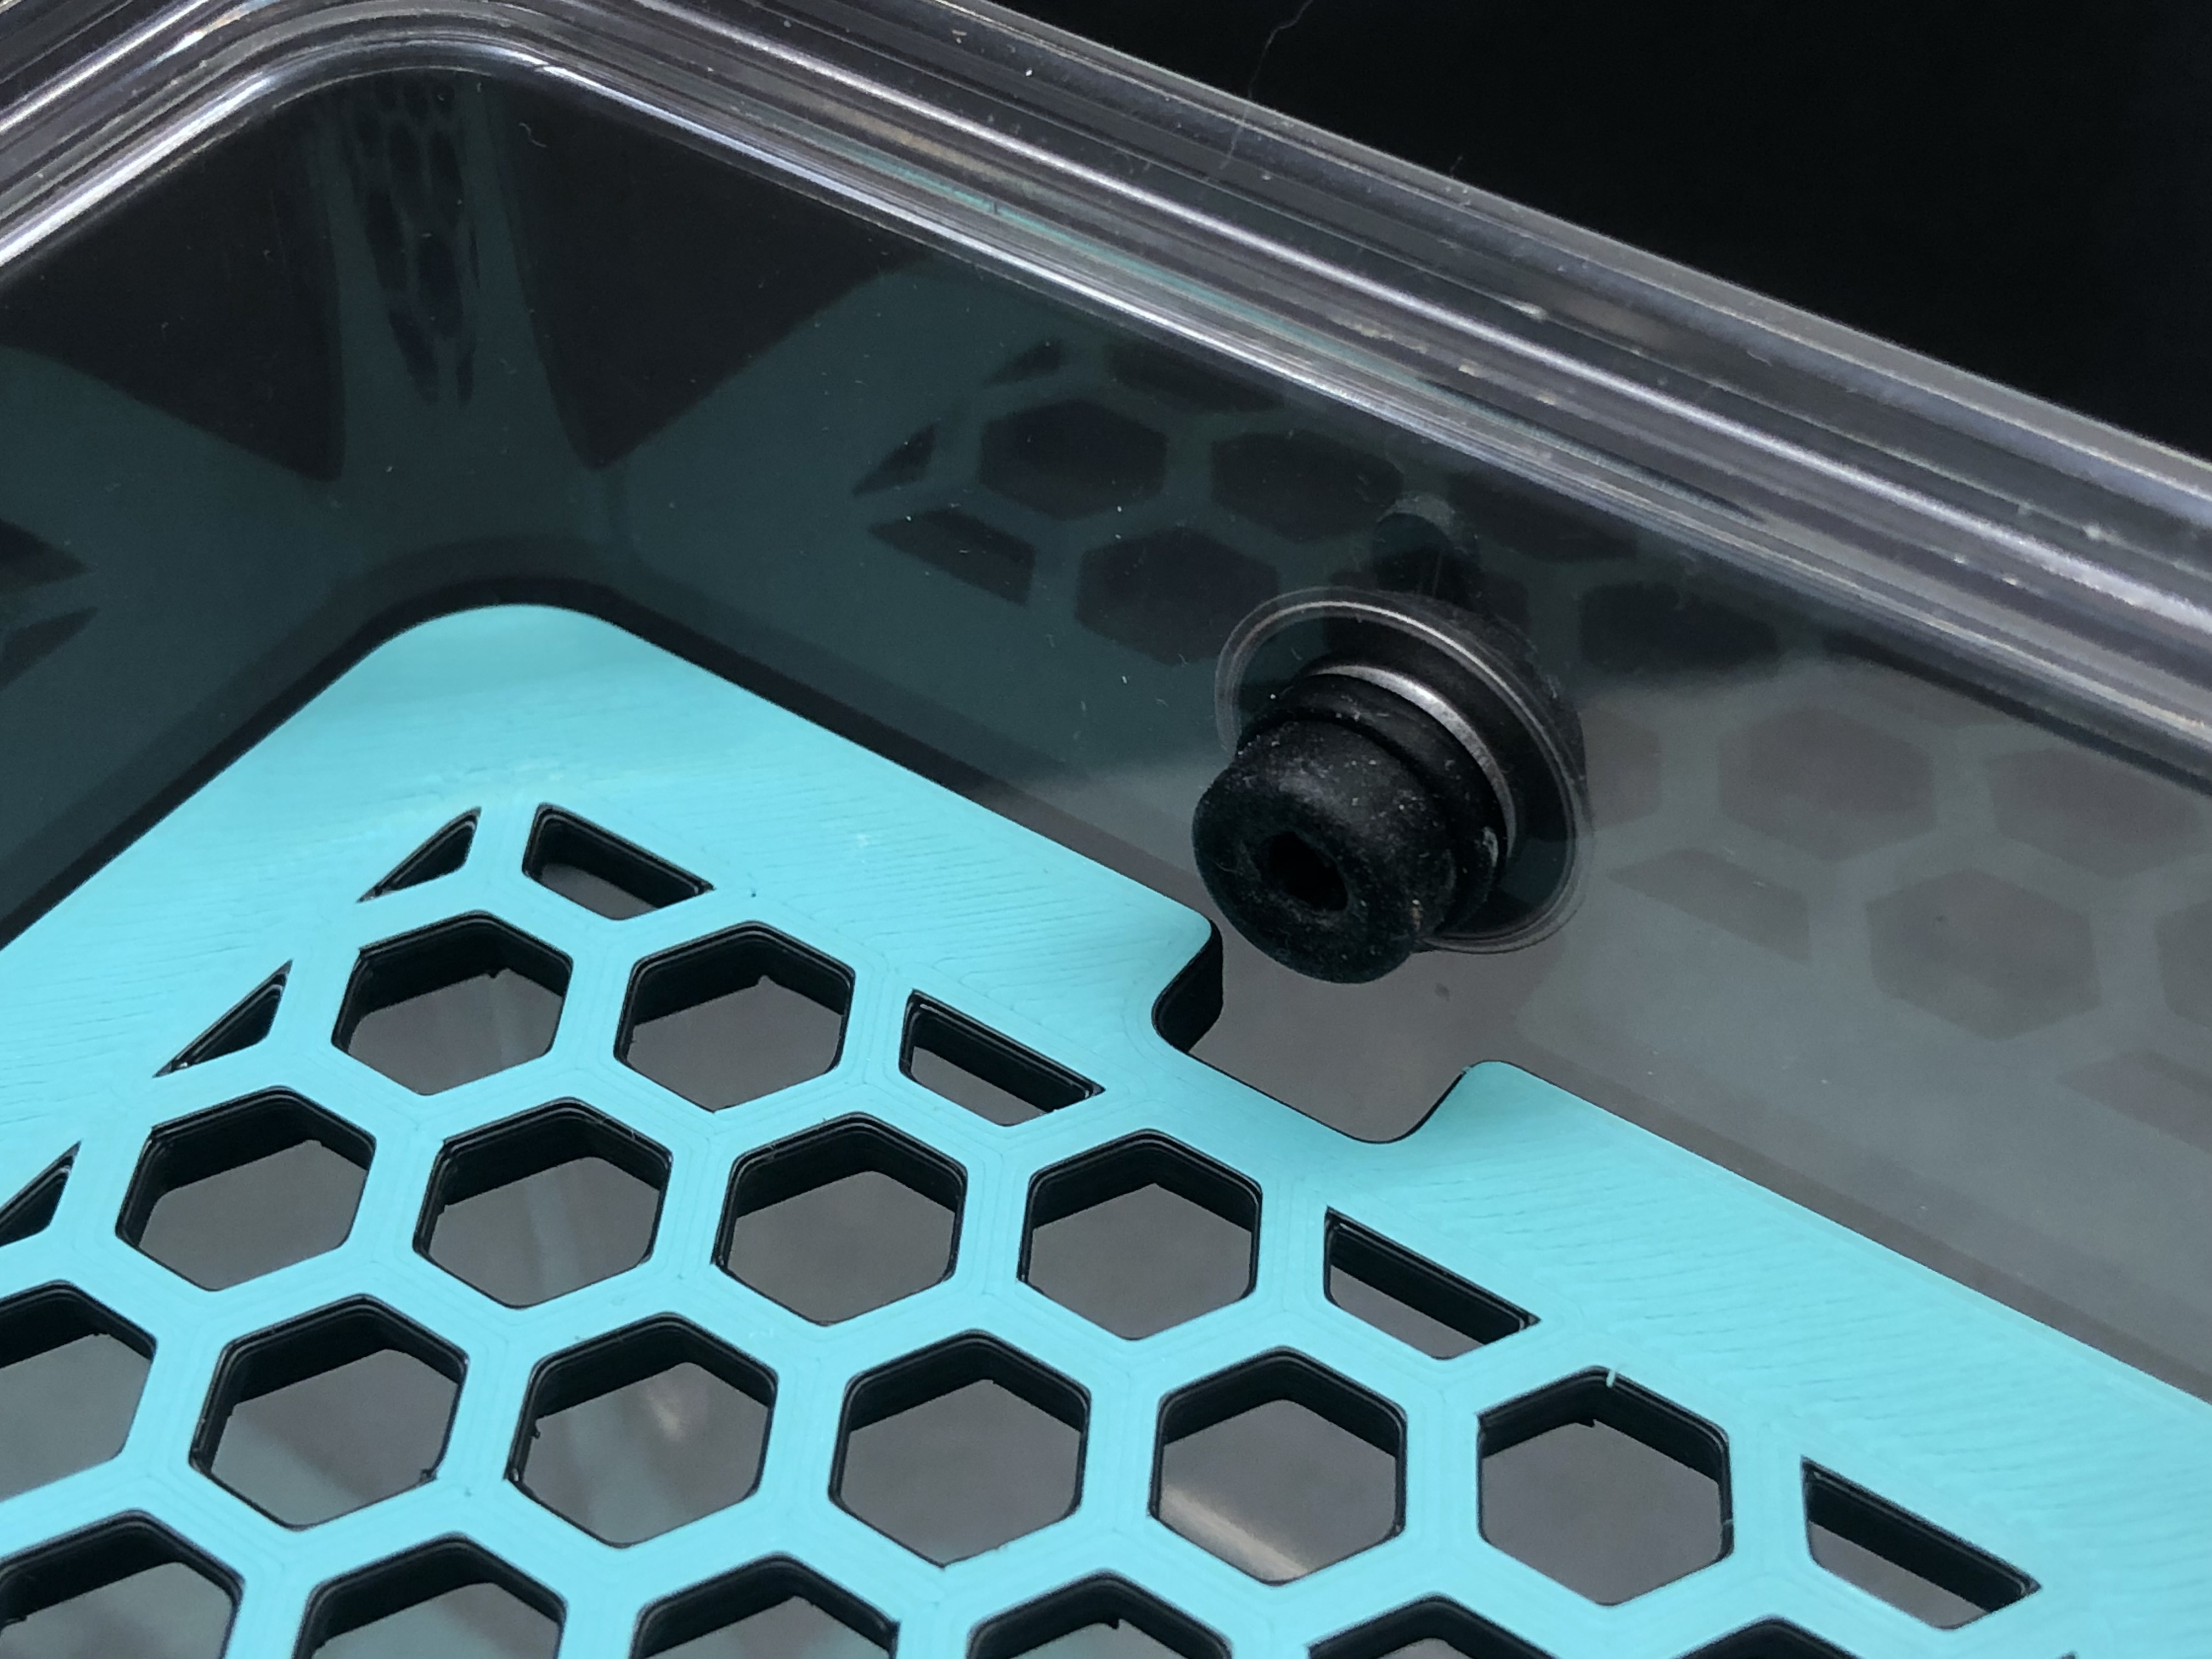
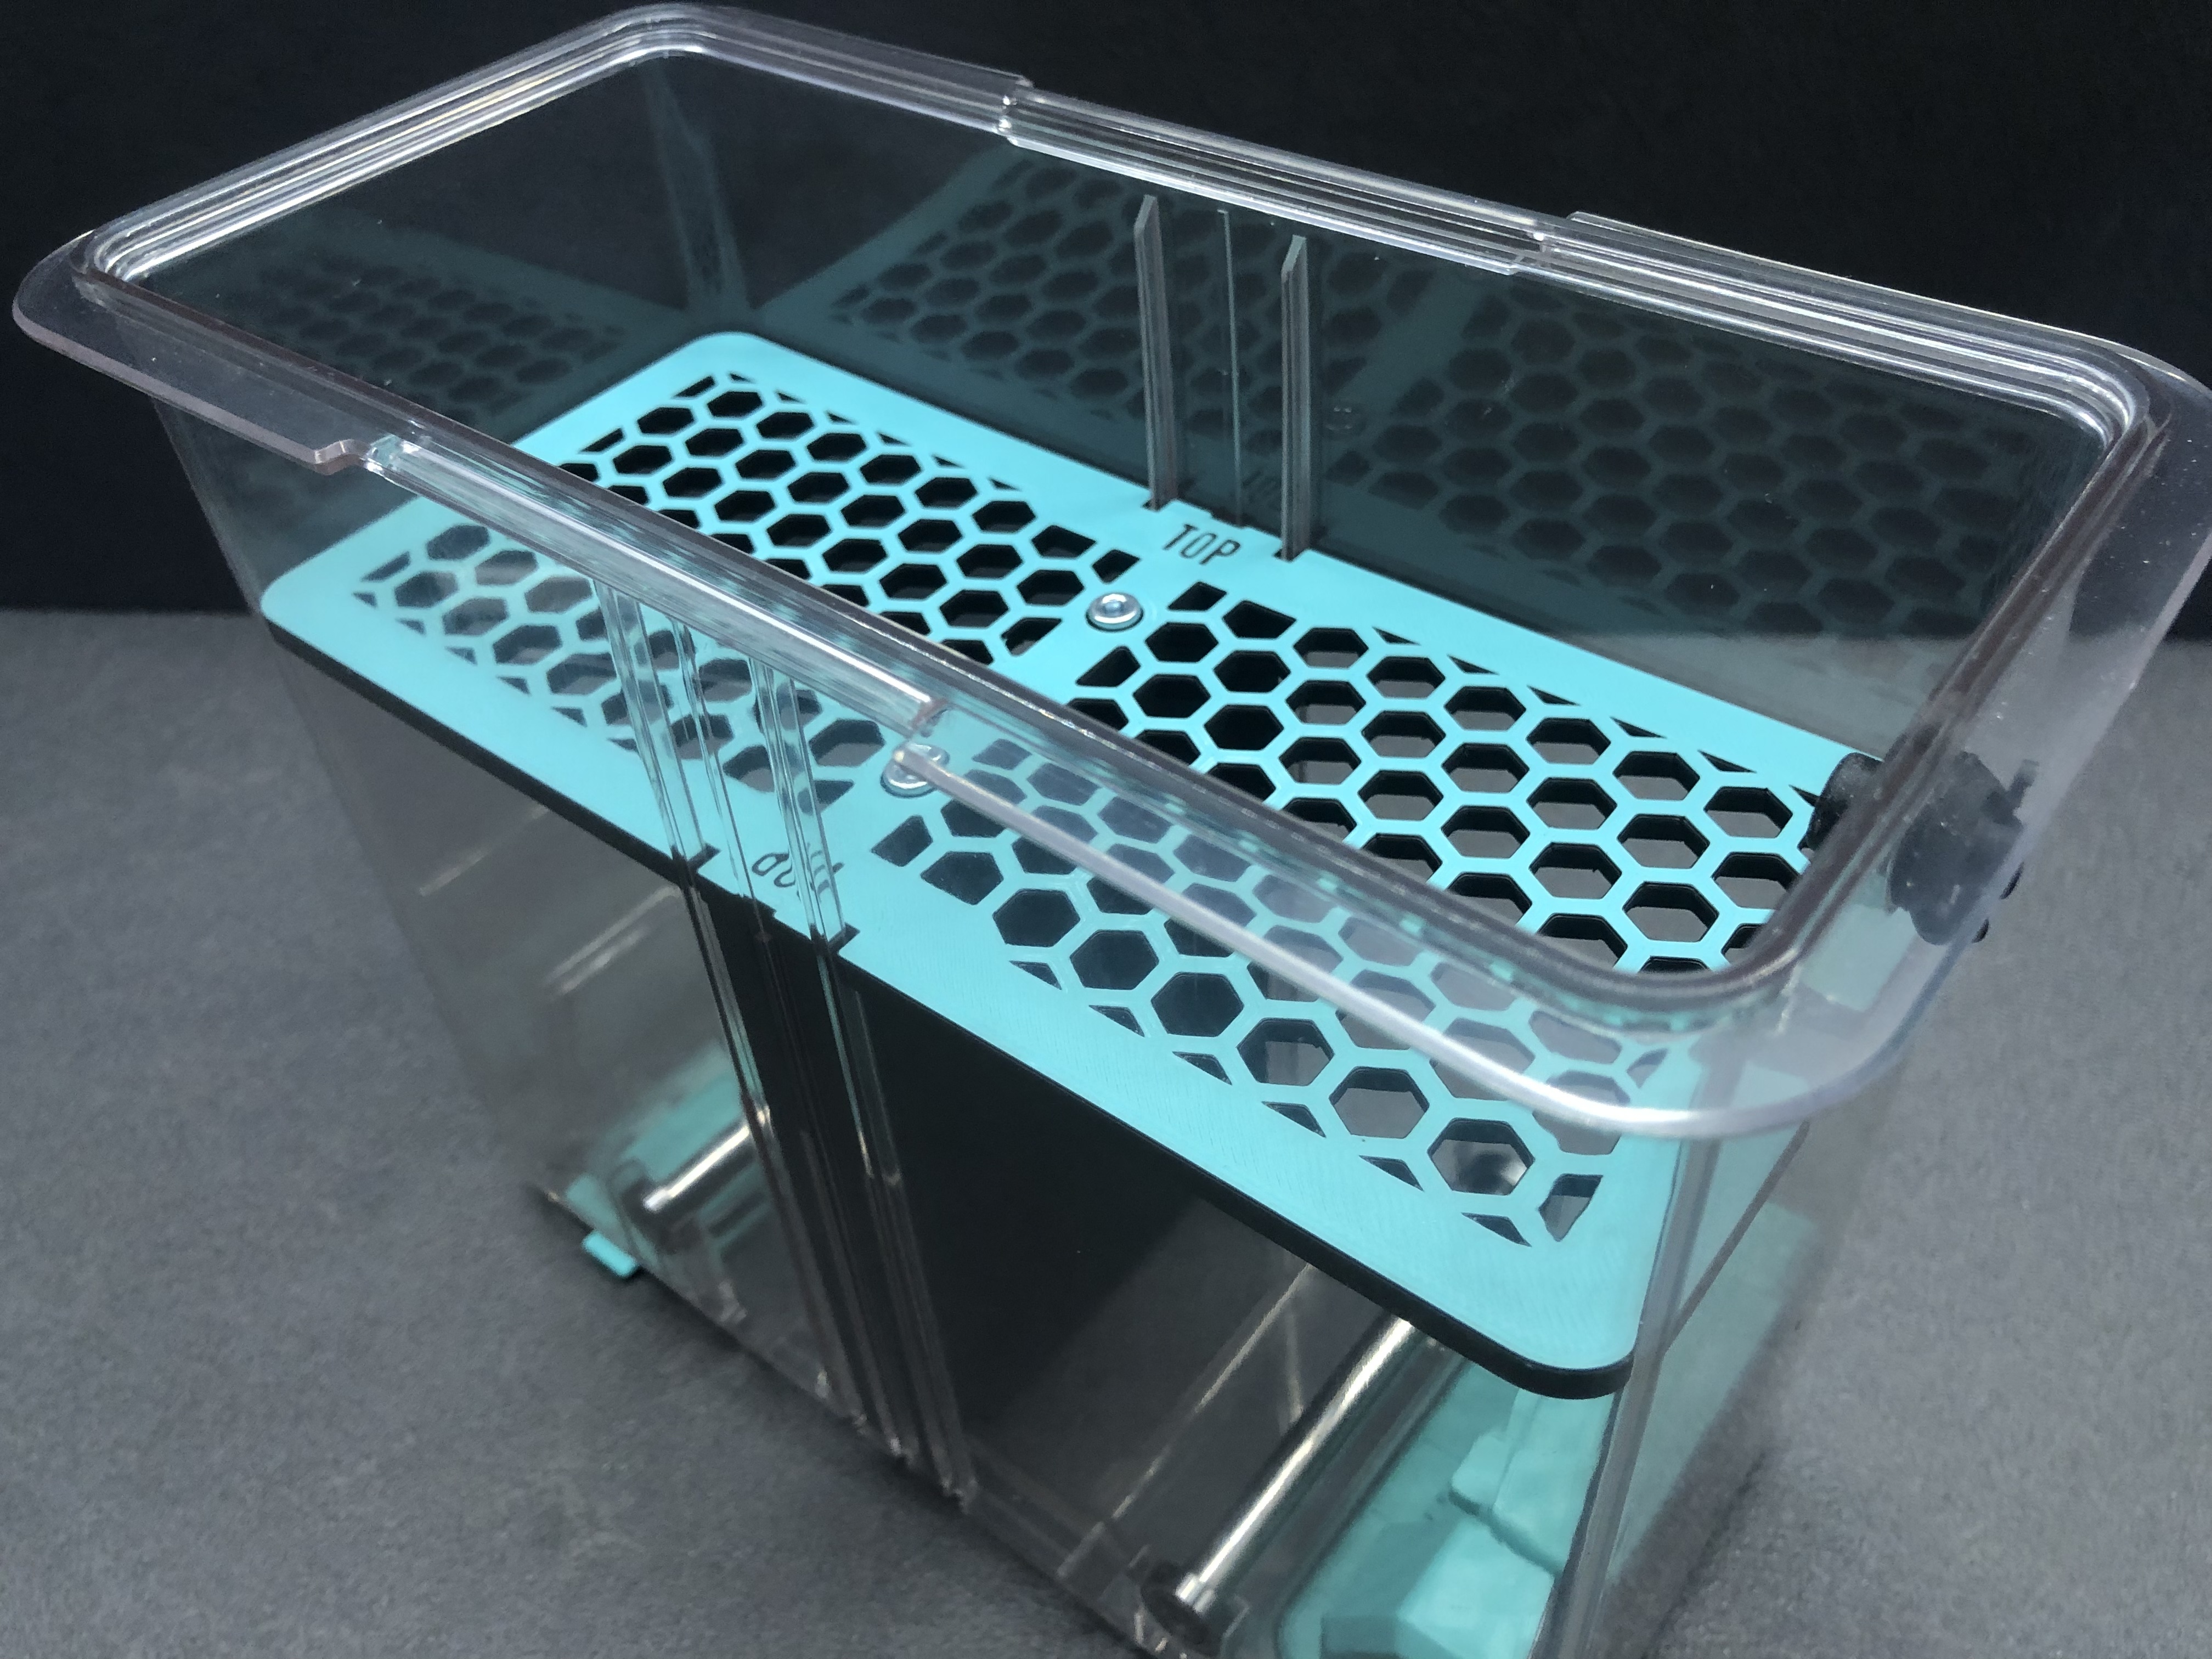
This mod platform is designed to be placed inside the Polymaker PolyDryer, transforming it into a more versatile tool for makers. By elevating objects inside the chamber, it allows more efficient use of heat for post-processing and material treatment.
Key Features
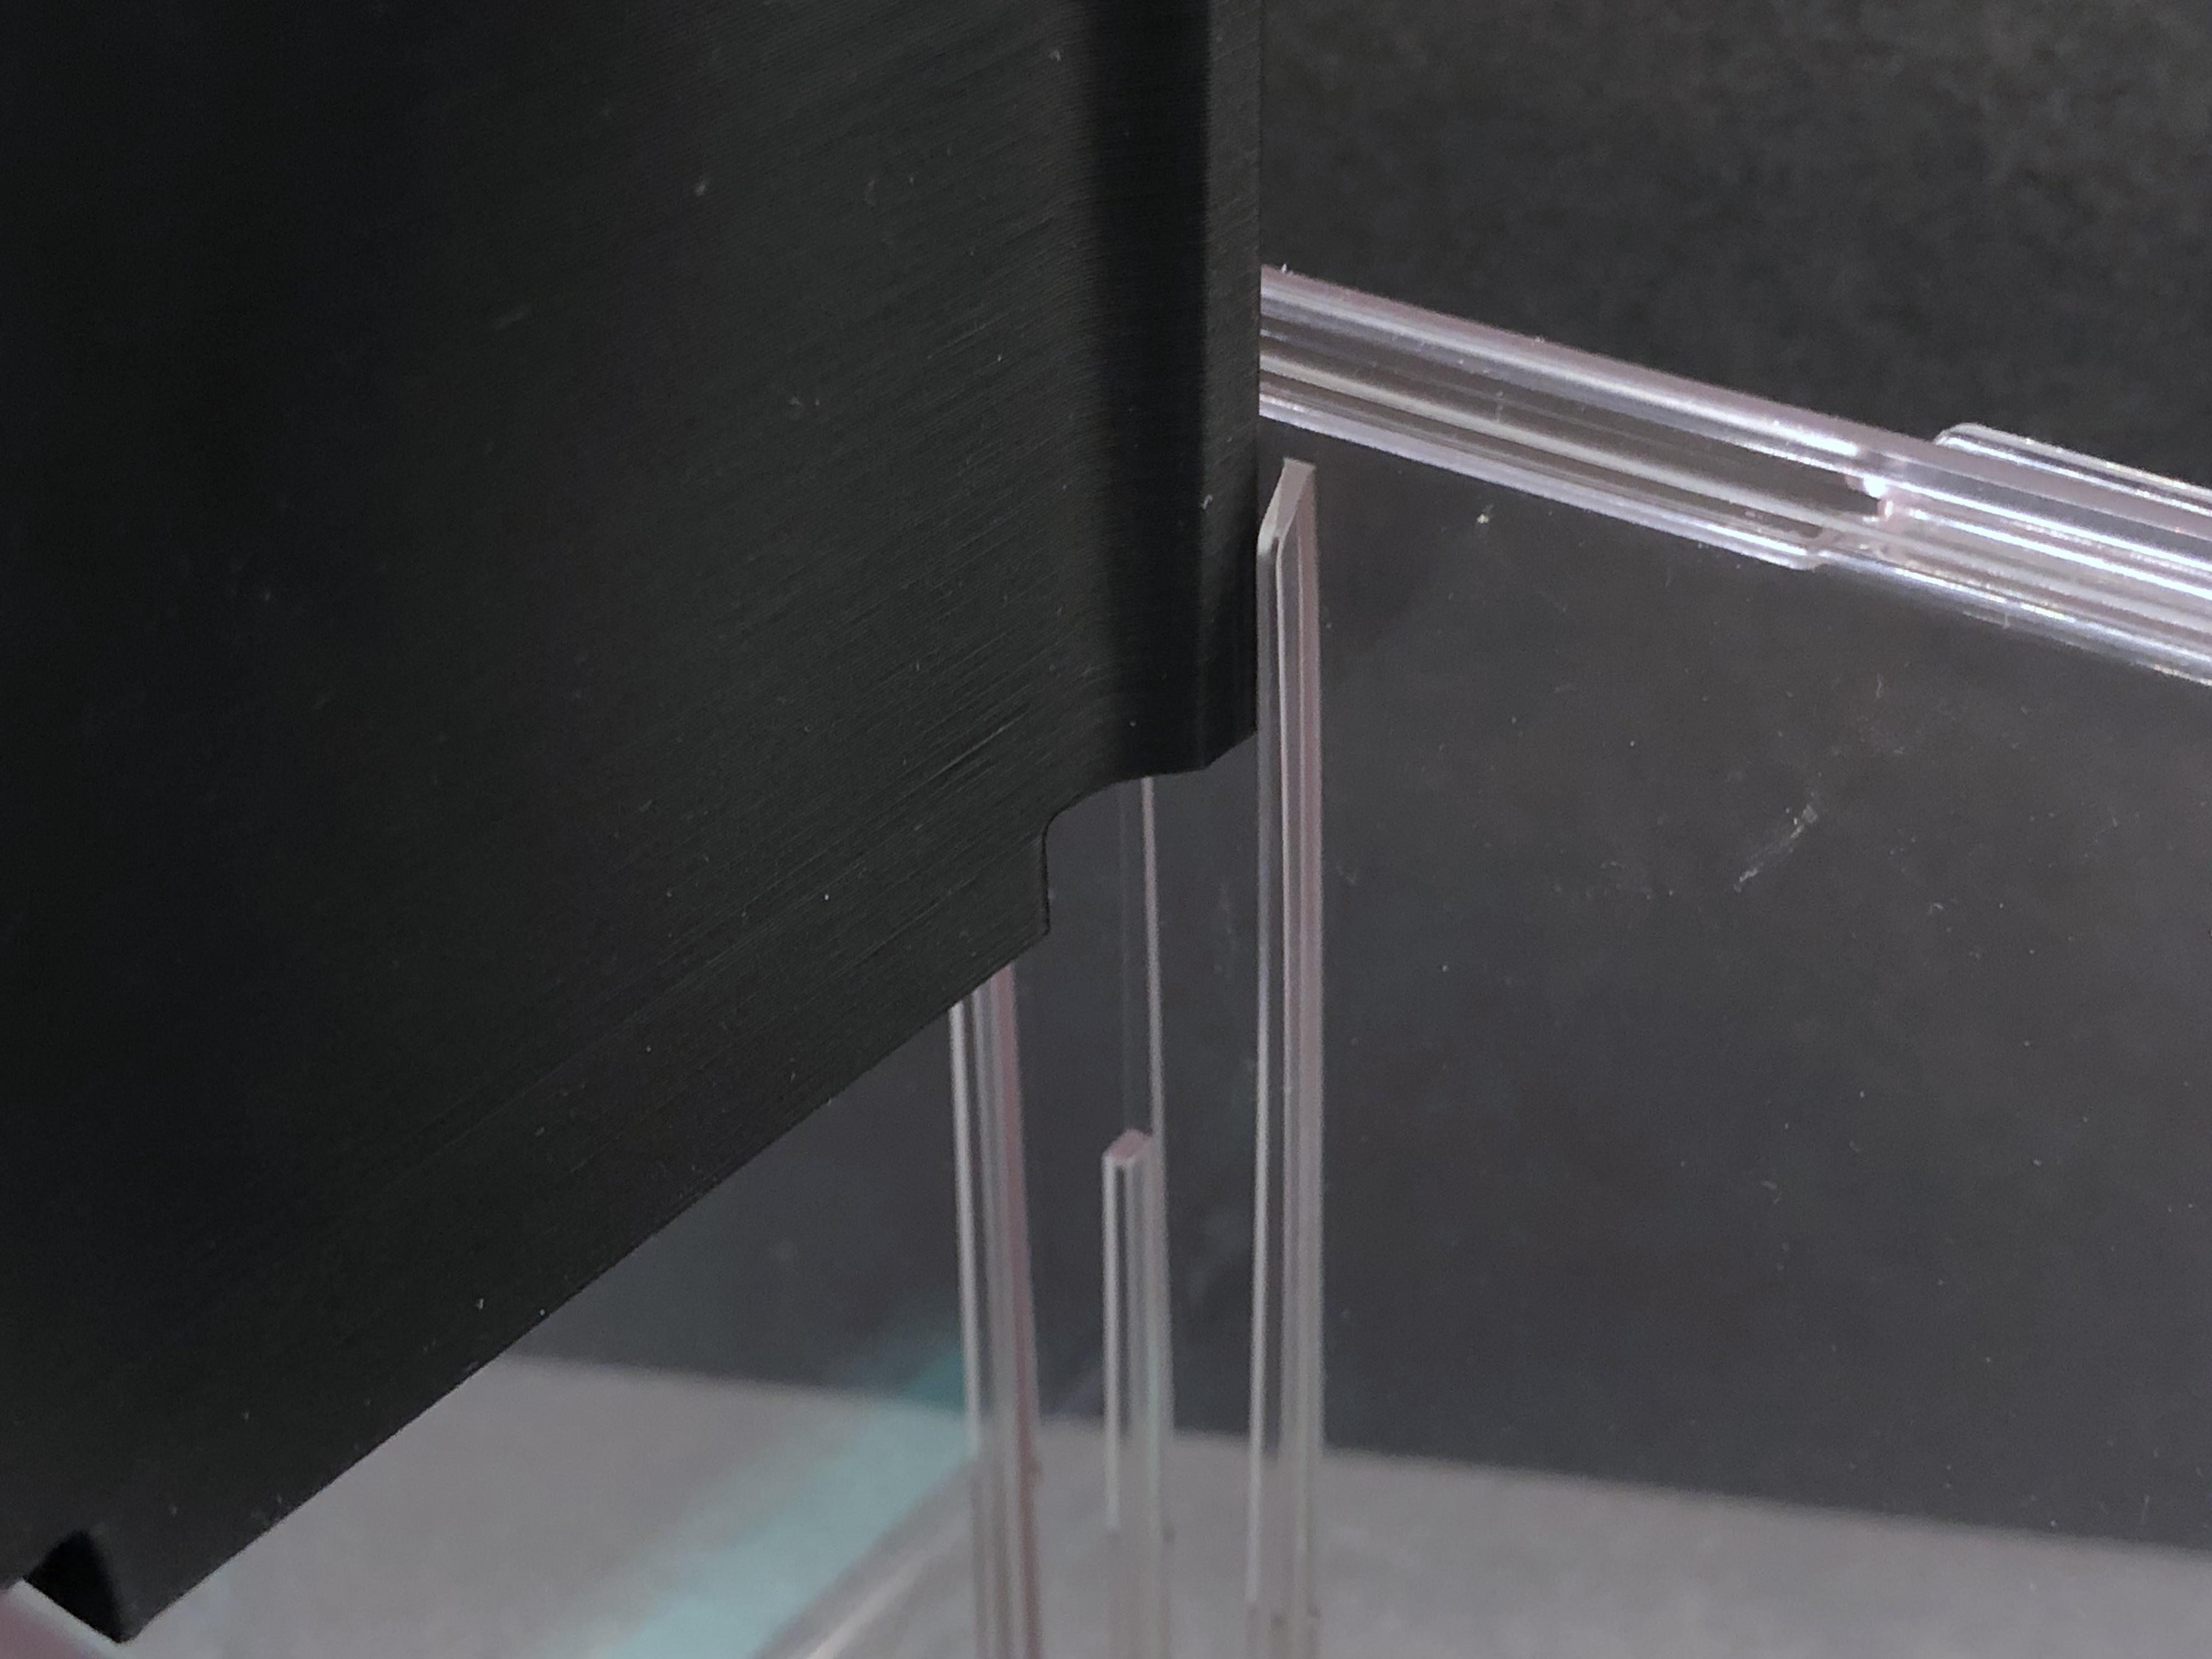
Dual-chamber heat flow – thanks to the central wall, the inner space is divided into two sections. This directs the hot air upwards, ensuring faster heating with less heat loss.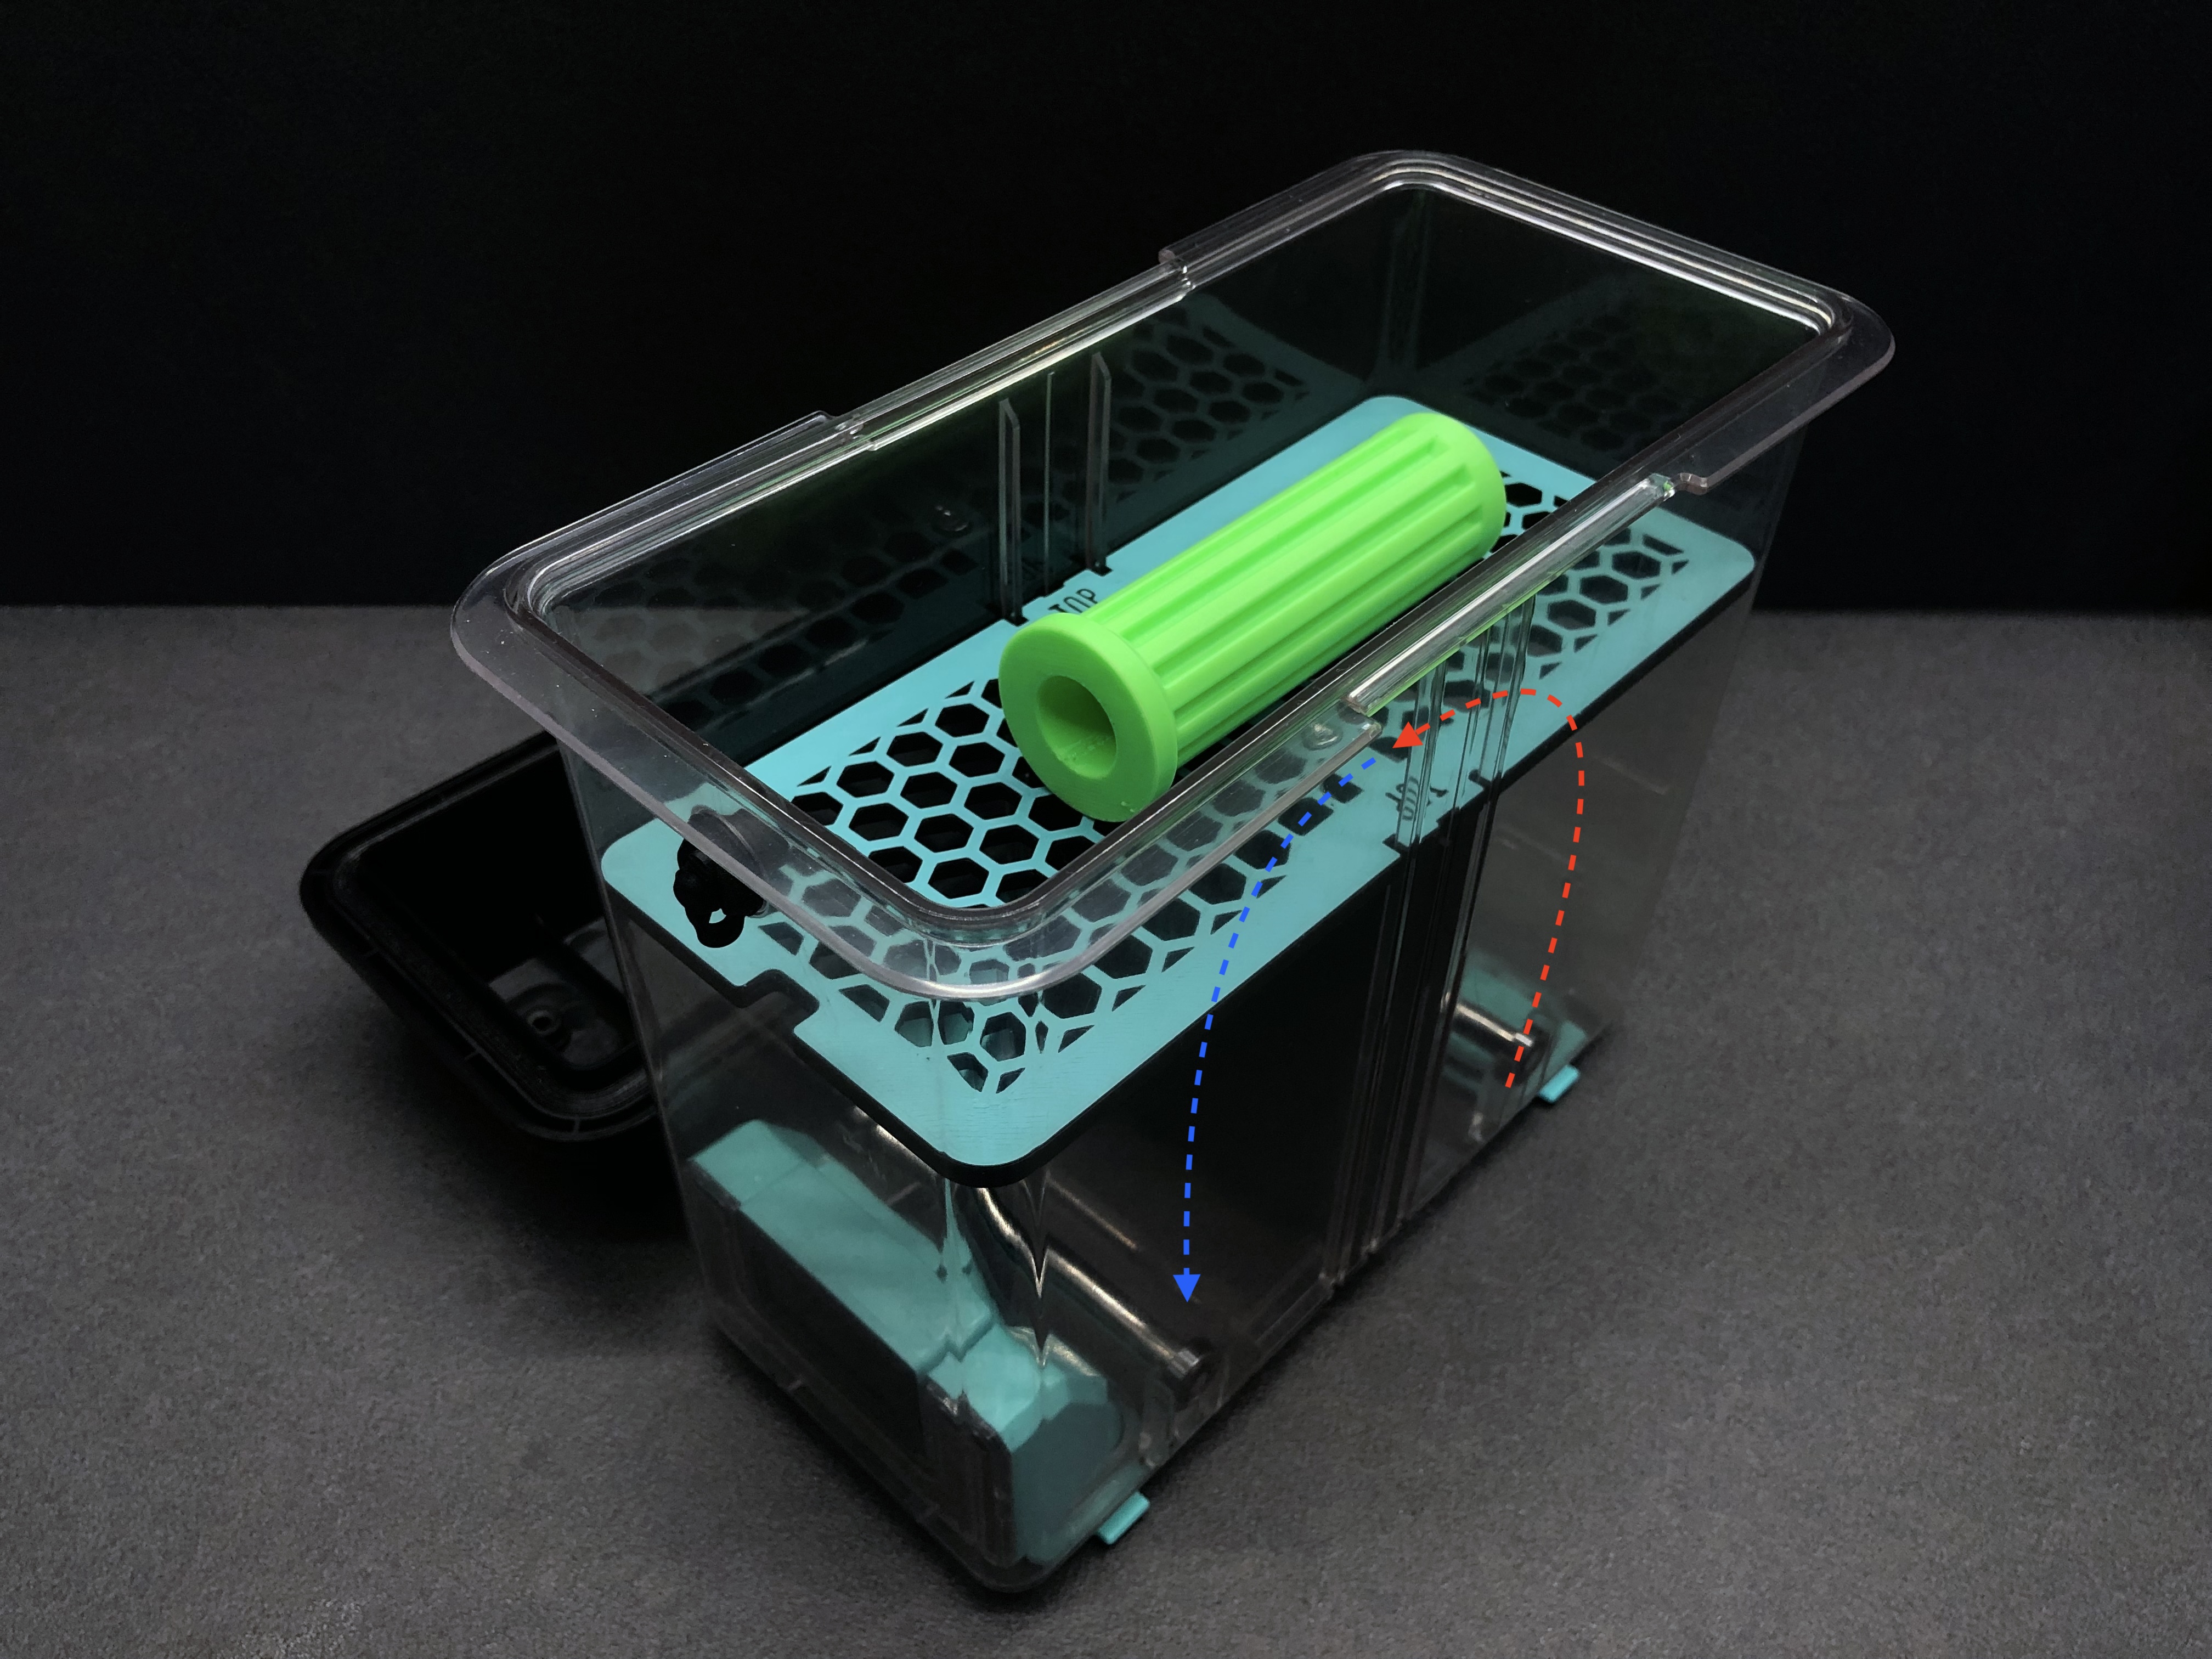
Annealing – improve the strength and stability of your 3D printed parts by heat-treating them.
Softening & reshaping – warm up PLA or PETG prints to adjust tolerances or reshape them for special applications.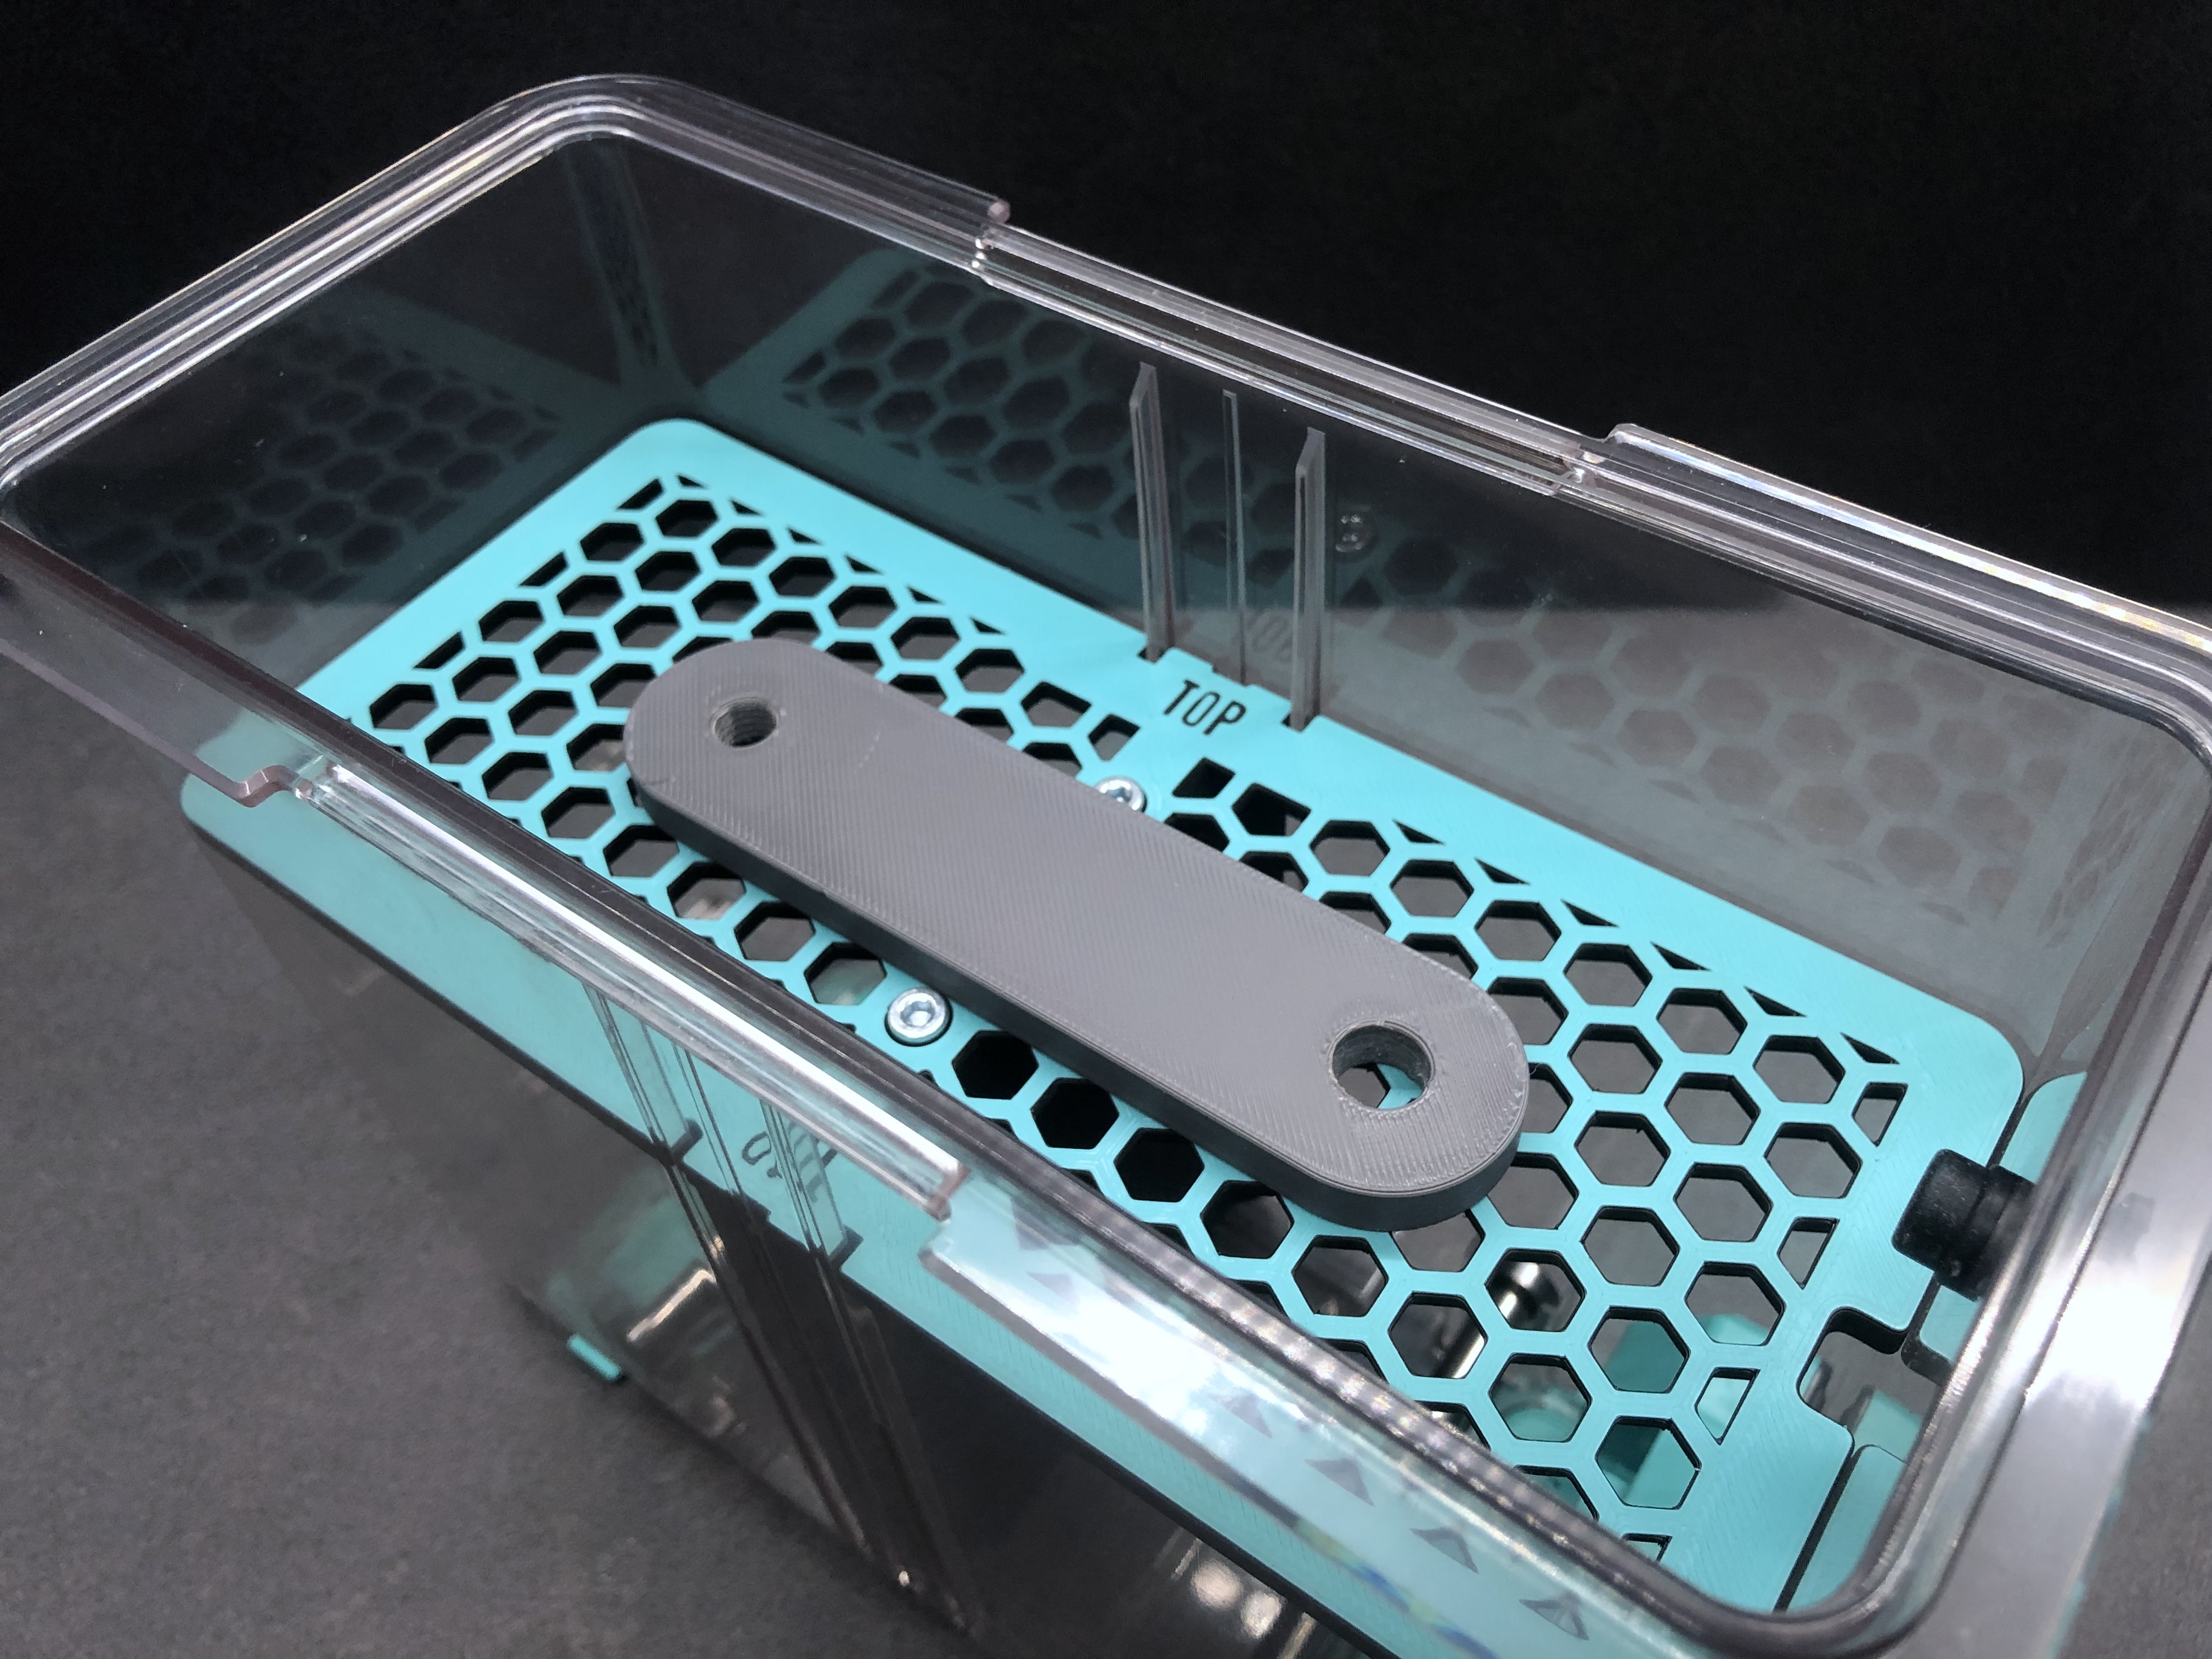
Silica gel drying – regenerate silica gel packs easily by placing them on the elevated platform.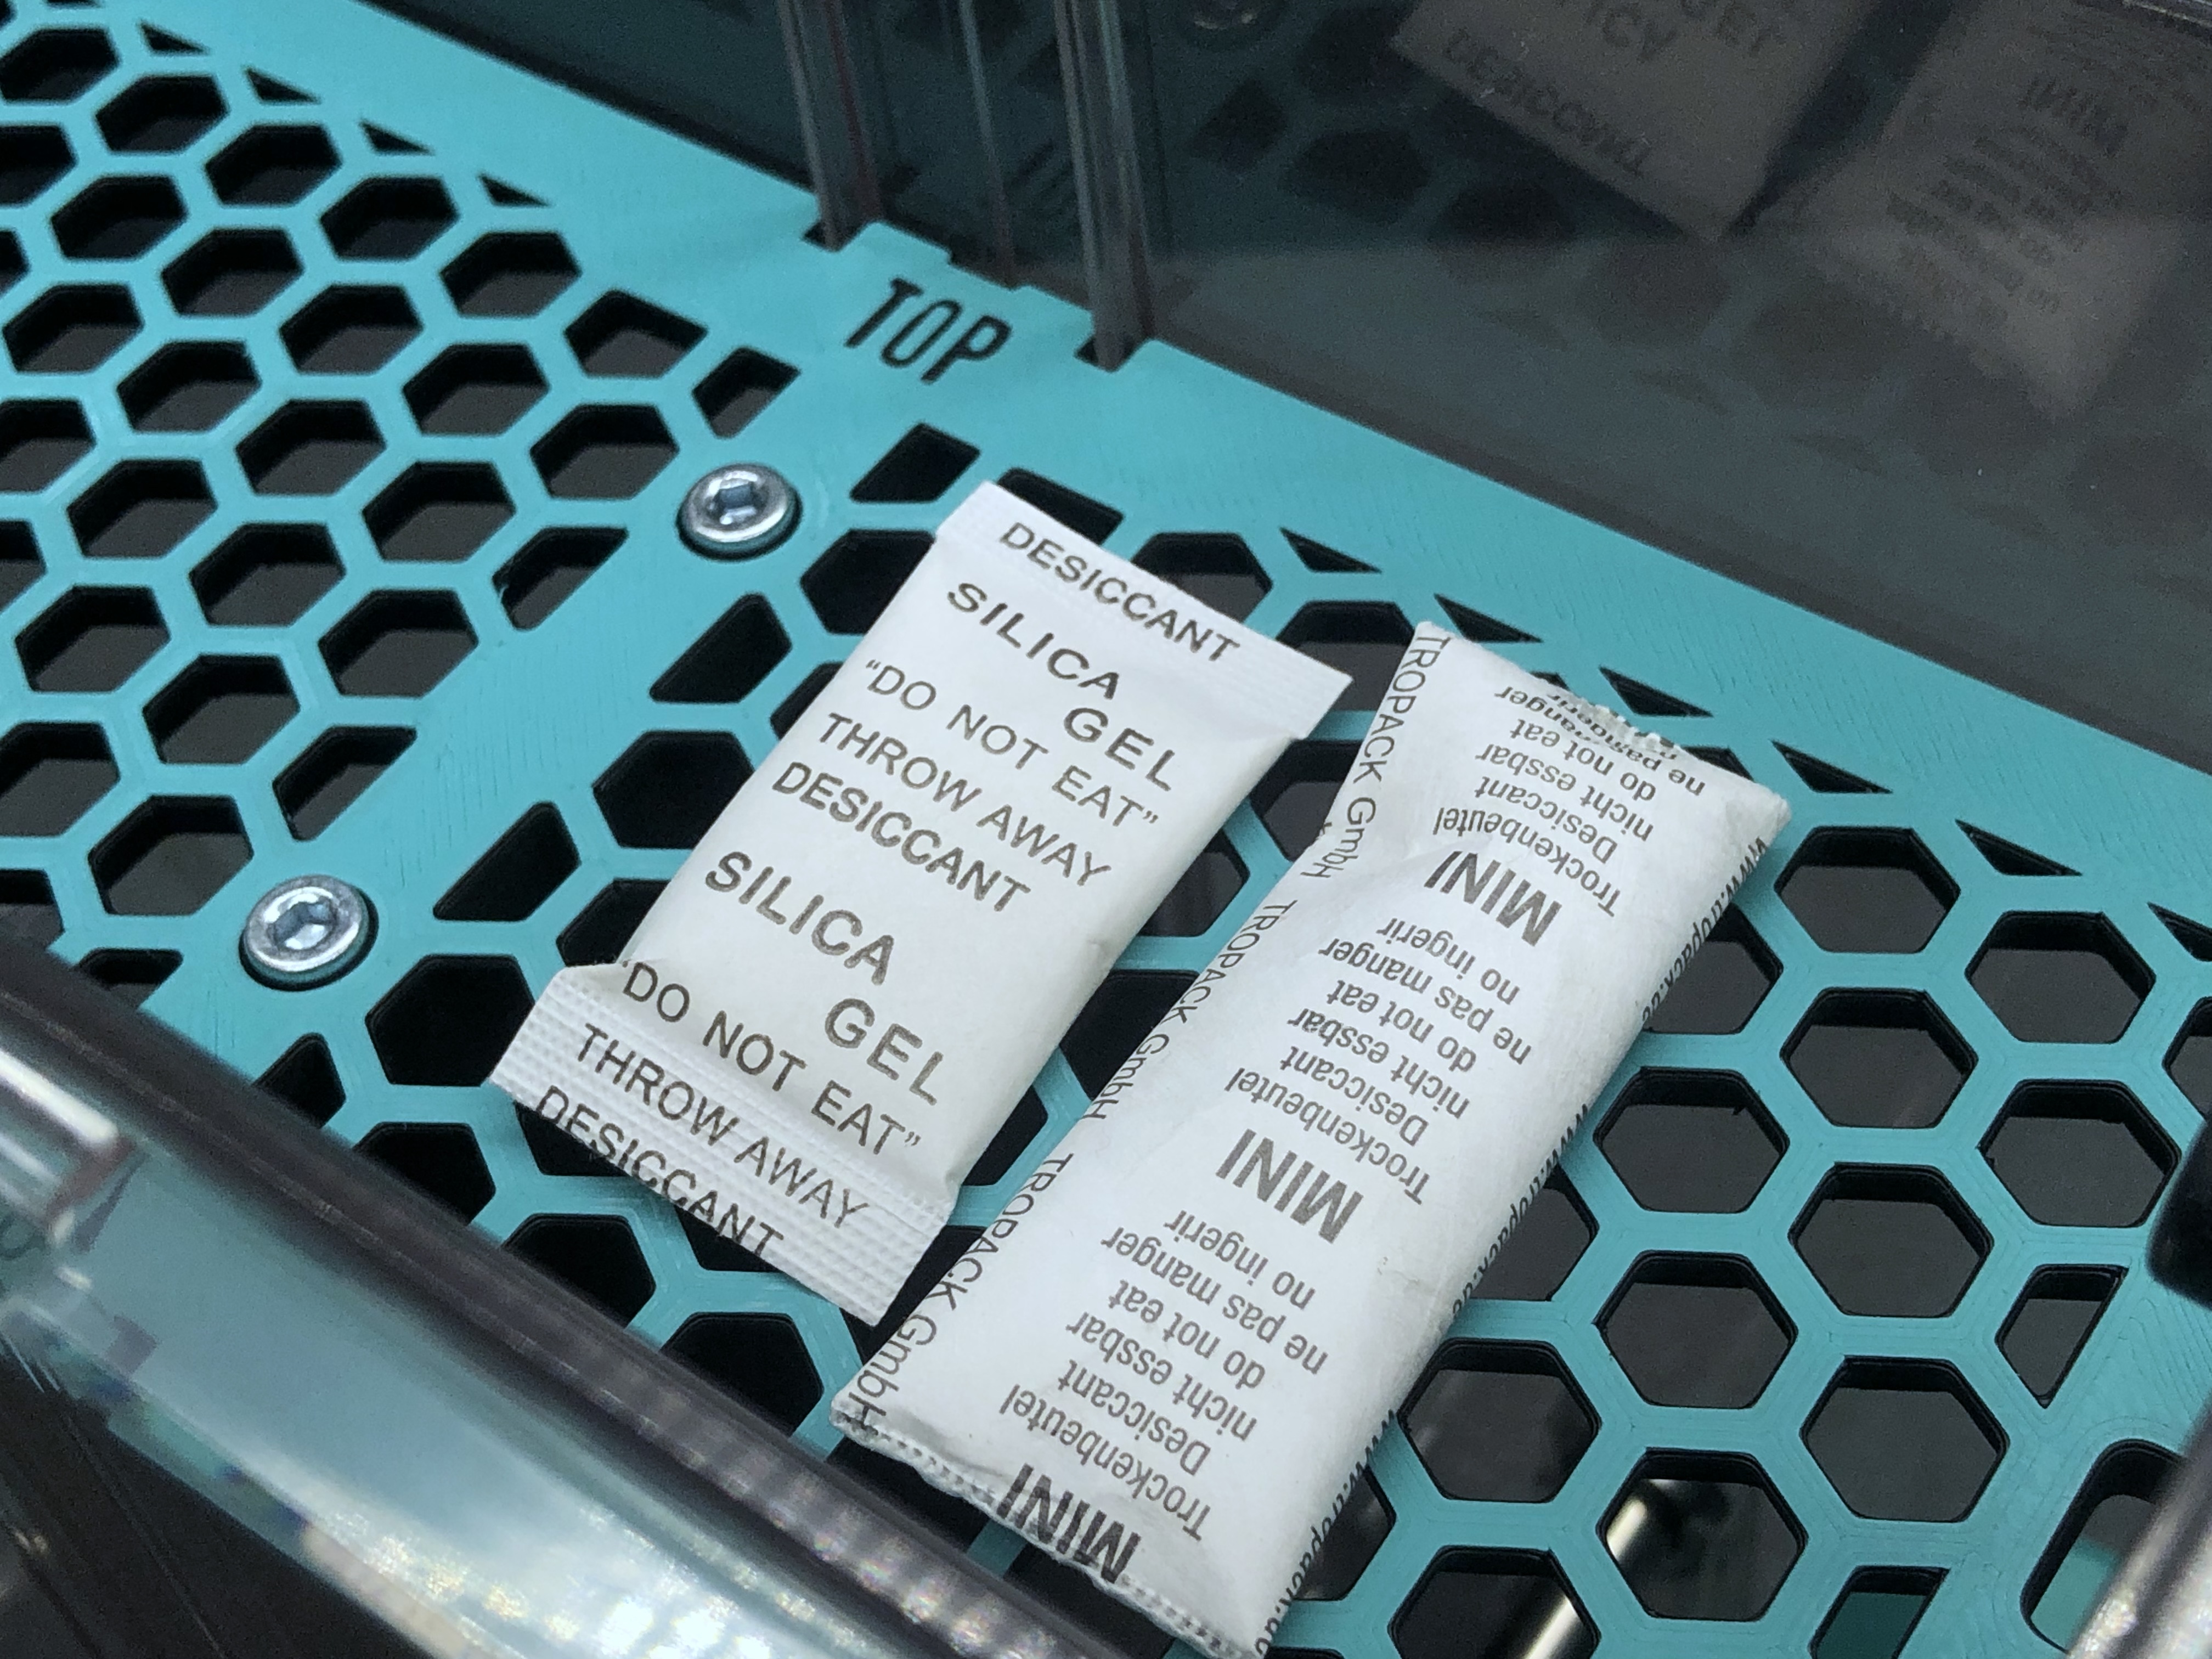
⚠ Always print this mod in a heat-resistant material to avoid deformation of the structure itself.
Recommended materials:
Other high-temperature composites (avoid nylon, as it tends to warp under constant pressure).
Printable Files & Quantities
Top Plate 1X
Central Wall 1X
Slicer Settings
Layer Height: 0.2 mm
Infill: 100%
Supports: No
Brim: Yes (only for Central Wall)
Additional Hardware
2 × M4x10 screws 2 × M4 threaded inserts 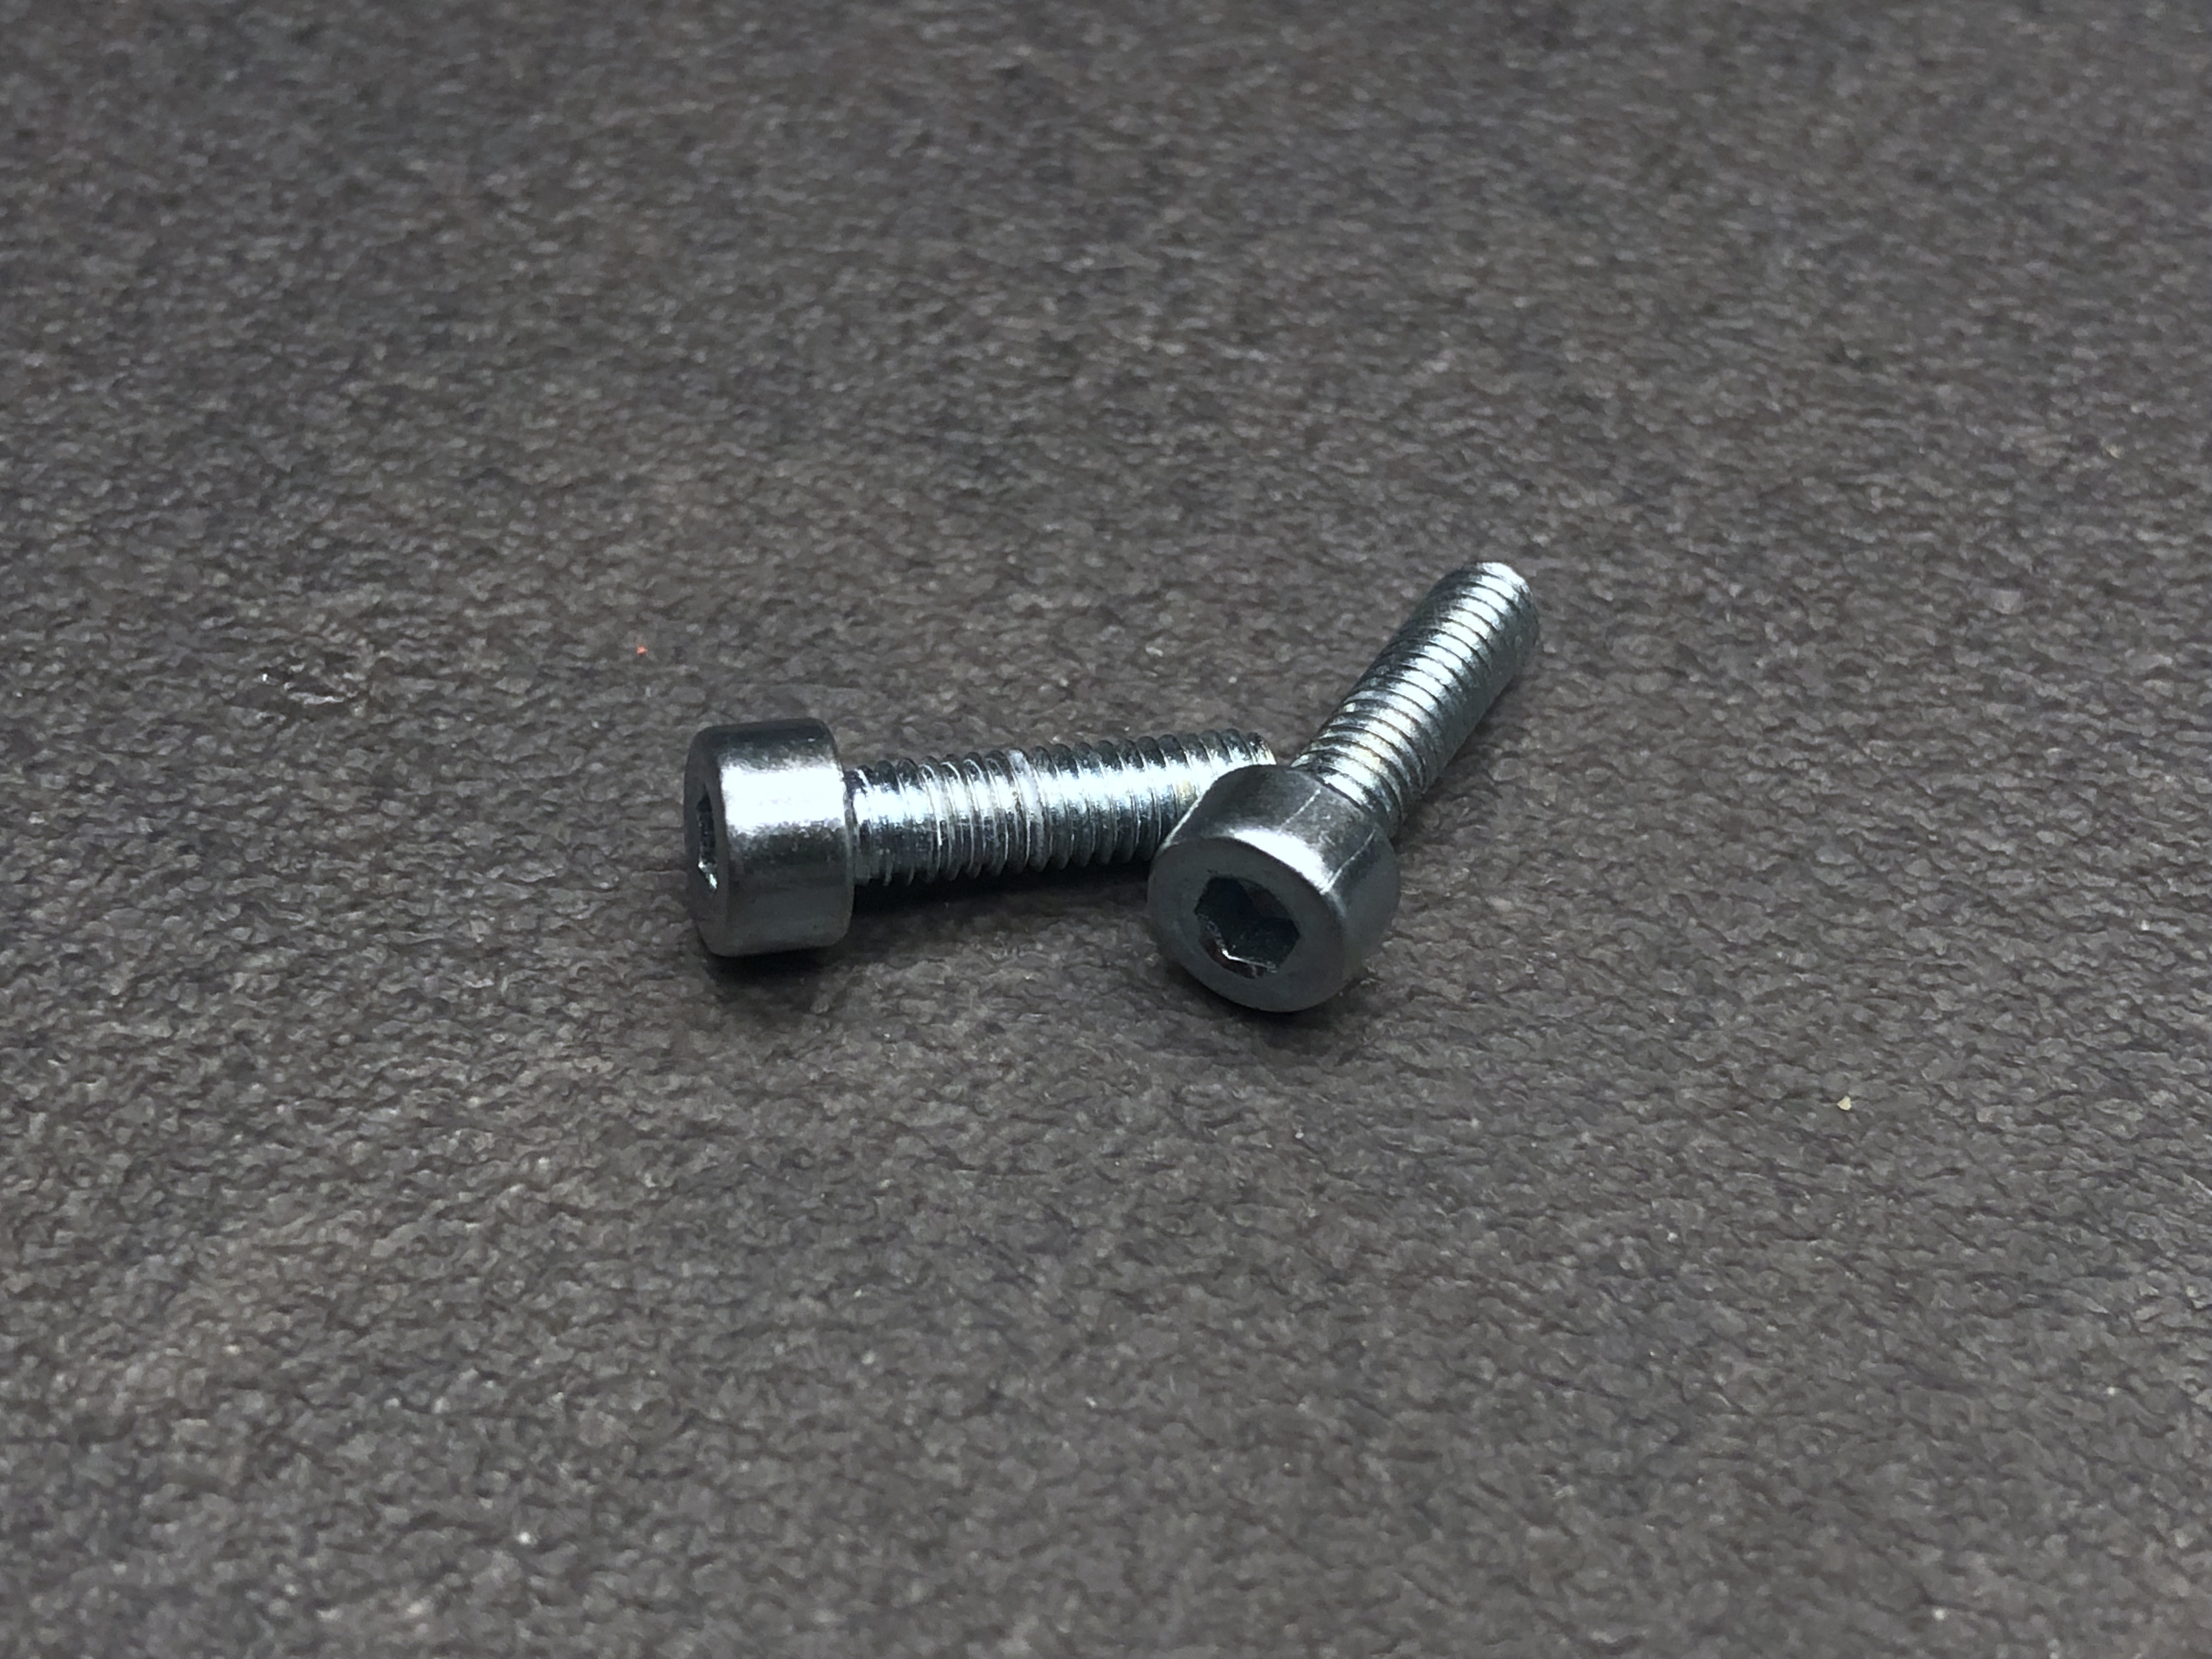
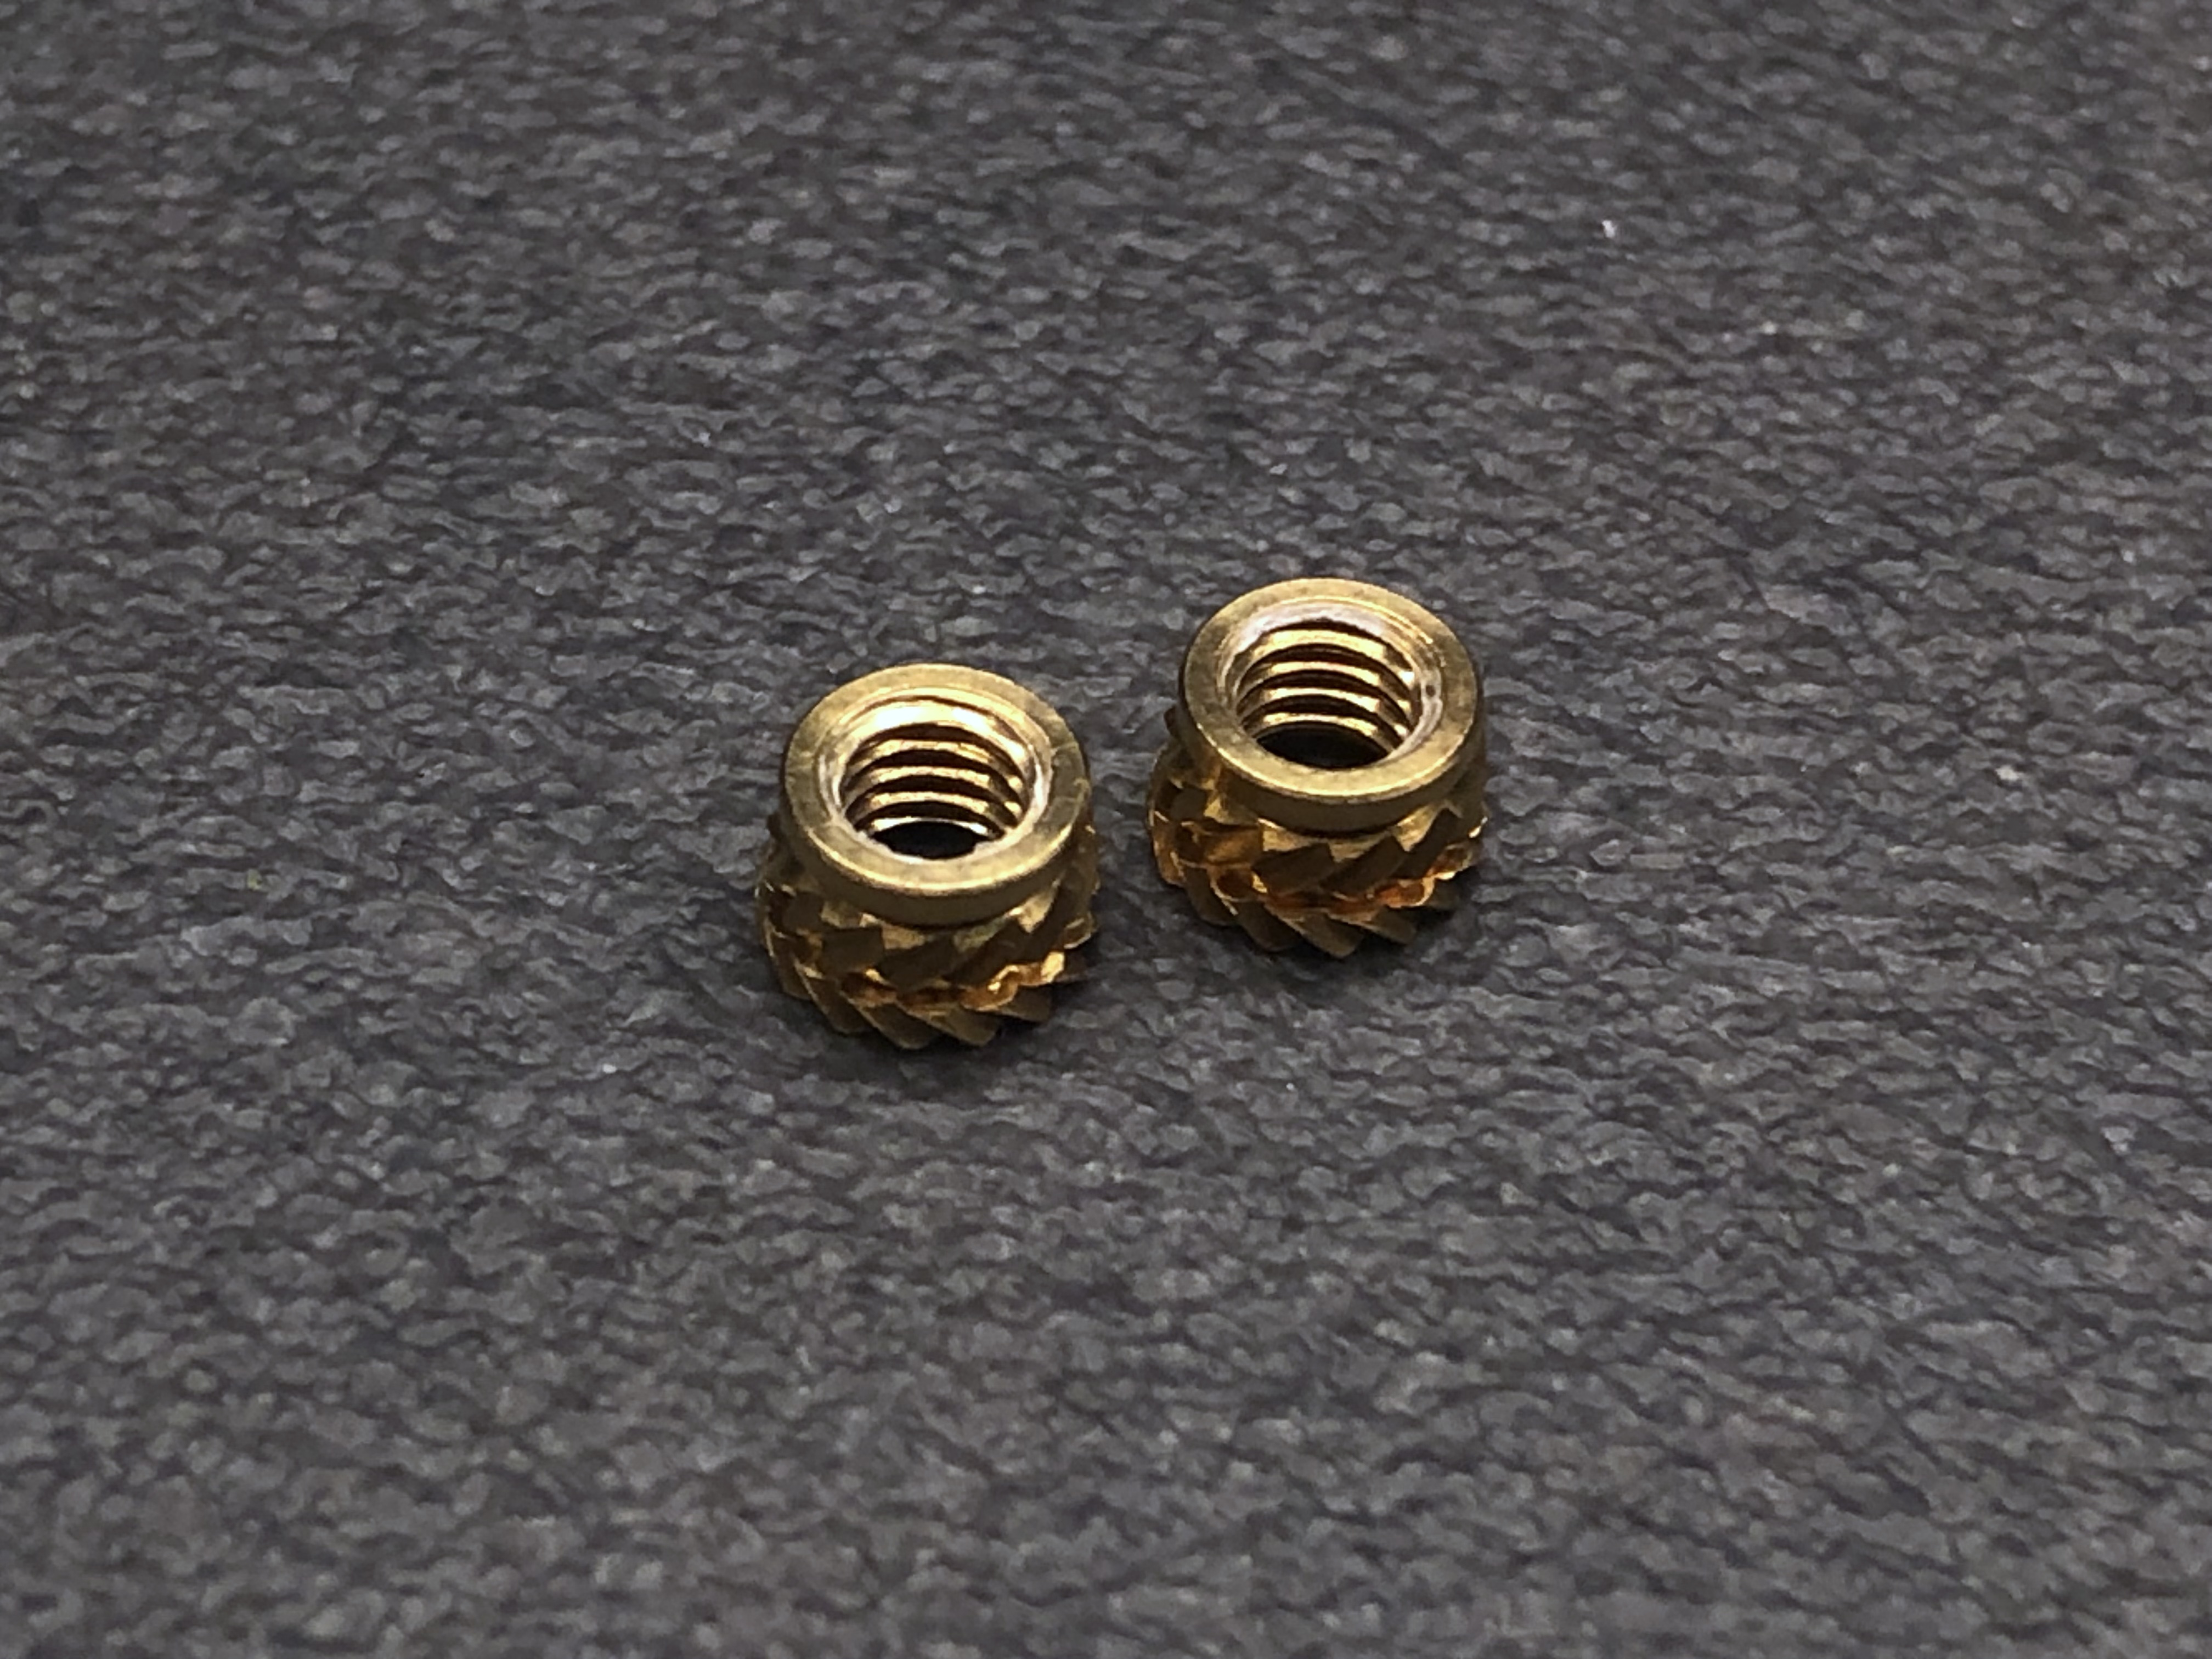
Assembly Guide 🛠
Print all the required files (Top Plate and Central Wall).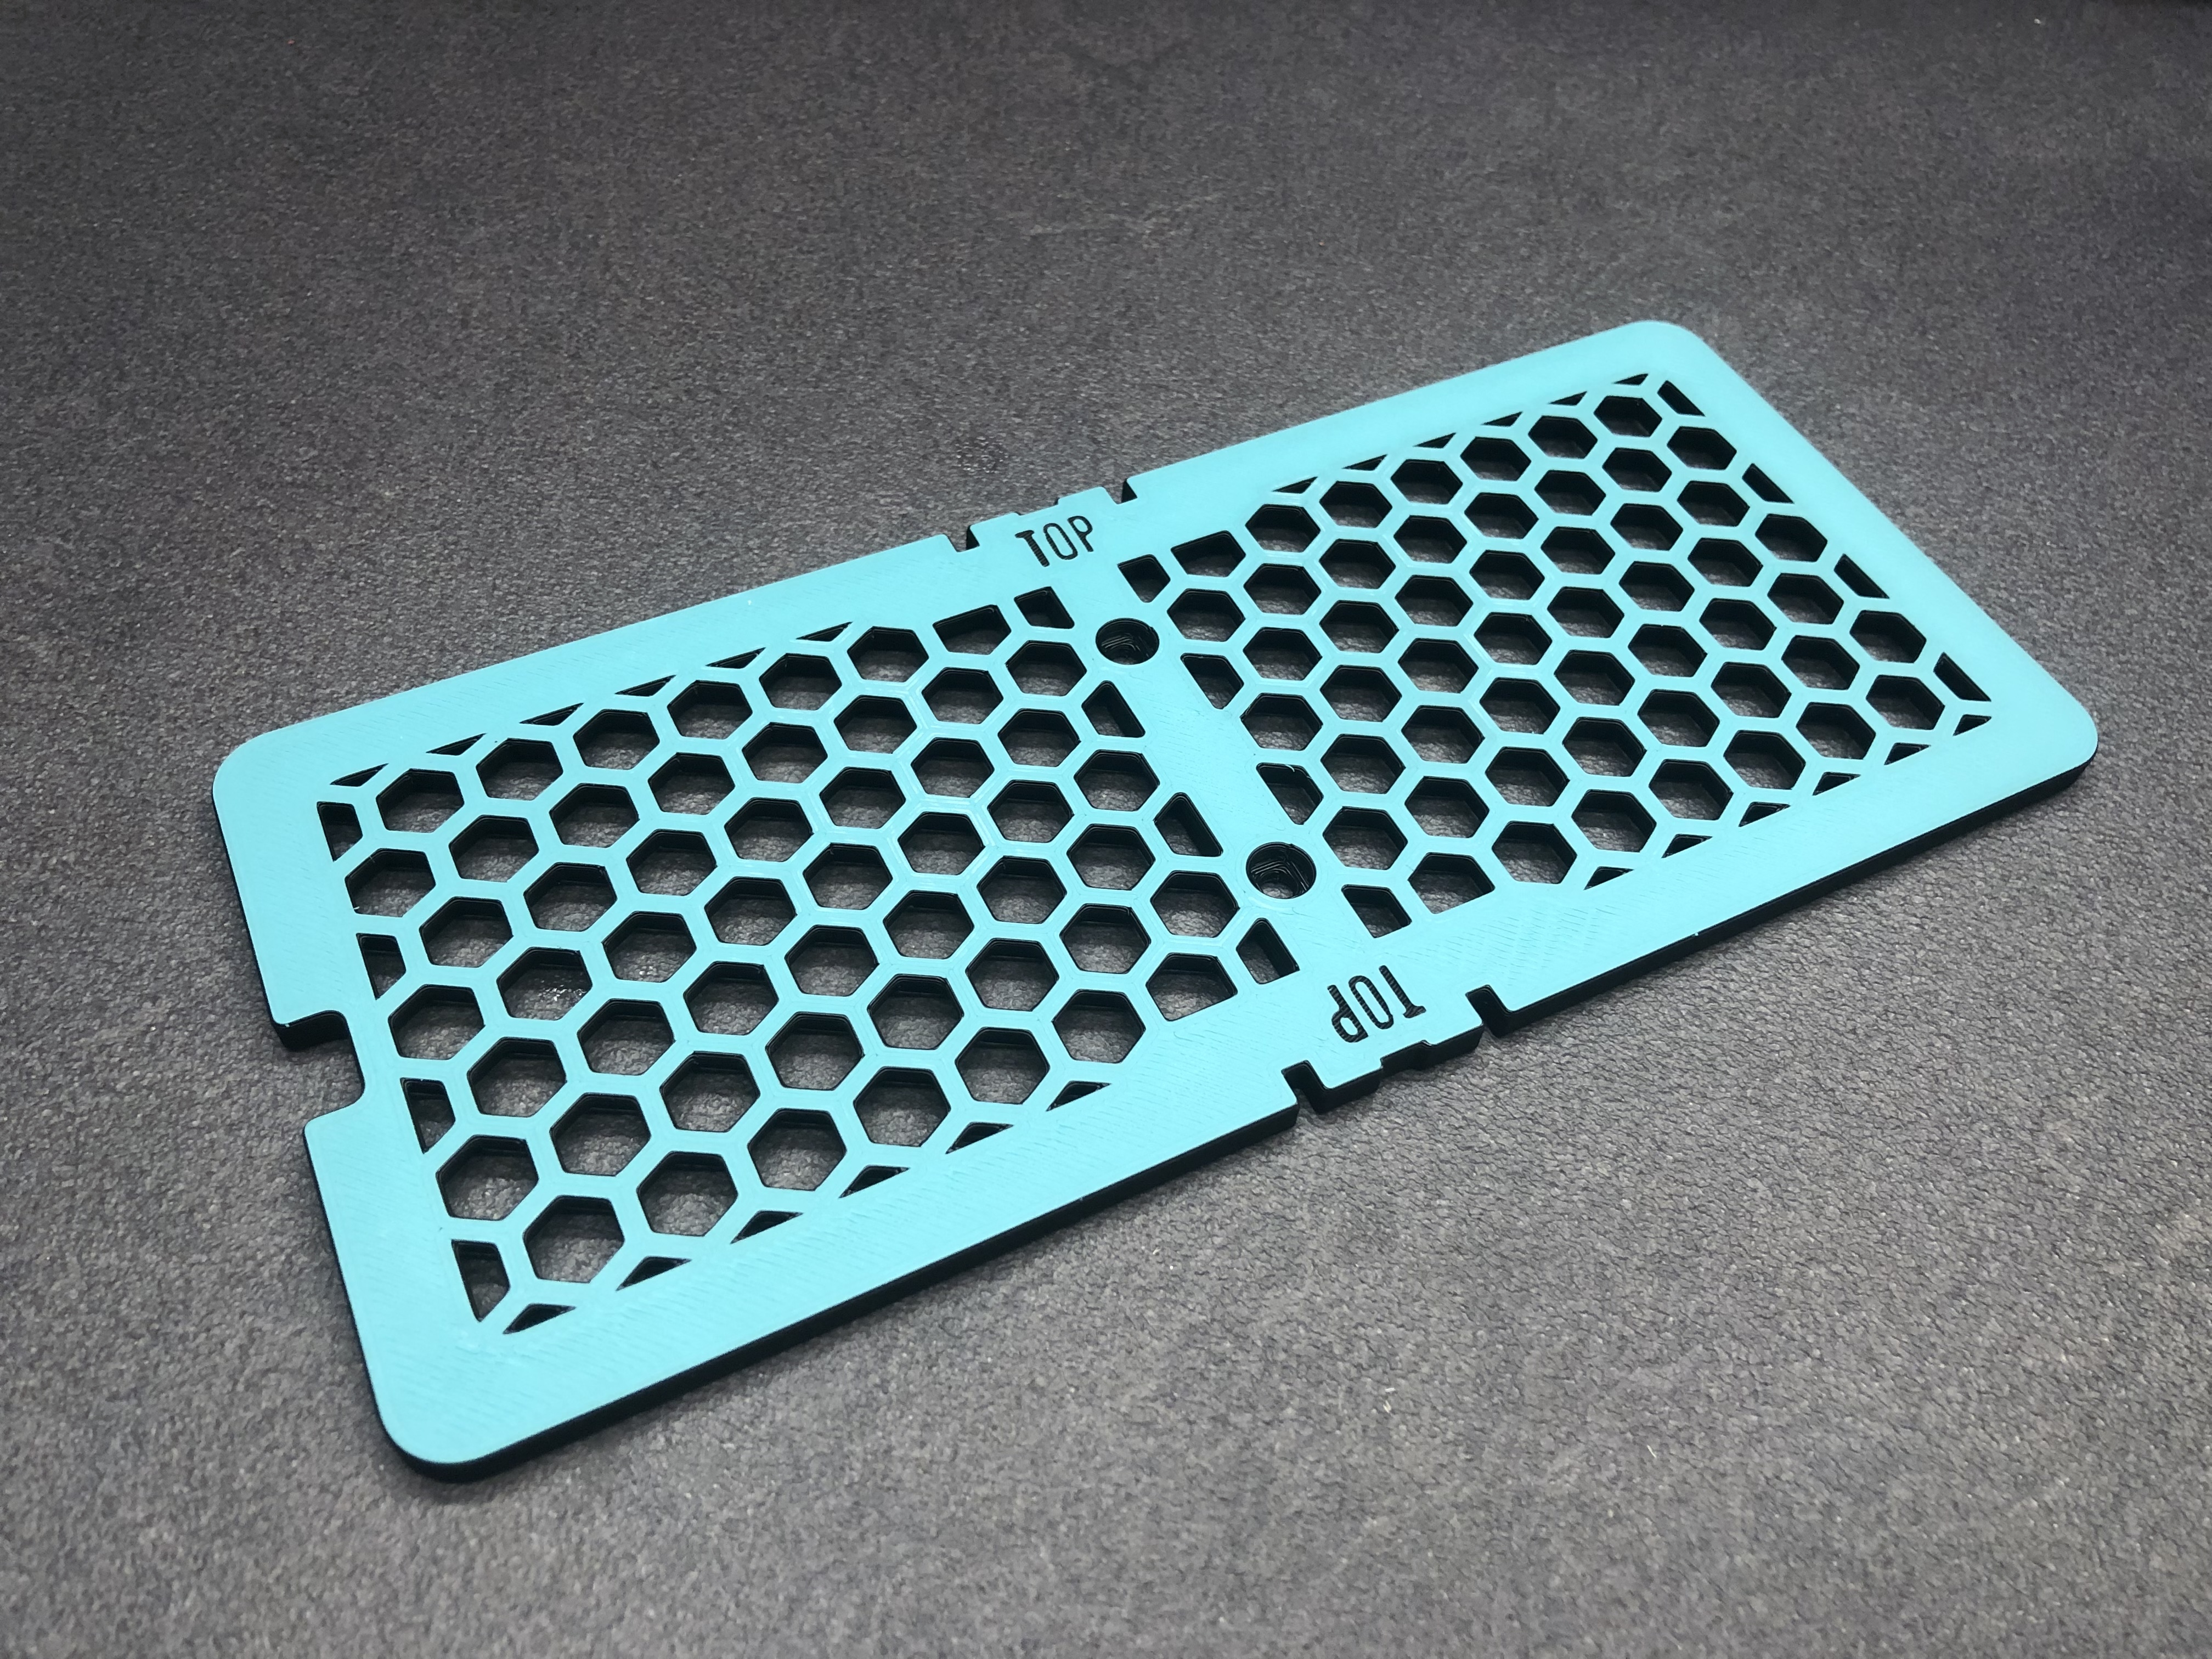
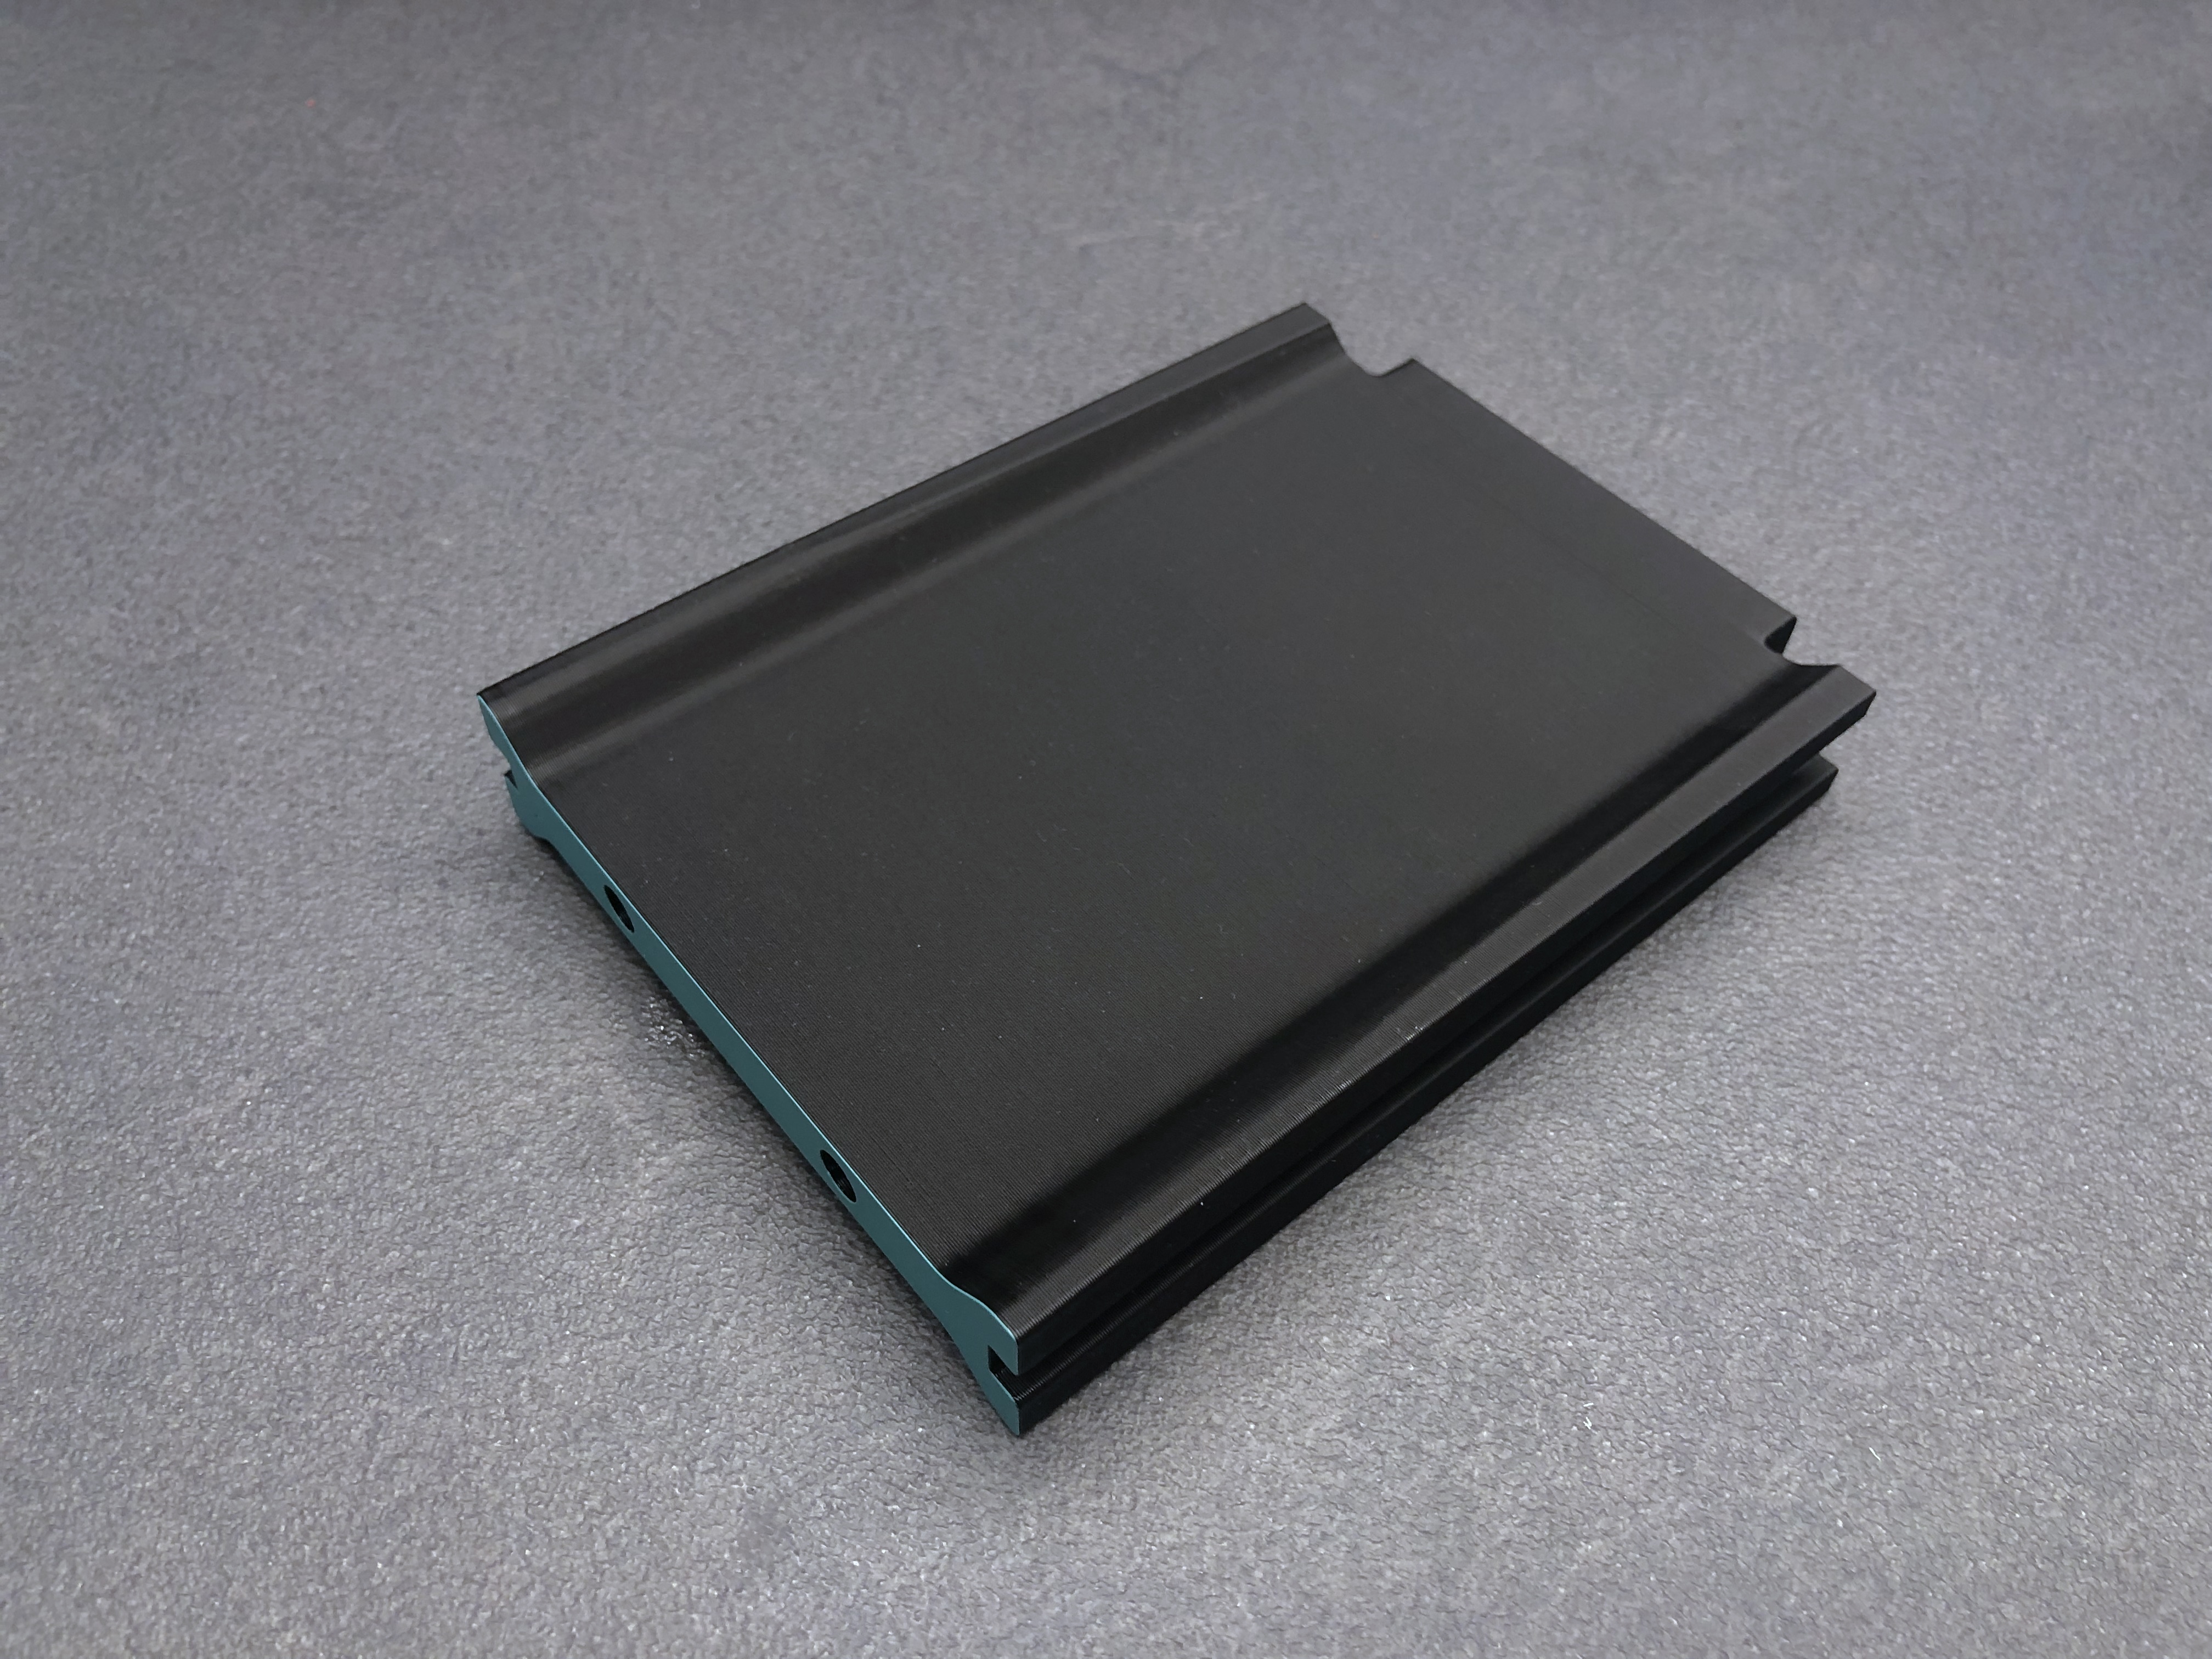
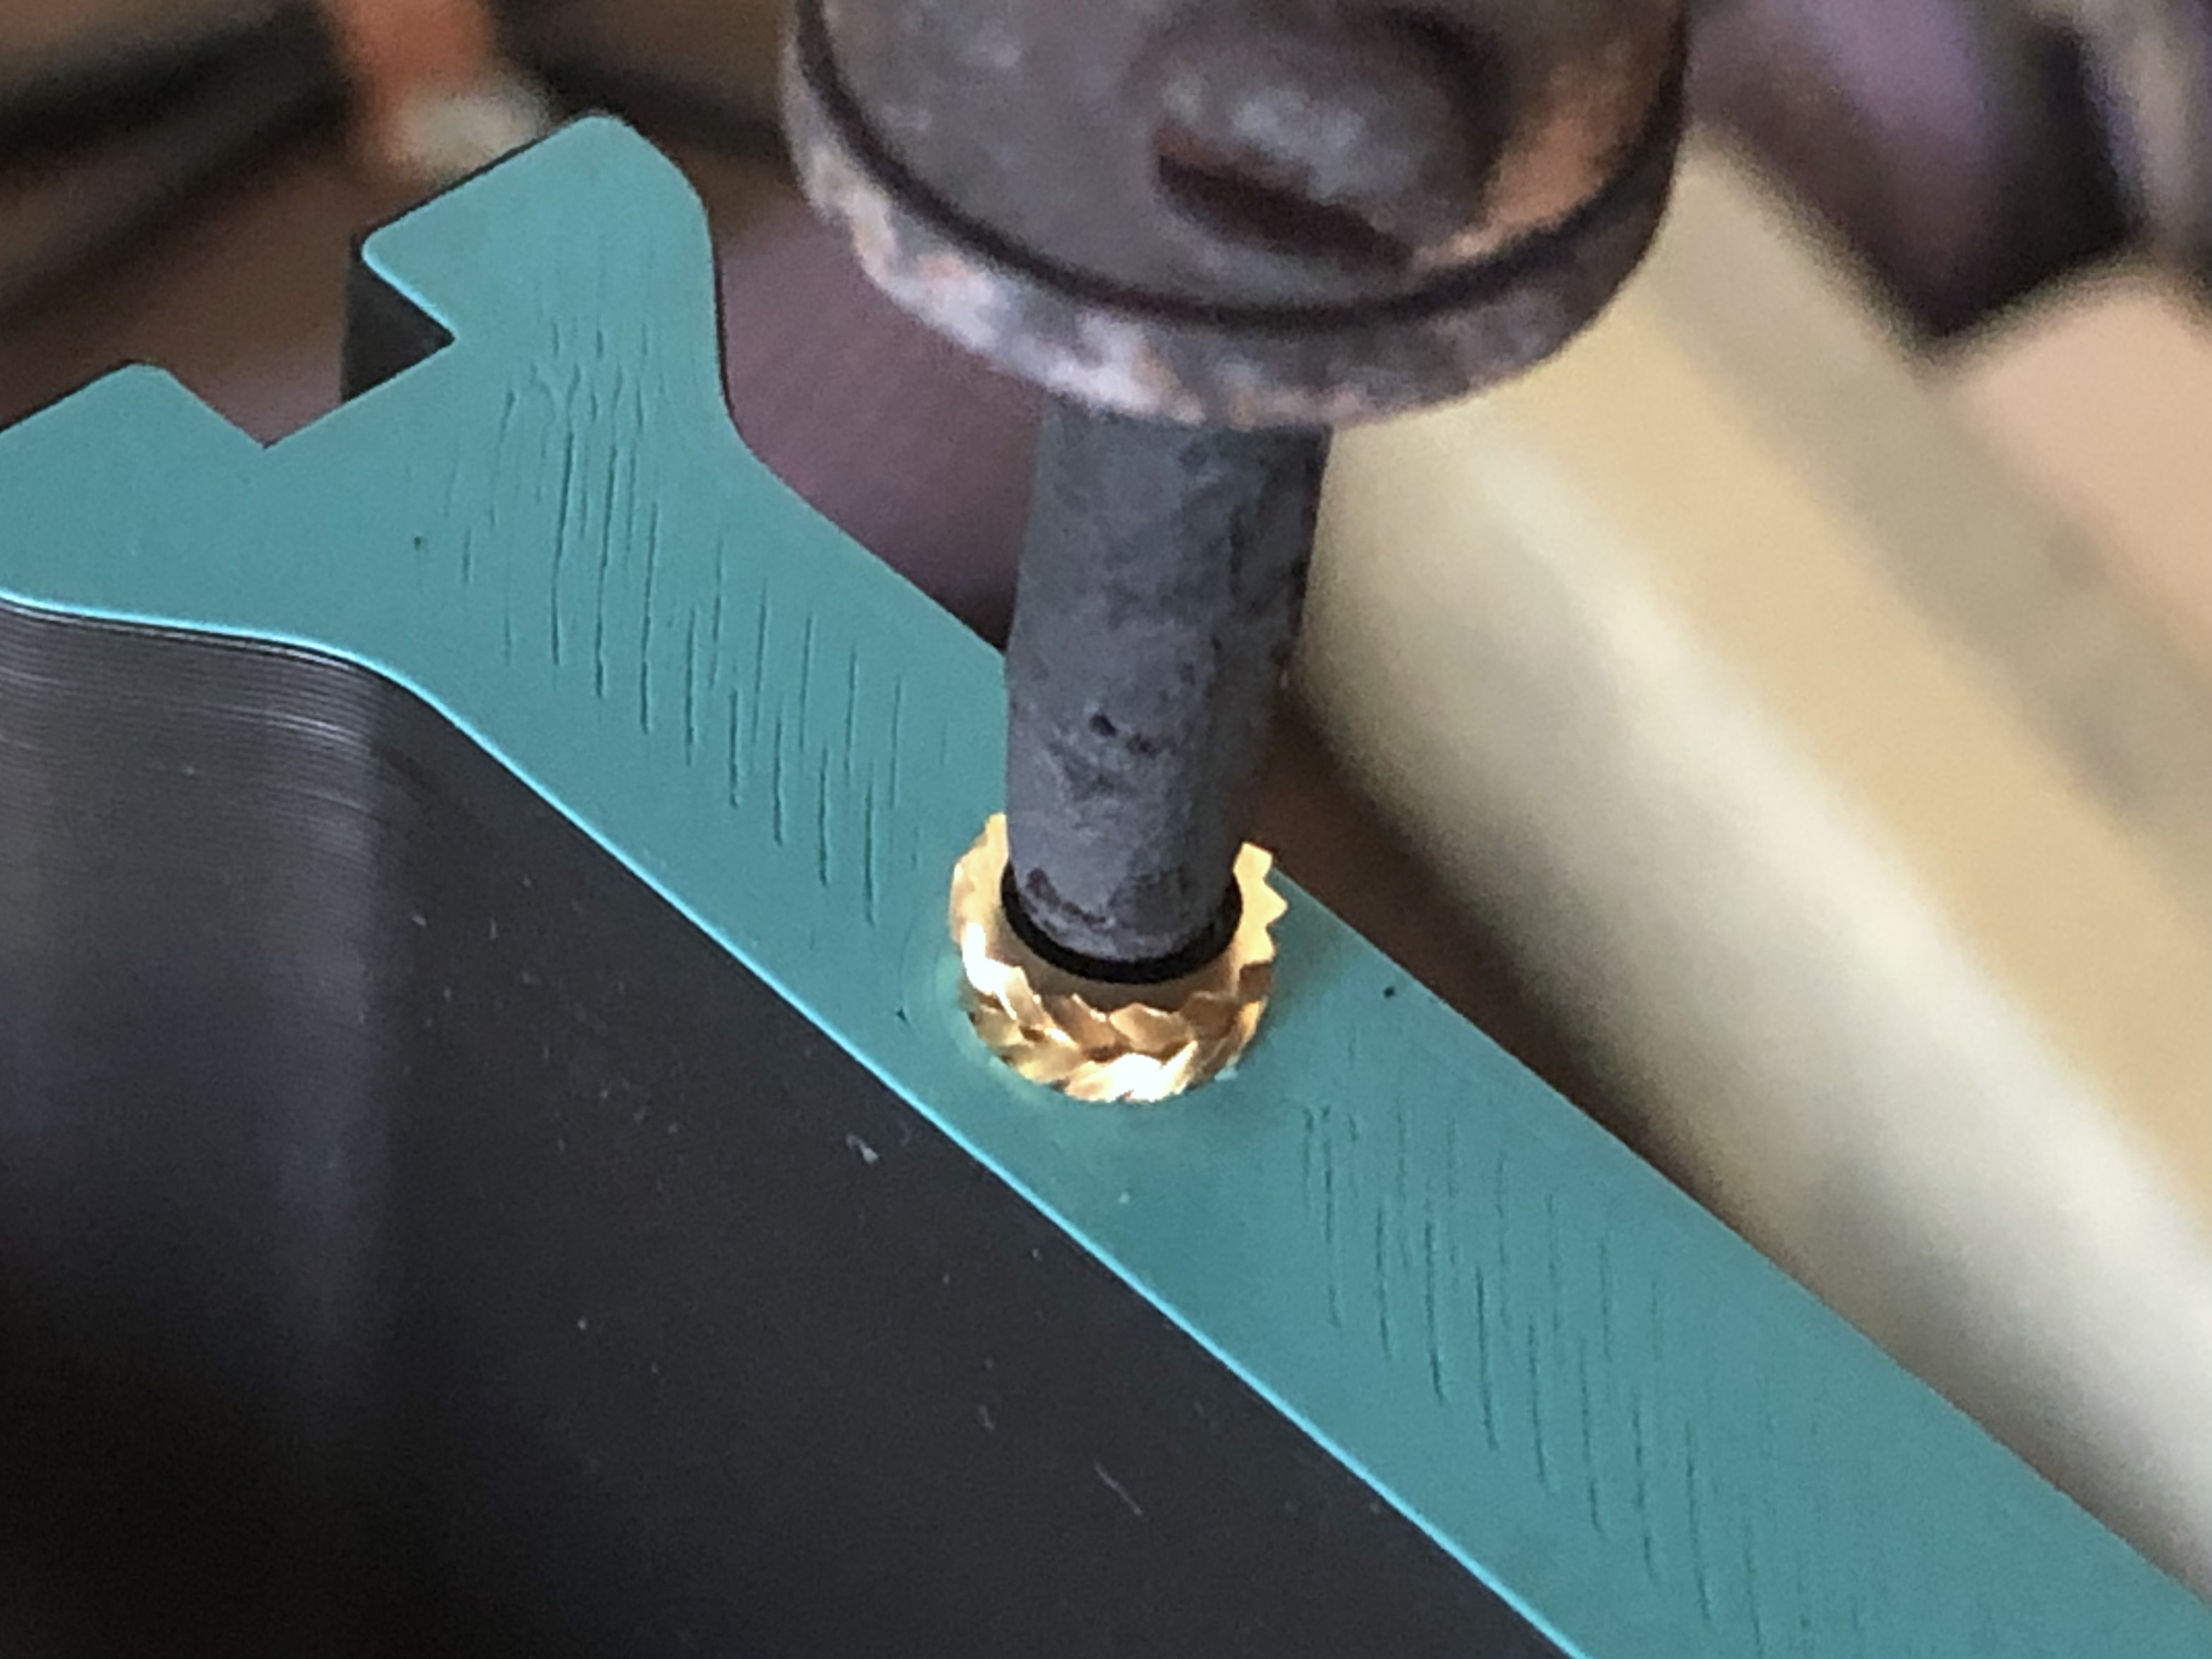
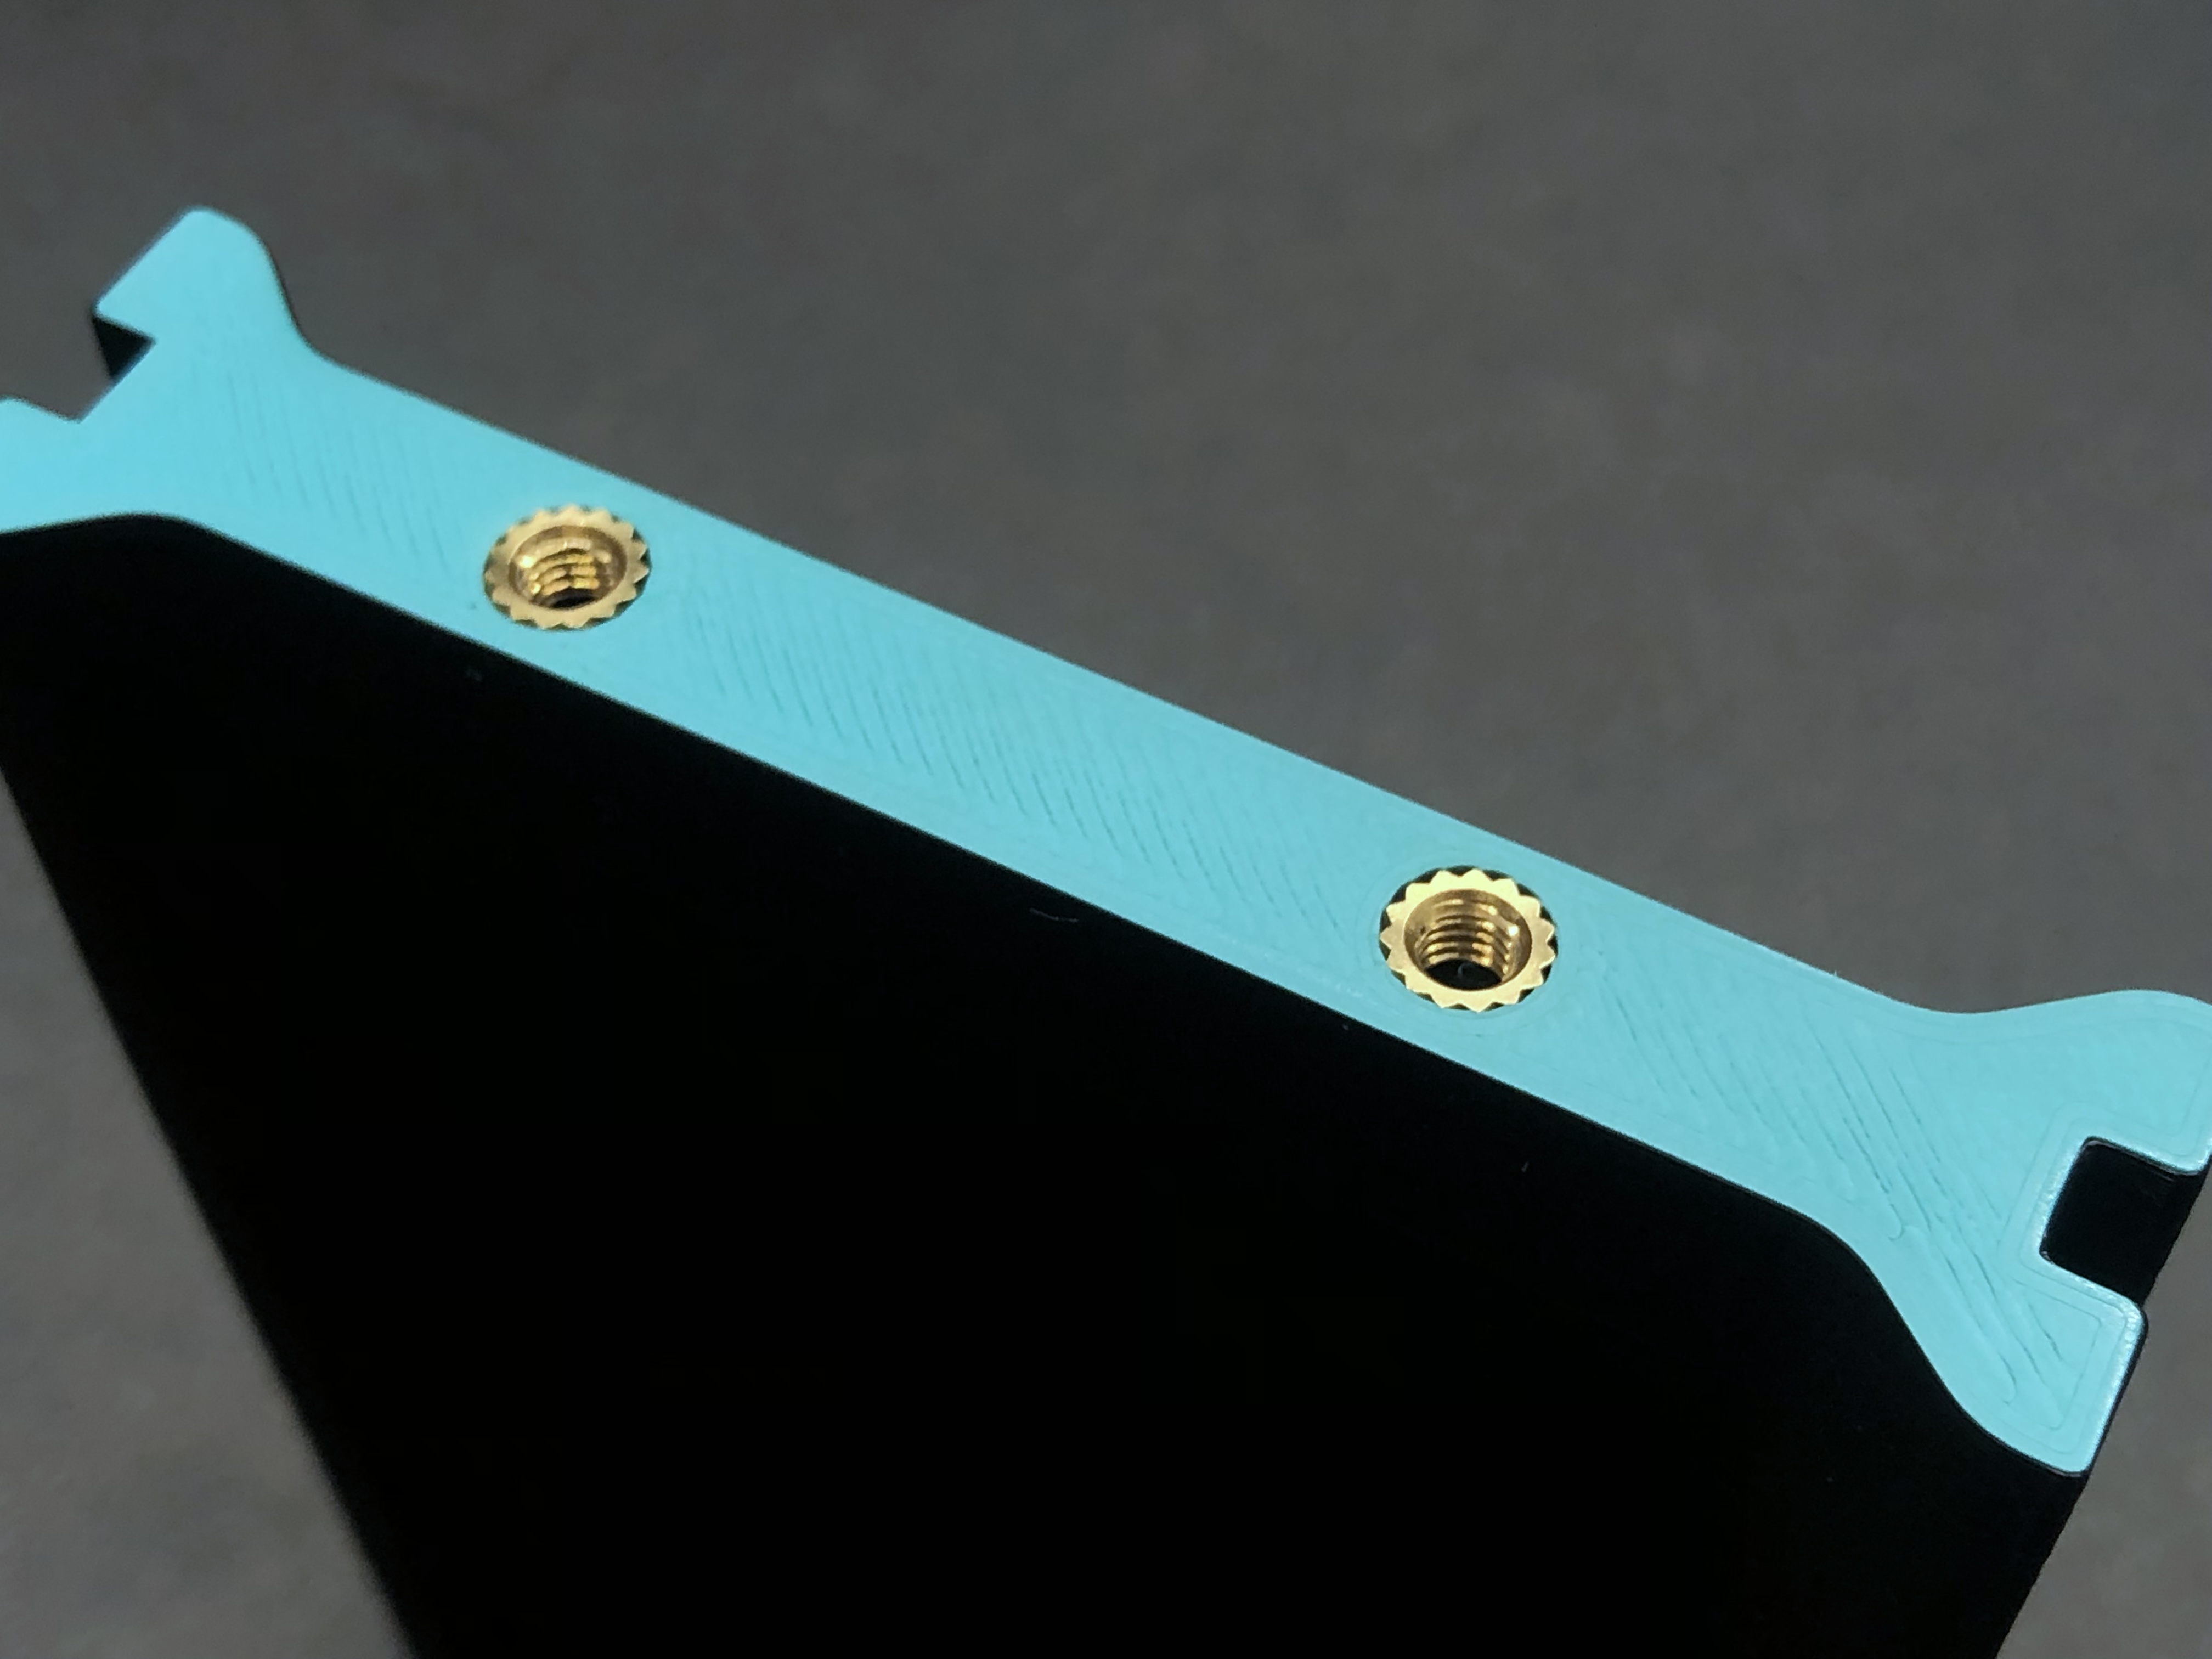
Take the Central Wall and insert the two M4 threaded inserts using a soldering iron.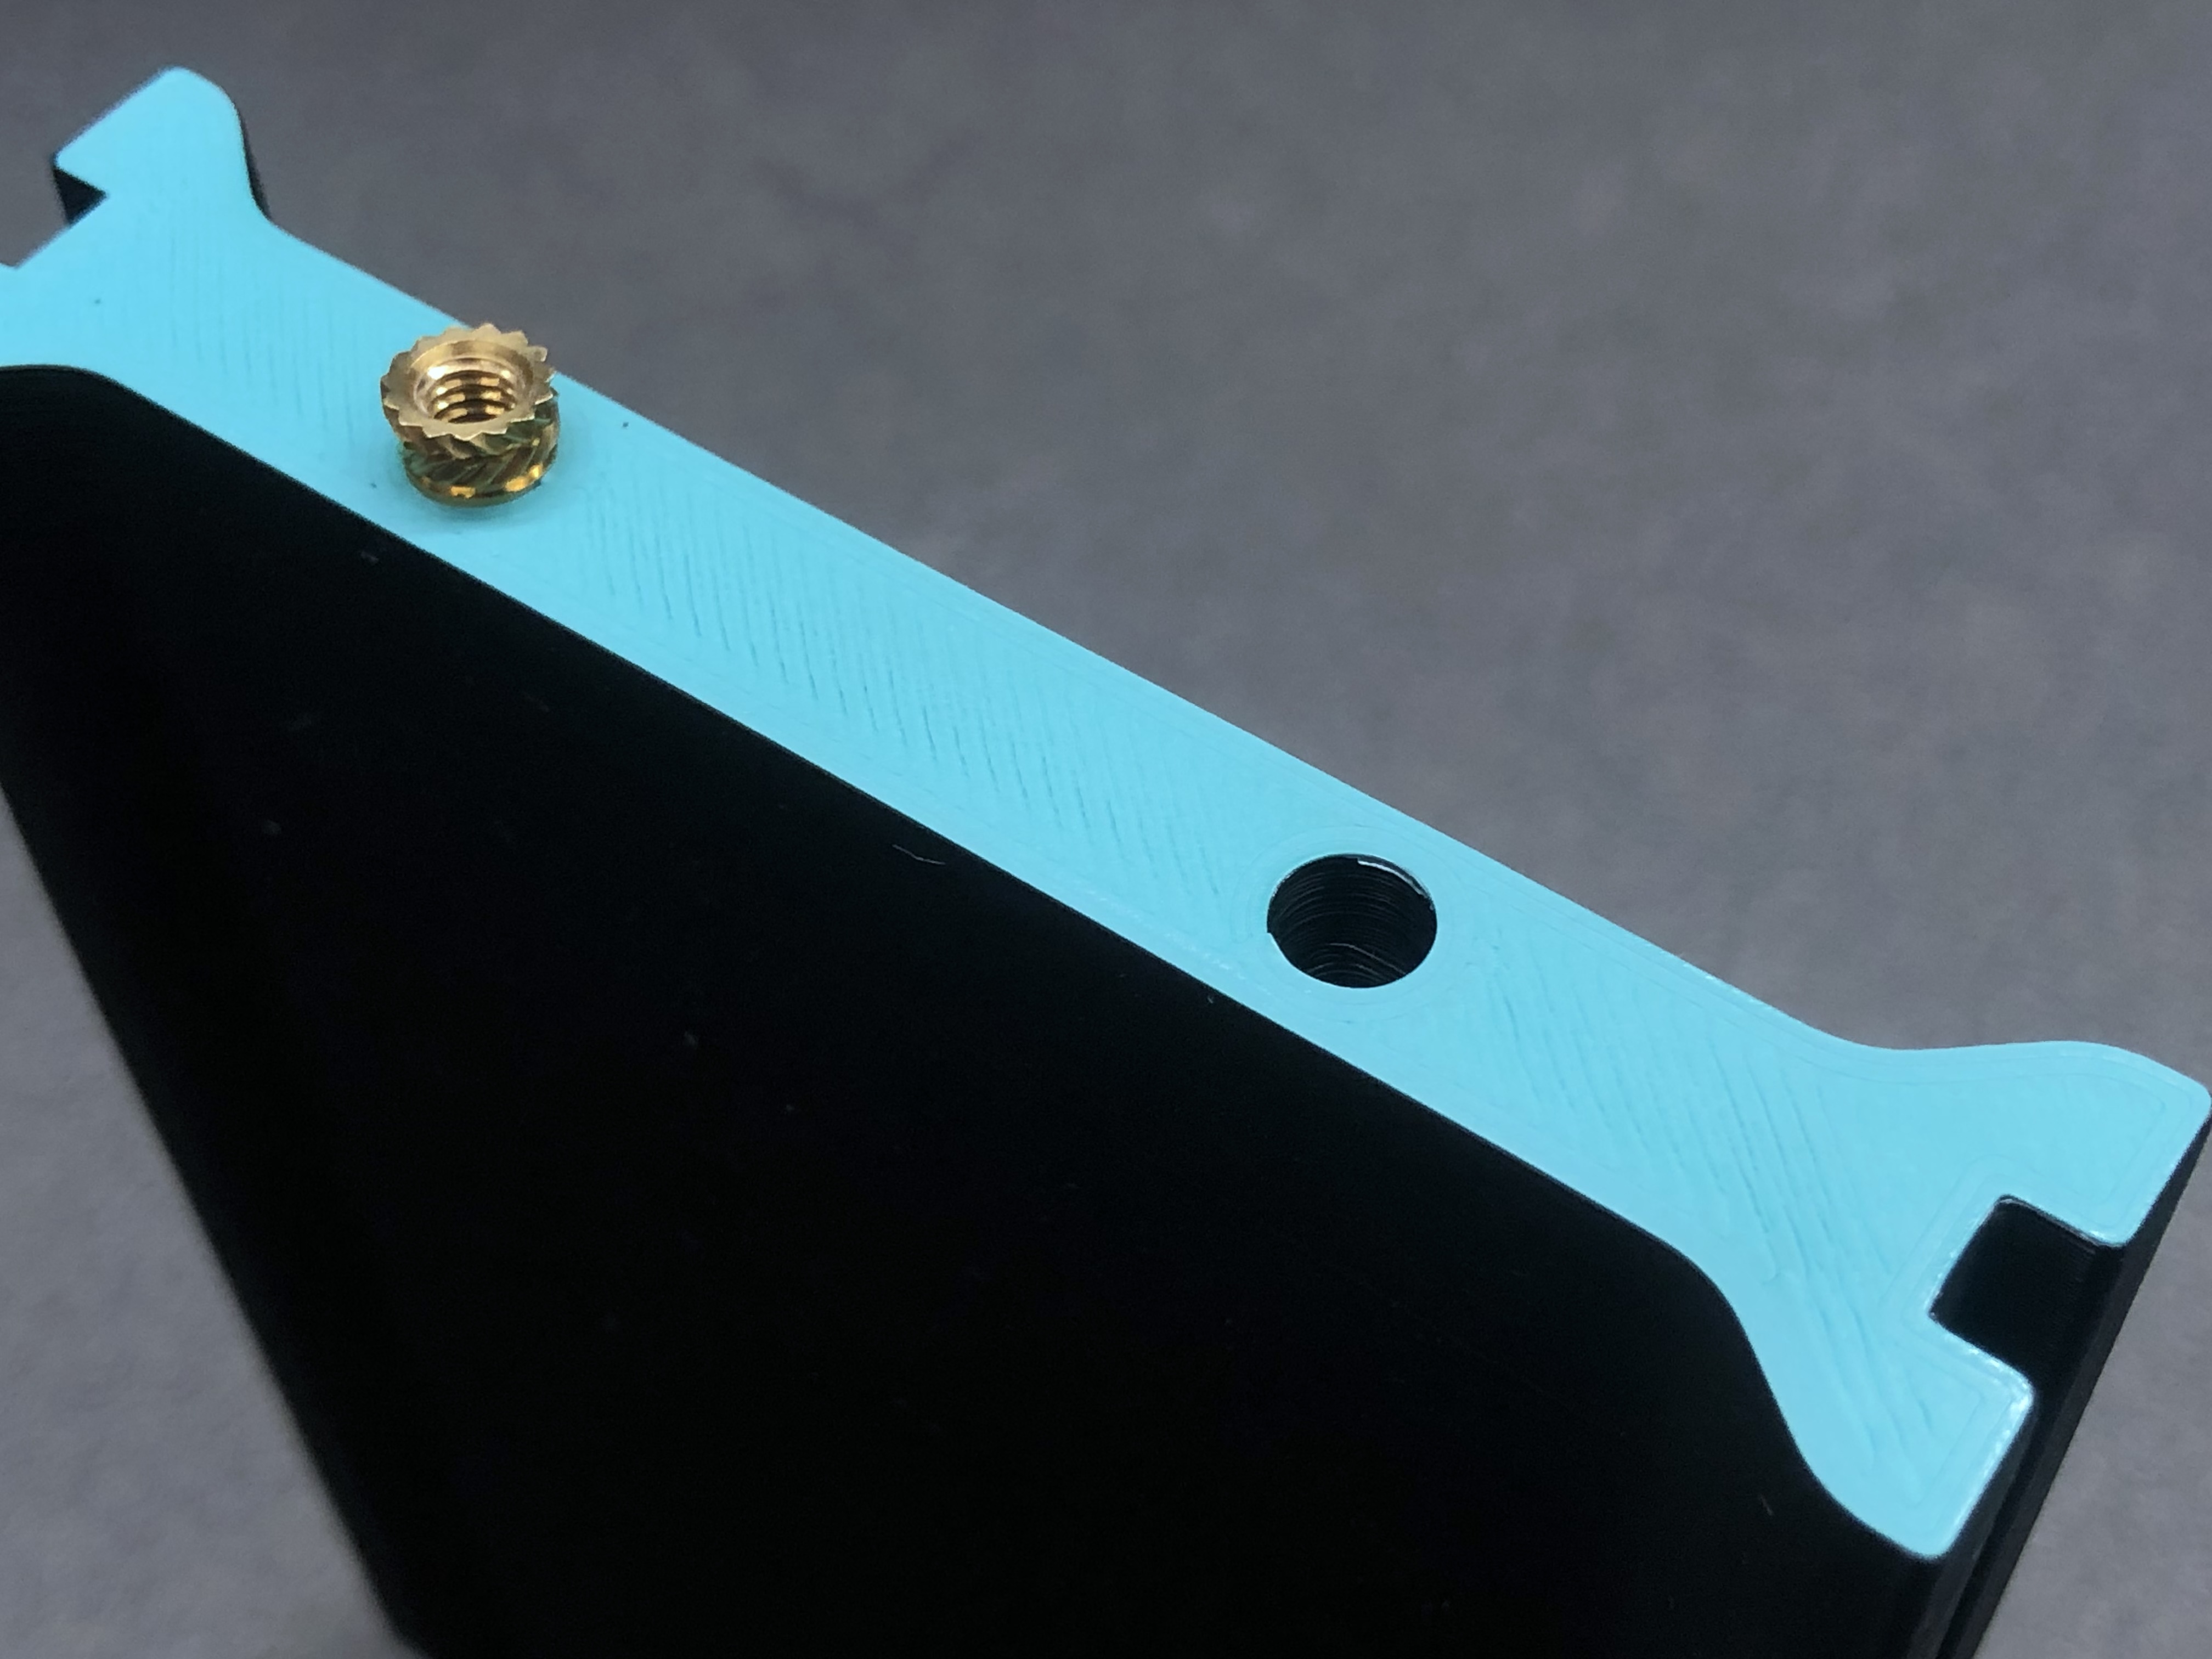
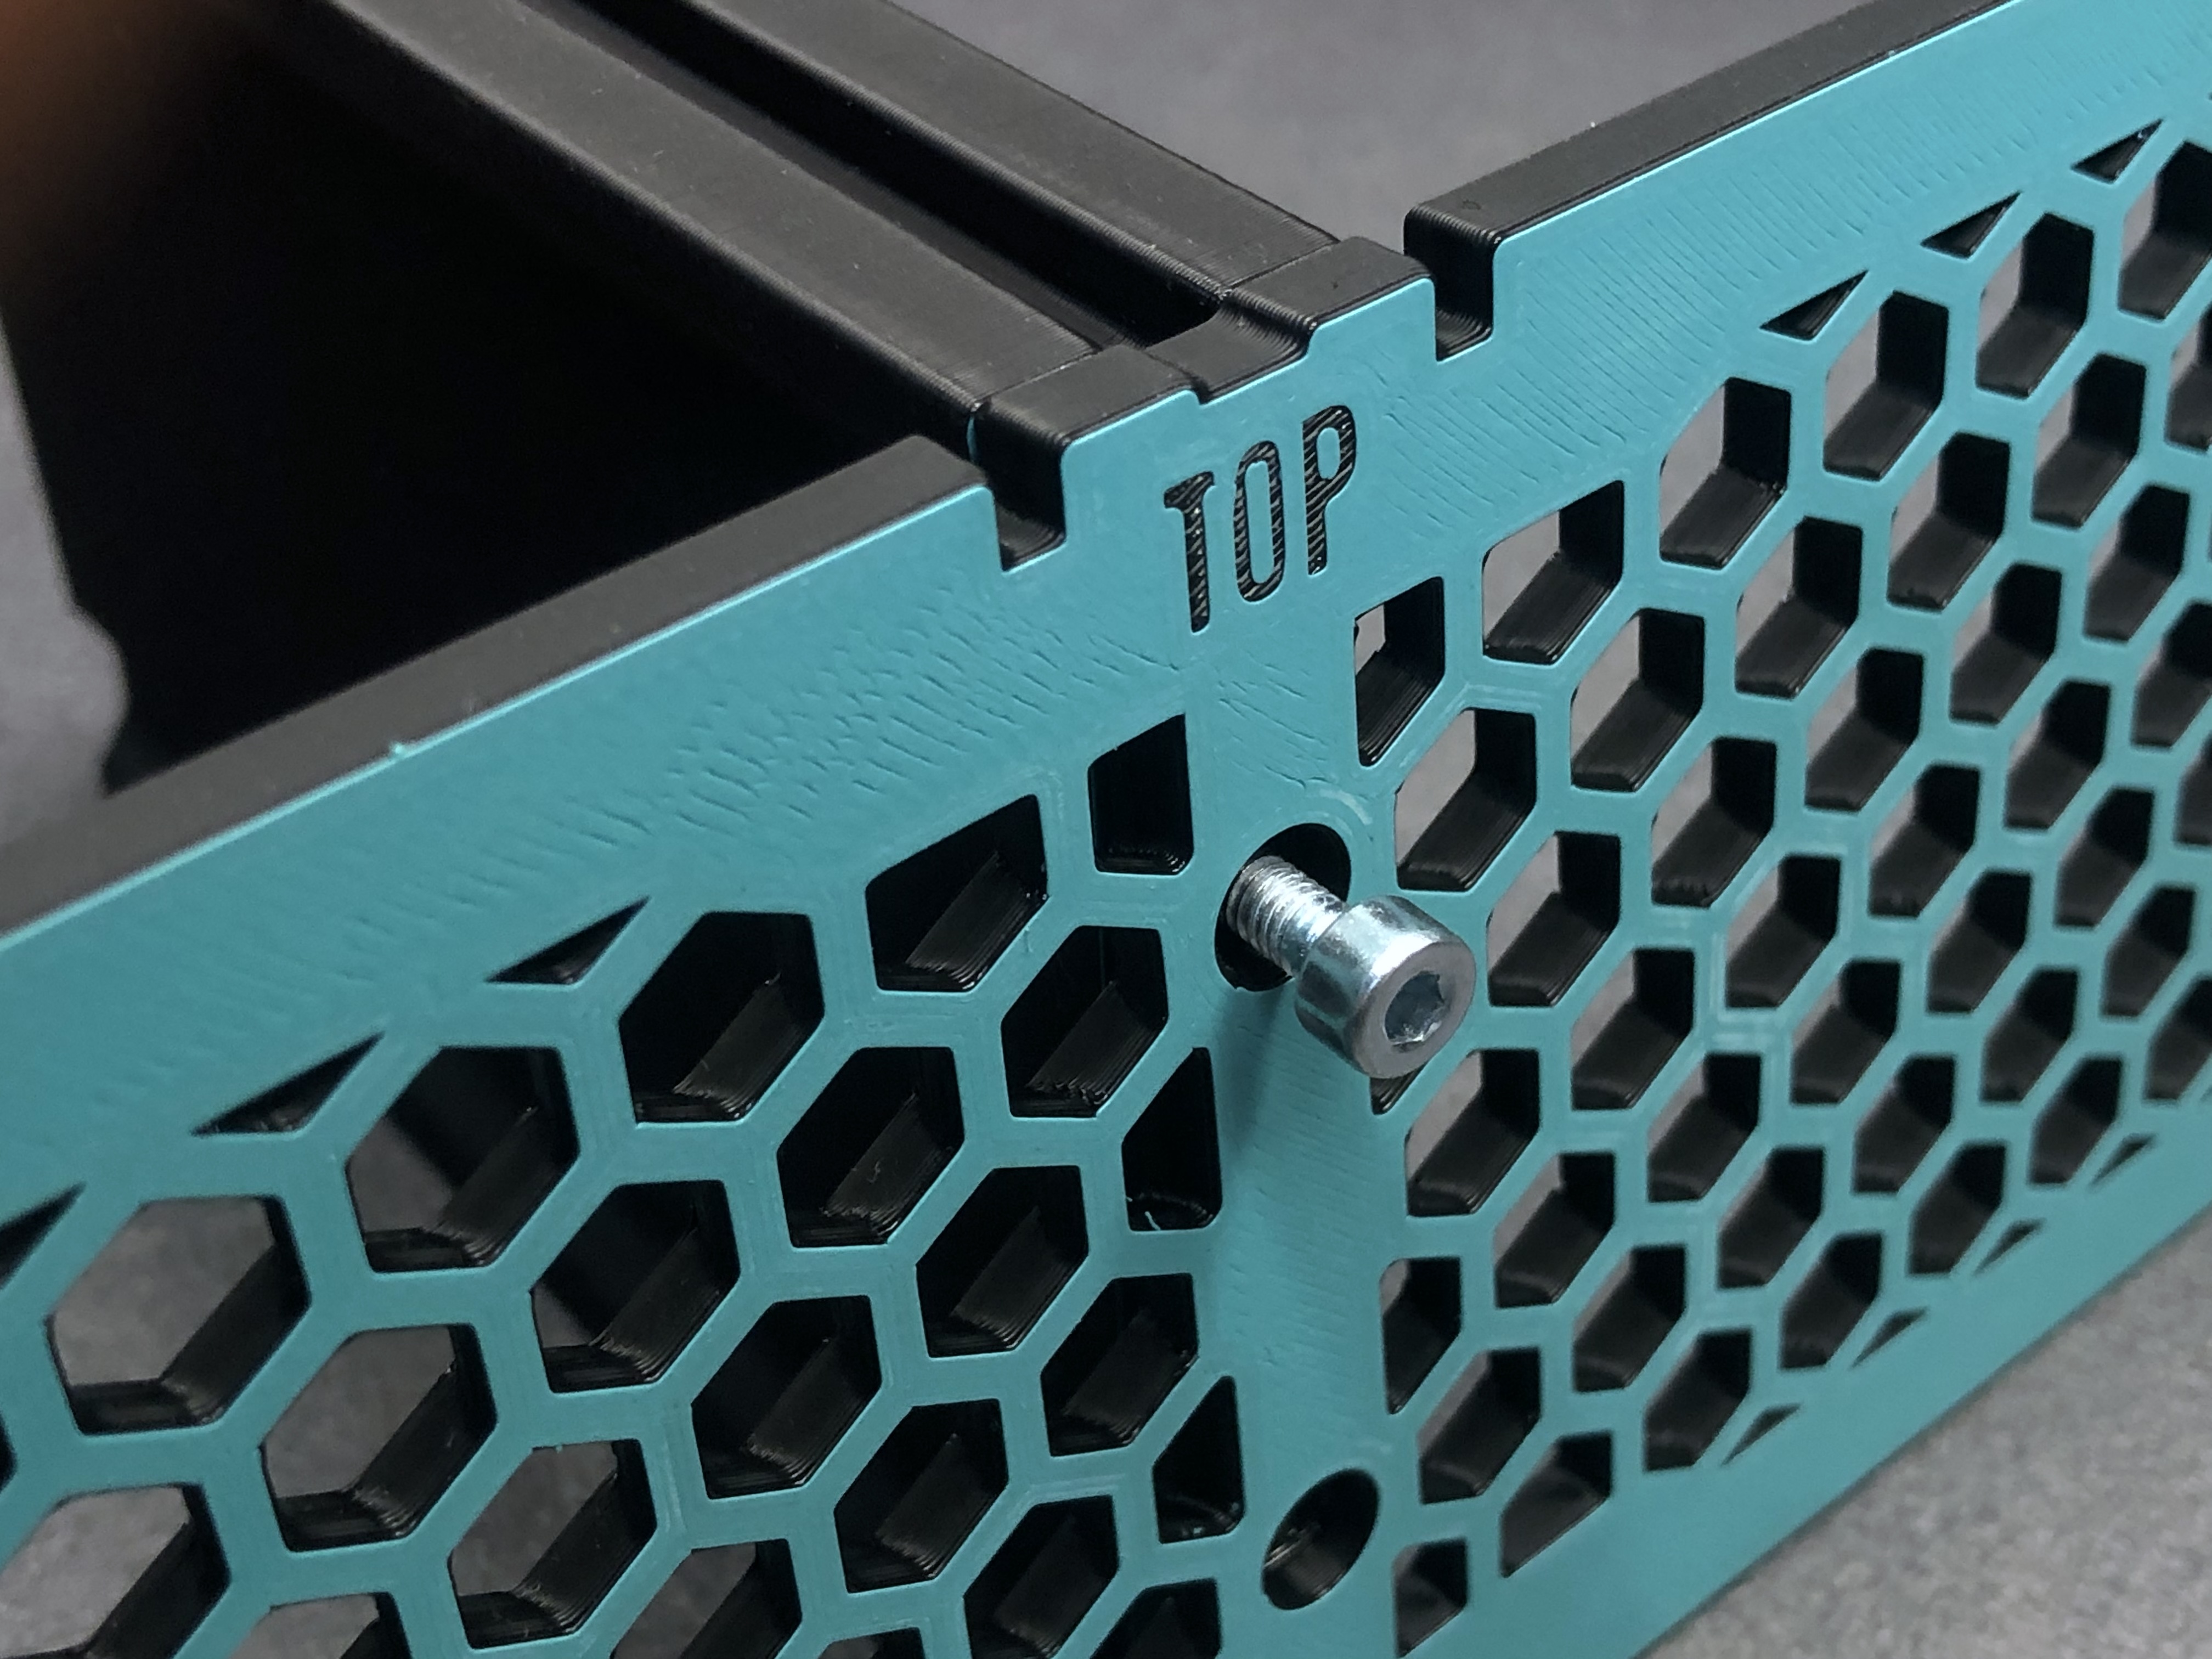
Align the Central Wall with the Top Plate and fasten them together with the two M4 screws.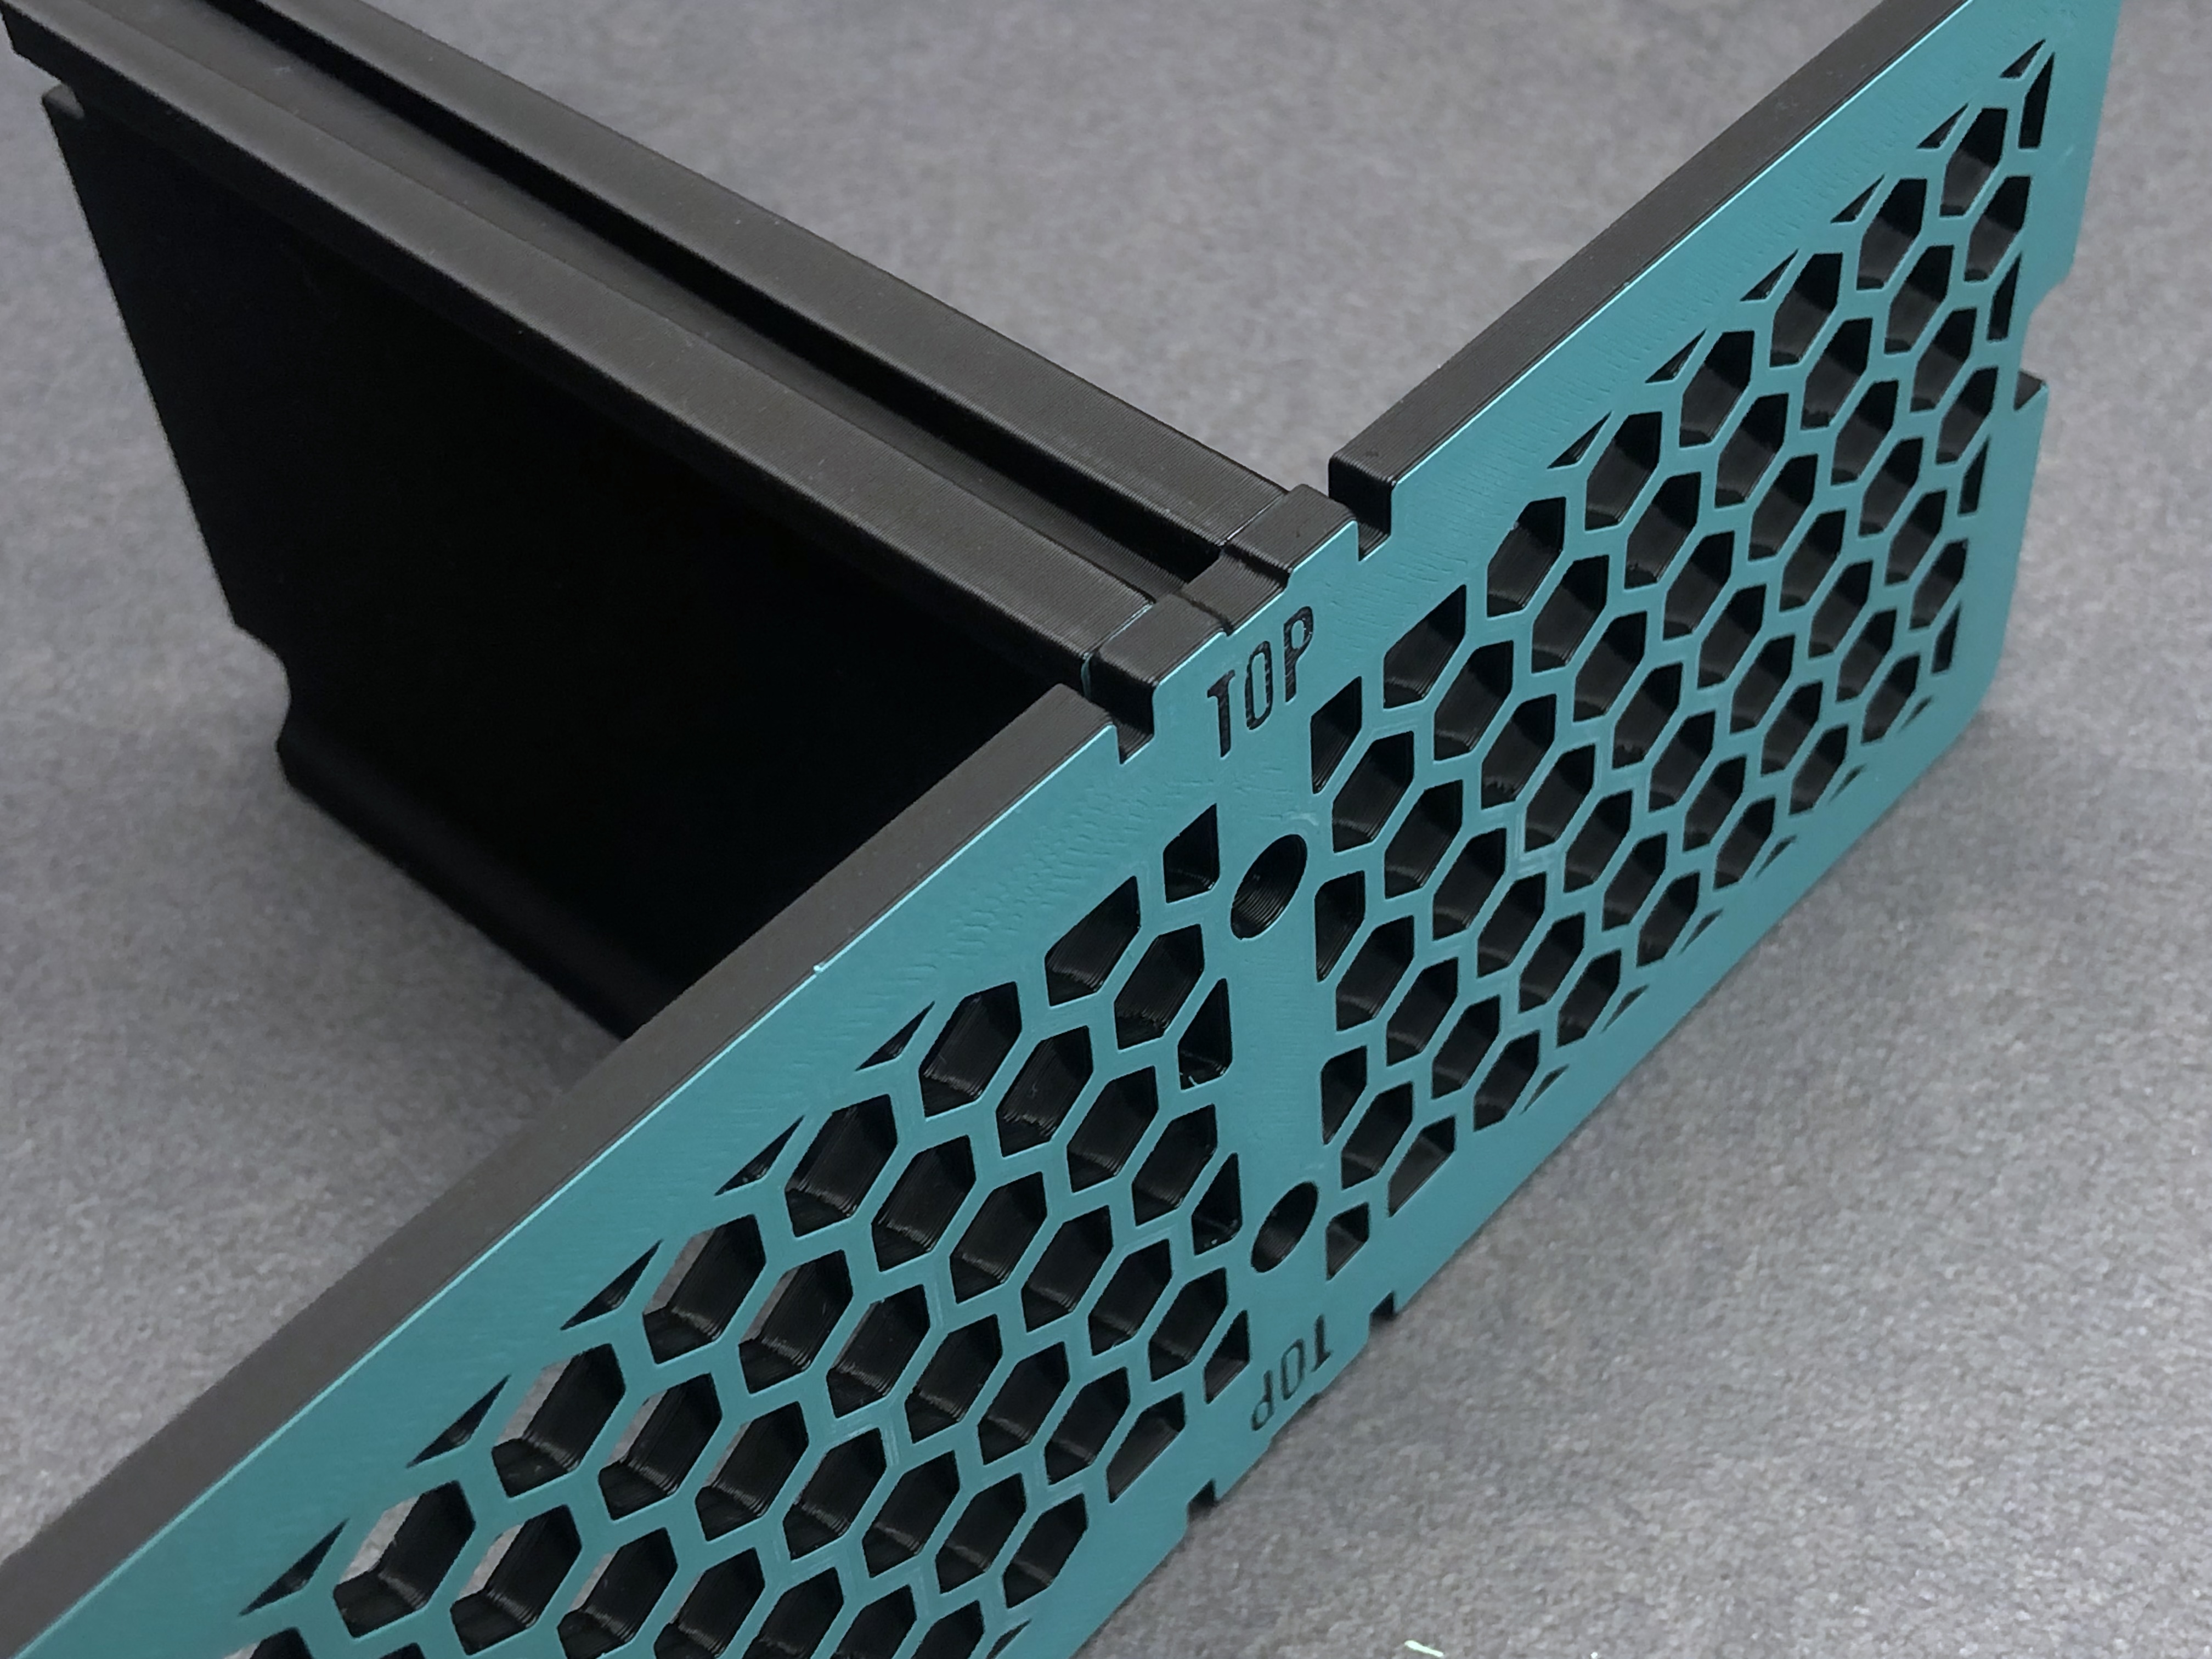
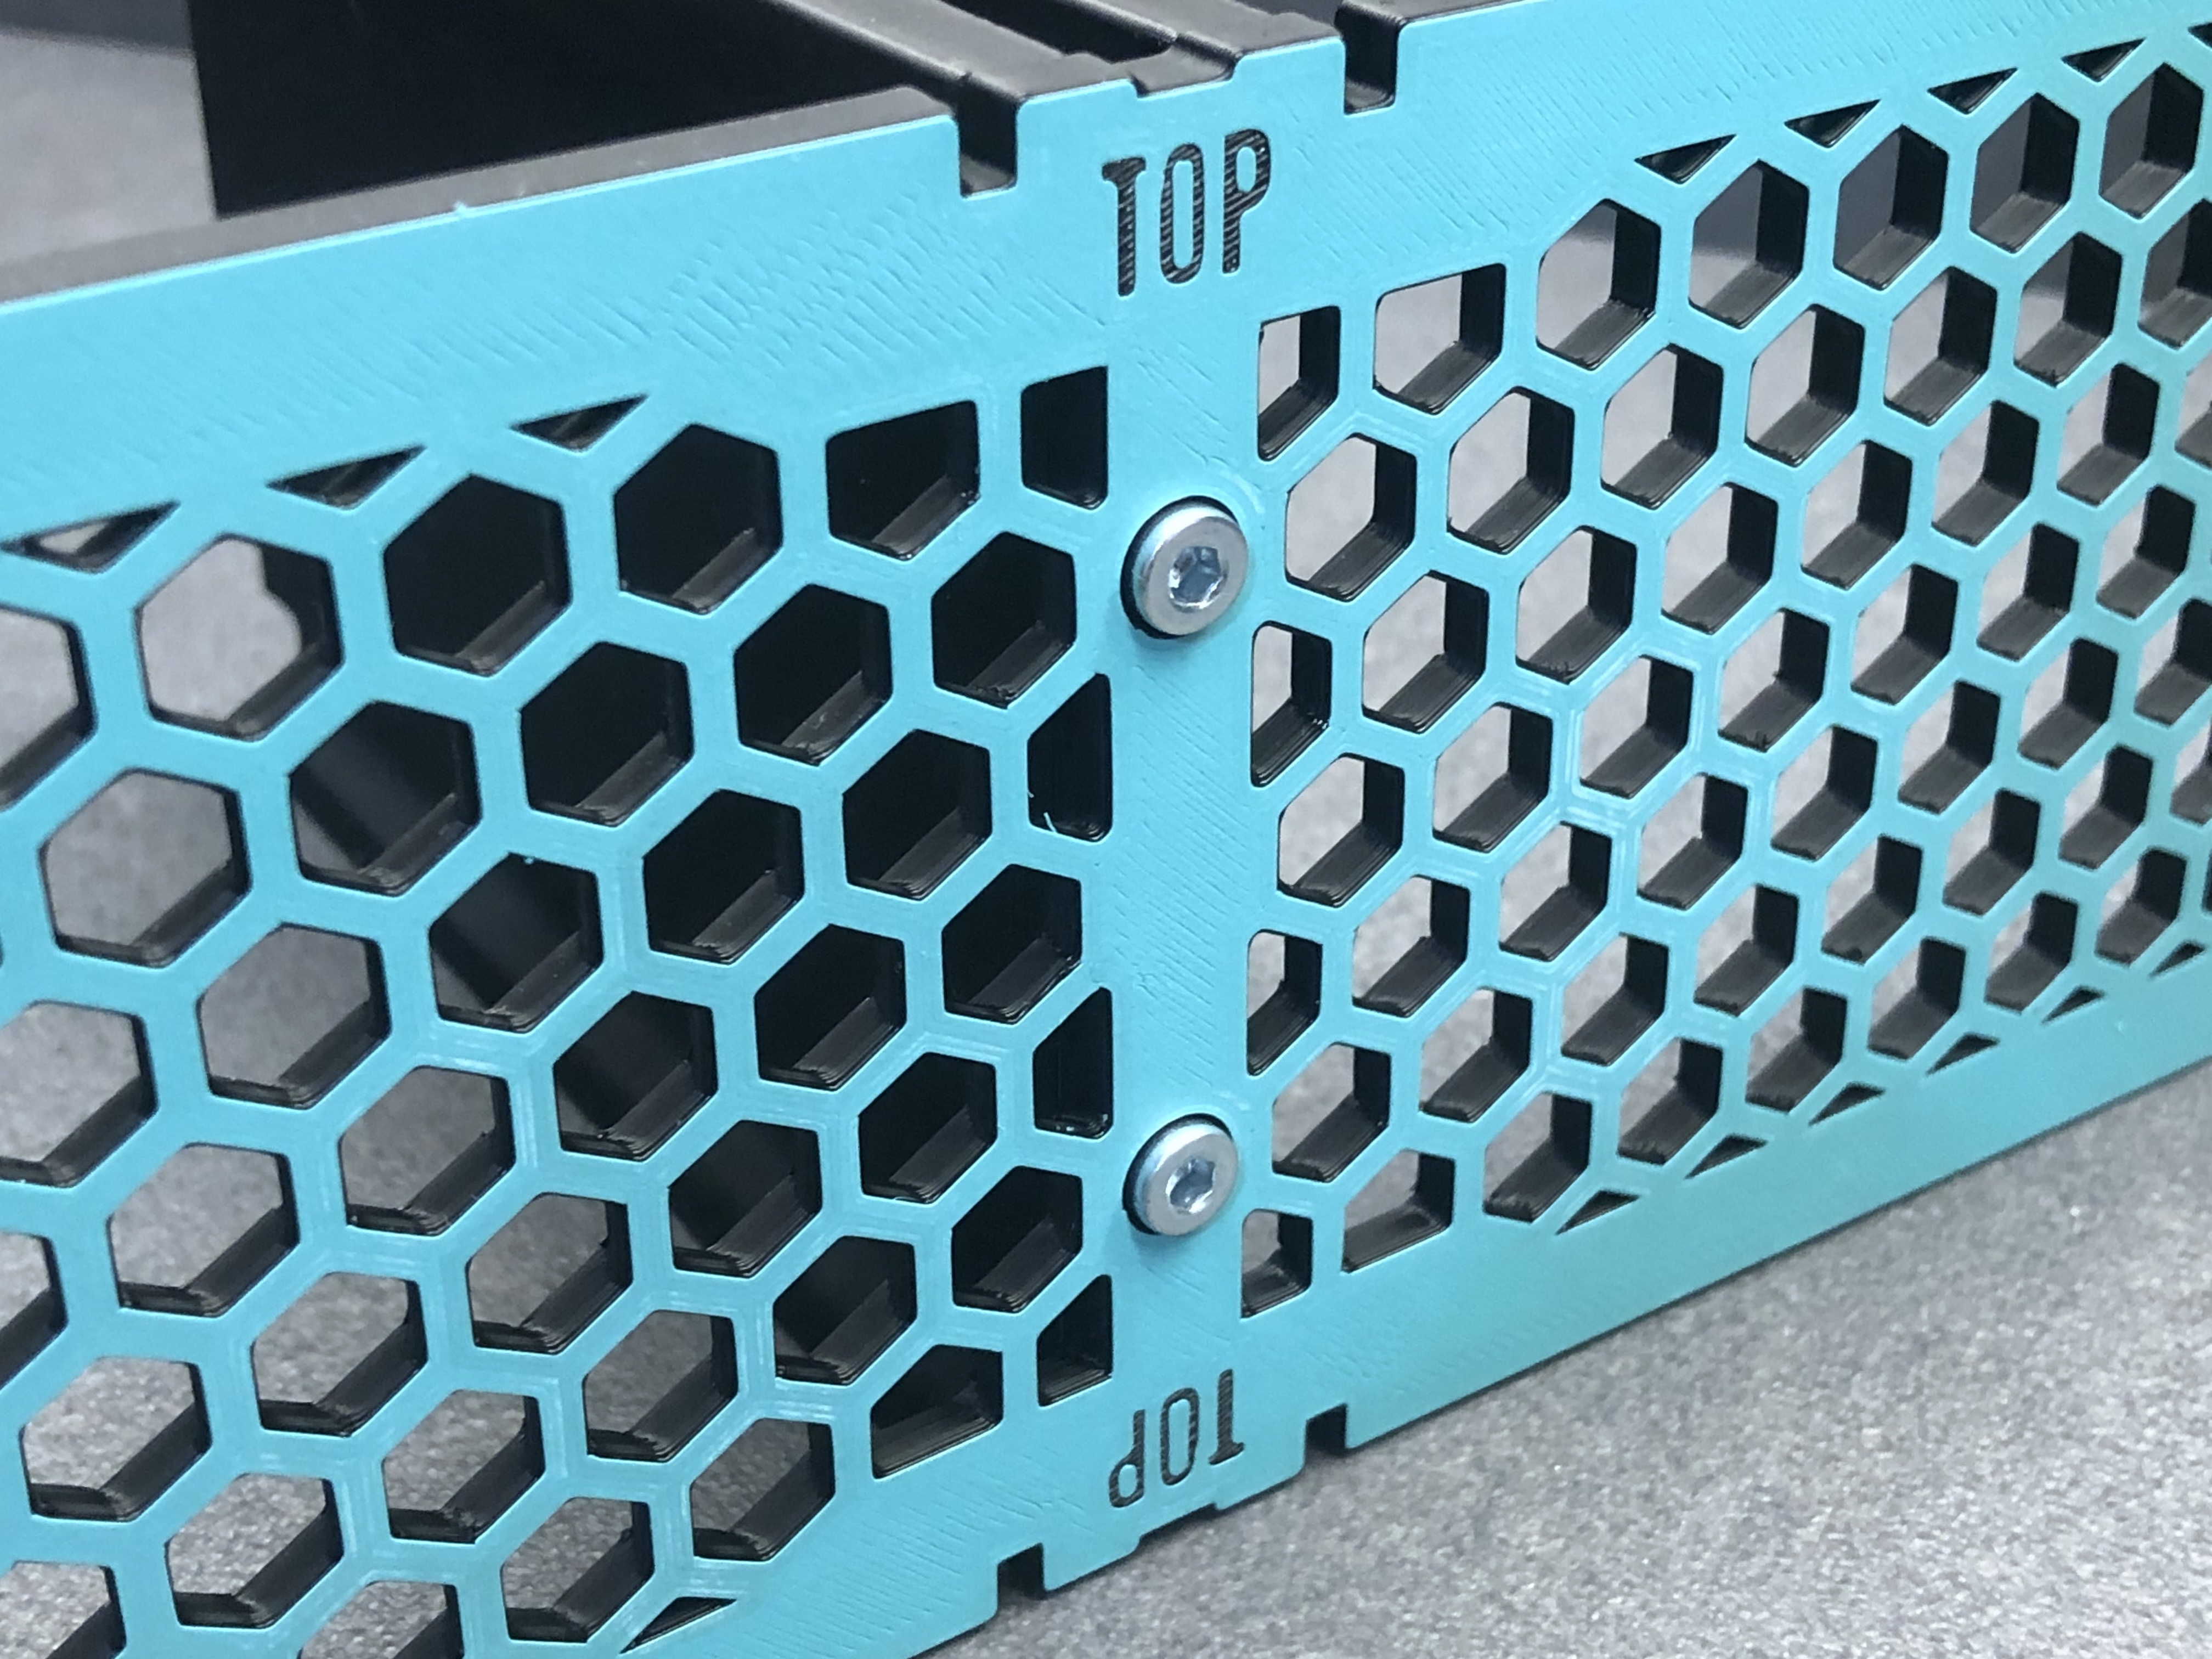
Once assembled, simply place the structure inside the PolyDryer and you’re done! 🎉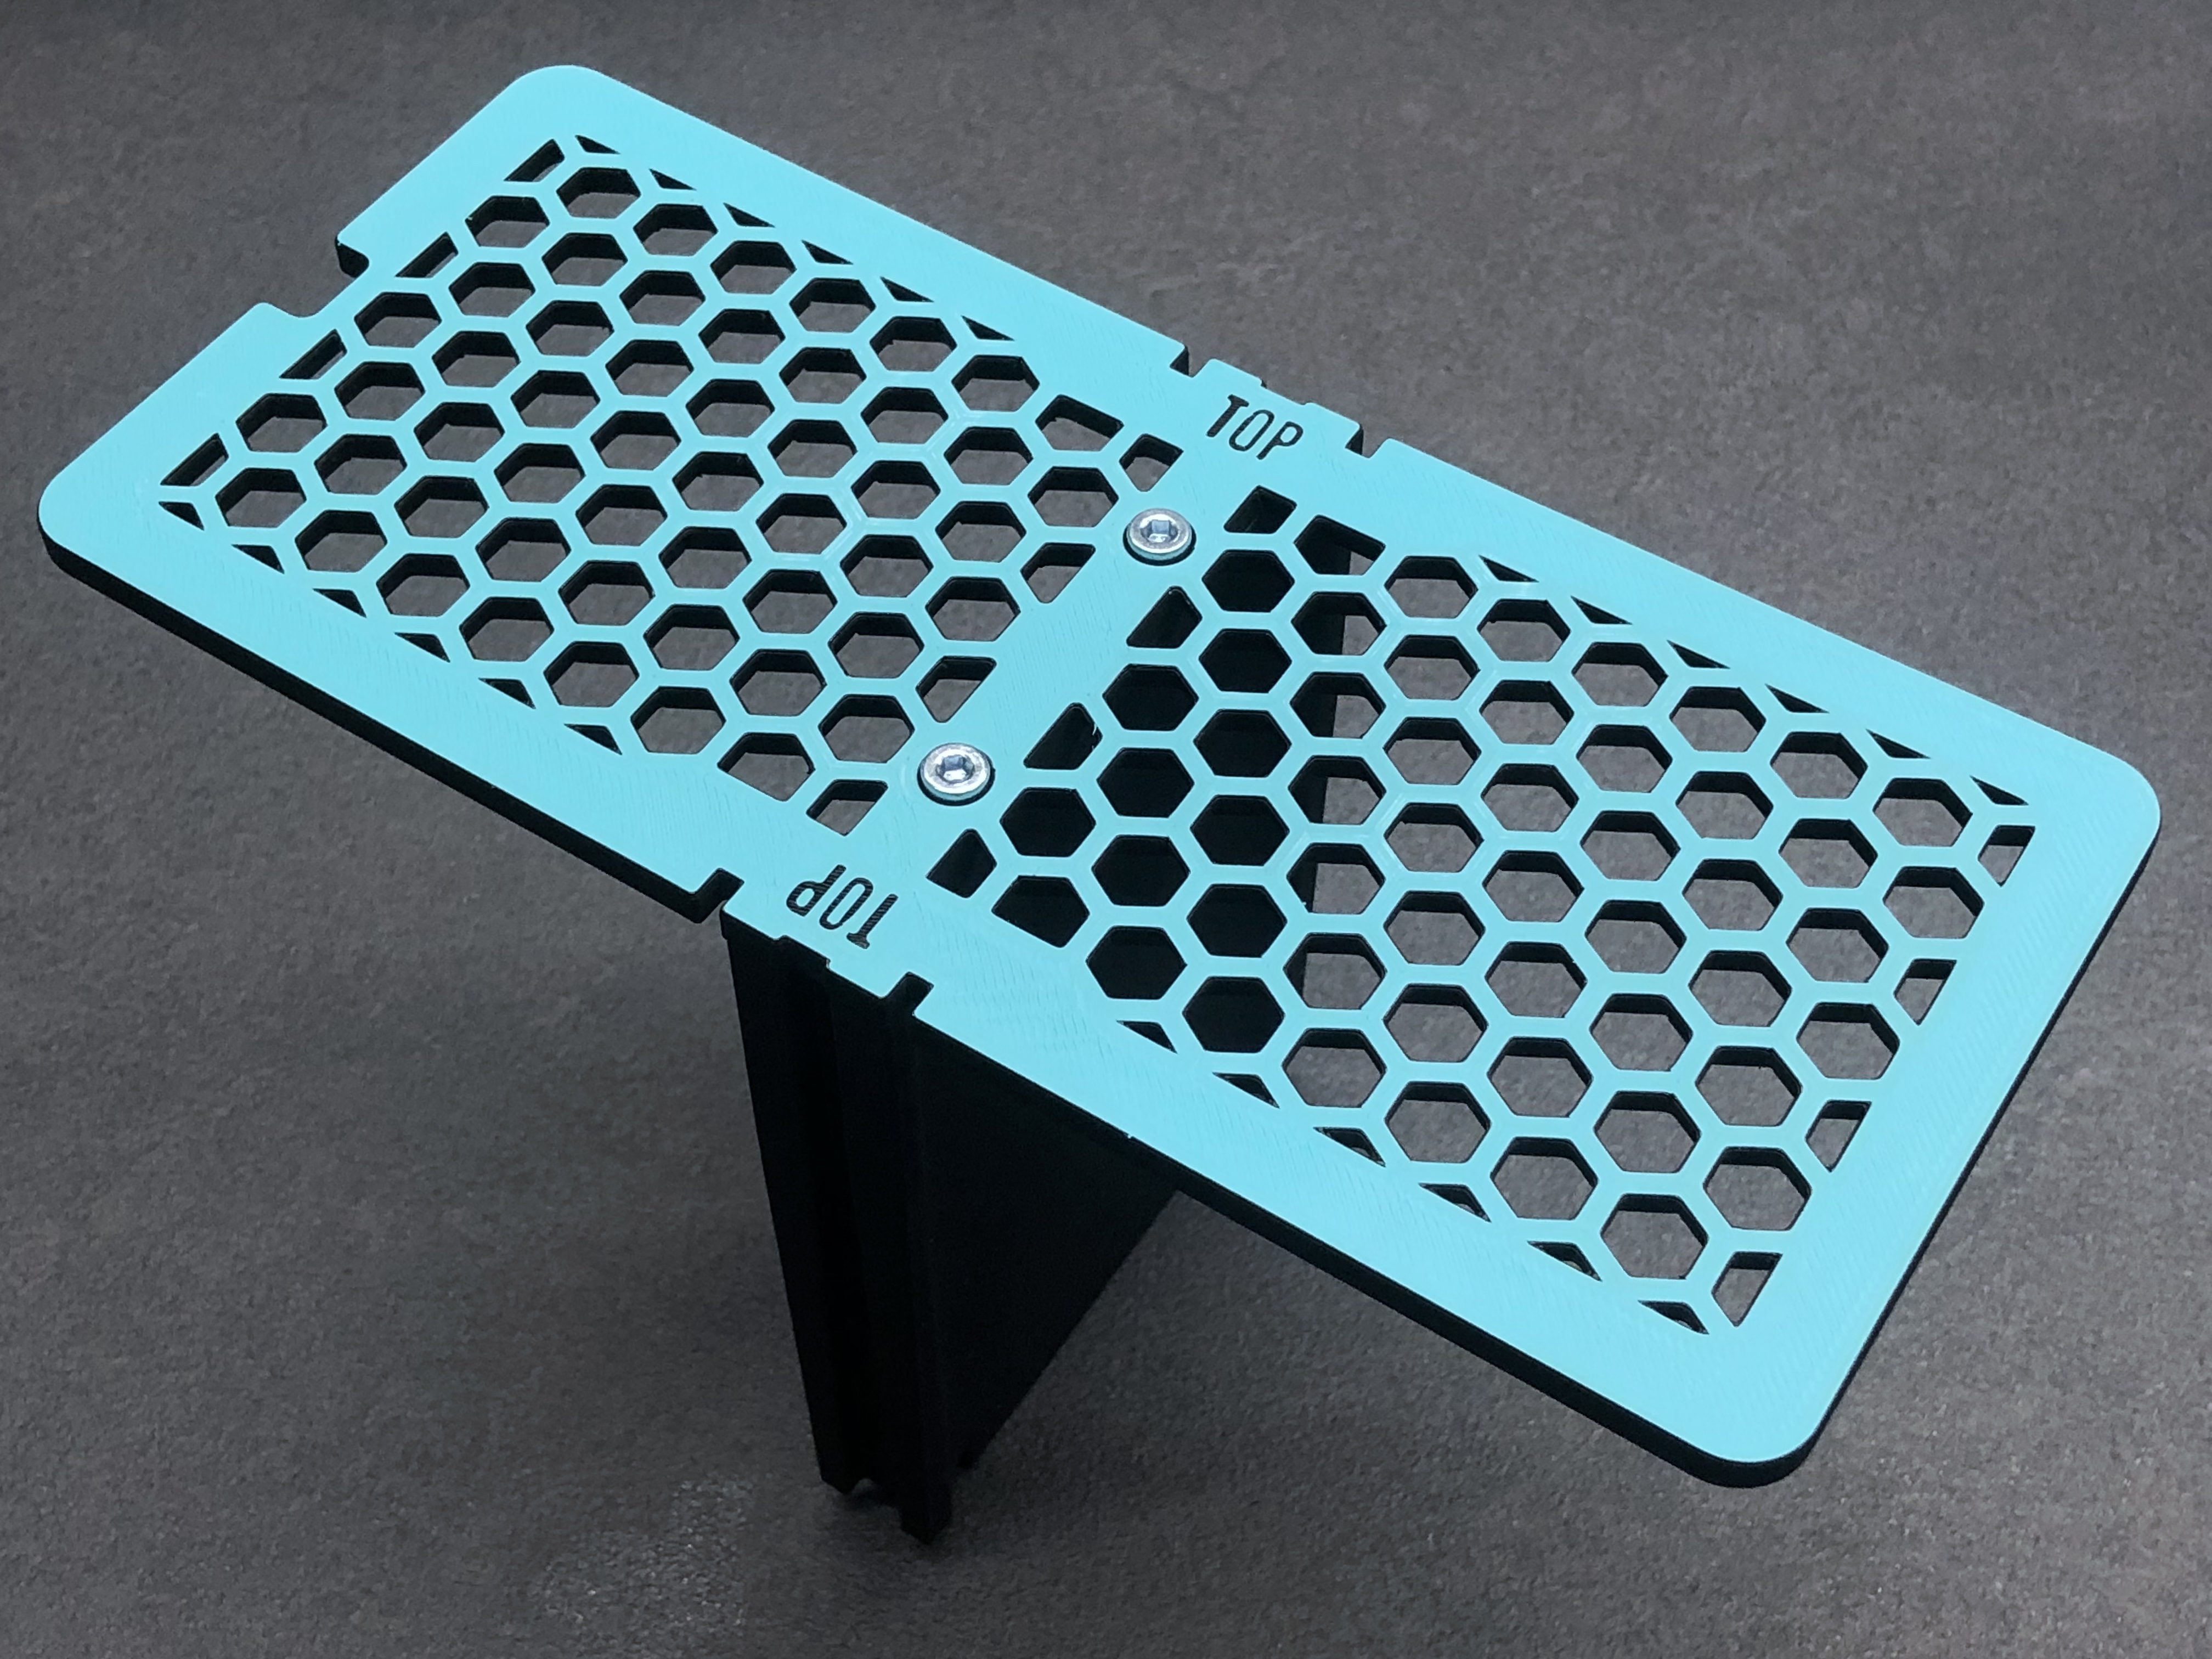
Thank you to PCBWay for reaching out and sponsoring this project:

If your printer isn’t capable of printing technical materials that can withstand high temperatures or if you simply want to build this project using premium materials and finishes, PCBWay can come to your rescue!
PCBWay supports me in the development of my projects and specializes in PCB, PCBA, CNC, and 3D Printing, and has (in my experience) the best support & the widest amount of options for manufacturing as compared to other services. I highly recommend it.
Their 3D printing services offer a very wide selection of processes including SLA, DLP, FDM, SLM, SLS, PJ, VC, and materials including metals and nylon.
The ordering process is very quick, just upload the design file and select the parameters.
The same print is uploaded on PCBWay+ Community, you can go here and get the print with one click.
👉 If you're new there don't forget to use this link for 5$ discount https://pcbway.com/g/3BjHD9
Show Your Creations!
Share your makes to inspire others, and let us know if you liked it and what we can improve!
Follow Us
Don’t forget to follow 3D KIMBA for updates on new designs and exclusive content!