
Filament Quick Mini Clamp
We calculate the final price from your selected file. You review and accept it before payment.
Saved on this device.

Yet another filament clip and the only one you will use from now on.
- Rating
- 4 / 5
- Likes
- 19
- Downloads
- 57
- Makes
- 1
- Views
- 462
- Reviews
- 1
Updated at source:
Model information
- Source
- Printables
- Category
- Accessories
- License
- Creative Commons — Attribution — Noncommercial — Share Alike
Introduction
Inspired by Filament Quick Clamp V2, this new filament clip improves the original idea by overengineering it to the maximum exponent resulting in a smaller, thinner, quicker to print and more powerful clamp thanks to a ballpoint pen spring.
That being said, the little device is composed by the following parts:

- main body
- head: the movable part
- clip: the part that grips the filament
- back cover: various sizes depending your filament spool width
- ballpoint pen spring
- optionally it is possible to use a tiny piece of 1,75mm filament to lock the back cover in the main body
Printing
Set up your bed as you want and using the colors of your desire, it is a pretty easy thing to print so it may work with almost any settings. I would suggest to print the parts at 0.15mm layer height or less and you still will be in an under 20 minutes total print. I would also suggest use PETG for durability.
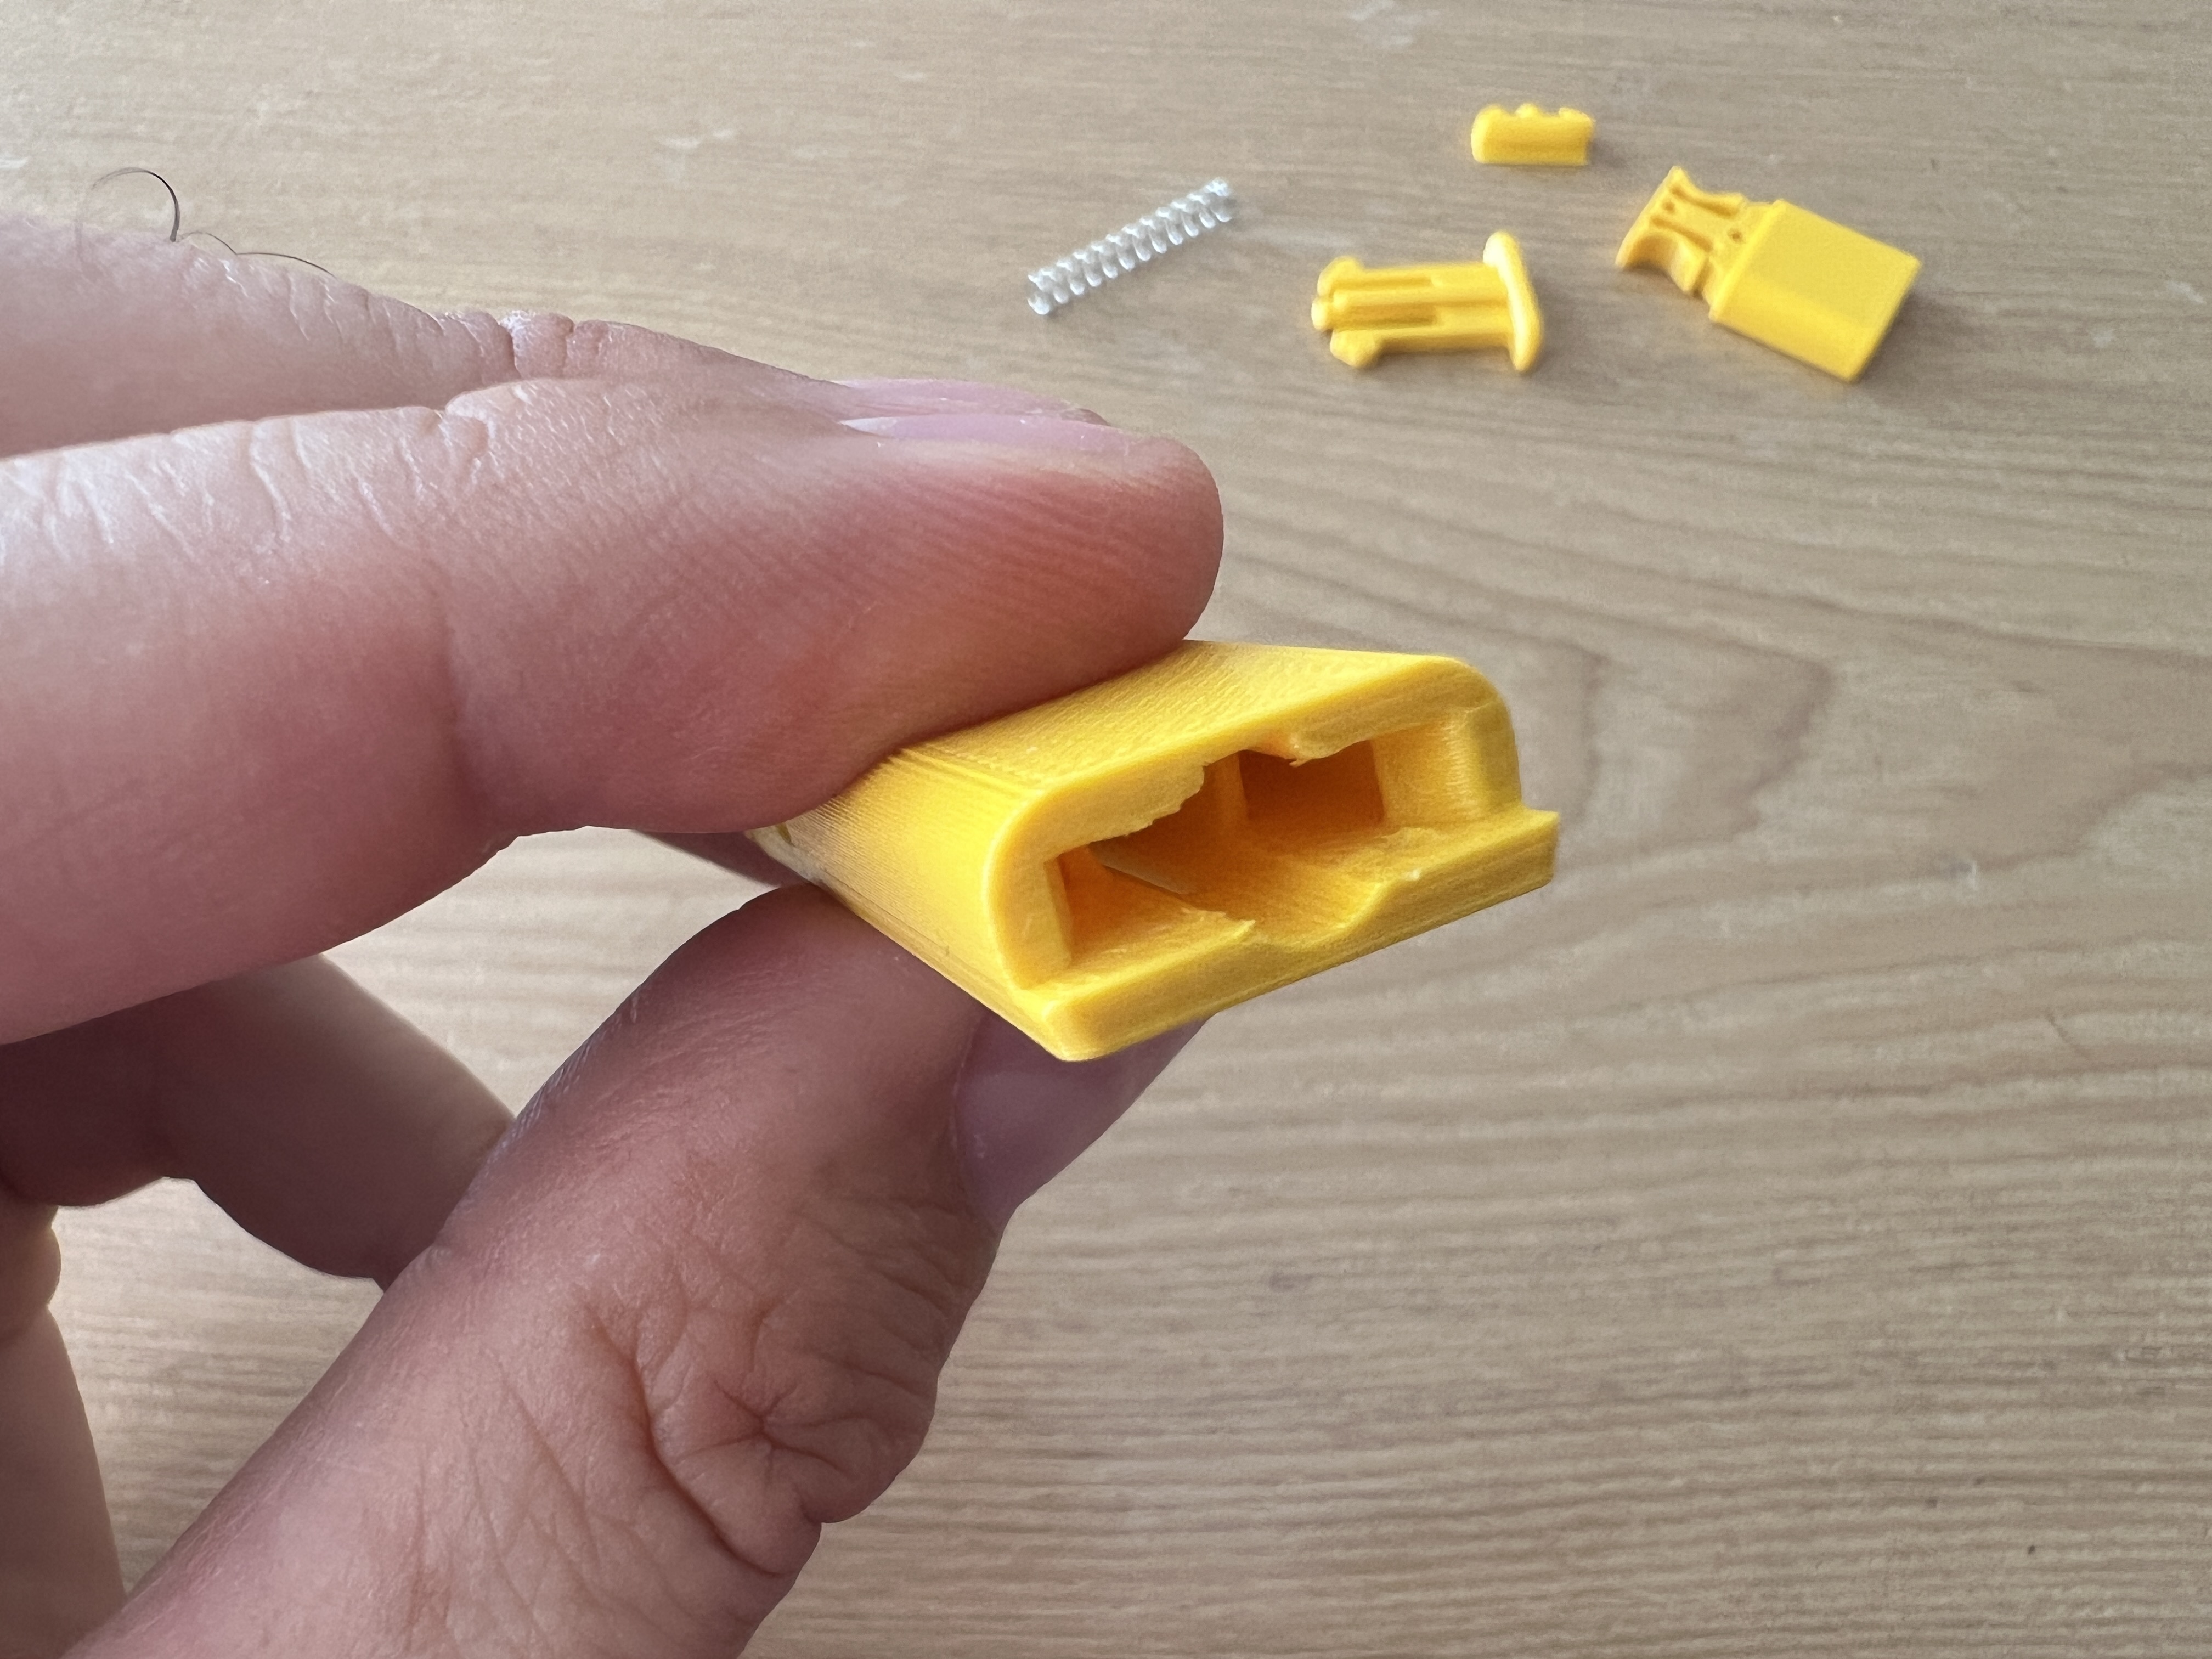
The only other thing to take into account is that the main body prints with a forced support that must be removed before assemble all it up:
 |  |
Assembly
Once you get the forced supports away of the main body, grab the clip and insert it as shown in the picture:

you could use a piece of filament to push it into position:
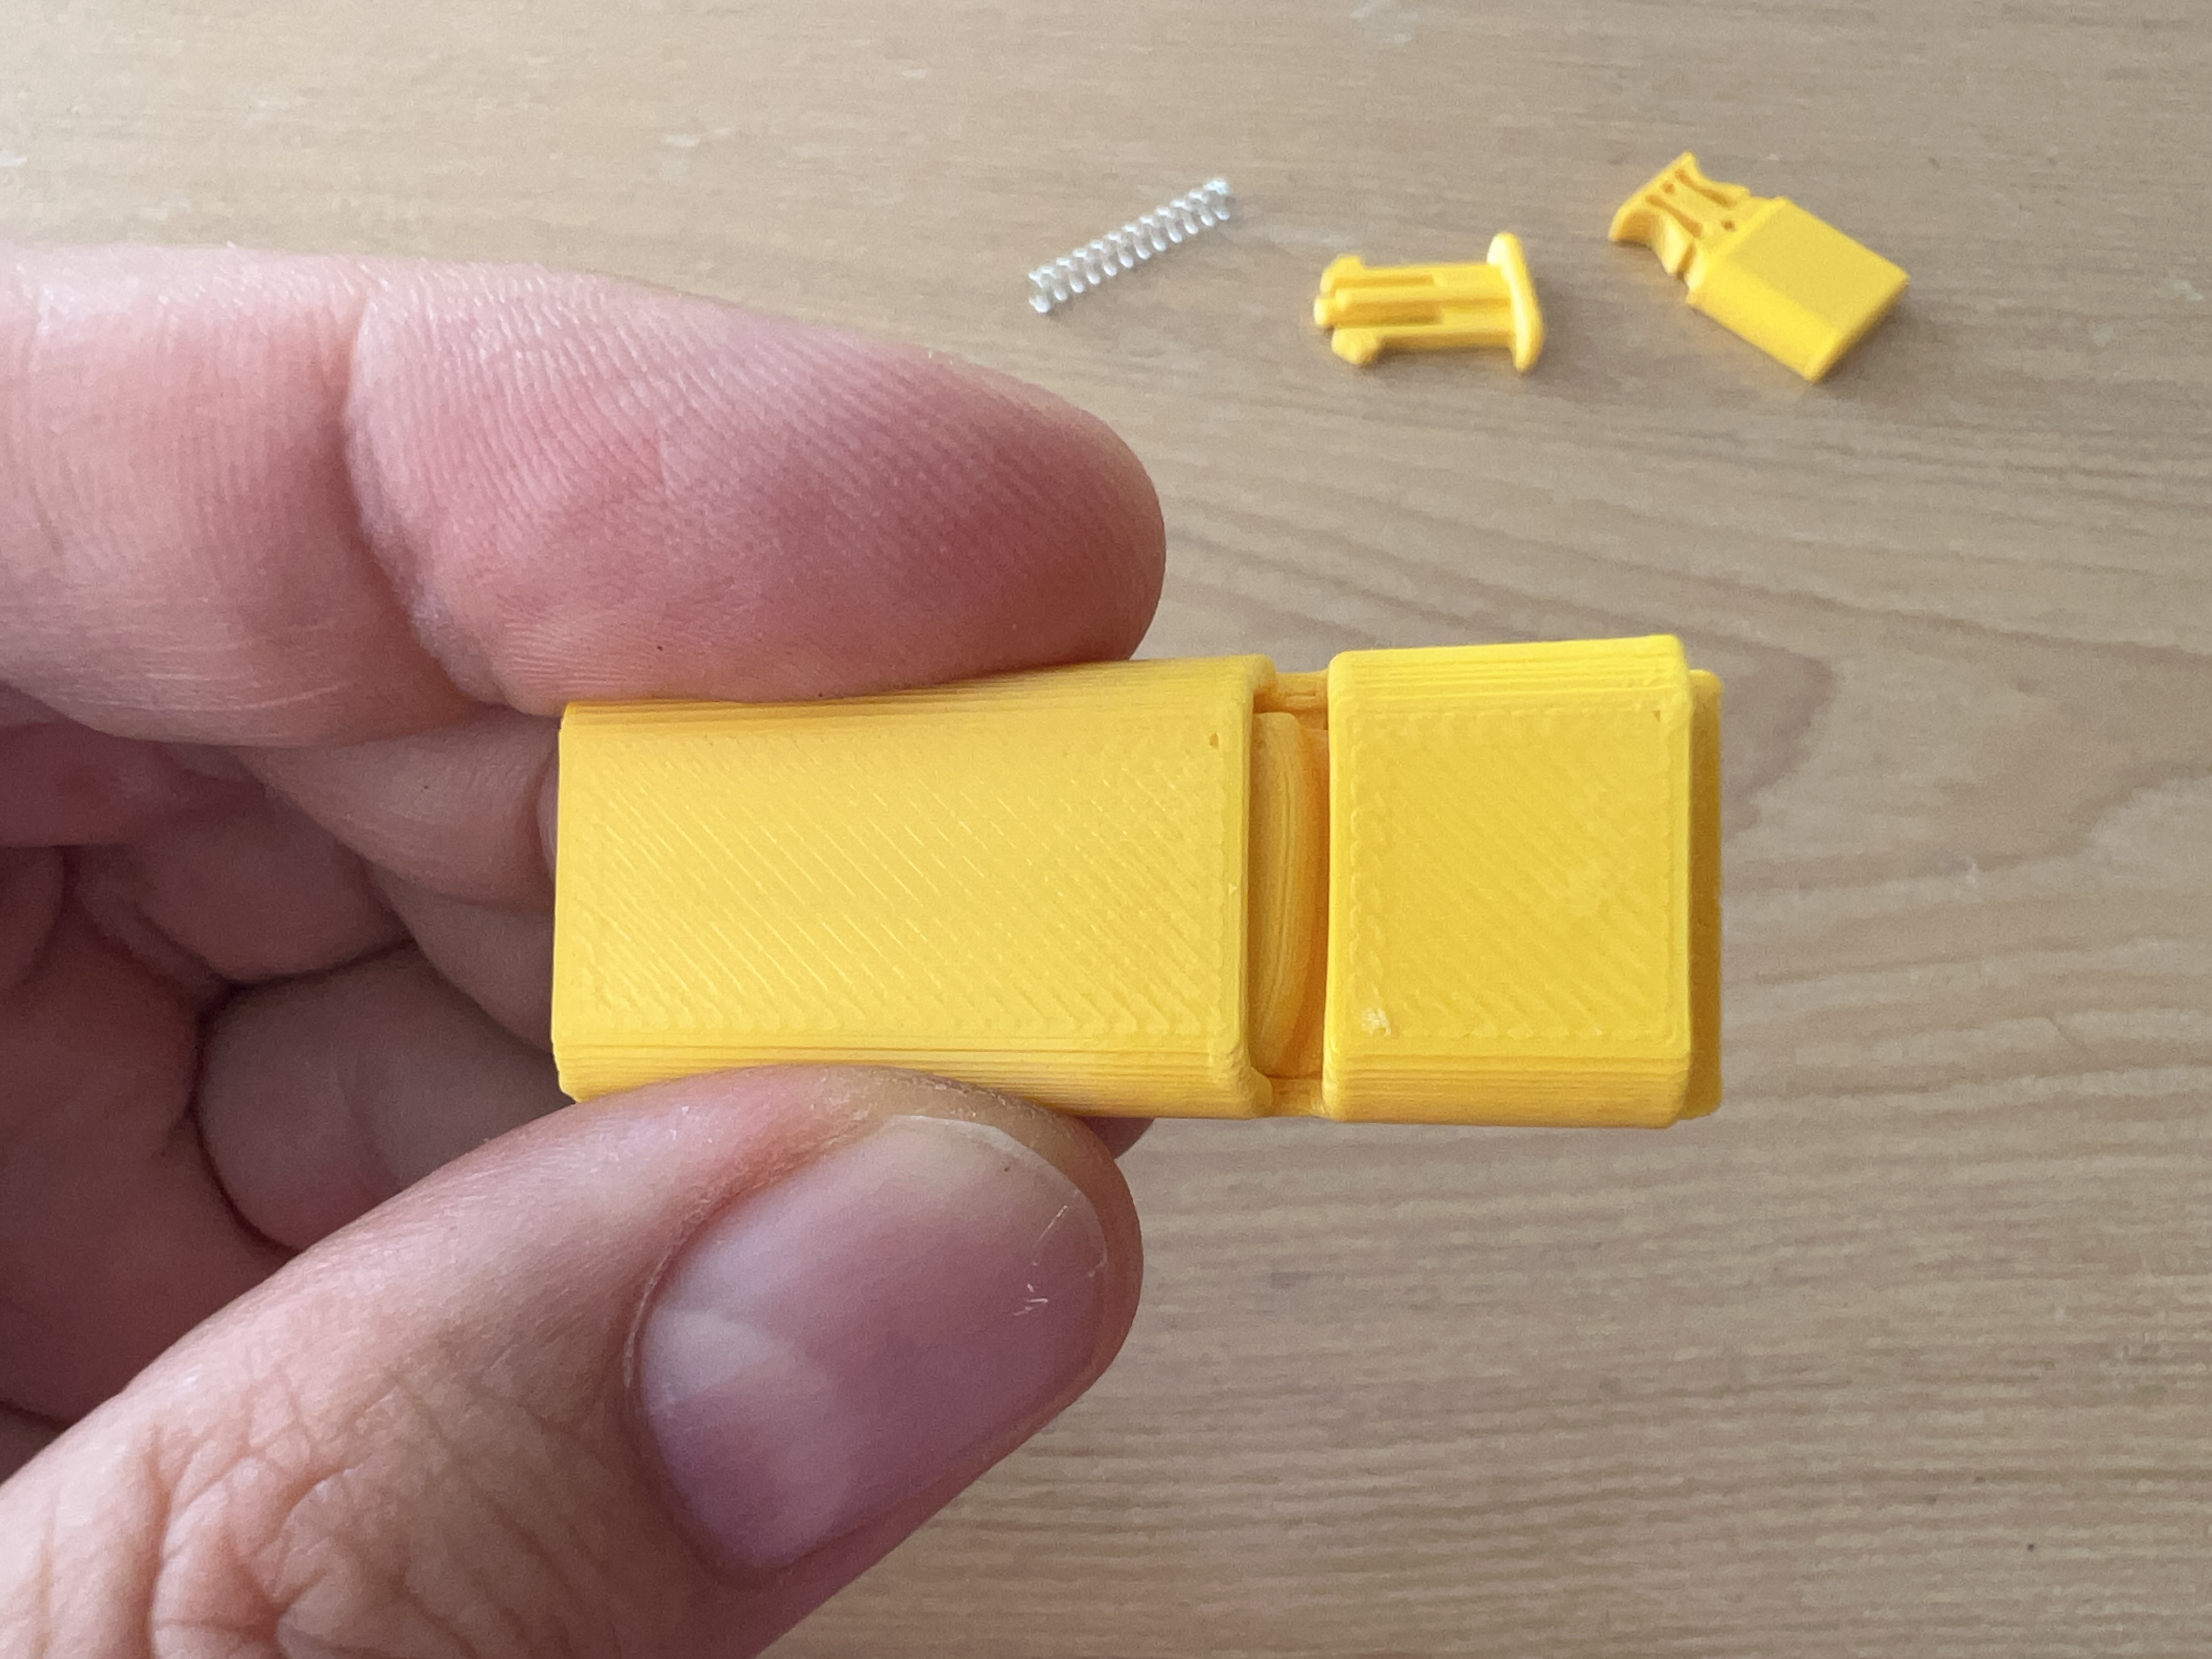
Now take the back cover with the desired length (the number indicates the minimum clamp length, that is, while the head is totally compressed):
 |  |
The back cover needs to be inserted with some angle as shown in the following picture:
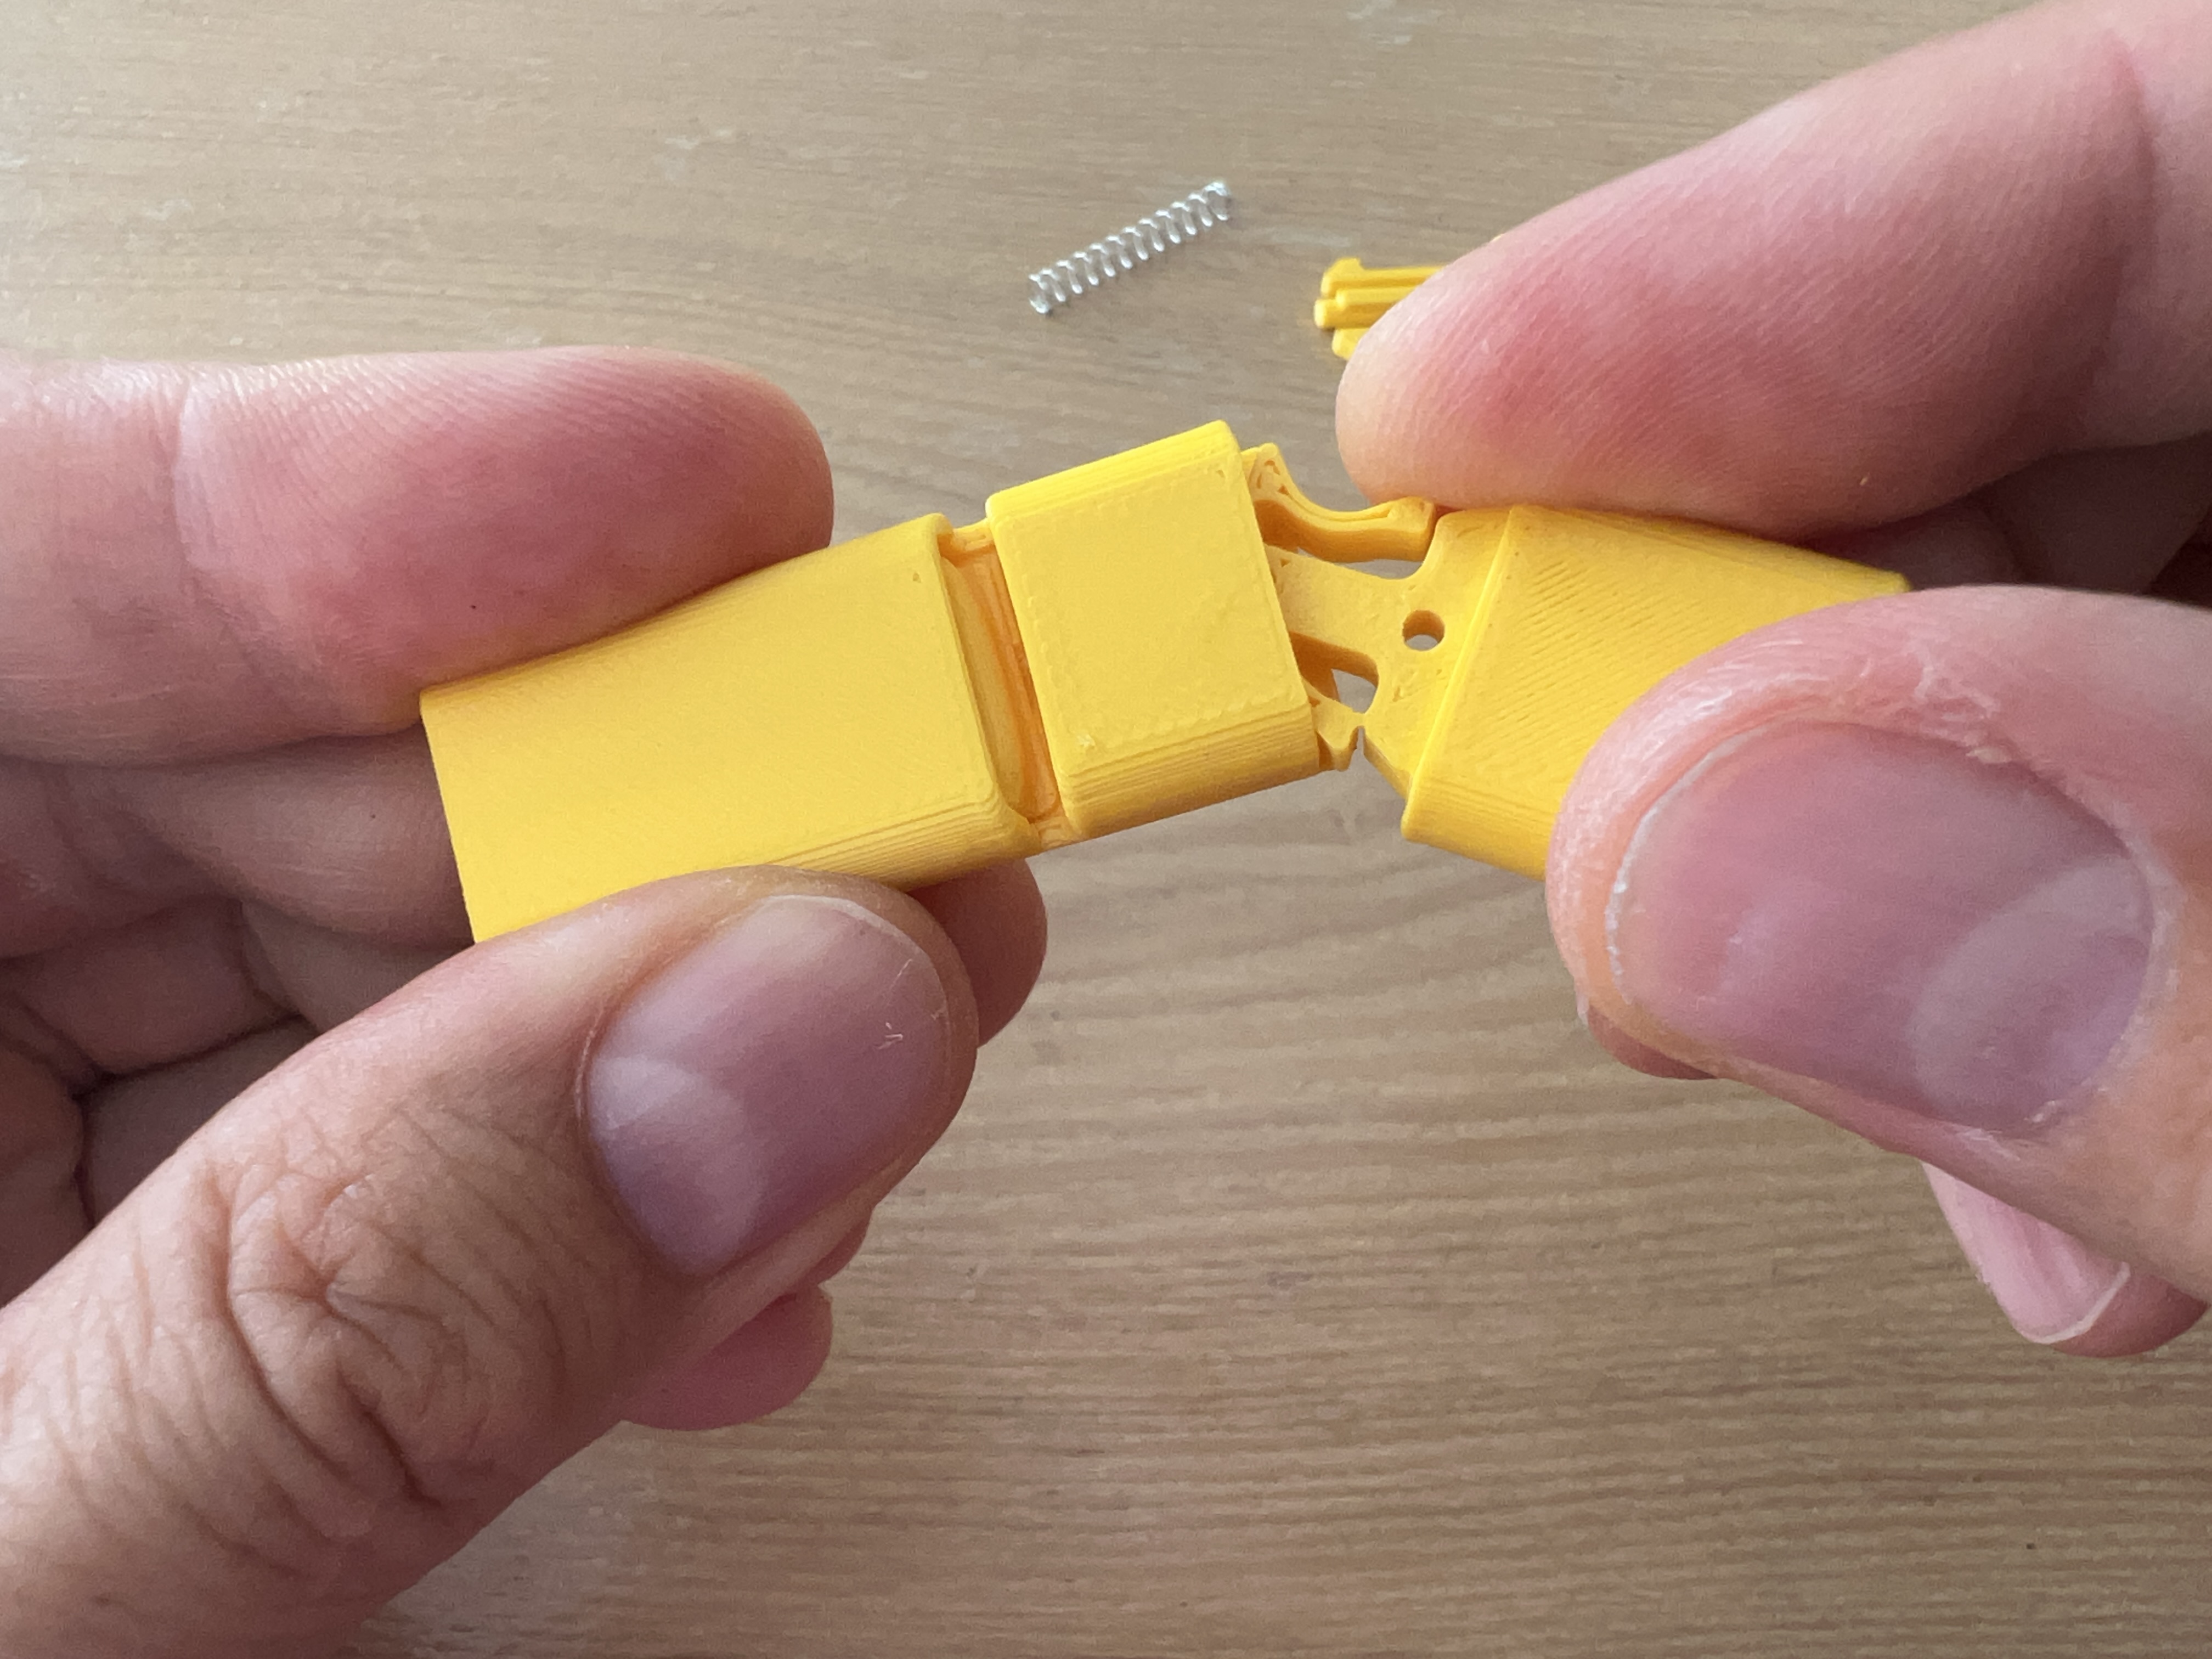
then correct the angle and push it all the way in, you will listen a “click” noise. From the bottom you will see how the little wings seat in place, if not, use a piece of filament to force it:
 |  |
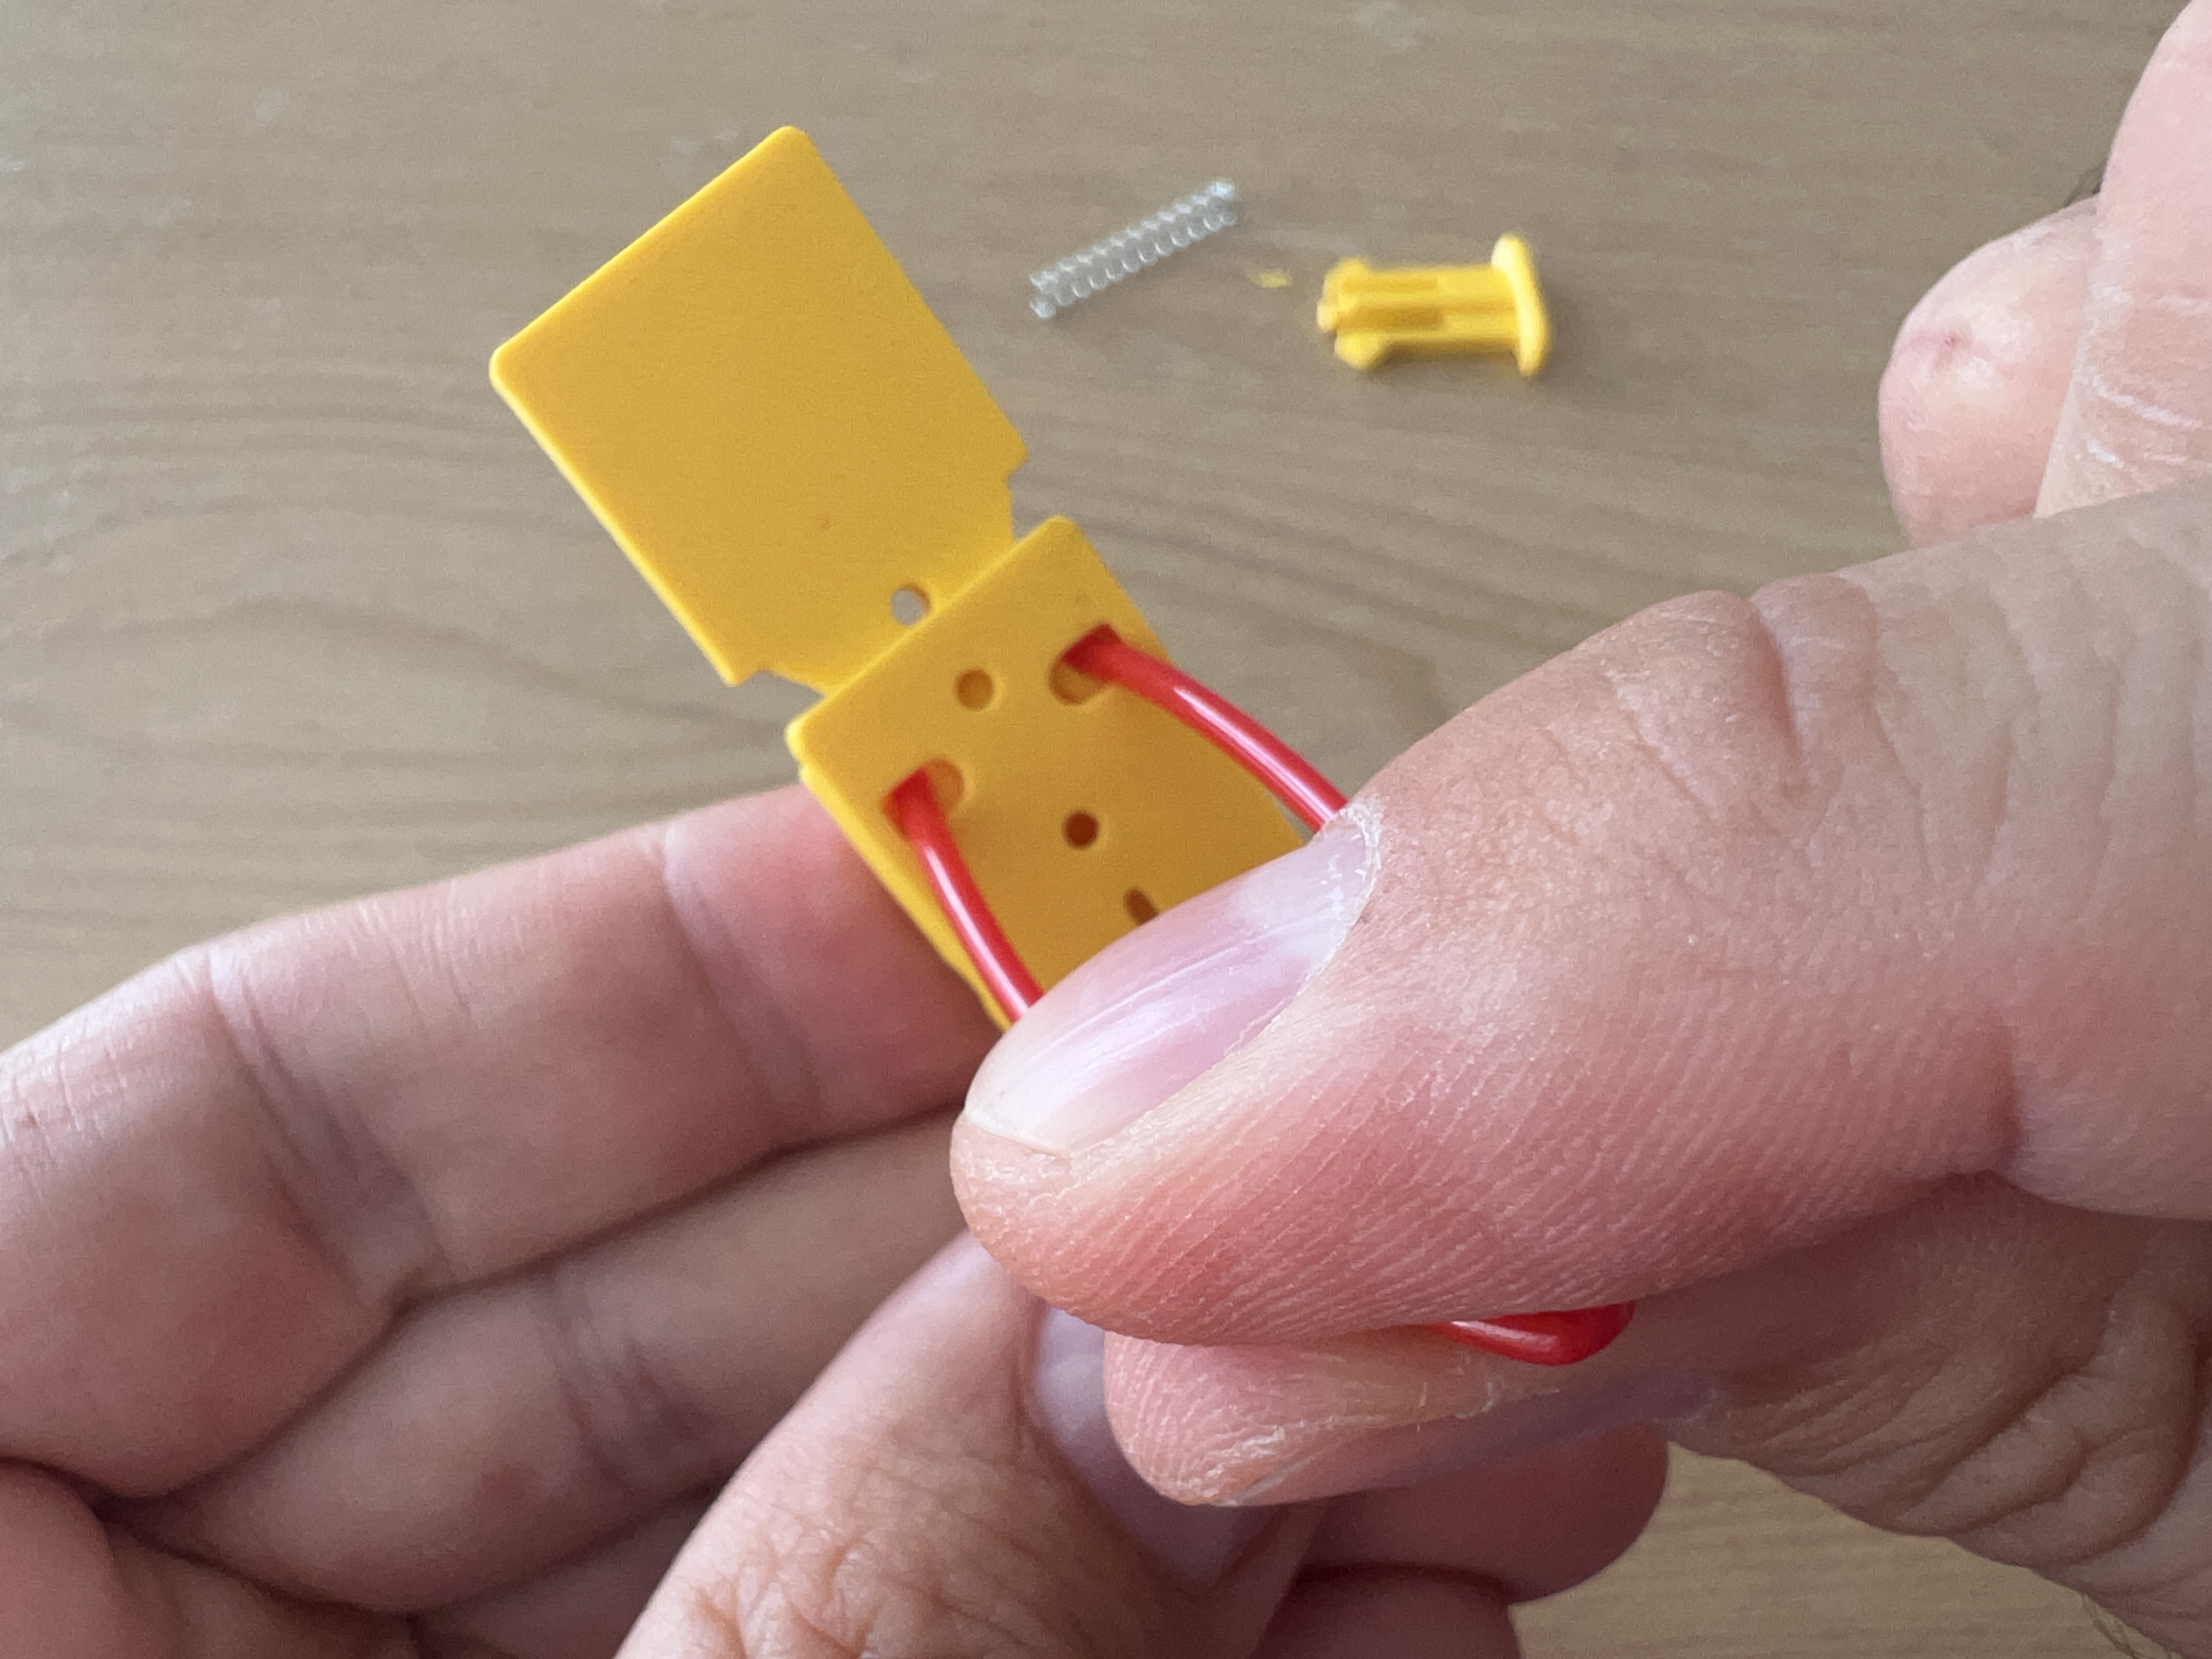
In the case you want to disassemble the back cover, use a bent piece of filament too push the wings out of their seat an proceed to take the part out by turning it to the side as you did to assemble it:
 |  |
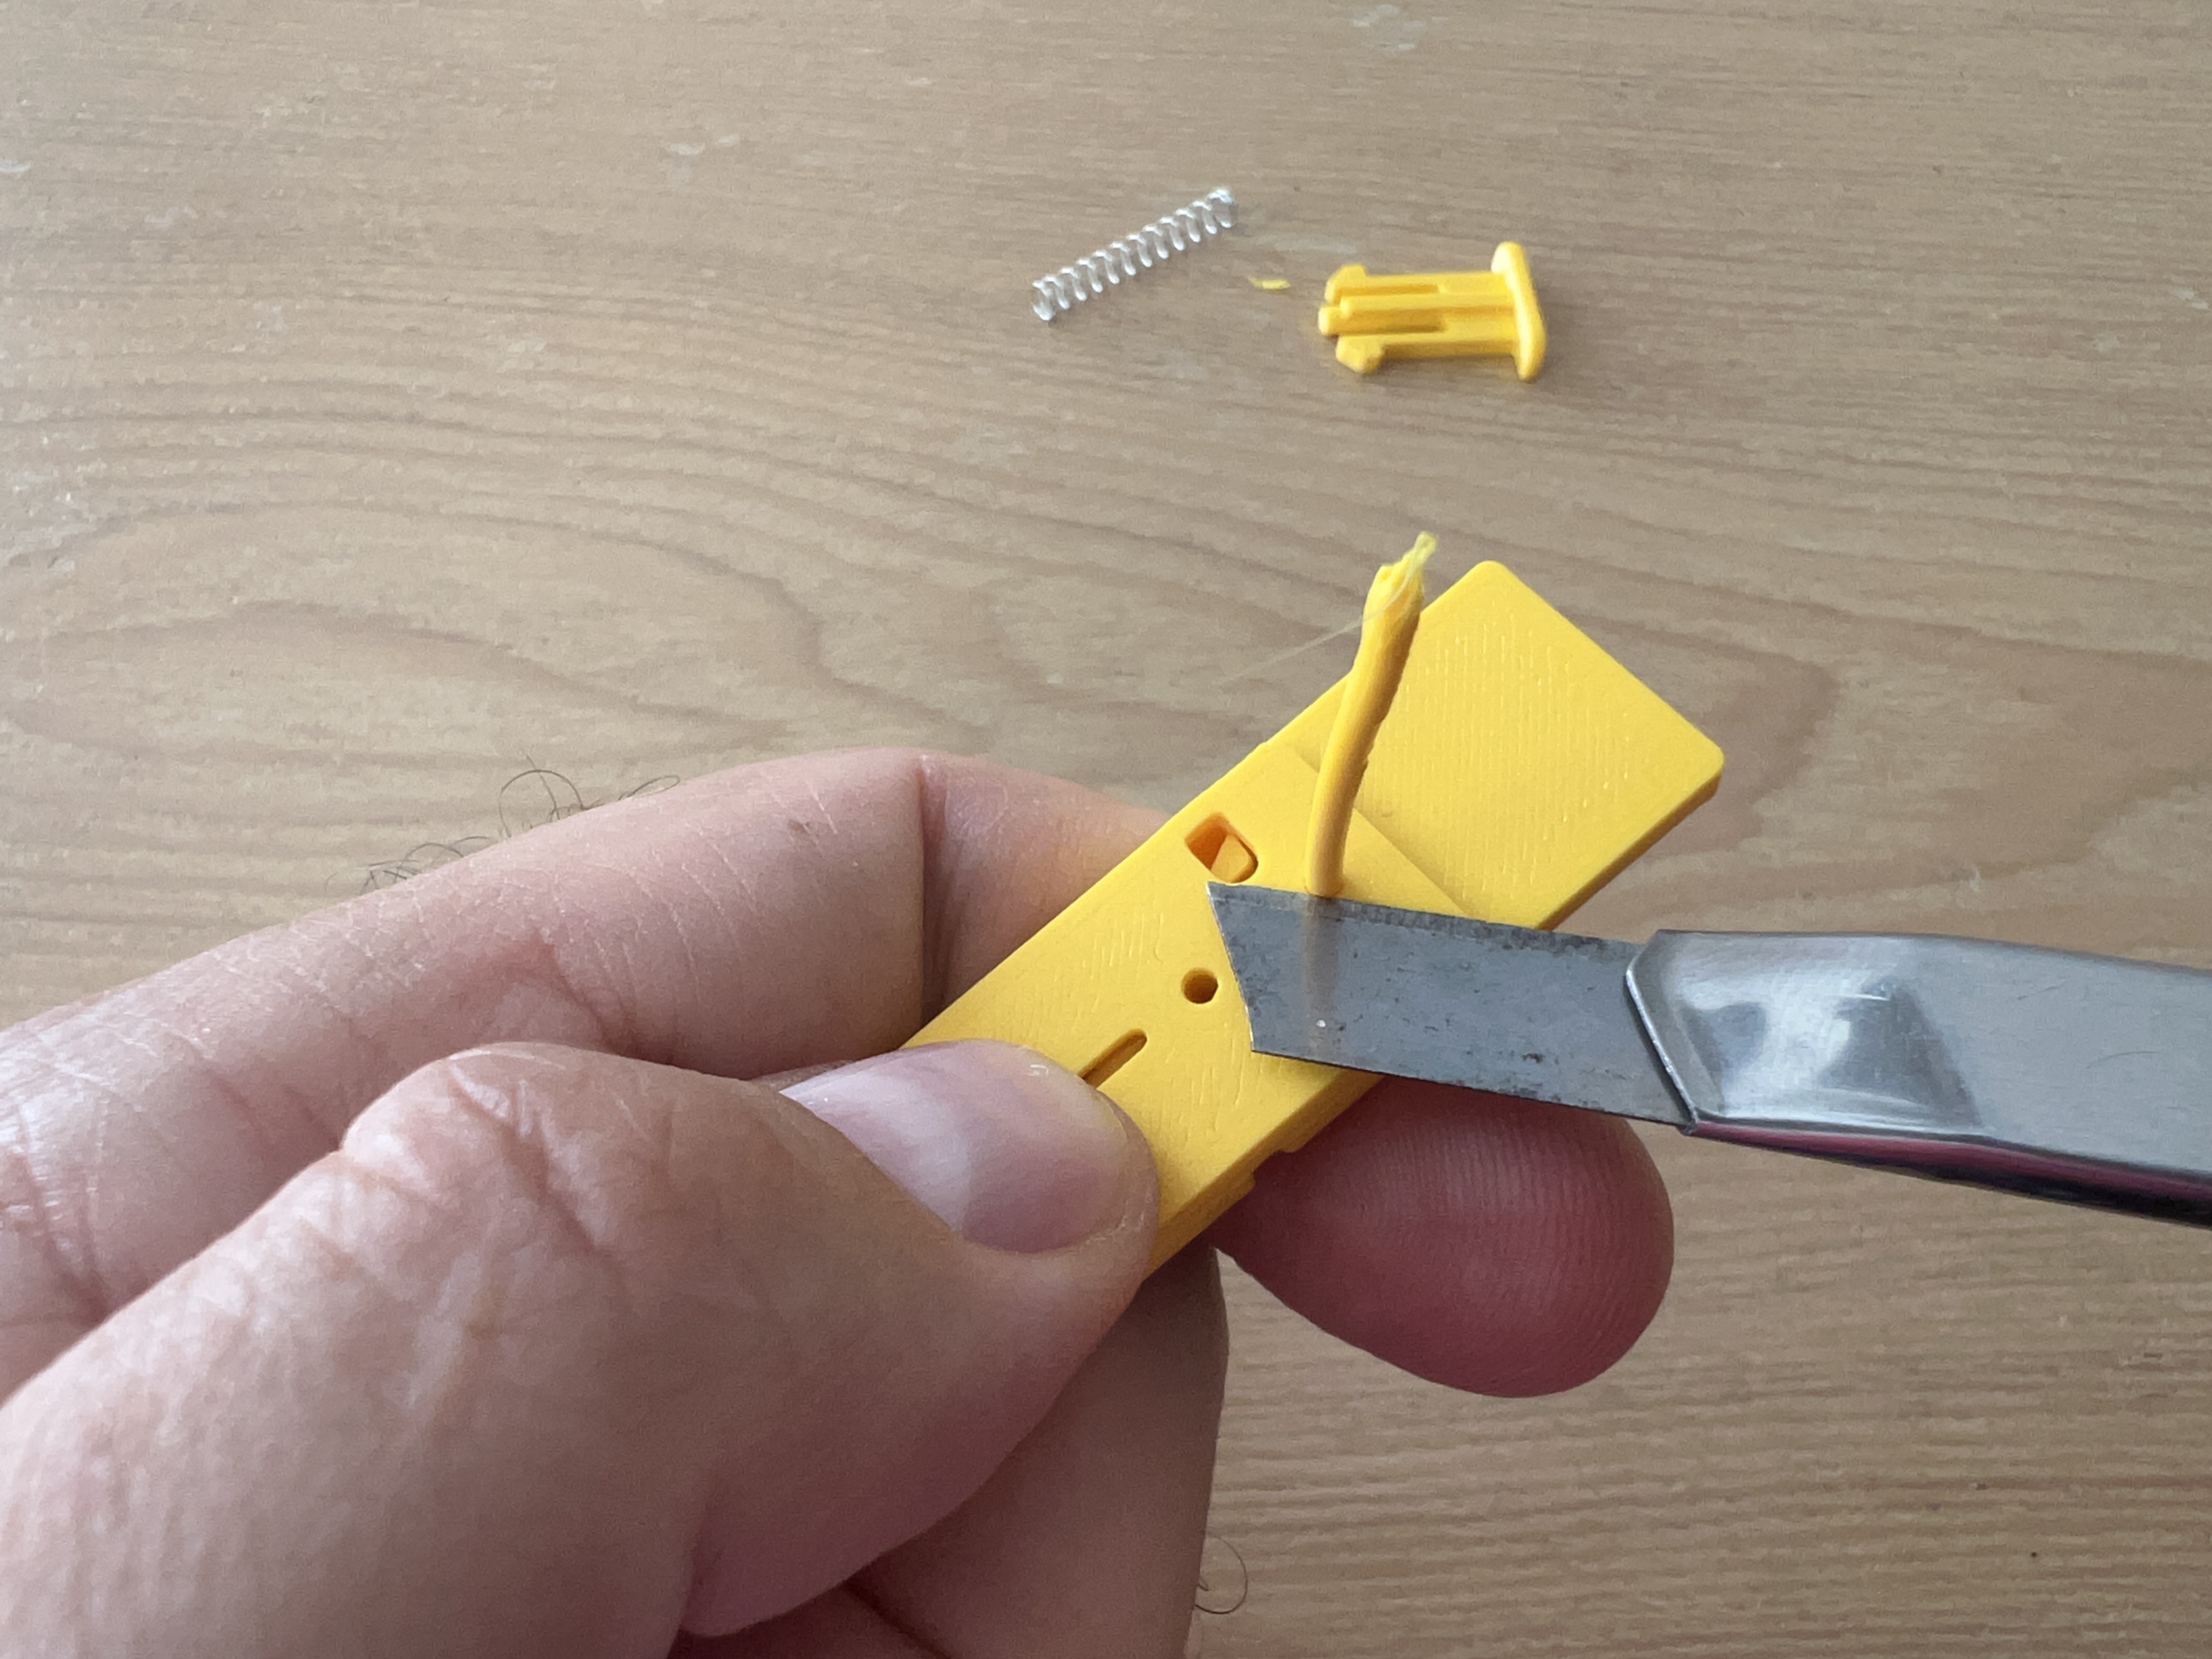
Optionally: in case the tolerances of your printer makes the back cover not to seat perfectly safe and secure in the main body, because there is some play with the main body or because you just want it to lock in place, you could insert a piece of filament in the 2 round holes and cut the leftover:
 |  |
Finally, take the spring and insert it into the main body:

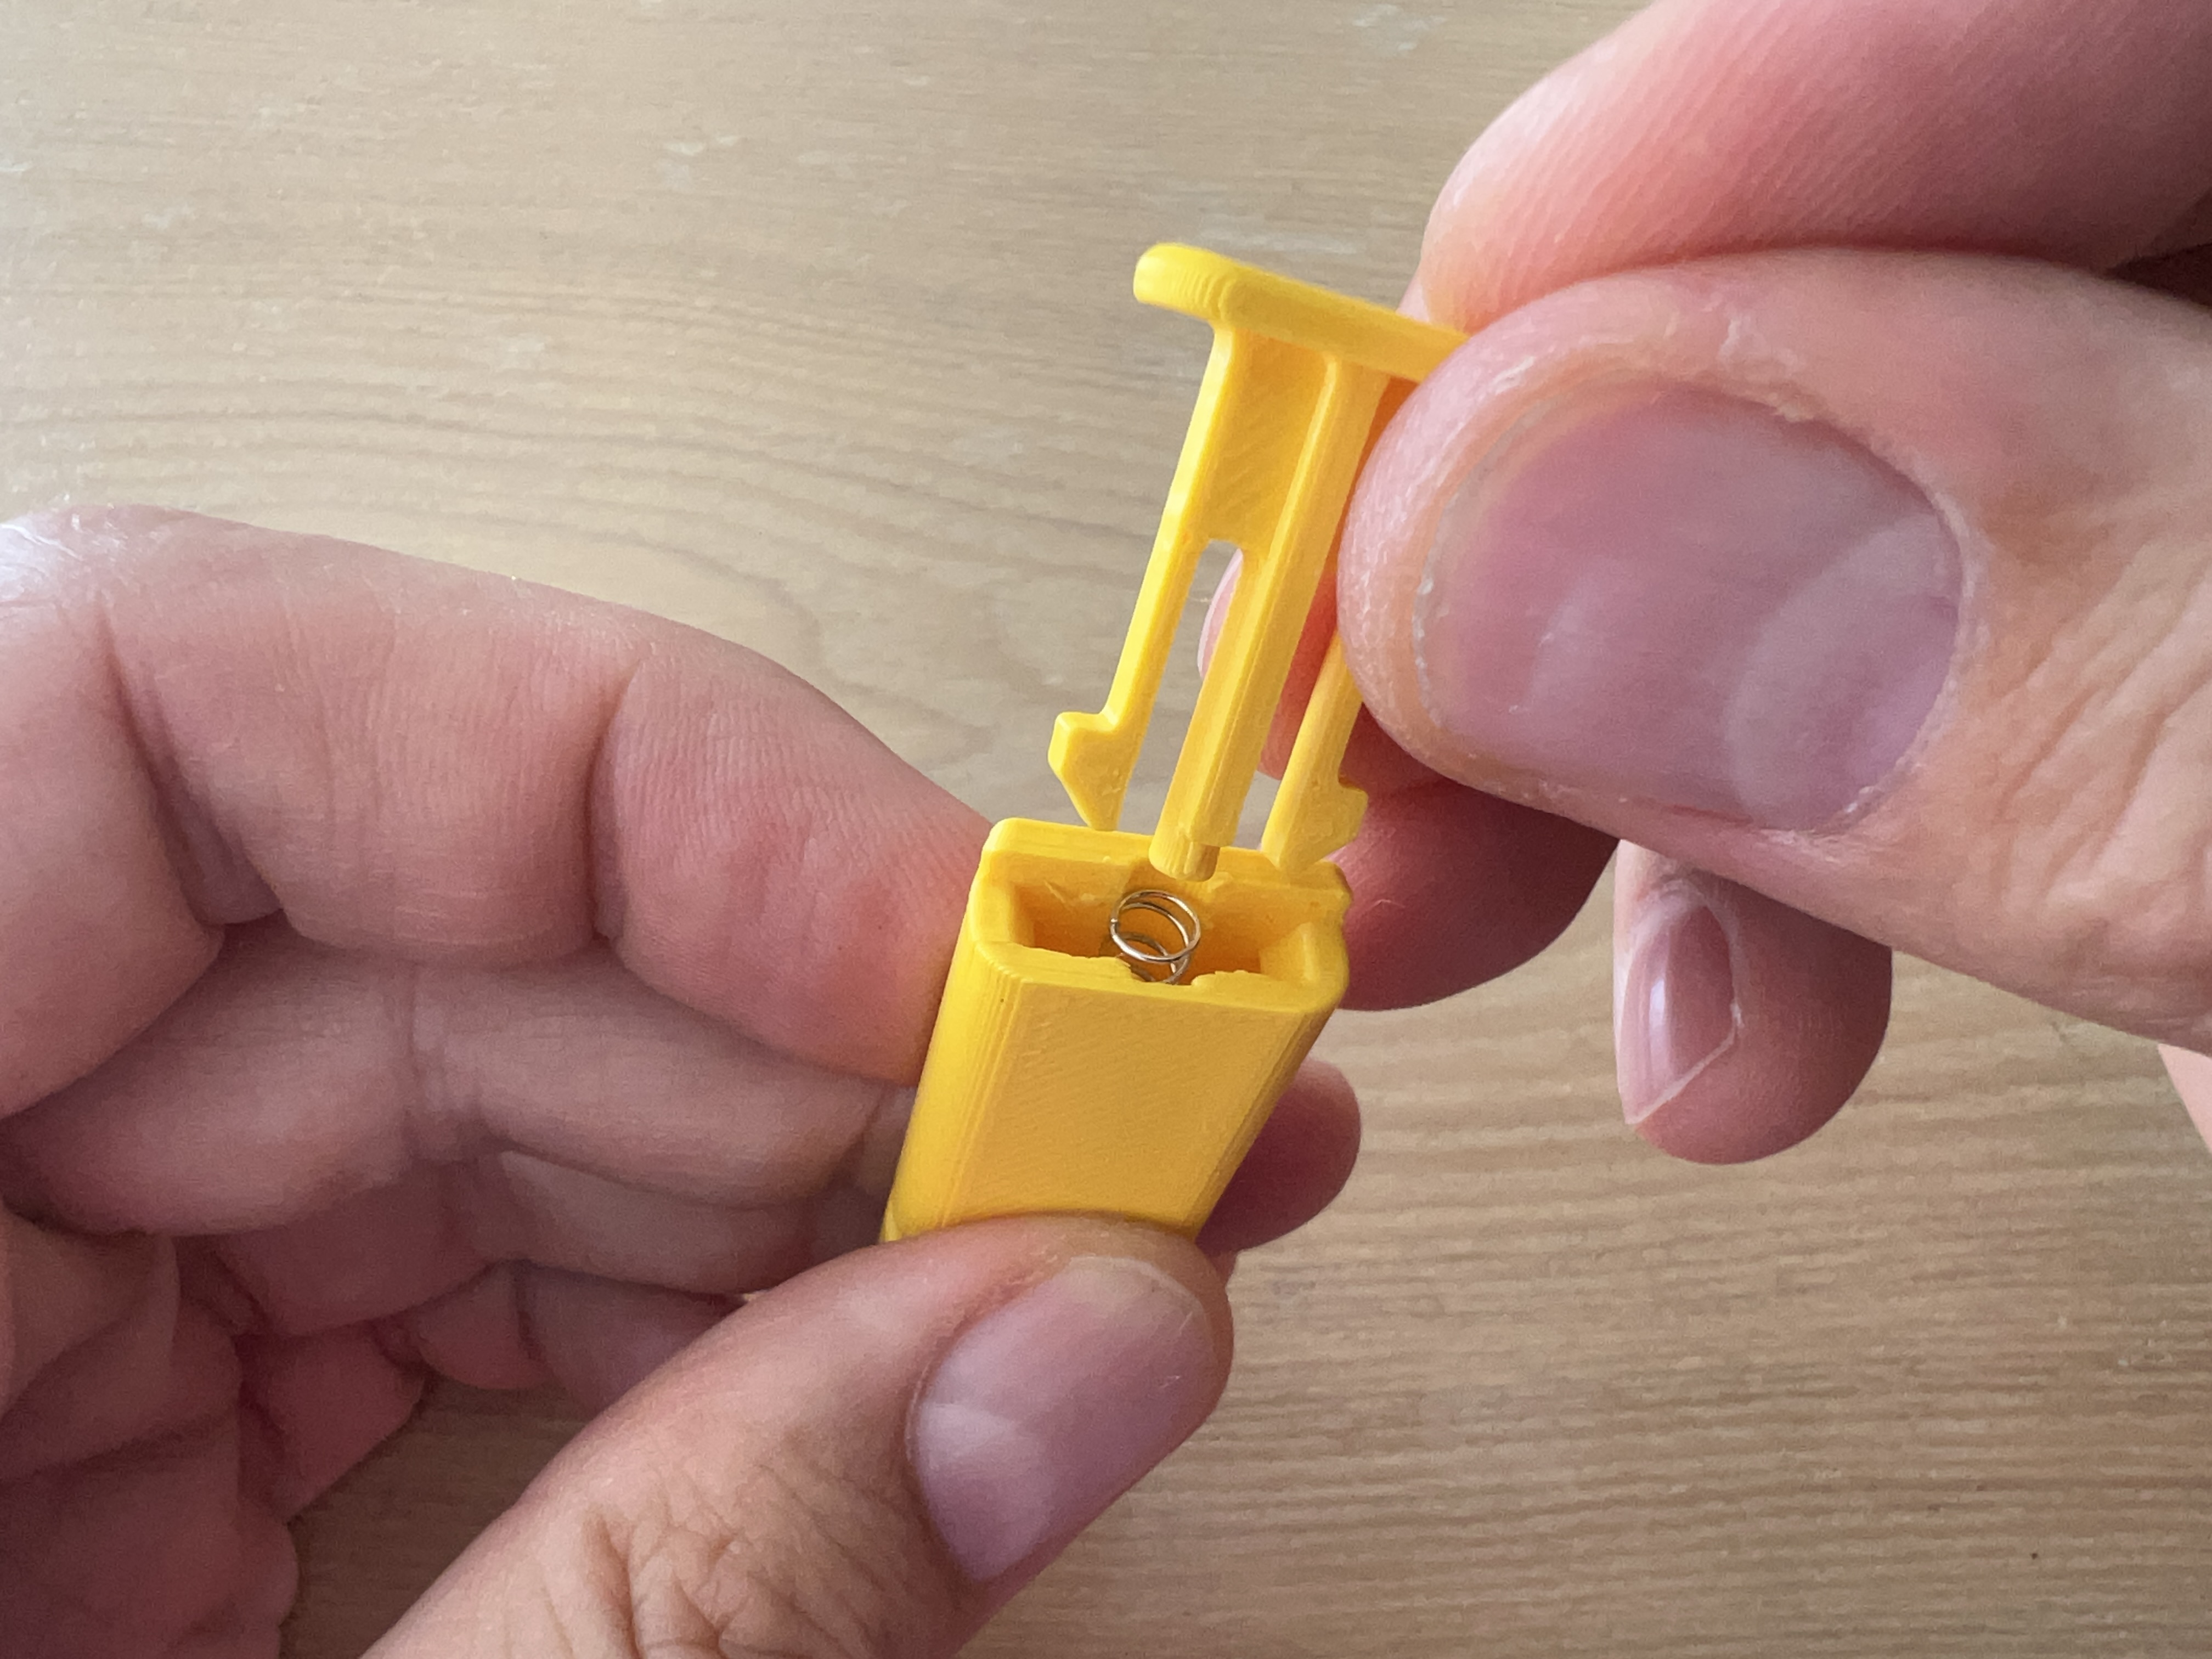
Take the last part, the head, and push it all the way in, now it is not necessary to insert it with an angle, it will bend but it will snap fit inside:
 |  |
The very first times you might need to push the head a few times in and out to grind or remove any print defect or leftover and let it run correctly in the path.

And there it is, you are done!
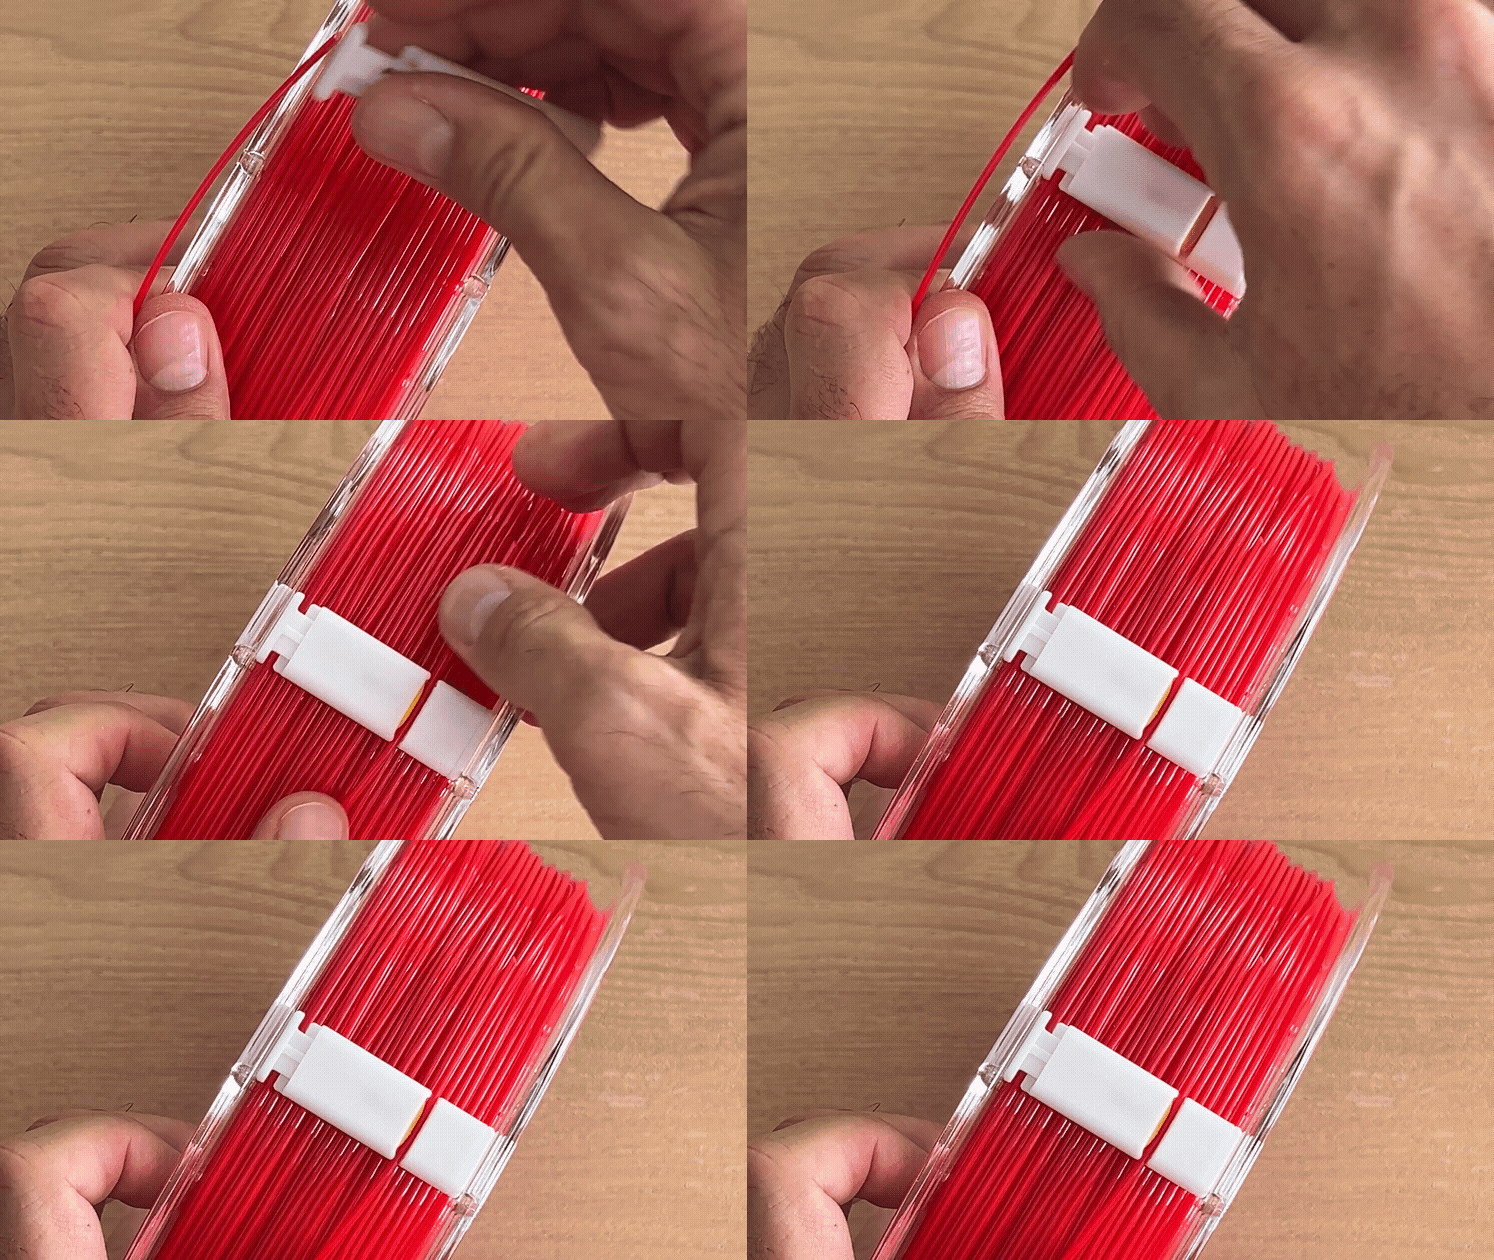
Now go and place it into your spool:
 |  |
 |  |
Here is video showing the whole assemble process:
Springs
During the design process, I found out that not all ballpoint pen springs are exactly the same, not a surprise but worth mention it.

The ones that worked the best for me (and probably for you) share the following parameters:
- 25mm length (20mm may also work)
- 4mm diameter
- 0.4mm or higher wire diameter
- ballpoint pen springs ends are flatten with some more wire, this is desirable feature
These parameters will ensure that the force the spring transfers to the head is enough to grip the assembly in the spool without escaping.
To tell you the truth, once I finally got it working and start using the filament clamp into my workshop, I got a little bit obsessed sourcing springs from old and ruined ballpoint pens… if you have just a few spools that could be fine but, if you have a lot of spools, the best option is to make a move and directly buy new ones from your local or online store. I found a bag of 100 perfect springs here (not affiliate link) with a gorgeous price.
Design
Even if I started with another's great idea, the design process took me more than 2 months with lots of digital versions, iterations and design changes (both functional and aesthetics). I needed 14 versions with some revisions each to get to the actual version.

I think it is almost there, it is probably not perfect yet as I want to test more ideas to improve the design, printability and easy to assemble. If I end up with something remarkable then I will add the new version in here so that you can use it.
In the meanwhile, I hope you like it =)
I read you in the comments and in case you need more back cover lengths (very probable), just tell me and I will happily add them.
Enjoy!
PS1: I warn you, it can very easily turn into your new fidget toy… XD
PS2: proud to say it was fully designed with FreeCAD, a parametric CAD open source software.
