
openGrid Core One Side Panel
We calculate the final price from your selected file. You review and accept it before payment.
Saved on this device.

A hinged panel organization system for the Prusa Core One leveraging the openGrid ecosystem
- Rating
- 4.923 / 5
- Likes
- 212
- Downloads
- 356
- Makes
- 13
- Views
- 4,983
- Reviews
- 13
Updated at source:
Model information
- Source
- Printables
- Category
- Prusa Parts & Upgrades
- License
- Creative Commons — Attribution
The Prusa Core One has a side cavity perfect for customization and accessory storage. The openGrid ecosystem is a great option for this purpose through the combination of native parts and compatibility with MultiConnect, HSW, MultiBoard, and Gridfinity,
Required Materials
Filament of choice: PLA works great, PETG should work well too. I used American Filament PLA+ Matte Black and Jessie Premium PLA Orange,
Base Panel
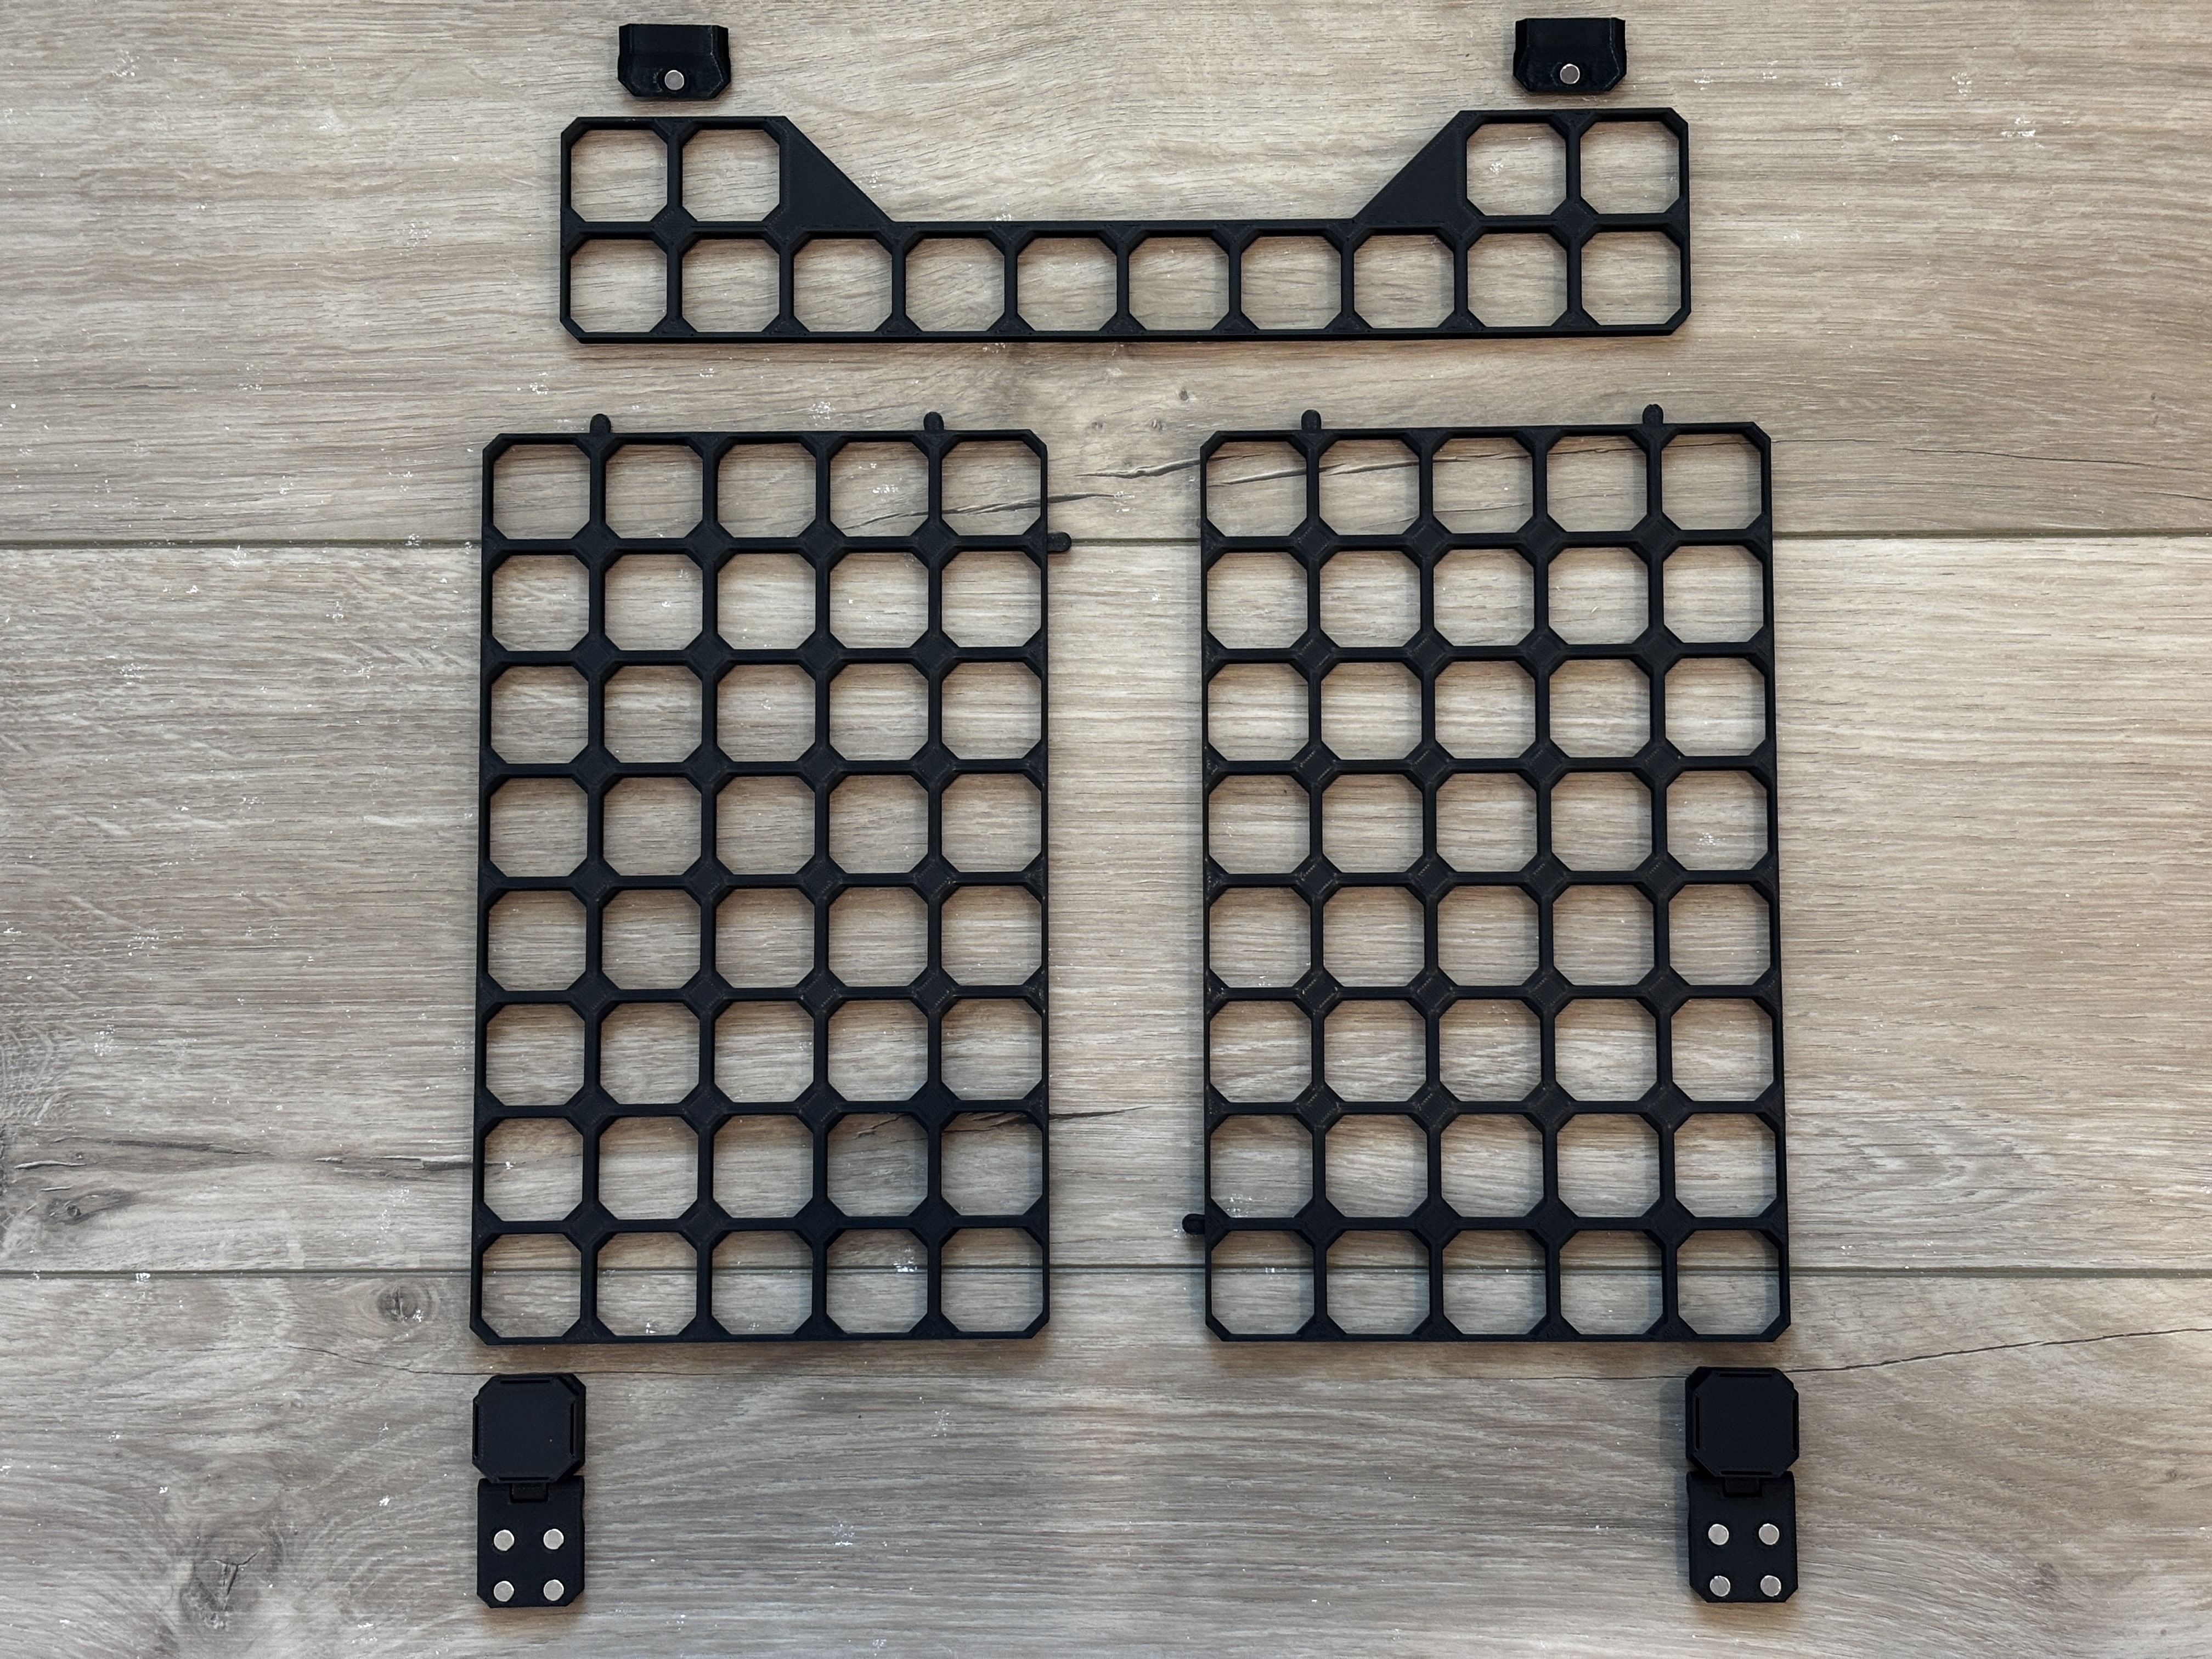
The base panel is composed of a few different parts that snap together.
1x opengrid-10x2-header-baseplate remixed from openGrid by @DavidD
2x opengrid-angle-magnet-latch (requires support material) by @mcberry23
Print with 3 perimeter walls and 20% infill. No support material is necessary except for under the connector on the opengrid-angle-magnet-latch.
Assembly Instructions
Press magnets into hinges and magnetic latch. Glue should not be necessary, but can be used if there is too much clearance.
Put 2 connectors in long side of one of the 8x5 baseplates. Connect the two 8x5 baseplates together.
Put the remaining 2 connectors on top of the joined 8x5 baseplates and connect the 10x2 header.
Snap in the angled magnet latch on the top of the header. The angled side with the magnet will be flush with the top inner angled sheet metal on the Core One side panel when attached.
Snap in the hinges so the magnets will face the metal on the Core One. The bottom corners work best.
Place the entire assembly on the side of the Core One.
Accessories
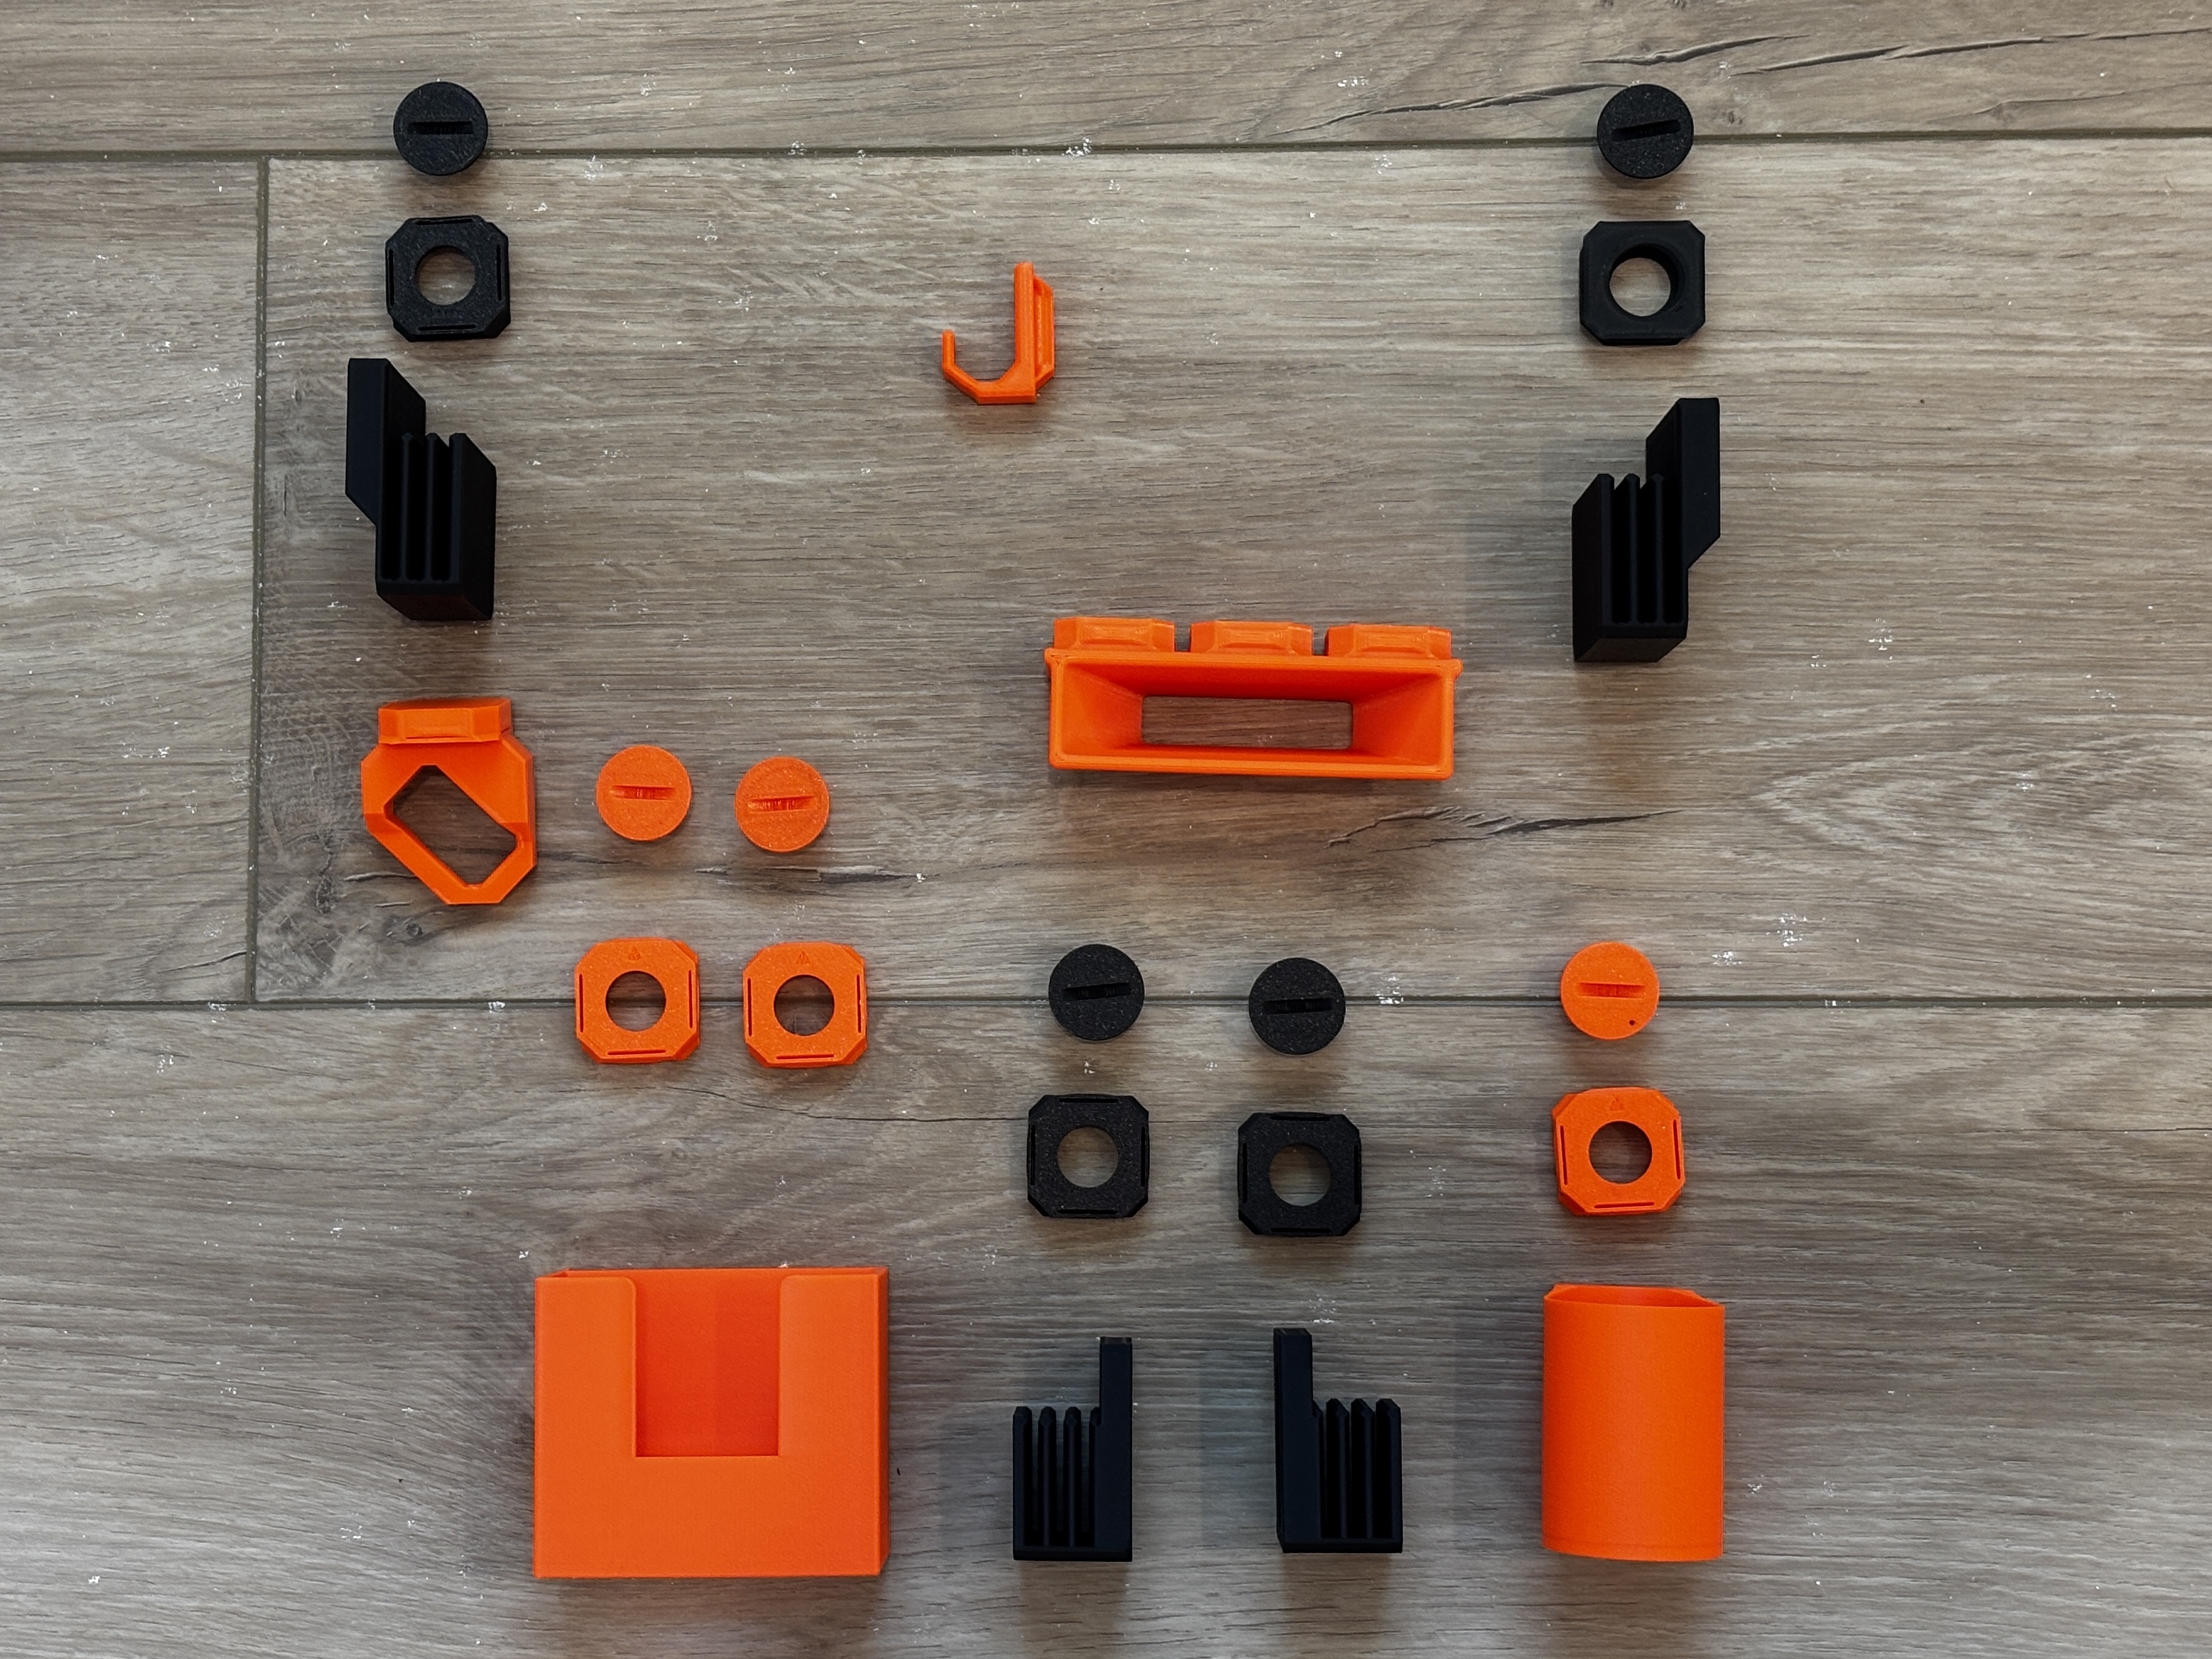
Once the base panel is completed, feel free to customize with any holders and accessories you desire. Keep in mind how the hinged door movement will affect the hanging items. Here is what I used: