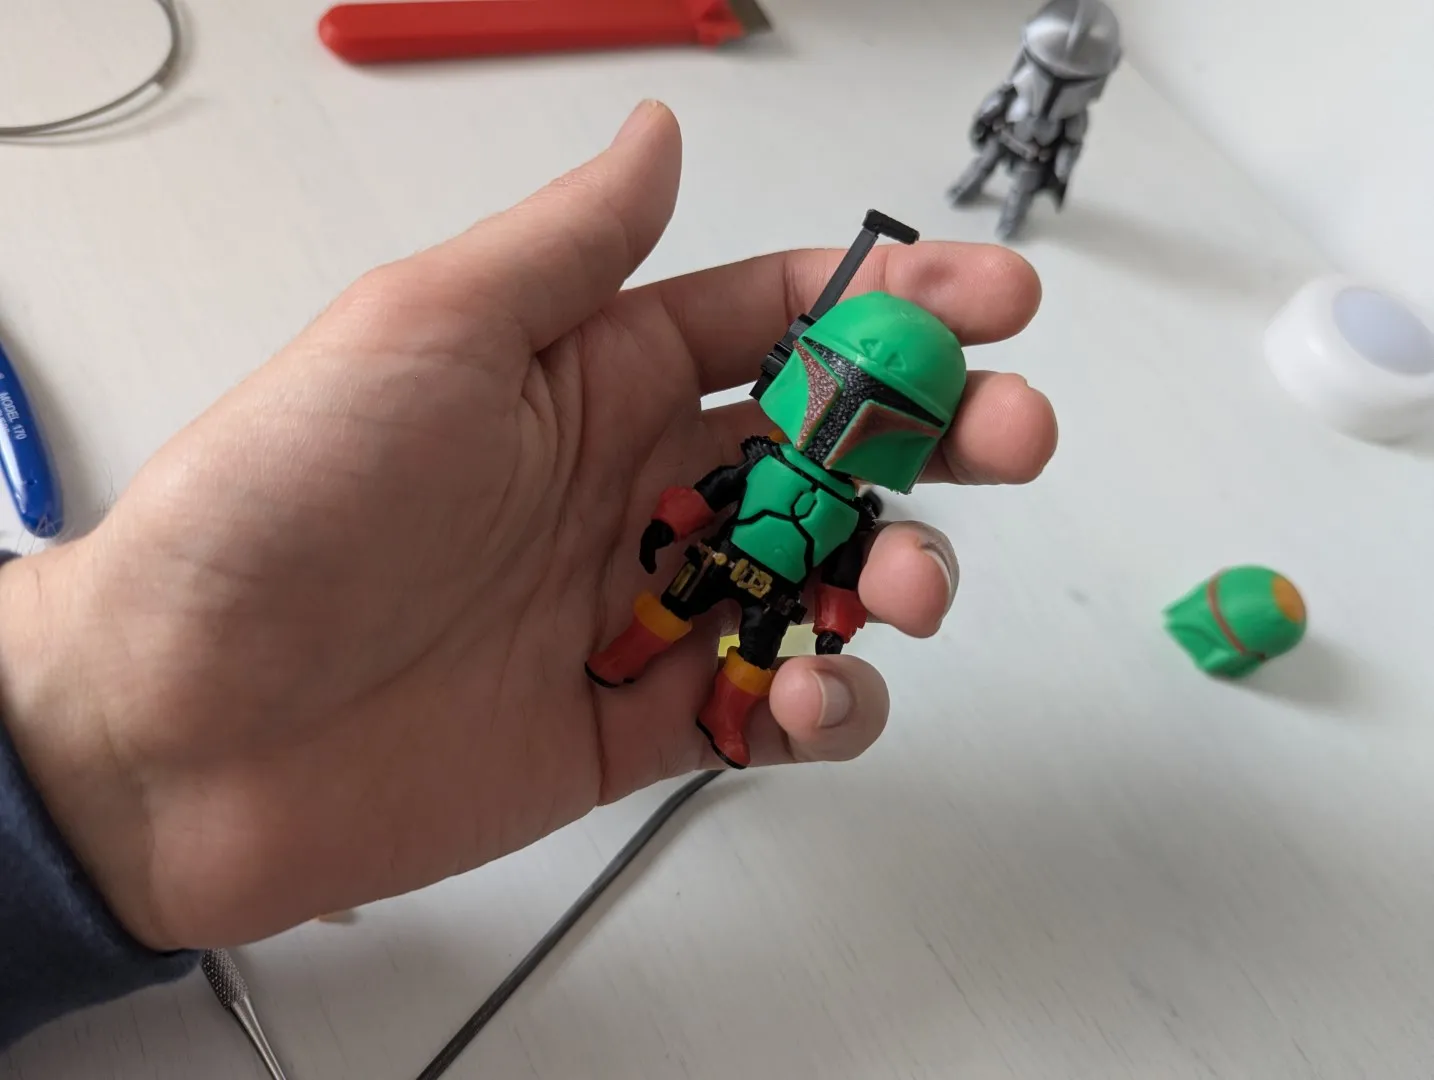
Mini Boba Fett
We calculate the final price from your selected file. You review and accept it before payment.
Saved on this device.

Get your glue ready!
- Rating
- 0 / 5
- Likes
- 63
- Downloads
- 112
- Makes
- 0
- Views
- 645
- Reviews
- 0
Updated at source:
Model information
- Source
- Printables
- Category
- Characters & Monsters
- License
- Standard Digital File License
A mini of Boba Fett, overall after a couple of revisions I think it is relatively simple to put it together.
You need 6x2mm magnets, if you do not have any there is an attached pin model you can use
With 6 colors and 25 pieces (I think, I've lost count) and even some filament swaps will make this an… “interesting” project. Don't say I did not warn you!
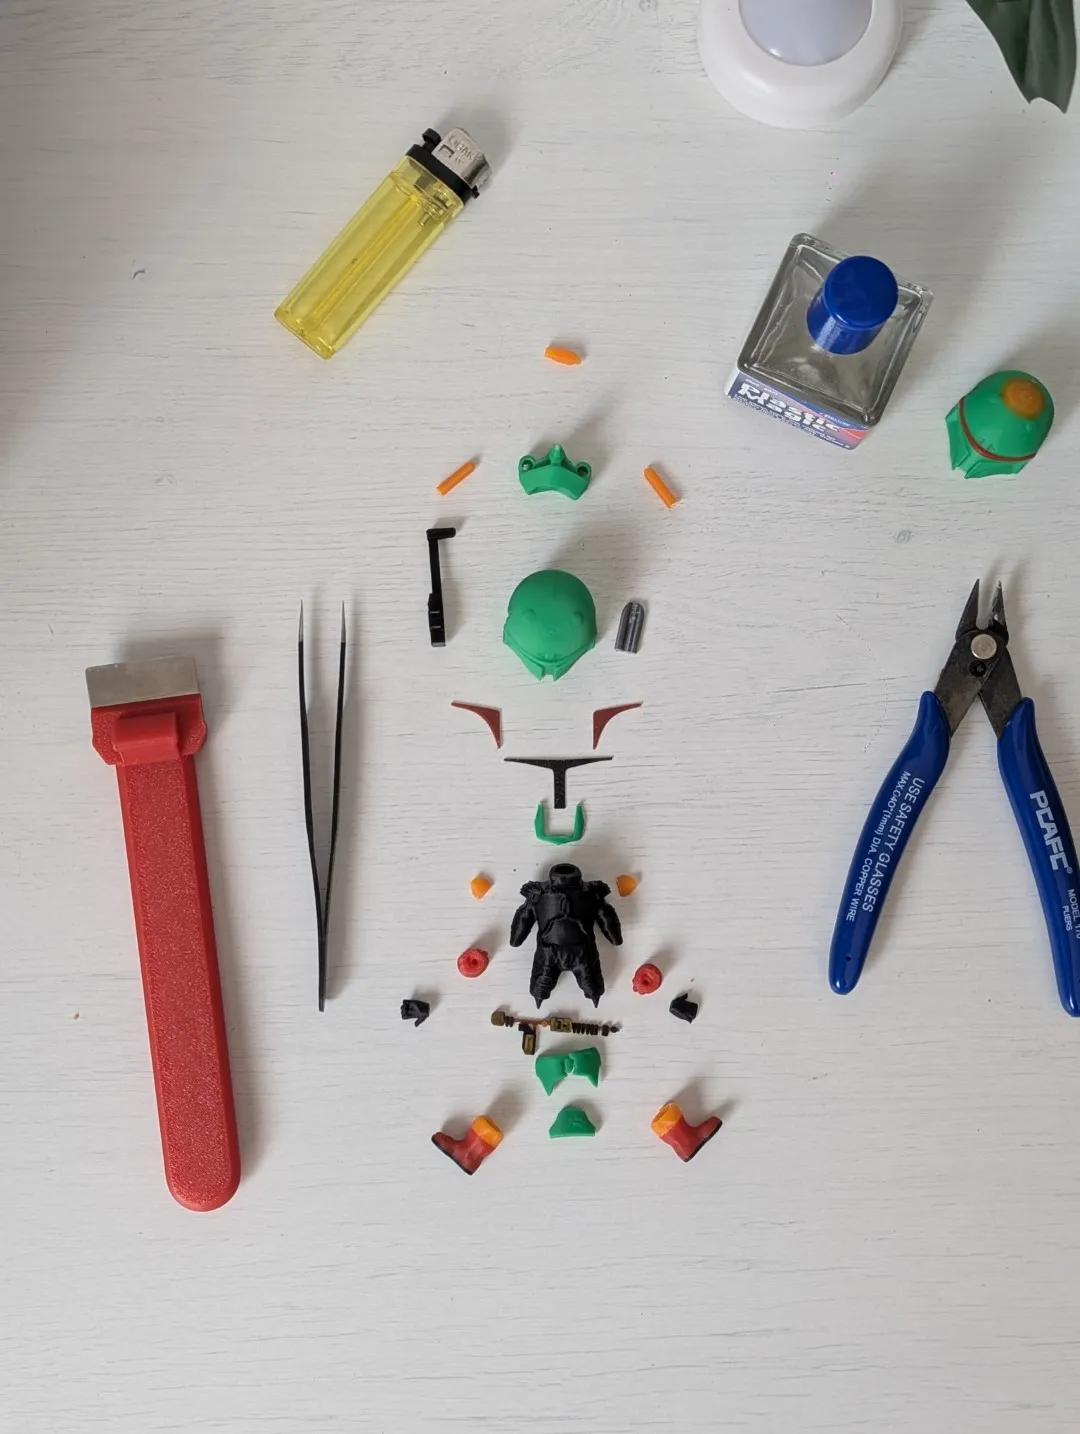
As always, be careful when cleaning up the brims and supports. Cut away from your fingers, if using superglue use a piece of filament to apply it more precisely and keep some moisturizer handy if you get some on your skin (rubbing it on neutralizes the glue). If there is a white discoloration, it is perfectly normal. It is due to the stress and a quick pass with a lighter will fix it, you only need very little heat so be careful not to melt it.
I made every effort to make this a hassle free result, however due to the insane number of pieces, there may be something I overlooked or could have done better. Shoot me a comment and I will rectify it.
Lets get to it and get ourselves a Boba Fett Mini
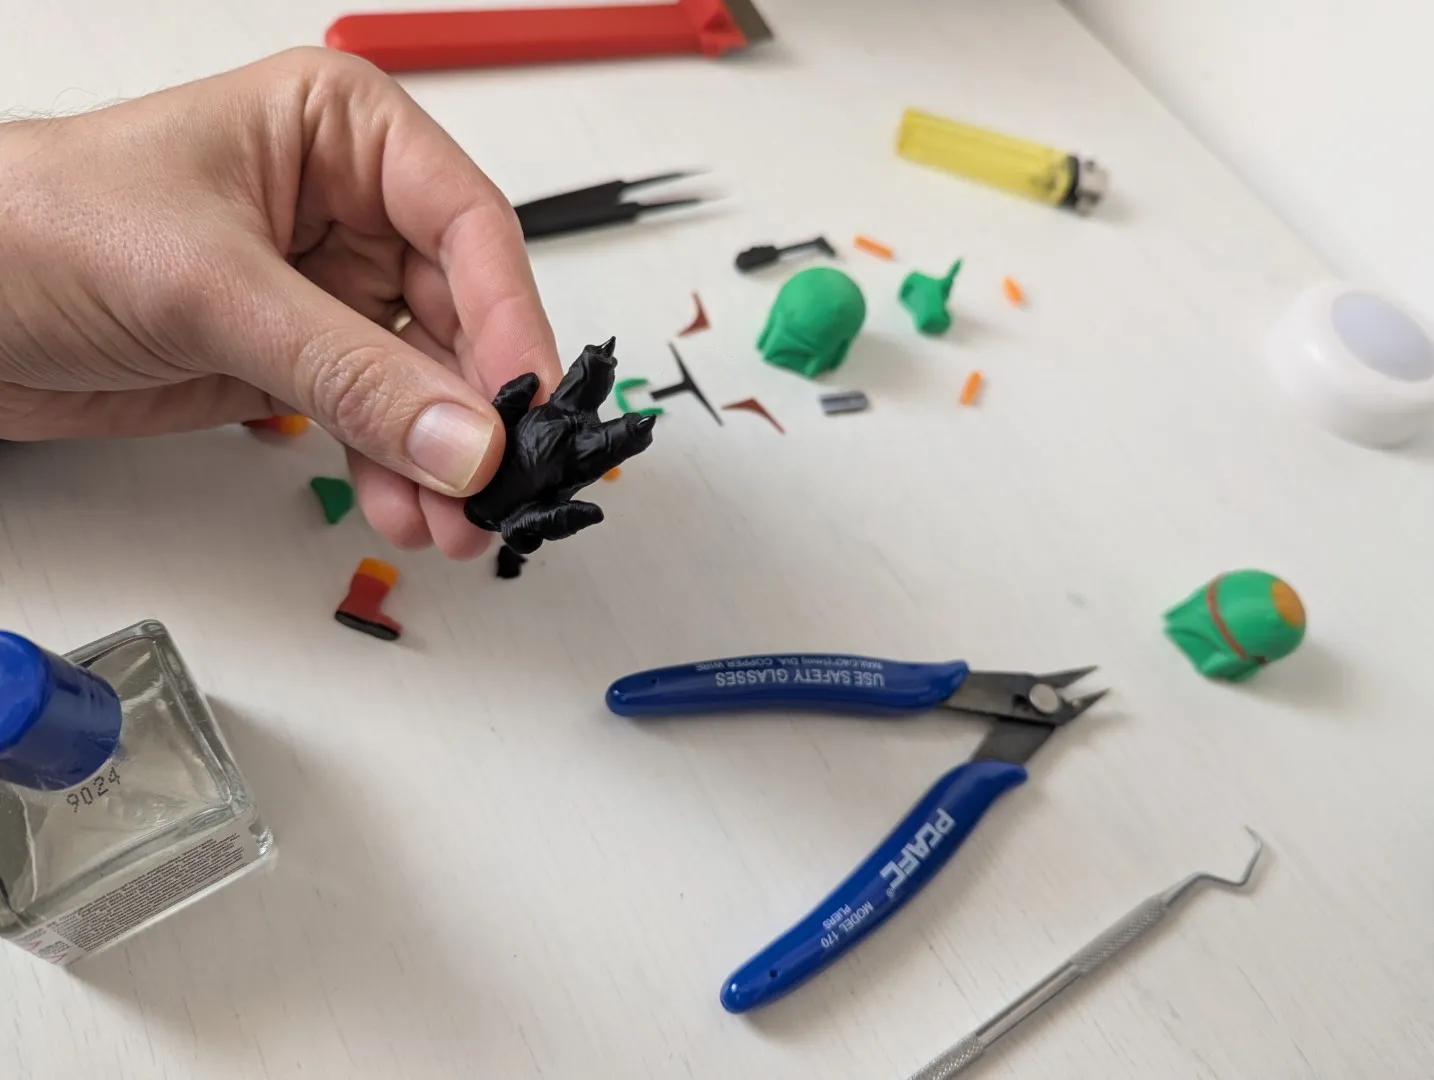
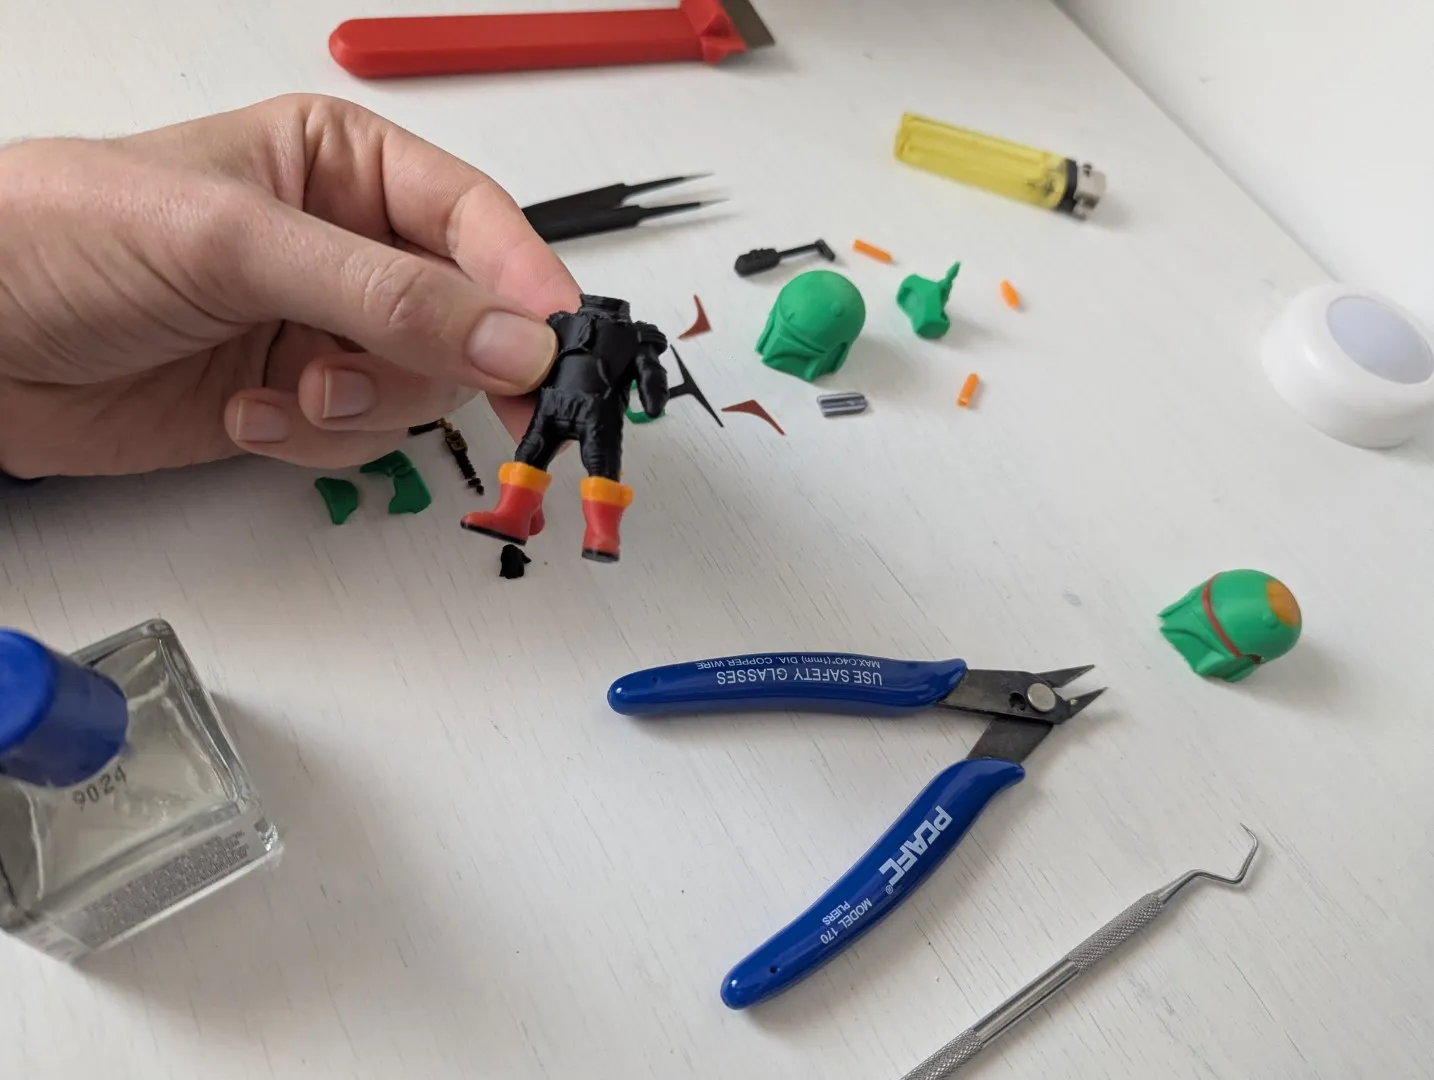
Dab of glue and put the shoes on. The shoes themselves are a multicolor print, simply pause and change filament if you do not have AMS/MMU. I left some nubs that should make the assembly easier this time around.
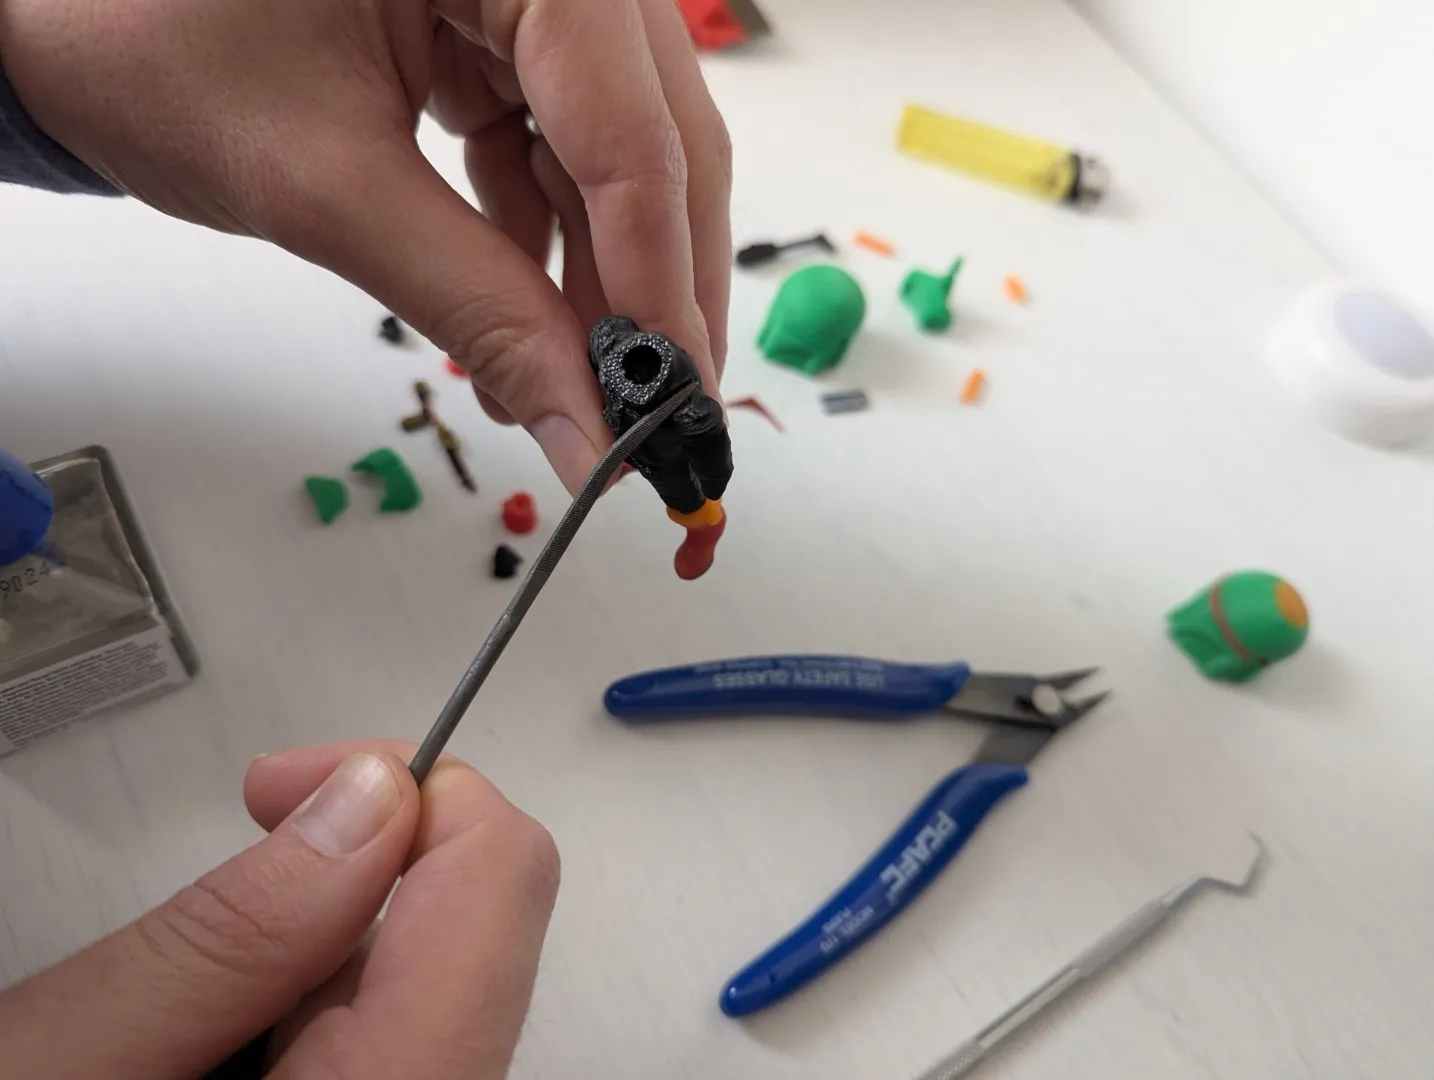
Some light post processing may be needed, this part will be covered by an armor piece, so don't worry about it too much.
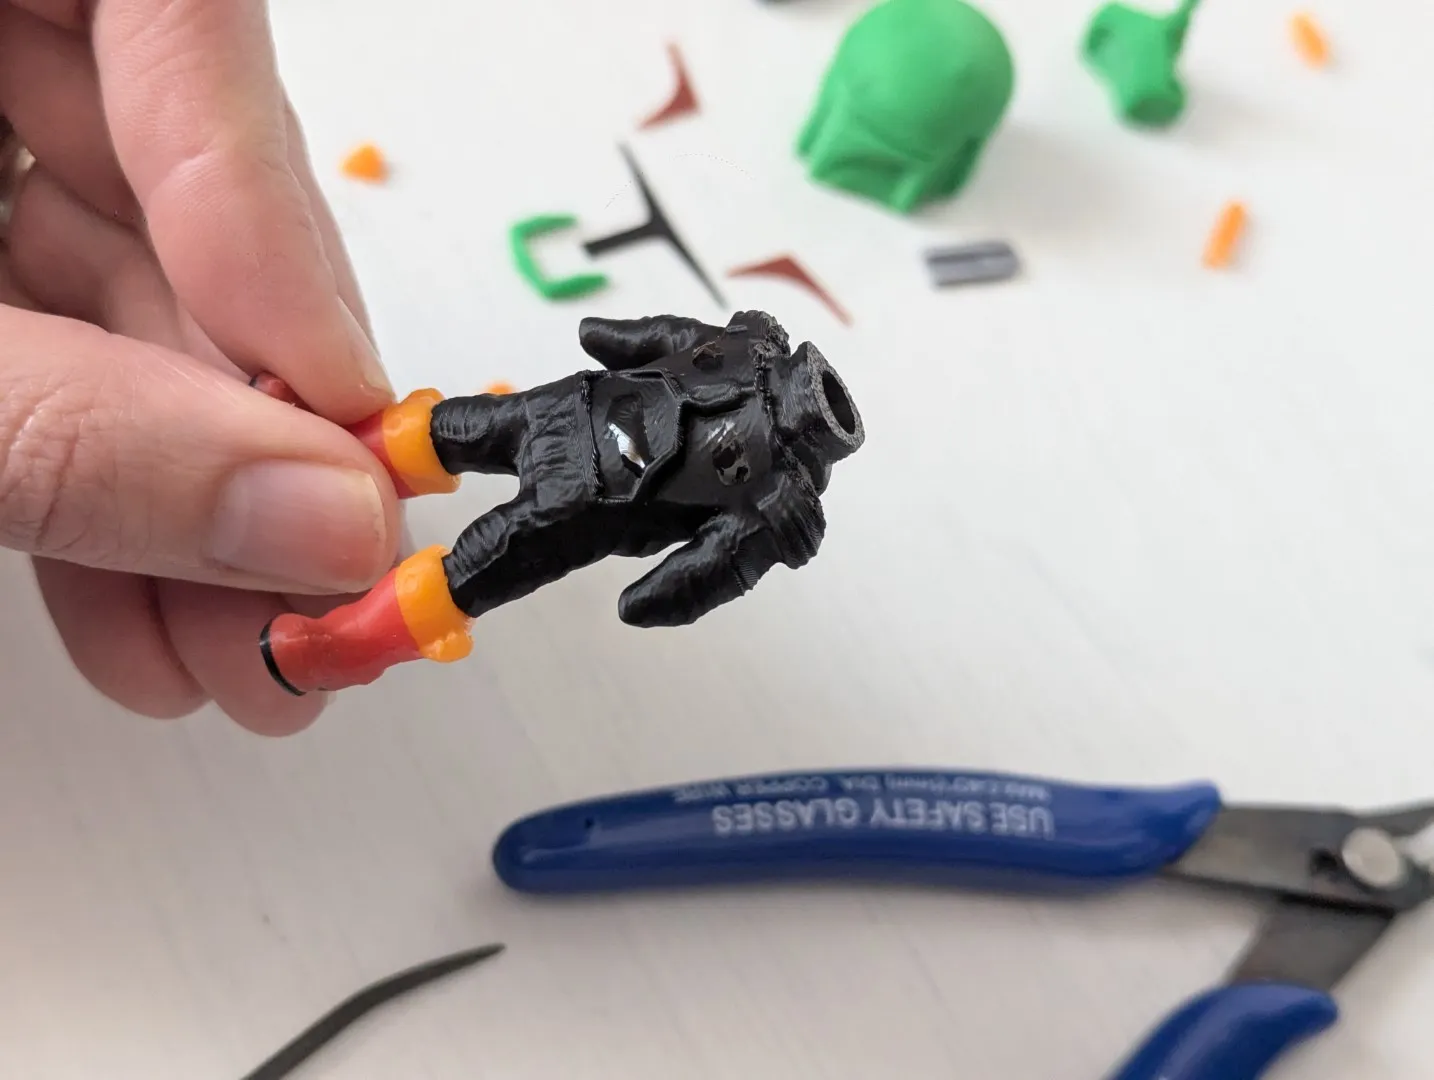
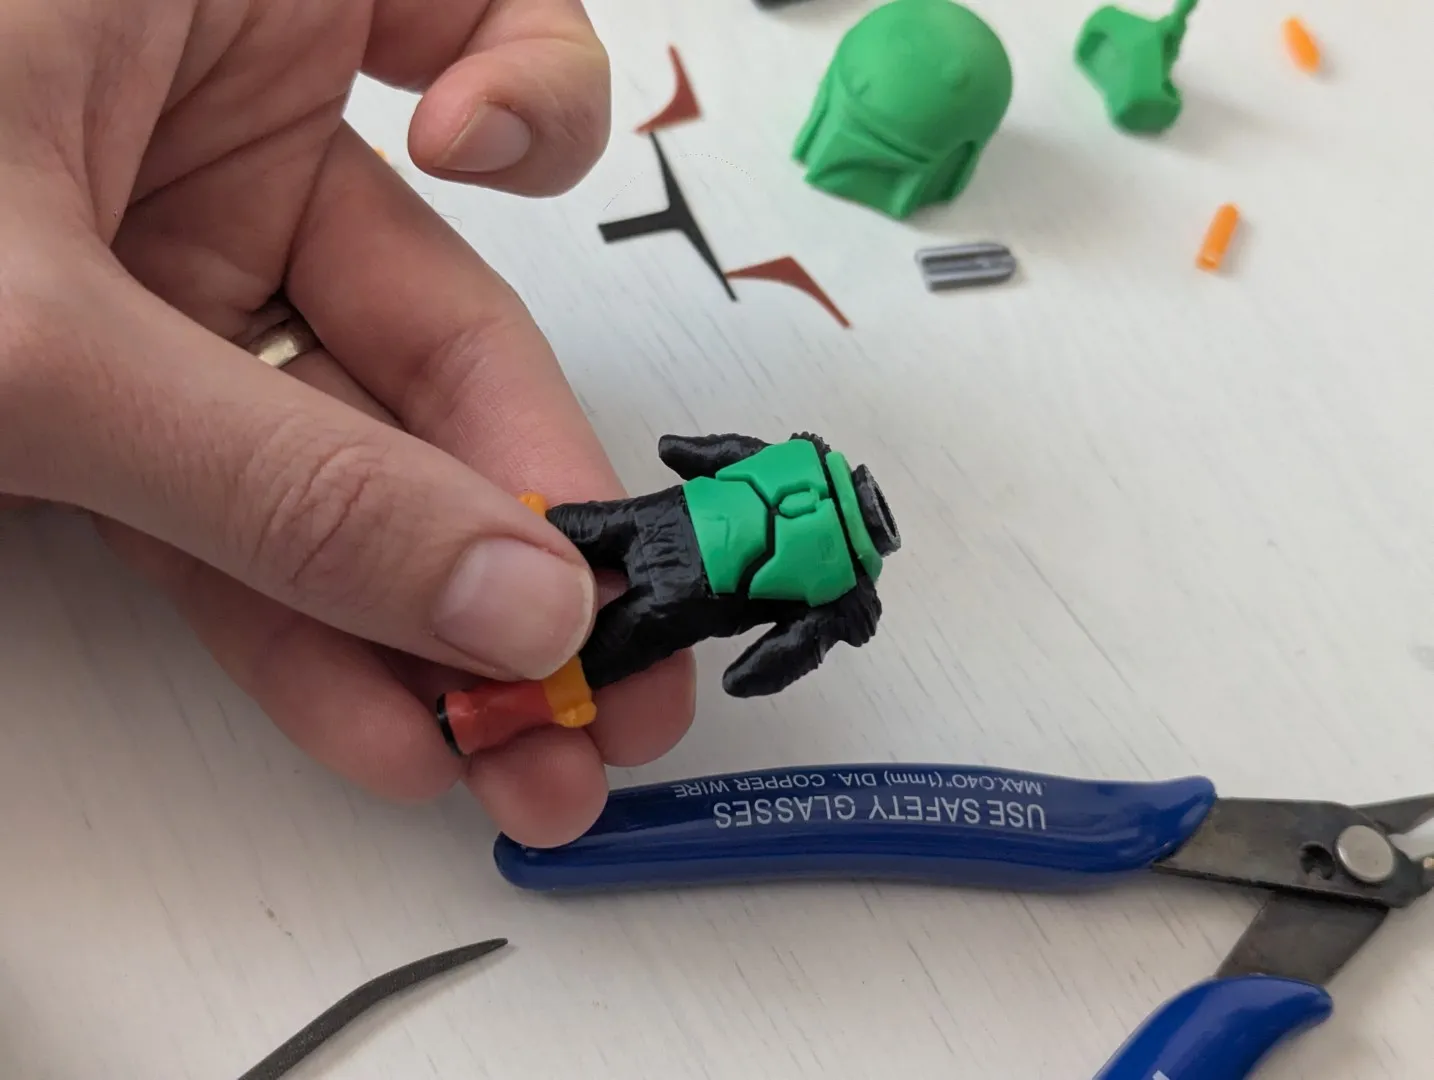
Spot of glue and the green armor pieces should fit right in.
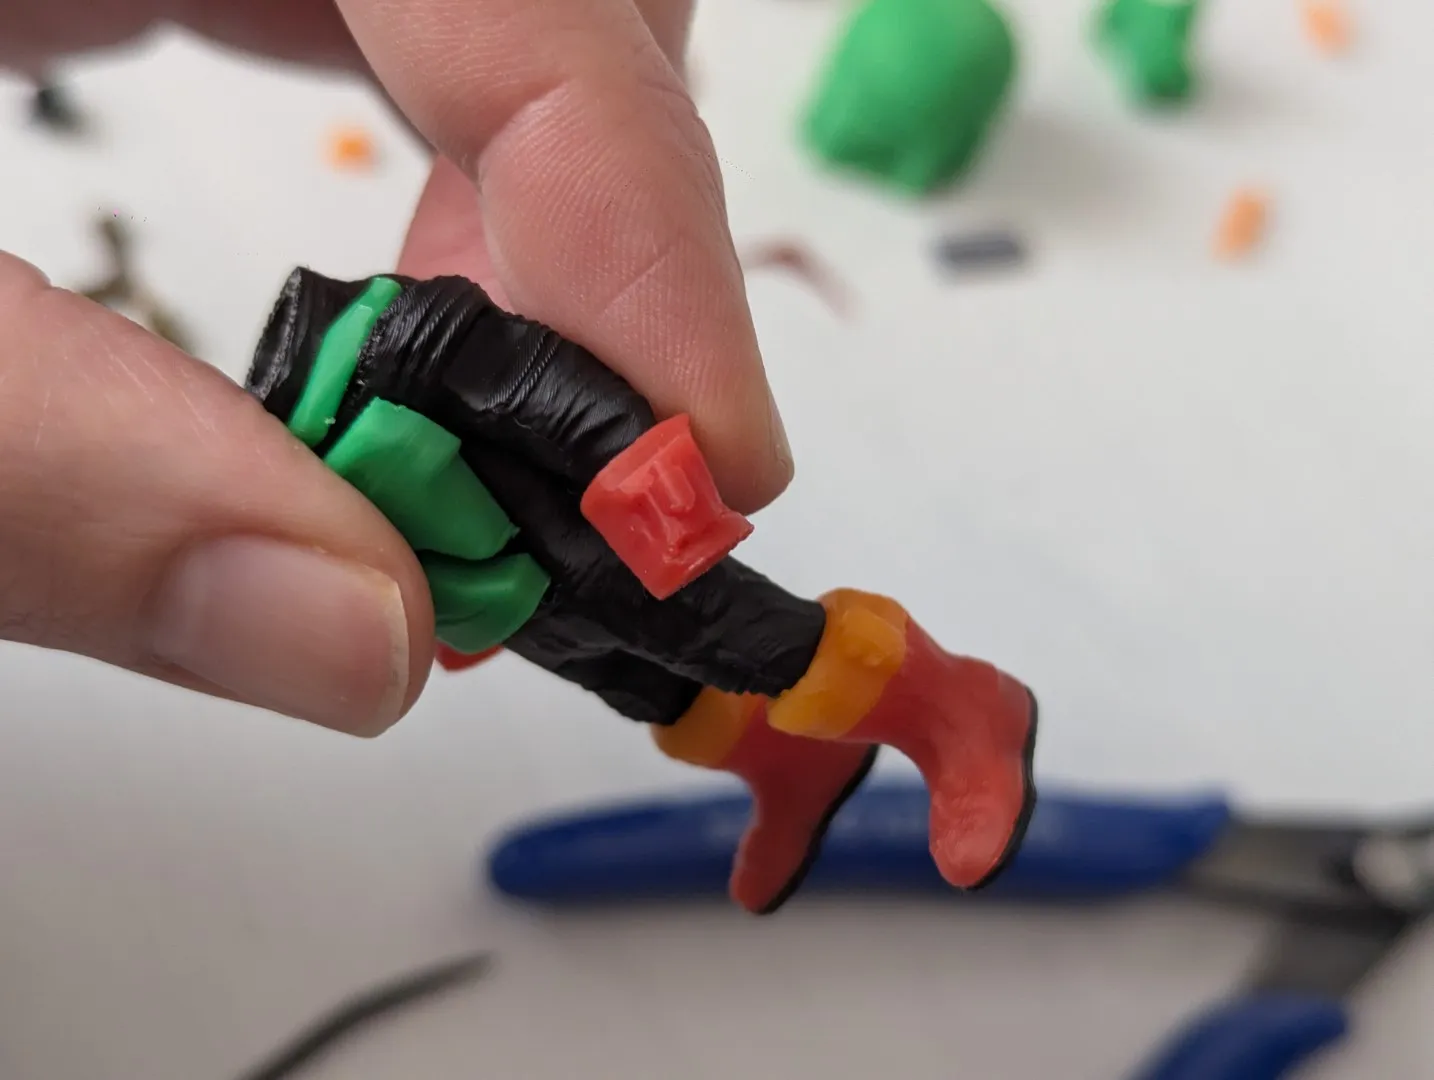
To attach the bracers, make sure the cylinder is out. The “buckle” decal should be down and the fit should feel natural.
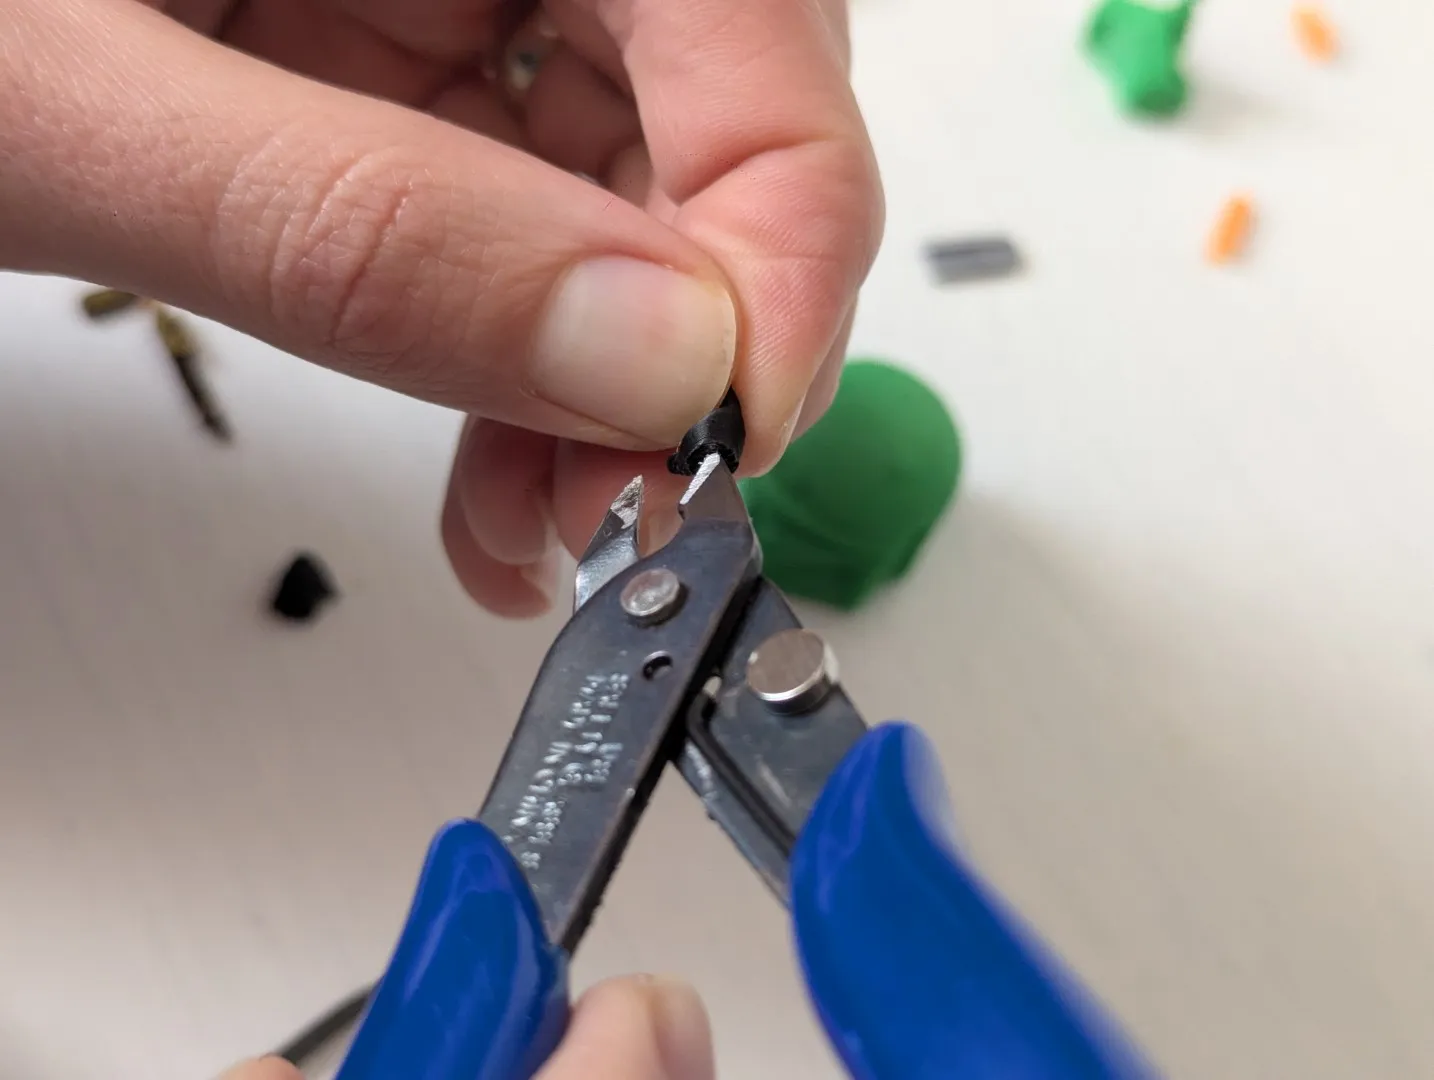
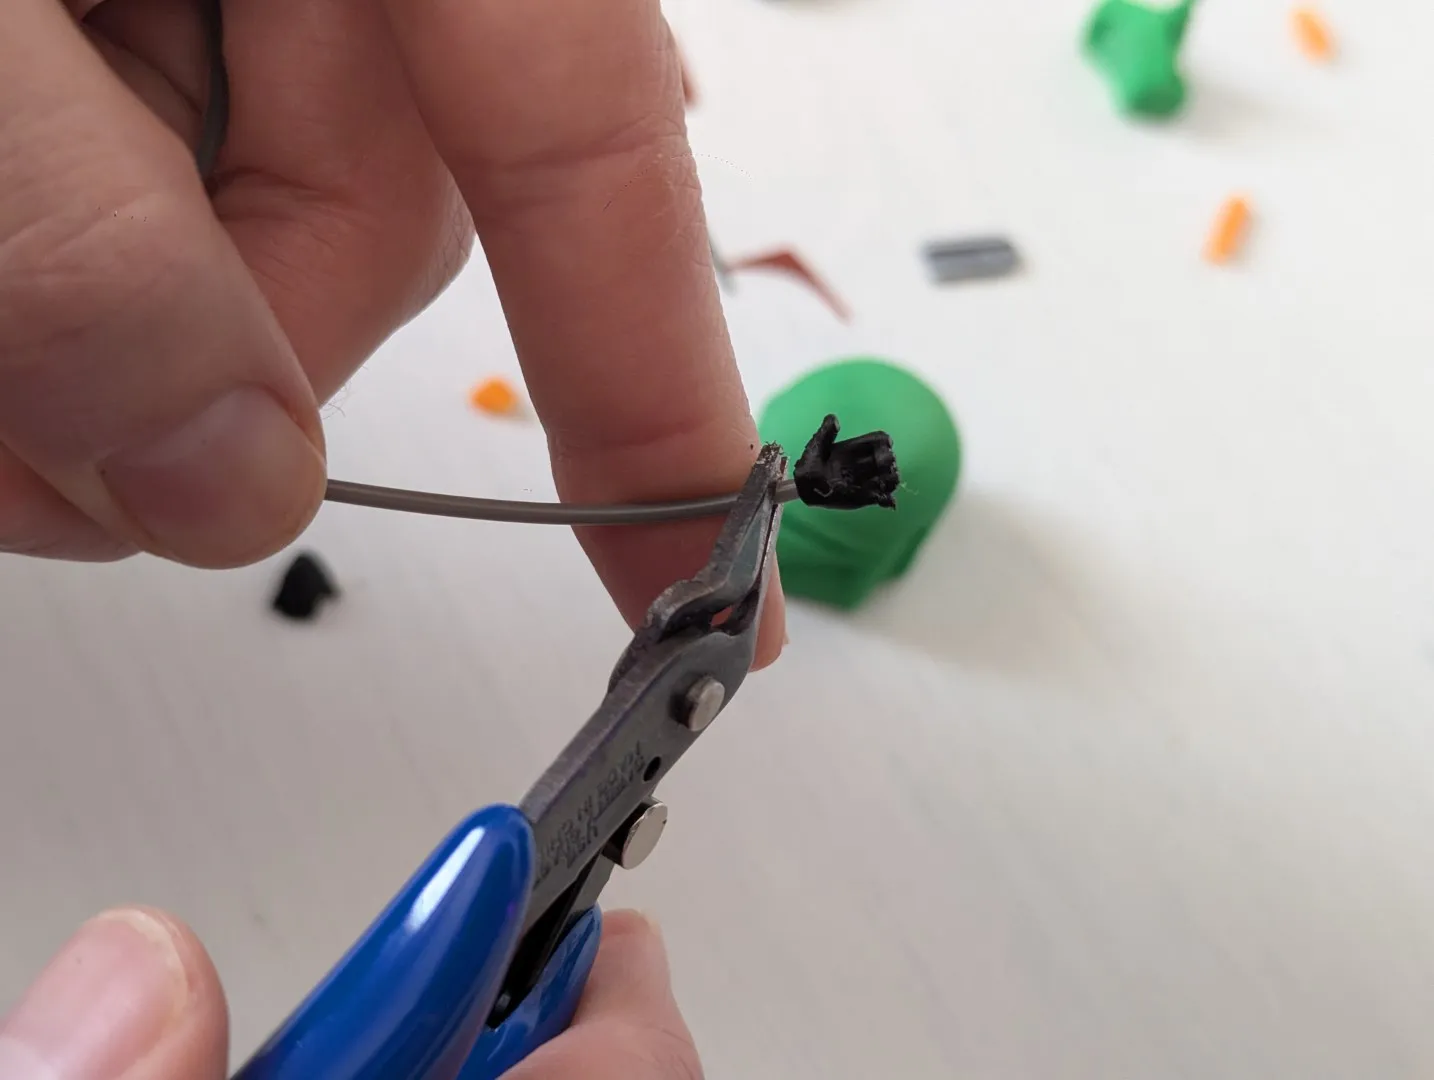
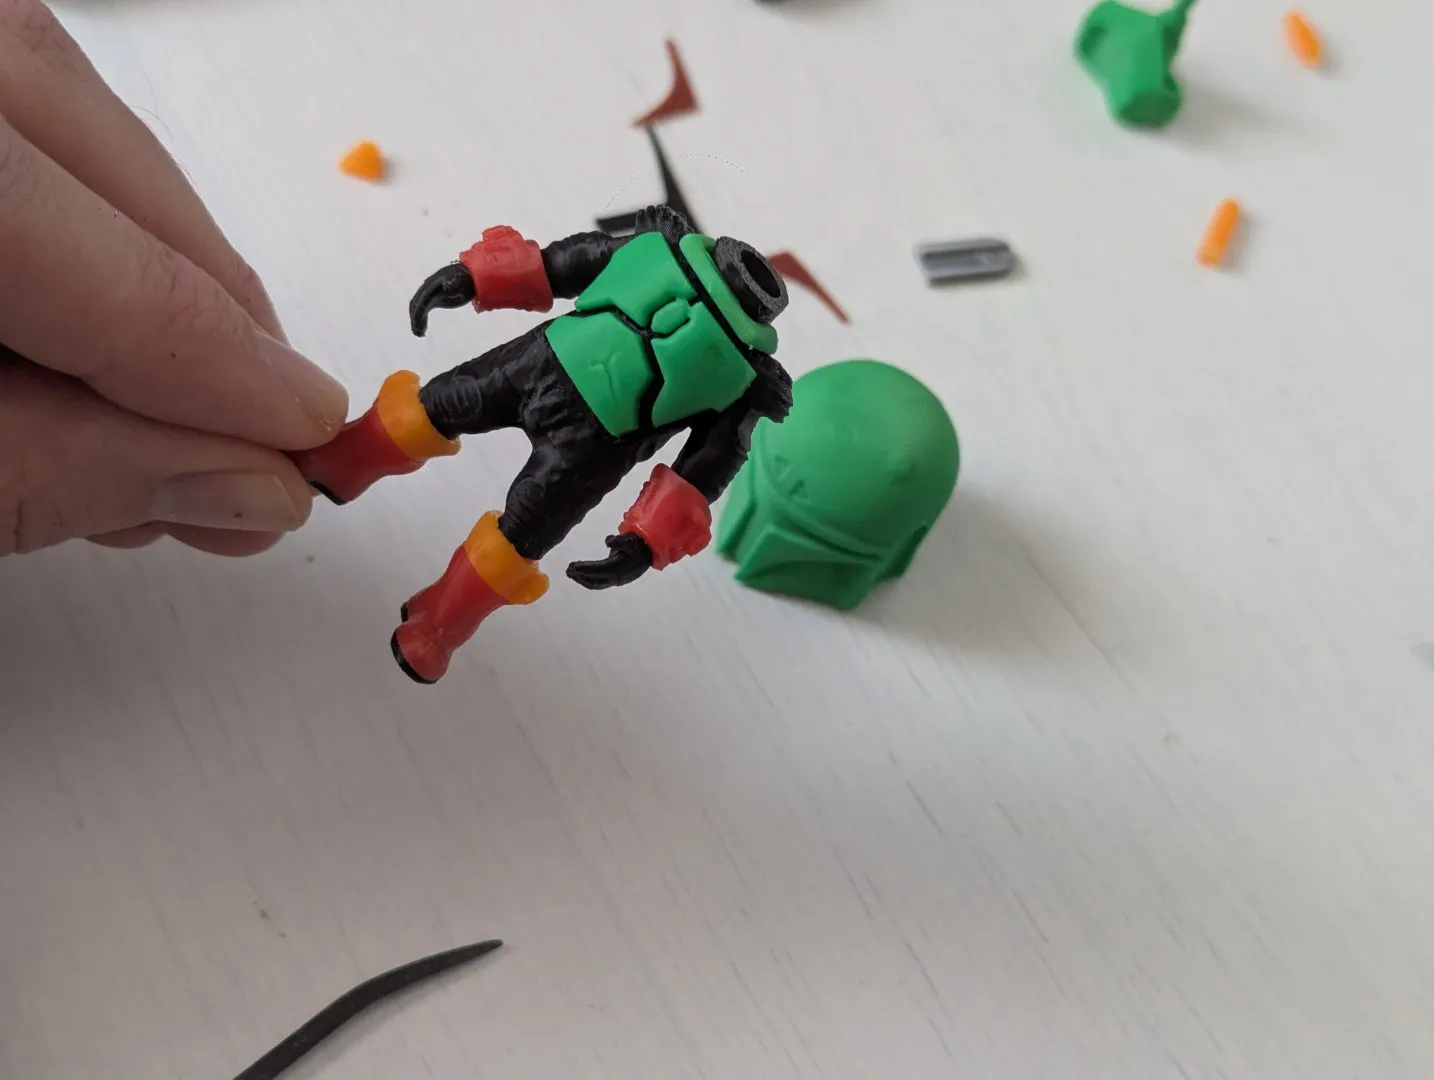
Clean the hole (be careful!) and insert a piece of filament and snip it (again, be careful, the part will come flying off when you cut) and attach it to the bracer.
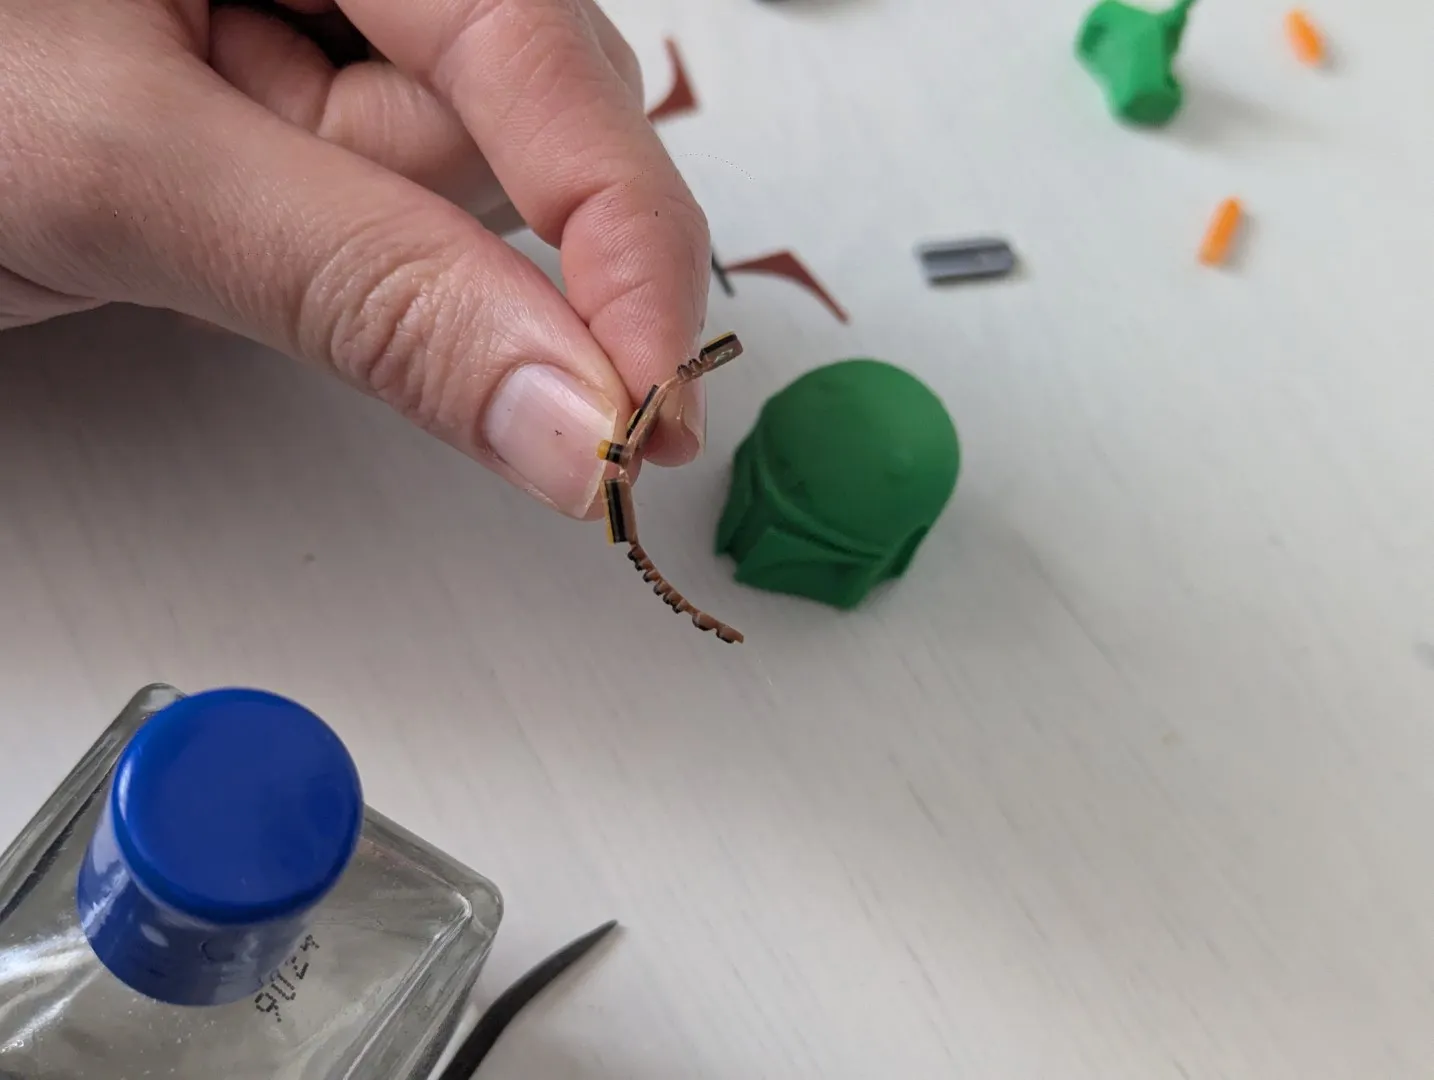
Curve the belt, best way is to dip it in hot water so it gets flexible. A drop of glue on the center buckle and glue it to the body
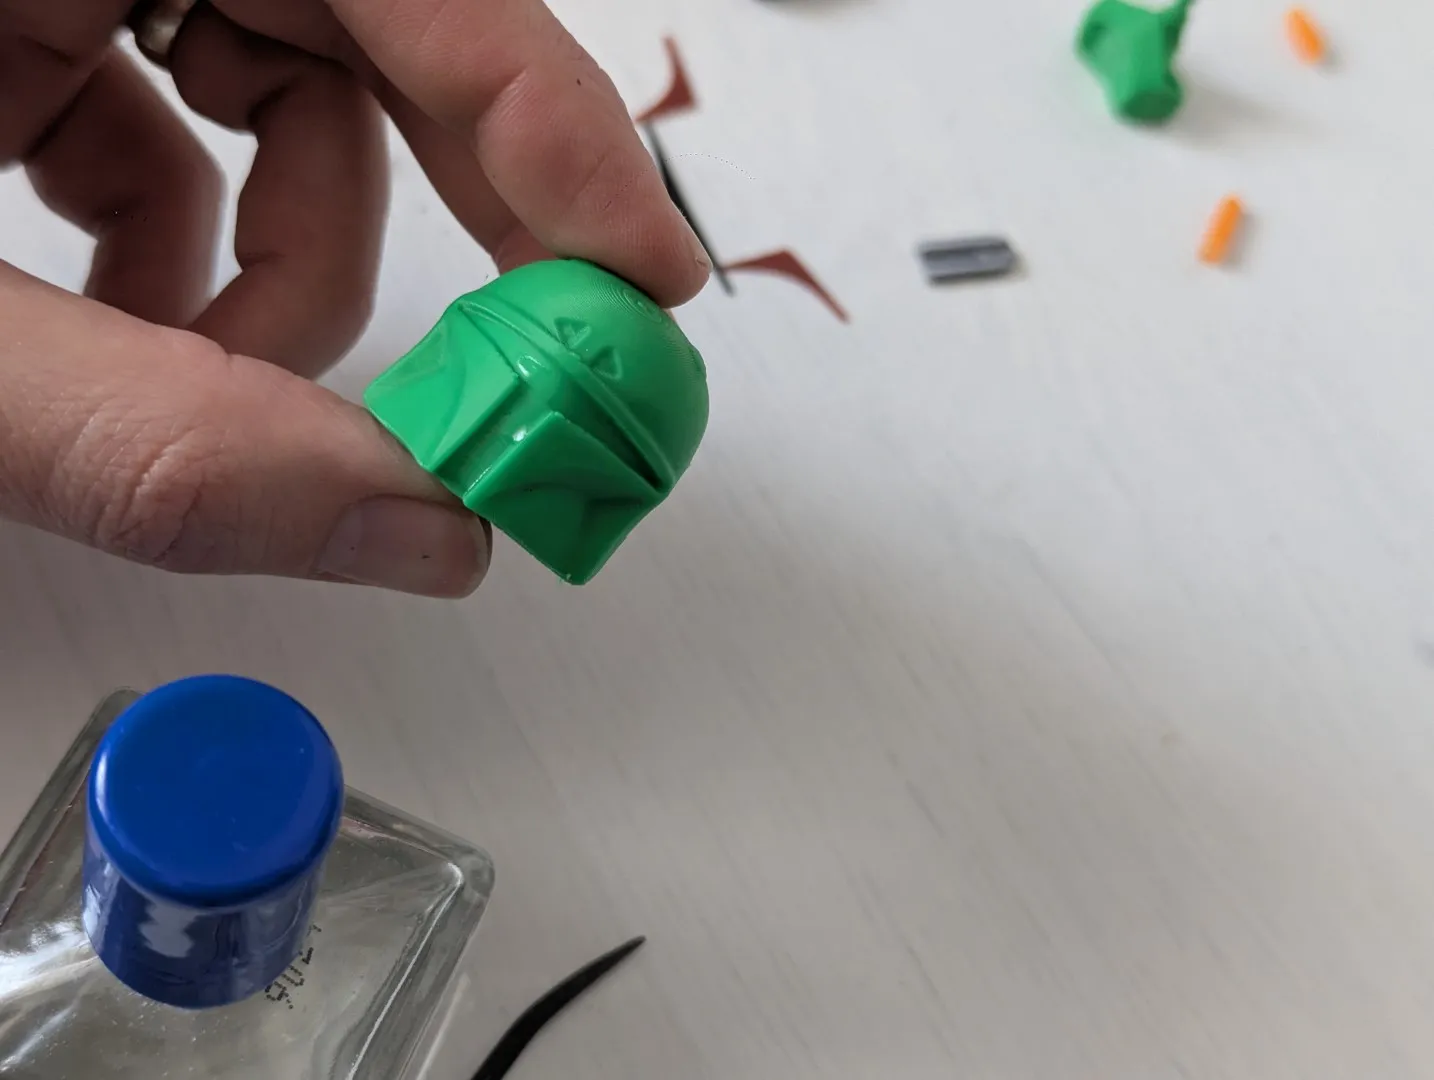
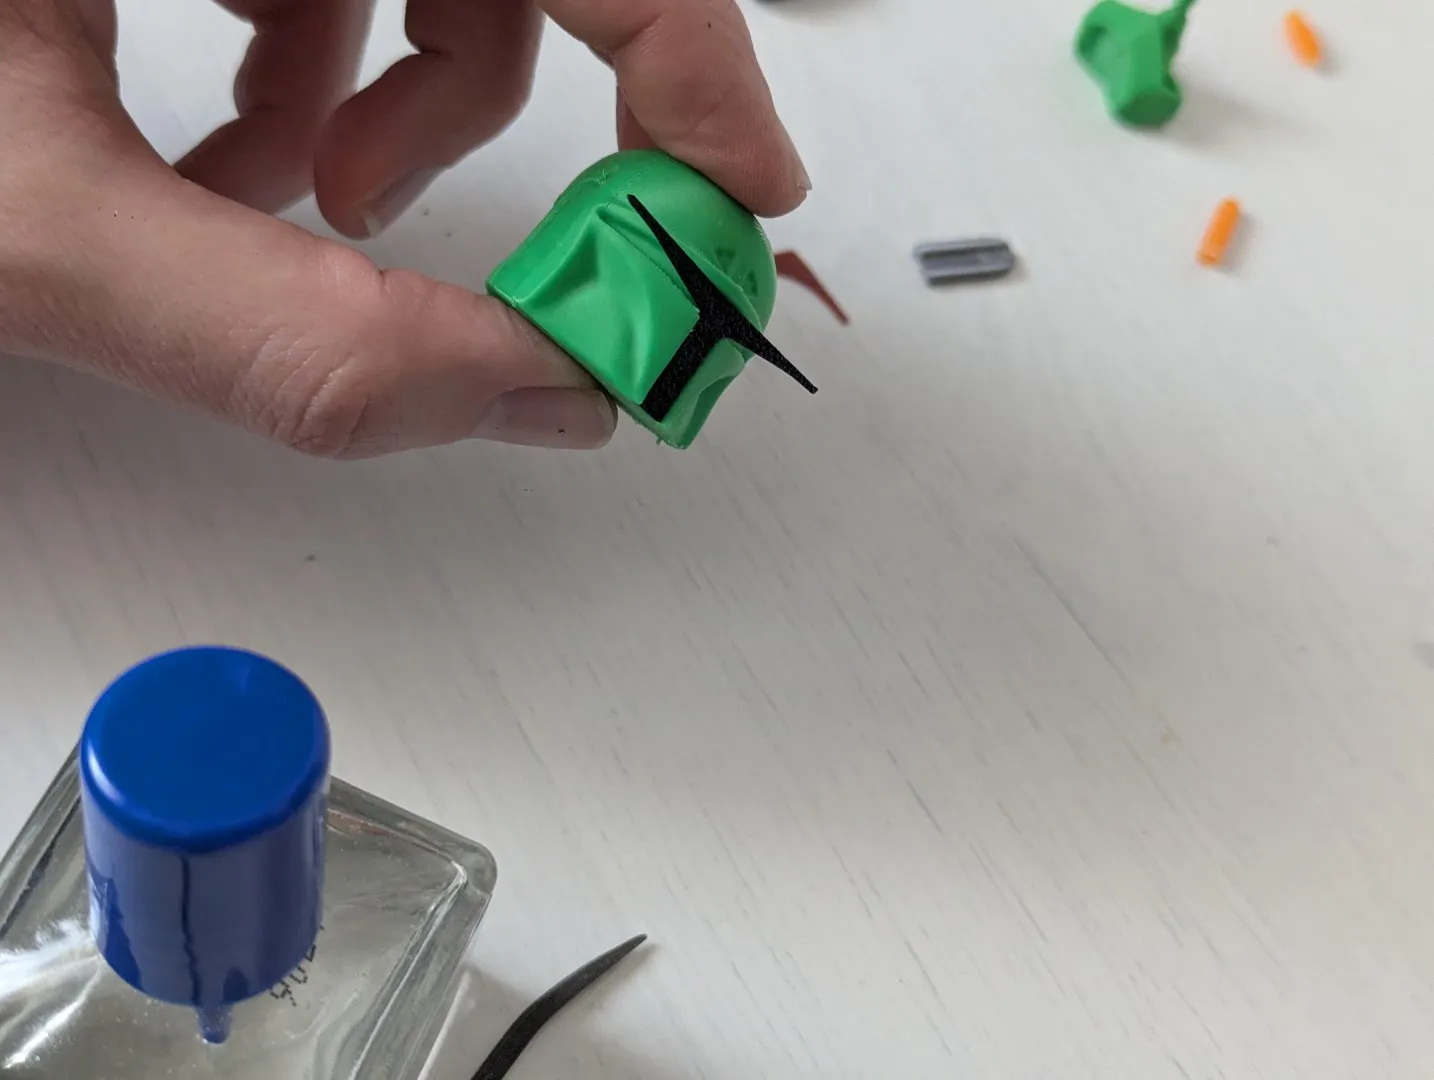
Drop of glue and glue the black visor decal in the center and leave it to stick well. If using super glue, a better way is to dip the black visor into hot water and curve it the best you can to the curve of the helmet. You can not just press it with your fingers like I did, because you will glue the helmet to your fingers. We do not want that.
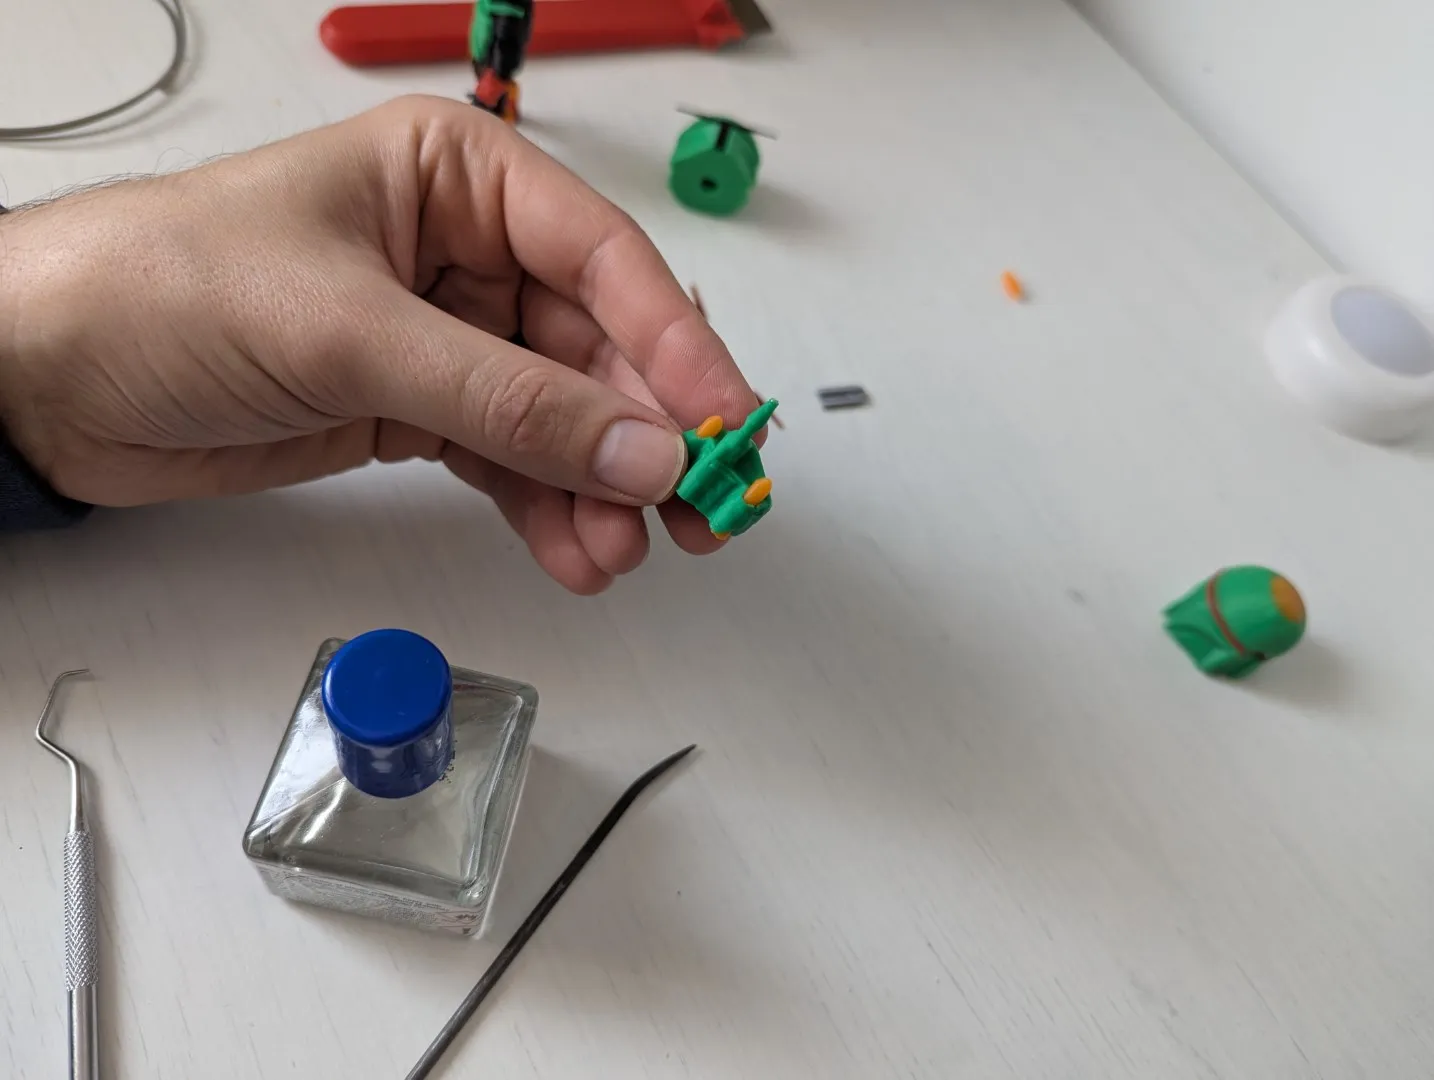
Insert the cylinders into the backpack and glue the missile on top. The hole will need some cleaning (title of your *** tape)
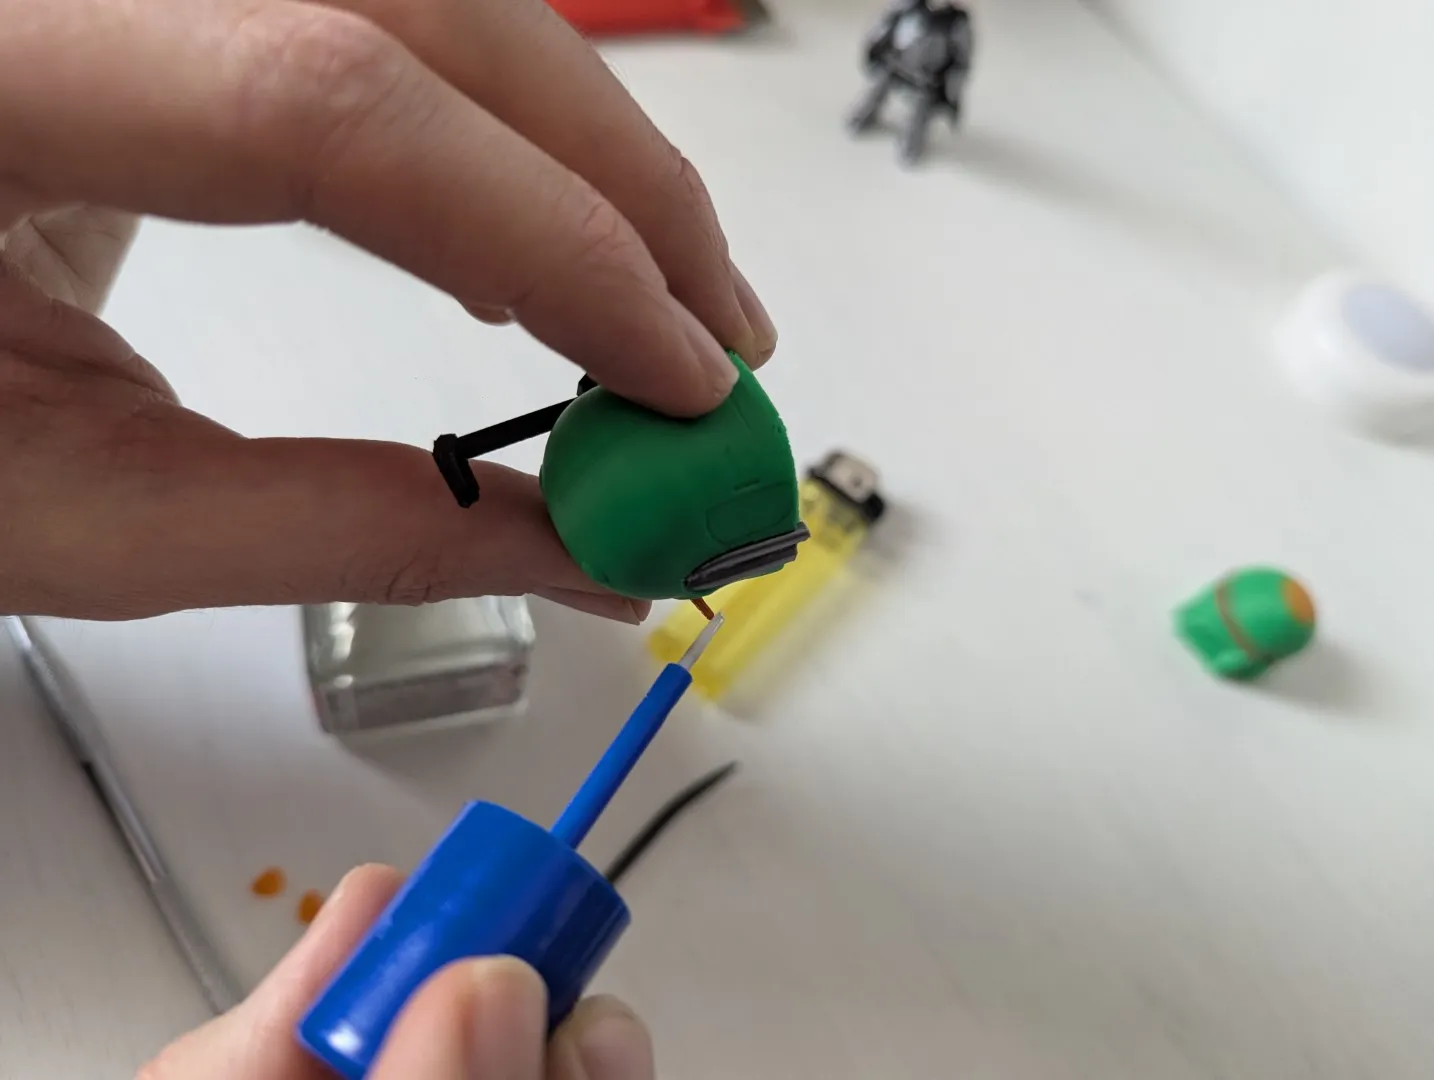
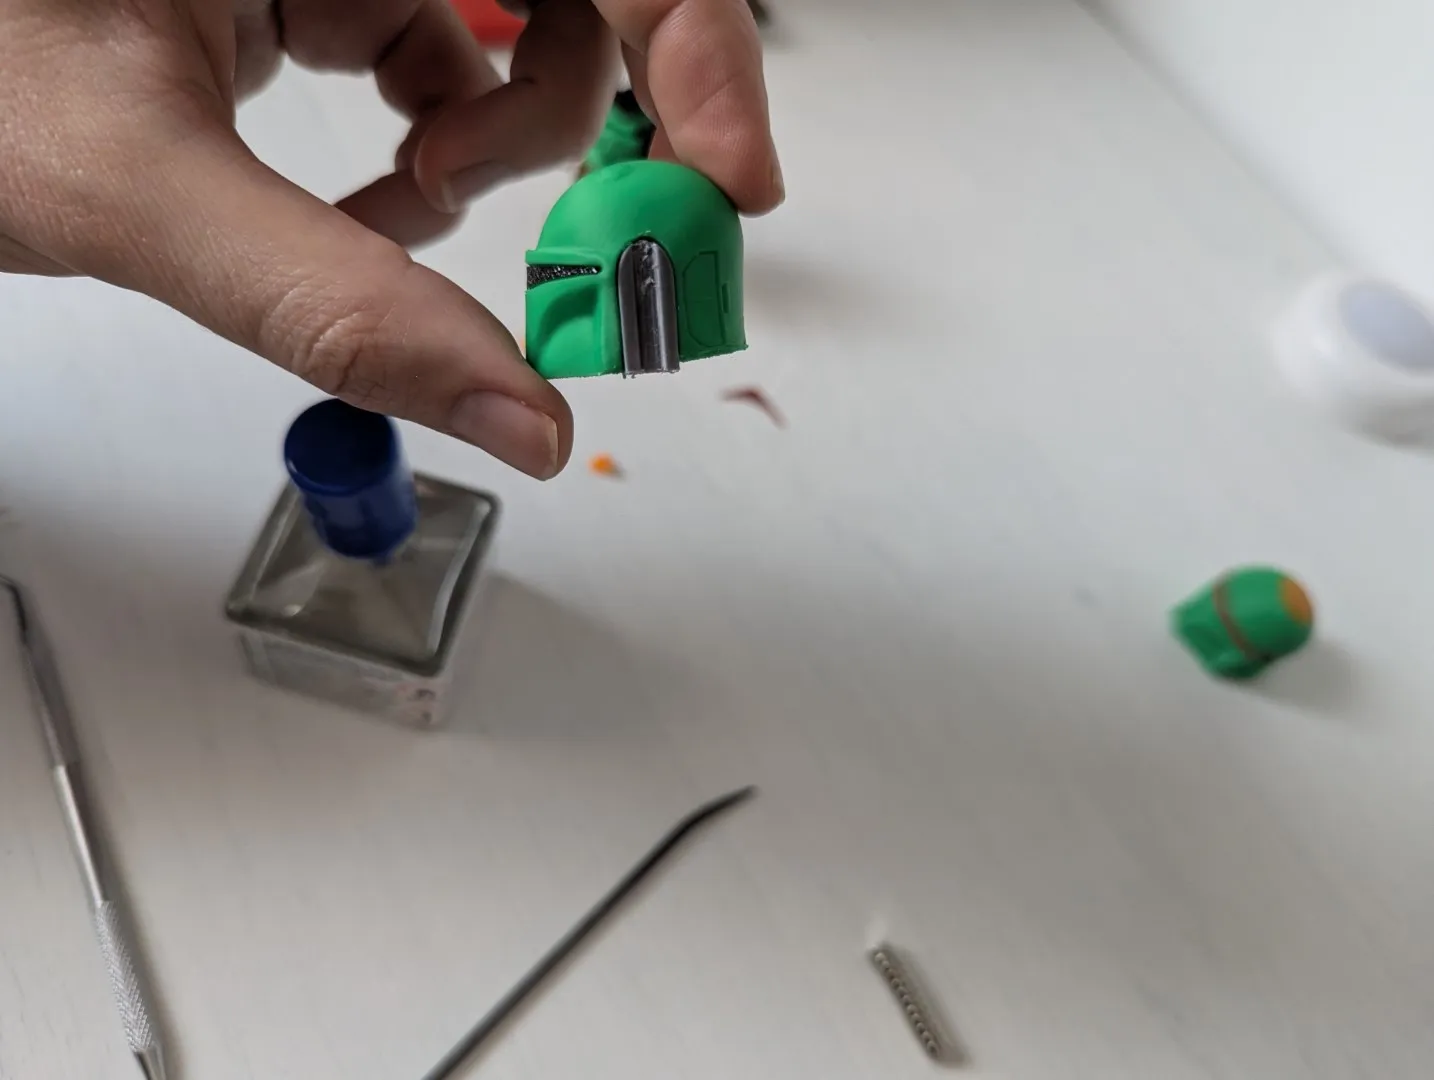
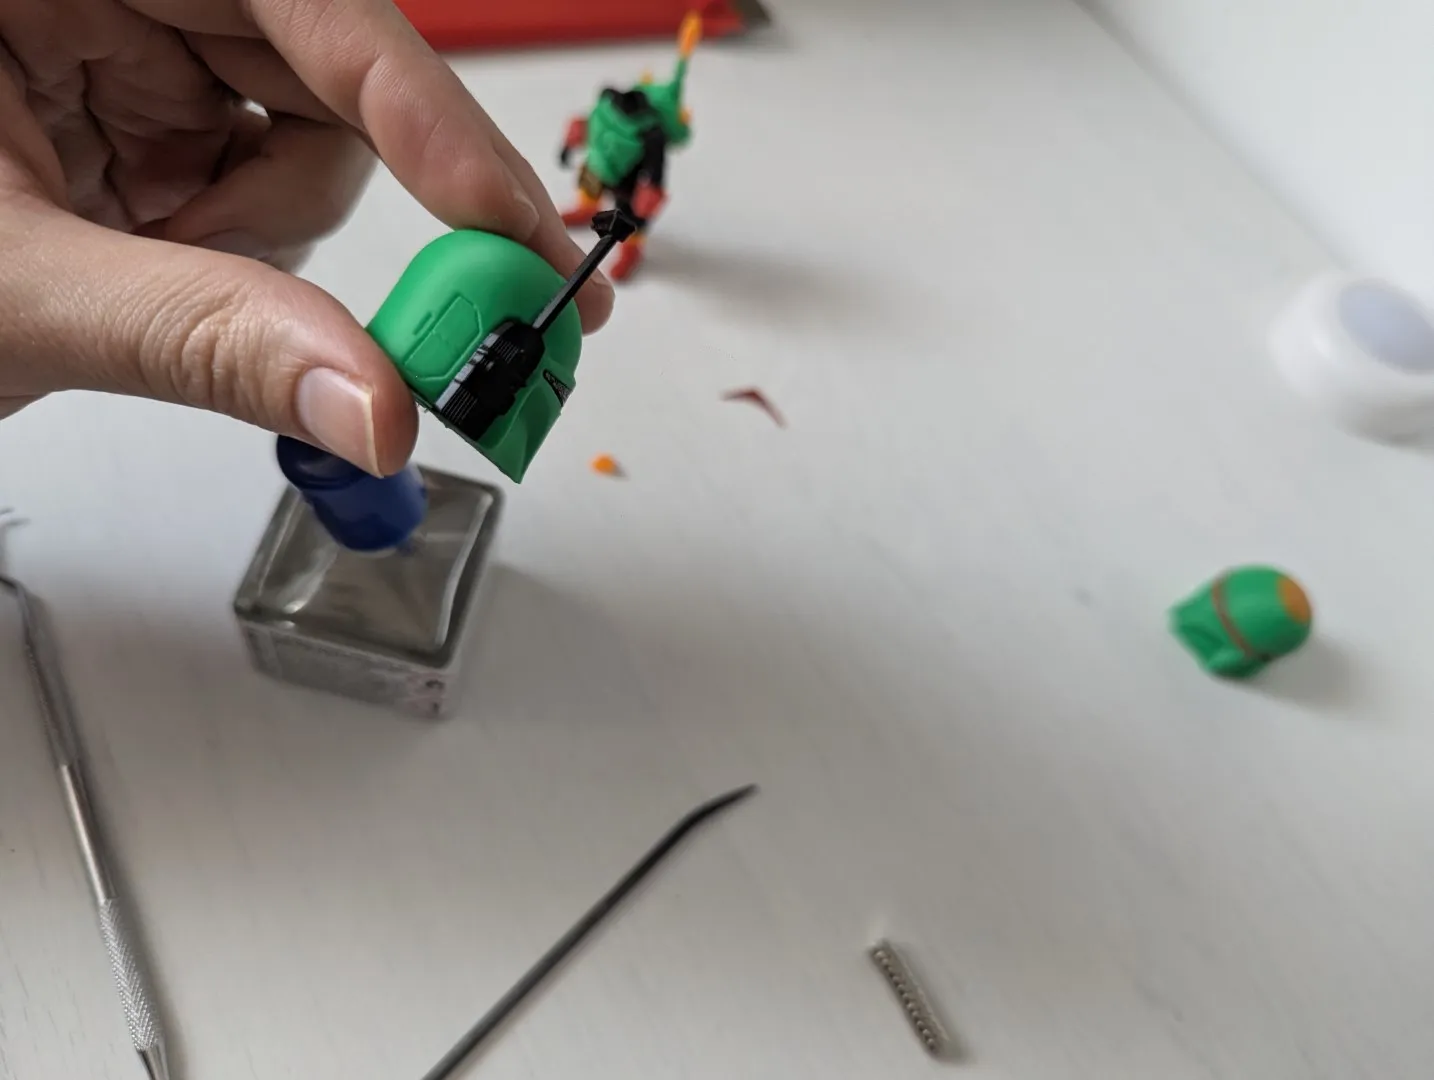
Finish gluing the black visor decal, use very little glue. Glue the decorative parts as well, the antennae pieces fit together. There are also other red decals that fit on the front of the helmet. Dont forget the additional rounded pieces that go on the backpack, glue those by eye.
Also attach the magnets, if you have any of my other minis, use them to determine the polarity… in case you want to swap heads around