
Head Cover Flashforge Adventurer 5X / AD5X
We calculate the final price from your selected file. You review and accept it before payment.
Saved on this device.
Model information
- Source
- Printables
- Category
- Other Printer Parts & Upgrades
- License
- Creative Commons — Attribution
⚠ Important
There are different versions of this cover. I've managed to identify three variants so far.
If you have information about others — please share detailed photos and measurements.
You can also remix this cover using the STEP and F3D (v1) files I've provided.
Since I own the very first version of the printer, I haven't tested the v2 and v3 covers myself.
They were created based on photos from the Flashforge Telegram community.
If for any reason they don't fit — please leave a comment with a detailed description of the issue, and I'll do my best to update the model accordingly.
✅ Make sure to print the version that matches your printer — they differ in:
Connector type (USB-C or regular connector)
Cutout size for the Filament Multiplexer
🧩 For v3 Only
The v3 version requires threaded bushings:
M3 threaded insert
Outer diameter: 4.6 mm
Length: 4 mm
These need to be melted / press-fitted into the designated holes.
🖨 Print Settings & Material
Material Recommendation
For best results, use a rigid and heat-resistant filament.
The best choice is ABS or ABS-based composites (e.g., ABS-GF), as they offer:
Good thermal resistance
Stiffness
Long-term stability in enclosed printer environments
That said, you can also use ASA, PETG, or even PLA if you're printing in a cooler setup — just keep in mind that PLA may deform over time near hot components.
Orientation & Supports
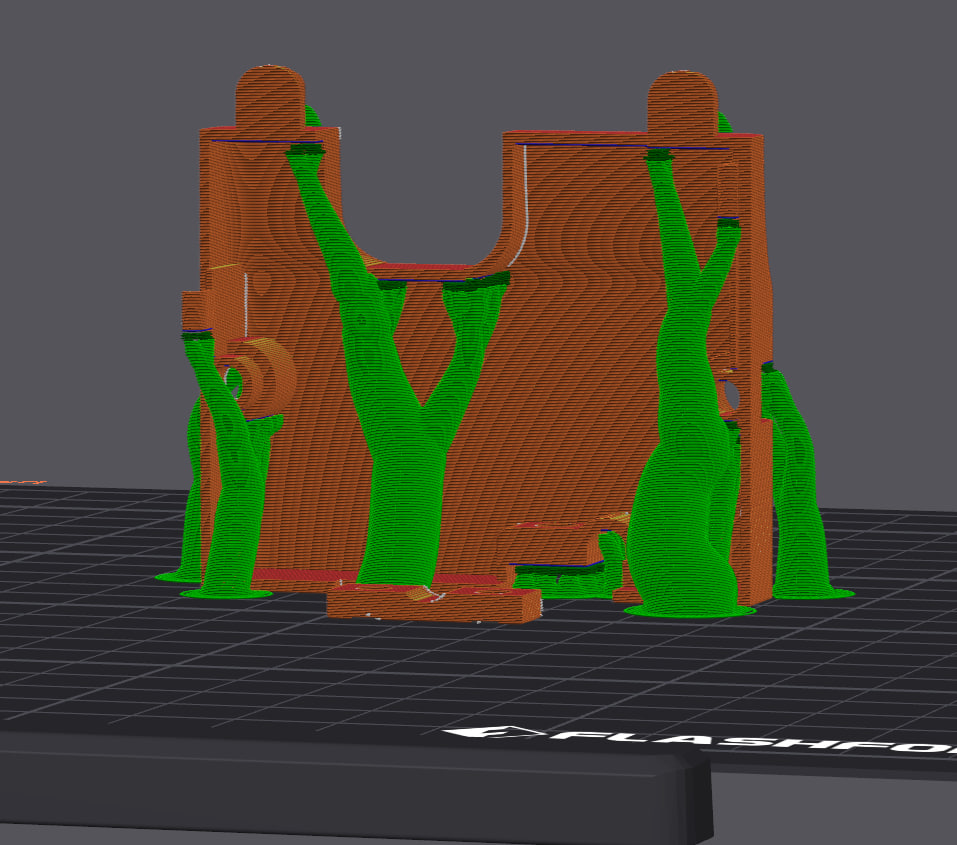
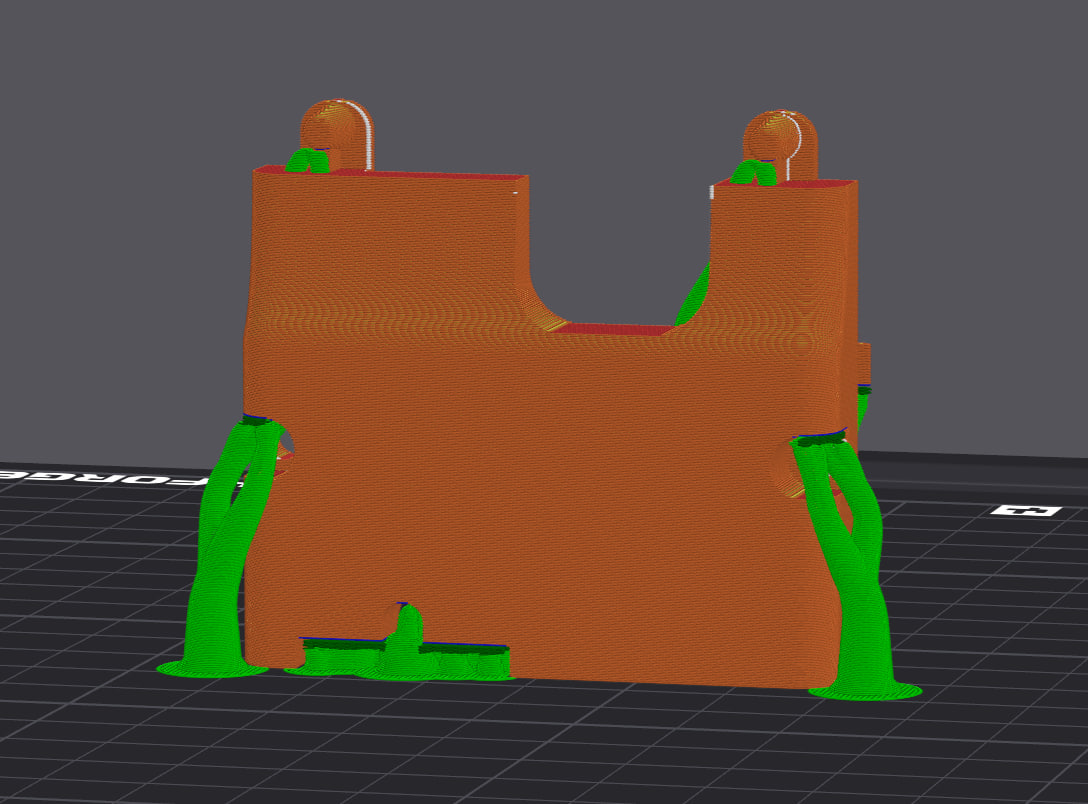
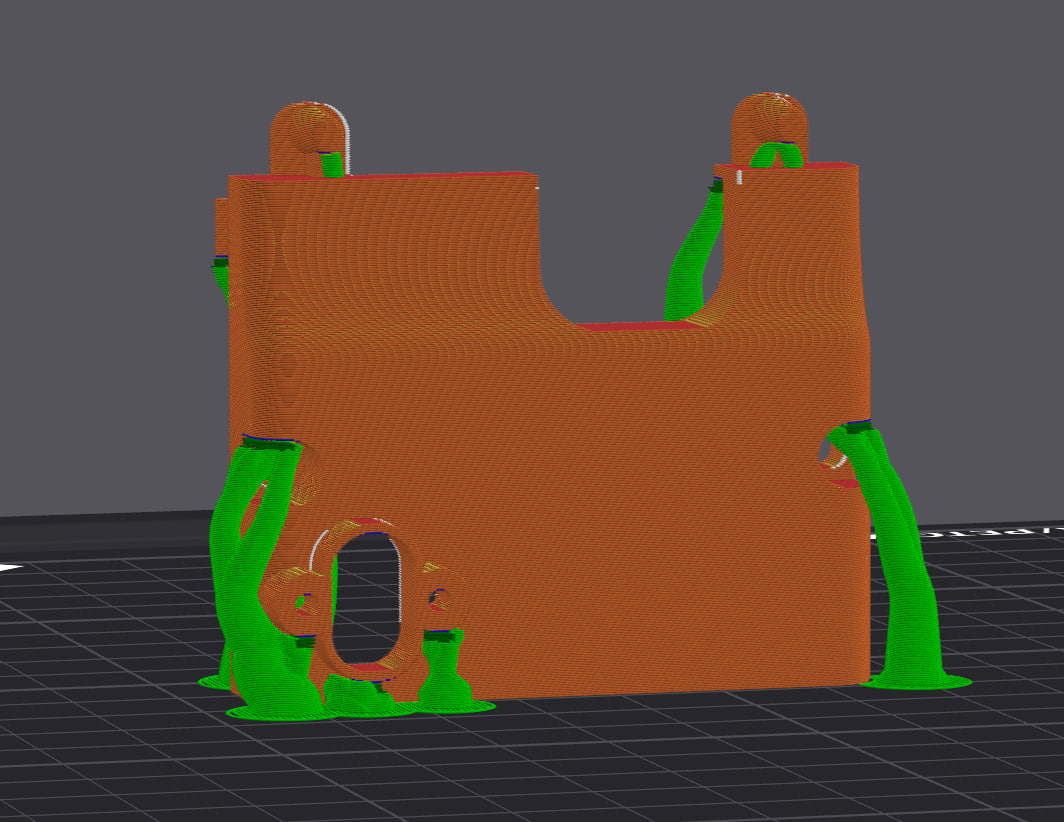
Print orientation and support placement are shown in the photos above.
Follow the orientation exactly to avoid issues with fit and surface finish.
⚙ Design Improvements
The cover has been significantly lightened by reducing wall thickness to 1.3 mm, while still maintaining sufficient strength for everyday use.
🔄 How to Install / Remove
📸 See the video above for:
How to put the cover on the printhead
How to remove it without damaging clips or connectors
📦 Files Included
STL files for v1 / v2 / v3
STEP and F3D (v1) files for remixing
❤ Feedback
If you print this model and run into any issues — especially with v2 or v3 — please let me know.
Your feedback helps improve the design for everyone.
How to put on the printhead and how to remove it:
<3